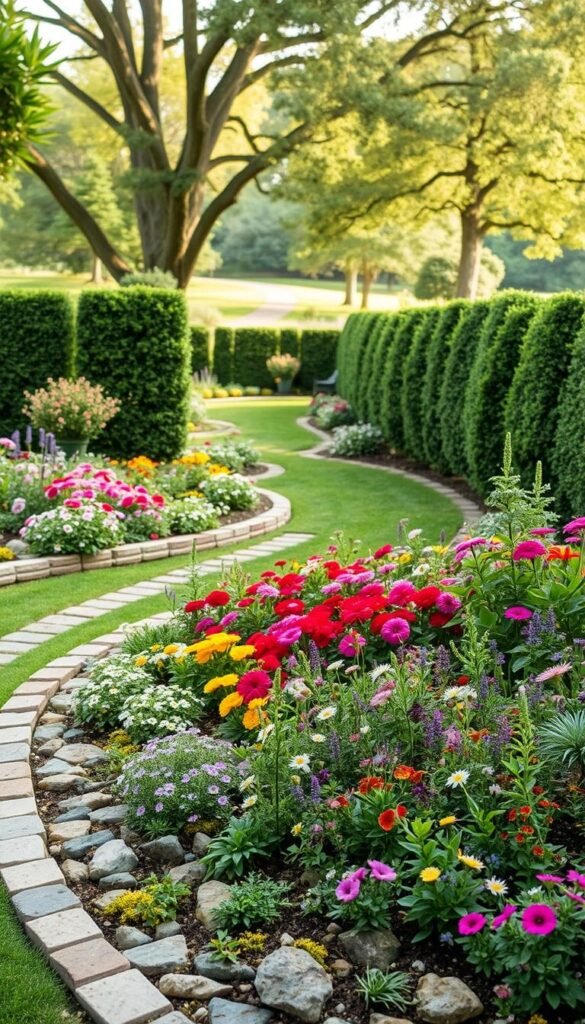
A well-defined landscape creates instant curb appeal while keeping your plants organized. Edging acts like a picture frame for your favorite blooms, turning chaotic patches into intentional designs. It’s not just about looks – proper borders prevent grass from invading your plants and help mulch stay put during heavy rains.
Whether you prefer rustic charm or modern minimalism, border materials range from natural stones to sleek metal strips. Some options take an afternoon to install, while others become permanent landscape features. The right choice depends on your climate, maintenance preferences, and overall yard style.
This guide explores practical and eye-catching ways to define your growing areas. You’ll learn how different materials affect water drainage, weed control, and long-term upkeep. Discover how strategic placement can make small yards feel larger or highlight unique plant arrangements.
From recycled bricks to living hedges, every solution balances beauty with functionality. We’ll help you match materials to your soil type and local weather patterns for lasting results. Get ready to create clean lines that make your landscape look professionally designed – no contractor required.
Why Garden Edging Matters for Your Outdoor Space
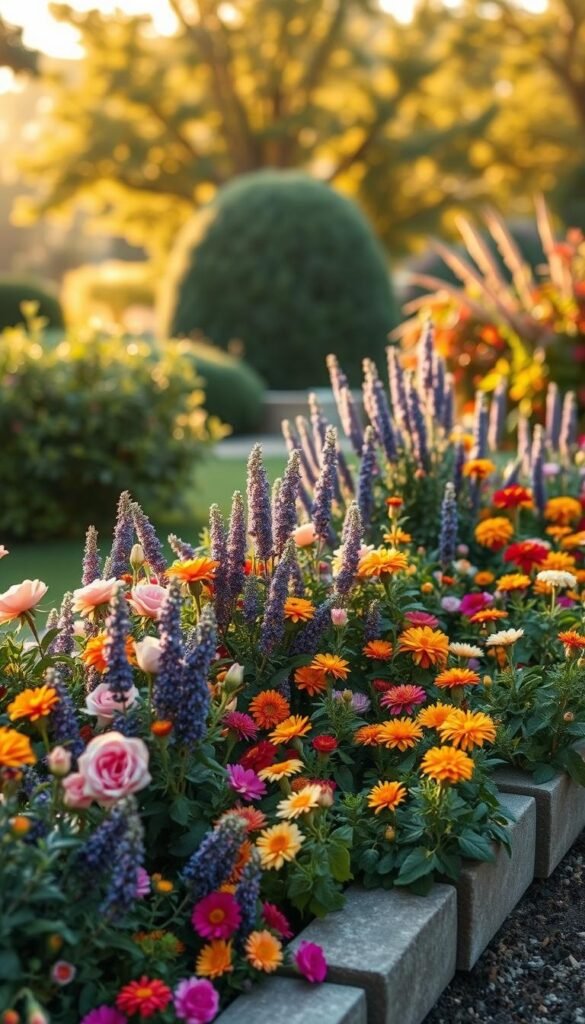
Edging isn’t merely decorative—it’s a strategic tool for a thriving, organized garden. Crisp borders act like invisible shields, stopping grass roots from sneaking into your prized perennials. You’ll spend less time battling weeds and more enjoying your vibrant blooms.
Rainstorms won’t wash away your nutrient-rich soil when you’ve got proper barriers in place. Edging channels water to plant roots while keeping mulch exactly where it belongs. This means healthier hydrangeas and happier hostas all season long.
Ever nicked a plant with your trimmer? A physical border gives mowers and edging tools a clear “stop line.” Your delicate annuals stay safe, and your landscaping maintains its polished look. Plus, distinct zones let you tailor care—acid-loving azaleas and alkaline-preferring veggies can thrive side by side.
Well-defined edges create visual rhythm, turning random patches into intentional designs. Neat lines make small yards feel larger and highlight unique plant textures. “A clean edge is the difference between a hobbyist’s plot and a master gardener’s canvas,” notes one landscaping pro.
You’ll also save money on mulch replacements—no more chasing stray wood chips after windy days. Borders keep everything contained, so your outdoor space stays tidy with minimal effort.
Enhancing the Look of Your Flower Beds with Creative Borders
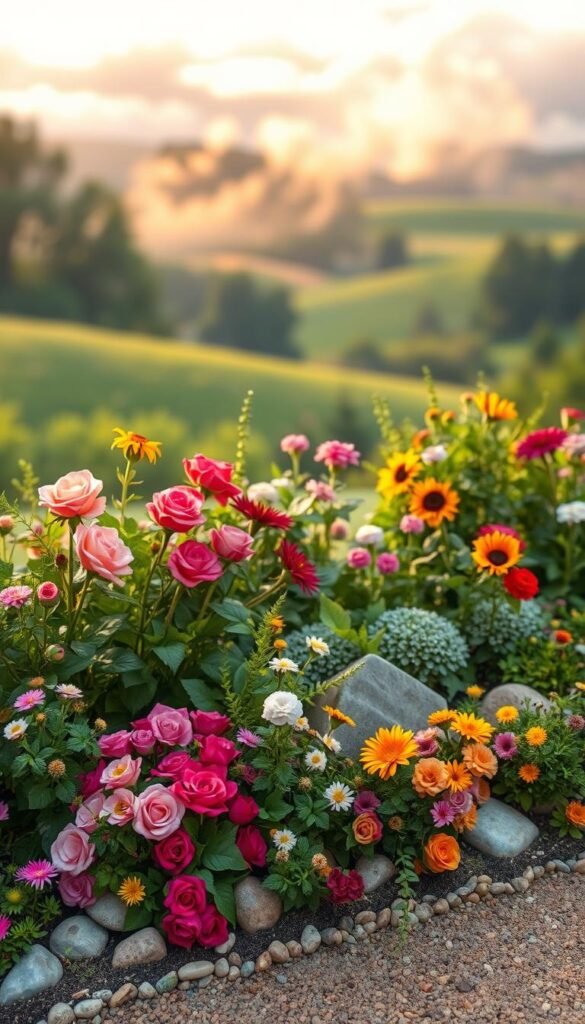
Creative borders turn ordinary growing spaces into garden masterpieces. A well-chosen edge adds instant polish, guiding the eye toward your favorite blooms while hiding uneven soil lines. It’s like applying eyeliner to your landscape – subtle but transformative.
Mix materials for unexpected charm. Pair smooth river rocks with rough-hewn timber, or contrast powder-coated metal with soft creeping thyme. Height variations create depth – try stacking flat stones vertically beside low-growing herbs.
Your borders can evolve with the seasons. Swap out winter-friendly evergreens for spring tulip displays, or weave twinkle lights through woven branches for summer evenings. This keeps your space lively year-round without replanting entire beds.
| Border Style | Materials | Visual Impact |
|---|---|---|
| Rustic | Reclaimed bricks, logs | Warm, casual vibe |
| Modern | Corten steel, concrete | Clean, architectural lines |
| Eclectic | Mosaic tiles, colored glass | Playful focal points |
Coordinating edges with existing structures creates harmony. If you’re building raised beds, extend their material into pathway borders. This trick makes small yards feel cohesive and spacious.
Remember: borders should enhance, not overpower. Let your plants remain the stars while the edges provide subtle framing. The right balance turns functional boundaries into works of art that make neighbors stop and stare.
Understanding Different Materials for Garden Edging
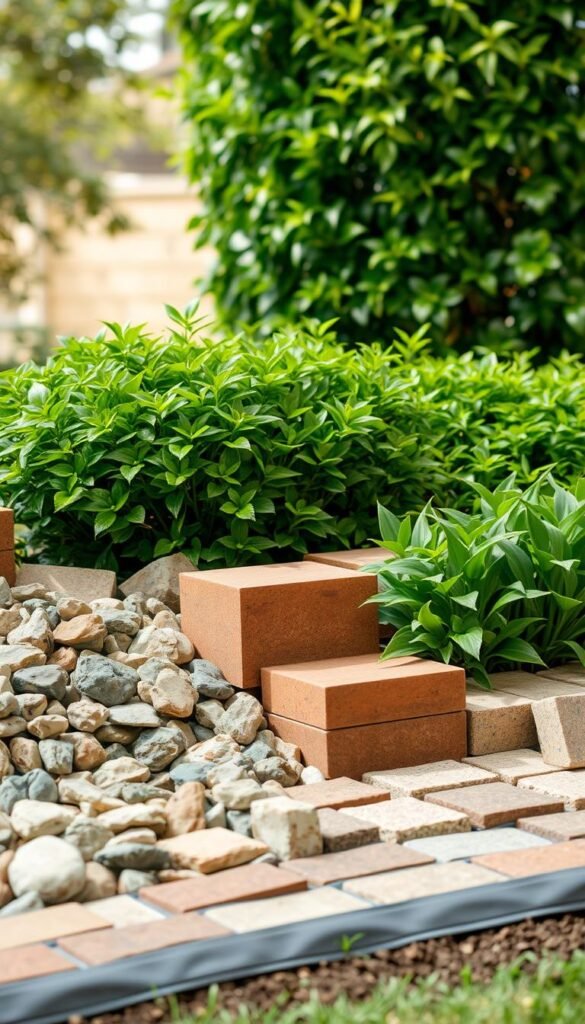
Your border choice shapes your landscape’s personality and practicality. Materials range from sleek modern metals to earthy reclaimed wood, each offering distinct benefits. Let’s break down popular options so you can match them to your climate, design vision, and weekend project capacity.
Metal, Wood, Concrete, and More
Metal edging shines for curved designs – bendable strips create flowing lines without digging trenches. Aluminum and steel resist rust, lasting 15+ years with minimal upkeep. No-dig installation makes it ideal for quick upgrades – just hammer stakes into place.
Wood brings rustic charm but requires more care. Cedar naturally repels insects, while pressure-treated pine handles moisture better. For coastal vibes, pair weathered planks with beach grasses. Rot-resistant varieties like eucalyptus last 5-8 years before needing replacement.
Concrete offers permanence – once set, it withstands decades of foot traffic. Precast sections simplify installation, or pour custom shapes for geometric flair. Stained or stamped finishes mimic stone at half the cost.
Pros and Cons of Each Material
| Material | Durability | Installation | Cost |
|---|---|---|---|
| Metal | 15+ years | Hammer-in | $$ |
| Wood | 5-8 years | Cut & secure | $ |
| Concrete | 25+ years | Professional | $$$ |
Terracotta adds Mediterranean warmth but chips in freezing climates. Gravel suits casual cottage gardens but needs frequent raking. For a budget-friendly twist, landscape edging options like recycled bricks marry sustainability with character.
Consider your soil type – clay expands and contracts, requiring flexible materials. Sandy areas need heavier borders to stay anchored. Match the material’s lifespan to your gardening goals, whether it’s a temporary experiment or a forever feature.
Exploring Inexpensive and Eco-Friendly Edging Options
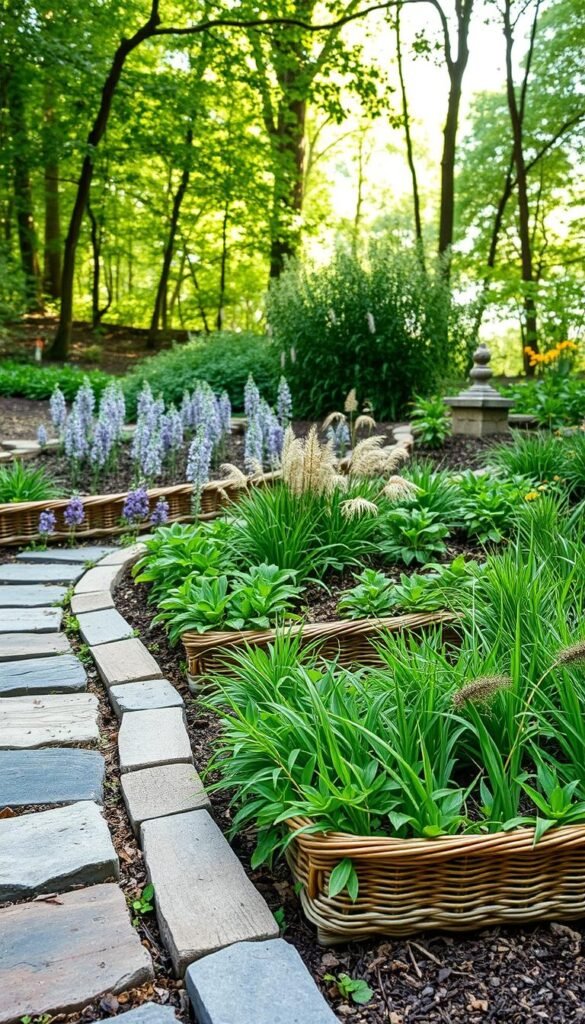
Transforming your outdoor space doesn’t require deep pockets—just smart material choices. Affordable solutions can deliver durability while reducing waste. You’ll find surprising beauty in practical options that keep your beds tidy for years without breaking the bank.
Budget Materials That Outperform Expectations
Plastic edging works harder than its humble appearance suggests. These flexible rolls create crisp lines and last 5-7 years with proper installation. No-dig versions let you hammer stakes directly into soil—perfect for quick weekend projects.
Glass bottles become magical borders when upcycled. Bury them neck-down to craft rainbow-hued barriers that sparkle in sunlight. “It’s like giving trash a second life as garden jewelry,” says a Texas gardener who lined her roses with wine bottles.
| Material | Cost | Installation | Lifespan |
|---|---|---|---|
| Recycled Plastic | $0.50/ft | Hammer-in | 5-7 years |
| Glass Bottles | Free | Dig & place | Indefinite |
| Recycled Rubber | $1.20/ft | Peg system | 10+ years |
Earth-Conscious Innovations
New rubber edging made from old tires withstands lawnmowers and extreme weather. Interlocking panels snap together without tools—ideal for curved beds. Check construction sites for discarded bricks or tiles to create mosaic borders at zero cost.
These approaches save money while making your landscape uniquely yours. With proper alignment and soil prep, even humble materials deliver professional-looking results that protect your plants season after season.
10 Garden Edging Ideas to Frame Your Flower Beds Perfectly
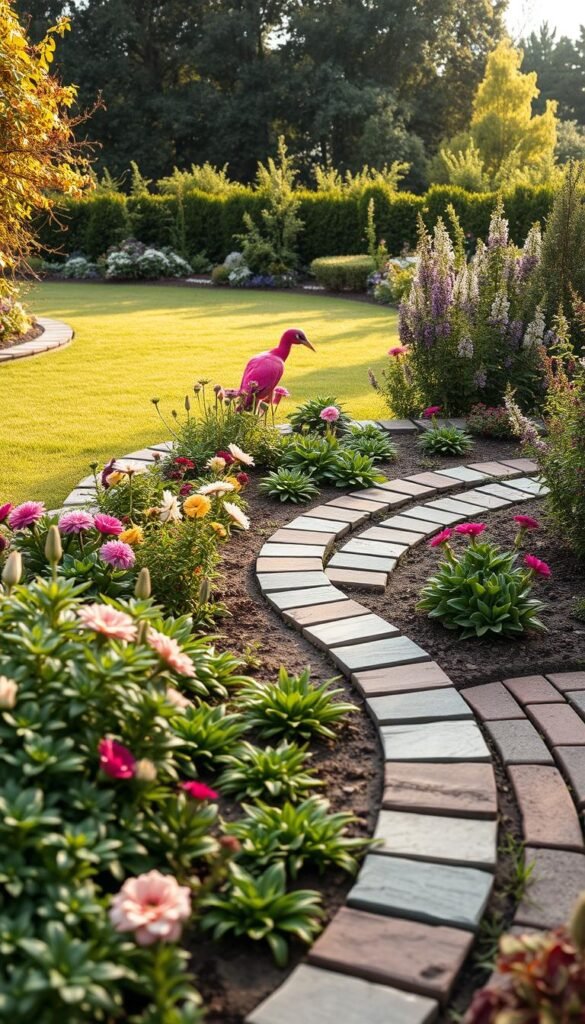
Transform your outdoor space with edging solutions that blend form and function. From natural stone ribbons to geometric metal bands, these concepts turn practical boundaries into artistic statements. Each approach considers your soil type, local climate, and design preferences for lasting beauty.
Rustic lovers might stack field stones into dry-stack walls that double as seating. Modernists can install powder-coated aluminum strips for crisp, shadow-lined borders. “The best edges solve problems while sparking joy,” notes a Colorado landscaper who combines corten steel with lavender hedges.
Installation varies from afternoon projects to weekend endeavors. Recycled brick patterns require leveling but last decades, while woven willow branches offer temporary charm. Match material longevity to your commitment level—experiment with gravel before pouring concrete.
Combine textures for dynamic contrast. Pair smooth river rocks with spiky yucca plants, or nestle concrete pavers among creeping thyme. This layering technique adds depth while keeping mulch contained. Flexible rubber edging works wonders around curved beds, adapting as your plantings evolve.
These scalable ideas grow with your landscape. Frame petite rose bushes with wine bottle borders, or outline entire property lines with railway ties. Smart material choices ensure your edges enhance—rather than fight—nature’s unpredictable beauty.
DIY Edging Techniques for a Custom Garden Look
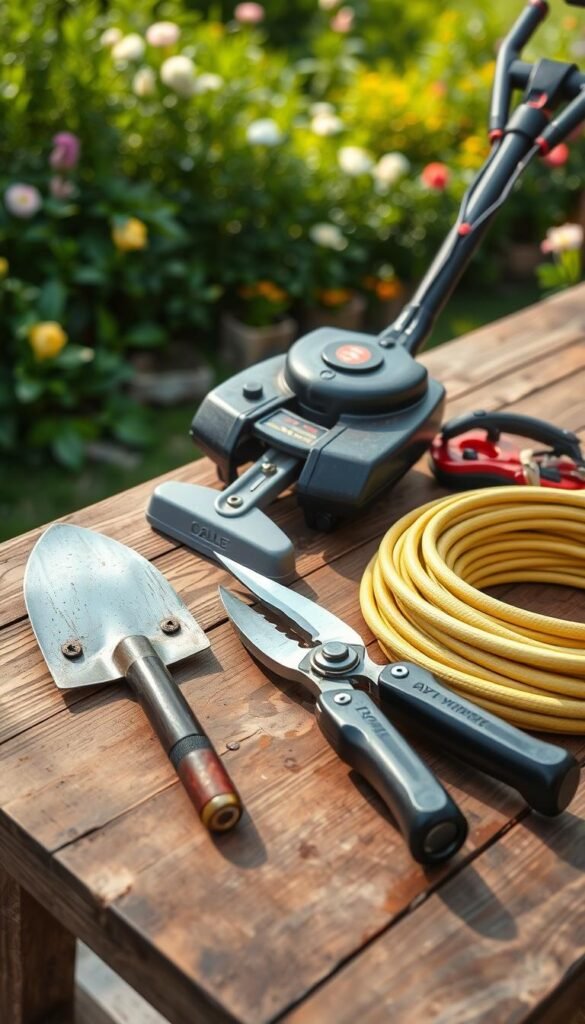
Crafting crisp borders by hand gives your landscape a personal touch that manufactured materials can’t replicate. This approach lets you shape curves and angles exactly how you envision them, adapting as your plants grow or your design evolves. No expensive supplies needed – just your tools and a bit of elbow grease.
Hand Edging Tools and Maintenance Tips
Start with a sharp edging shovel or half-moon tool for clean cuts through turf. Angle your blade at 45 degrees to create a shallow trench that stops grass roots in their tracks. Electric edgers work faster for large areas but require steady hands to avoid jagged lines.
Time your work for early spring or fall when soil is moist but not soggy. Cut 2-3 inches deep for lasting results, and refresh edges annually before weeds take hold. Pro tip: Mark curves with a garden hose first, then follow its natural flow for organic shapes.
Keep tools rust-free by wiping blades after each use. Store them vertically to maintain sharp edges longer. Pair hand edging with mulching days to tackle two tasks in one session – efficiency that saves weekends for enjoying your space.
This labor-intensive method builds gardening skills while offering unmatched flexibility. Expand beds as shrubs mature or experiment with new shapes each season. The result? A polished look that grows with your creativity, not against it.
Installing Landscape Timber and Natural Log Edging
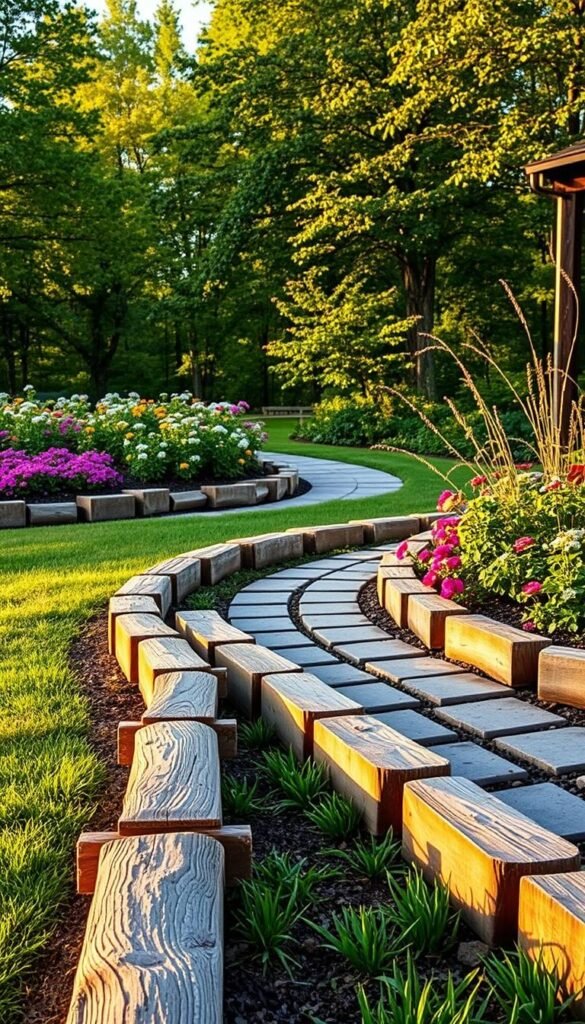
Landscape timber and natural logs bring organic structure to your growing spaces while controlling soil erosion. These materials blend seamlessly with nature, creating borders that age gracefully. Pressure-treated wood resists rot and insects, making it ideal for damp climates.
Step-by-Step Installation Process
Start by marking your border with spray paint. Dig a 3-inch trench using a flat shovel, keeping edges straight. Compact the base with gravel for drainage.
Cut timbers to length using a circular saw. Lay the first row, checking with a level. Secure corners with galvanized spikes. Stack additional layers in staggered patterns for stability.
Tools and Preparation Tips
Gather these essentials before starting:
- Measuring tape and carpenter’s square
- Rubber mallet for adjusting timbers
- Landscape spikes (12” minimum)
For log borders, peel bark to deter pests. Seal cut ends with wood preservative. Space logs tightly to prevent soil spillage during heavy rains.
Maintain your edging by reapplying sealant every two years. Check for shifting after frost cycles – a quick tamping with soil keeps everything aligned. With proper care, these borders last decades while adding rustic charm.
Creative Upcycled Garden Edges Using Recycled Products
Turn trash into treasure by reimagining everyday items as striking landscape features. Upcycled borders add personality while keeping waste out of landfills—a win for your yard and the planet. These projects prove sustainability doesn’t mean sacrificing style.
Glass bottles become jewel-toned edging when planted neck-down along beds. Arrange greens, ambers, and blues in swirling patterns for a stained-glass effect. Plastic containers work too—cut them into uniform heights for a cohesive look that withstands weather.
Old tires gain new life as rugged rubber edging. Cut them into zigzag strips or stack whole units for a playful tiered border. A coat of outdoor paint transforms black rubber into vibrant garden accents that last decades.
Don’t toss those tin cans—hammer them rim-to-rim into whimsical metal borders. Punch drainage holes in the bottoms, then fill with soil and trailing plants for double-duty function. The rust-prone finish develops a charming patina over time.
These inventive approaches let you customize your space while reducing environmental impact. Whether creating a bottle mosaic or tire sculpture, your eco-conscious project becomes a conversation starter that’s uniquely yours.

