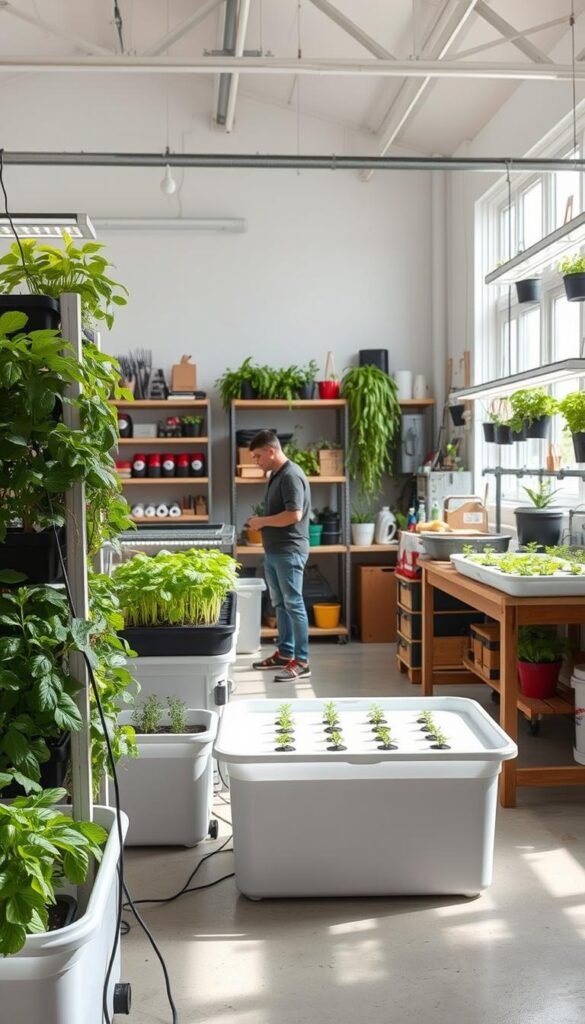
Want fresh herbs or veggies year-round? Soil-free gardening lets you grow plants indoors using water and nutrients. Best part? You don’t need expensive equipment. With basic materials like jars or containers, you can create your own efficient setup in just a few steps.
This method skips messy dirt and uses less water than traditional gardening. Instead, roots absorb nutrients directly from a liquid solution. No green thumb required – these systems work for beginners and fit small spaces like kitchens or balconies.
Store-bought kits often cost hundreds, but homemade versions use recycled items. Think plastic bottles, PVC pipes, or old storage bins. We’ll show you how to turn everyday objects into functional growing spaces without breaking the bank.
Key Takeaways
- Indoor gardening without soil saves space and resources
- Custom systems adapt to your home’s layout and needs
- Recycled materials drastically cut startup costs
- Nutrient-rich water feeds plants faster than traditional methods
- Beginner-friendly designs require minimal maintenance
Ready to start? Our guide walks through five creative ideas using items you likely already own. Each project includes clear instructions, so you’ll harvest crisp greens or juicy tomatoes in weeks. Let’s transform your space into a thriving indoor garden!
Introduction to DIY Hydroponic Gardening
Skip the soil and watch your plants thrive in water. This method delivers nutrients straight to roots through a liquid solution, letting greenery grow faster and healthier. No dirt means no weeds – just clean, efficient growth perfect for urban spaces or small apartments.
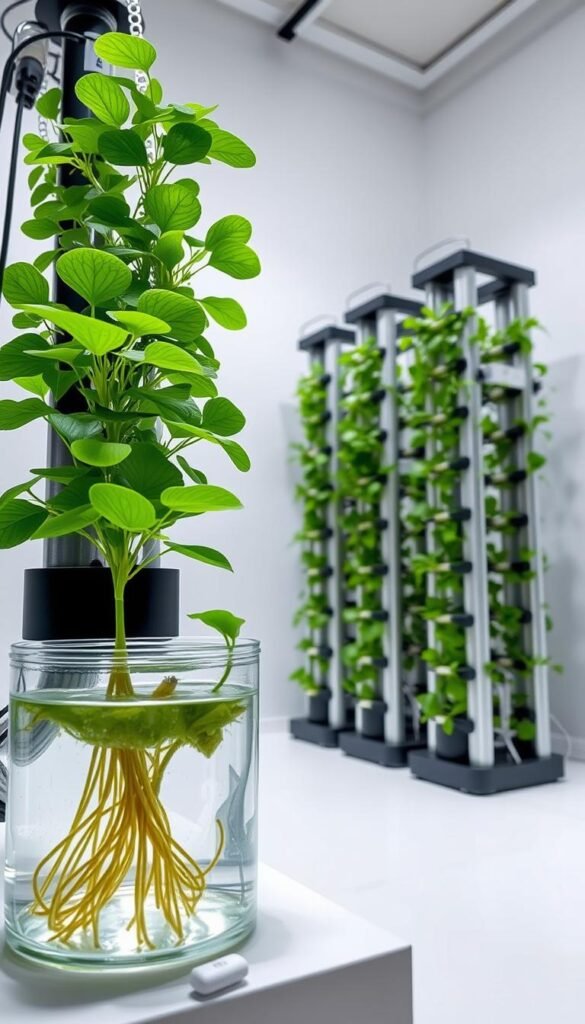
How Hydroponics Works
Plants absorb food differently here. Instead of searching through soil, roots float in oxygen-rich water mixed with minerals. You control what they eat, when, and how much. It’s like a personalized diet plan for your basil or lettuce.
“Plants grow faster when their roots get exactly what they need.”
Benefits of Growing Without Soil
Less mess, more results. These setups use up to 90% less water than traditional methods. Monitoring pH levels takes seconds, and you’ll spot root issues before they become disasters. Plus, systems adapt to your space – windowsills, shelves, or corners work fine.
| Aspect | Traditional Gardening | Hydroponic Systems |
|---|---|---|
| Water Use | High | Low |
| Space Needed | Large plots | Compact areas |
| Growth Speed | 6-8 weeks | 3-4 weeks |
| Maintenance | Daily watering | Weekly checks |
Start with recycled containers or jars – no fancy gear required. Later sections will show how to build custom systems using everyday items. You’ll harvest crisp greens before your next grocery run!
The Science Behind Water Culture and Nutrient Management
Water does more than quench thirst in hydroponic setups. It becomes a lifeline, delivering food and oxygen directly to roots. Unlike soil-grown plants, your greens get instant access to what they need – no digging required.
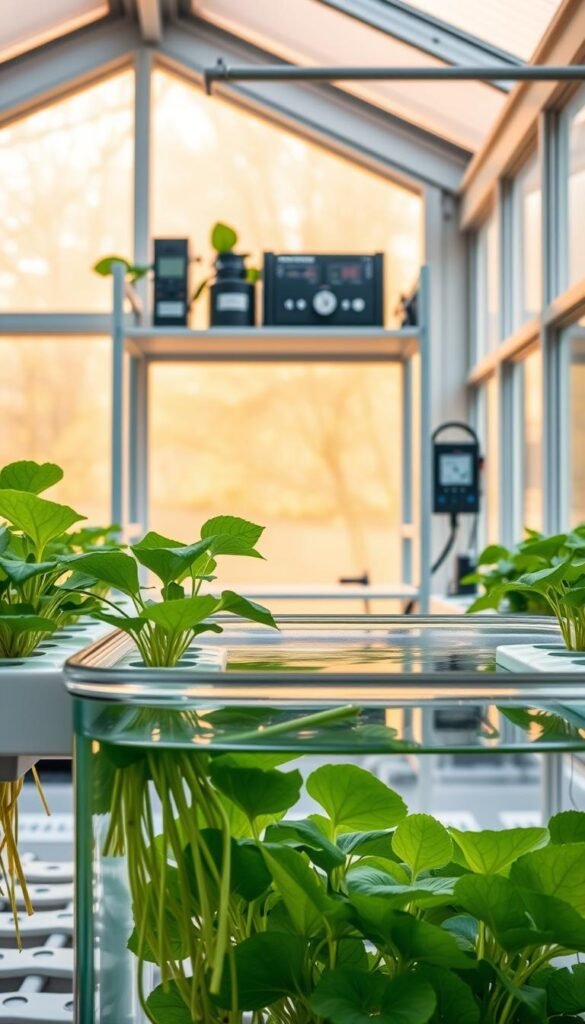
Roots Thrive in Oxygen-Rich Water
Healthy roots need two things: nutrients and air. Water culture systems let roots breathe while soaking up minerals. Change the water weekly to prevent algae and bacteria. A simple air pump can boost oxygen levels, making plants grow faster.
Essential Nutrients for Peak Performance
Your liquid mix needs six key elements:
| Nutrient | Role |
|---|---|
| Nitrogen | Leaf growth |
| Phosphorus | Root development |
| Potassium | Fruit production |
Test pH weekly using strips or a digital meter. Aim for 5.5-6.5 – most plants love this range. Pro tip: Add nutrients after adjusting water pH. This stops chemicals from reacting and becoming useless.
See white roots? You’re on track. Brown or slimy ones mean trouble. Fix it fast by flushing the system with fresh water and balanced nutrients. Your plants will bounce back quickly!
Exploring 5 Affordable DIY Hydroponic Projects to Try at Home
Transform everyday items into plant-growing powerhouses without emptying your wallet. These clever setups turn spare containers into thriving ecosystems for herbs and greens. Best part? You likely already own most materials needed.
What Makes These Systems Work?
All five methods share three key features:
- Recycled containers as growing chambers
- Nutrient-rich water instead of soil
- Simple aeration techniques
Compare popular approaches in this quick guide:
| System Type | Materials Needed | Space Required | Best For |
|---|---|---|---|
| Jar Gardens | Mason jars, net cups | Windowsills | Herbs |
| Bottle Towers | Plastic bottles, tubing | Vertical walls | Leafy greens |
| Foam Boxes | Styrofoam, air pump | Countertops | Seedlings |
| Bucket Systems | 5-gallon buckets | Floor space | Tomatoes |
| PVC Arrays | Pipes, connectors | Wall mounts | Strawberries |
Jar setups win for simplicity – just add water and nutrients. PVC pipe systems need more assembly but maximize vertical space. Each method has tradeoffs between effort and yield.
Pro tip: Start small with one project before scaling up. You’ll learn how often to check pH levels and when to refresh nutrients. Most systems produce harvests in 3-5 weeks with basic care.
Later sections break down each technique’s assembly steps and maintenance tricks. Find which approach matches your space and favorite crops!
Innovative Mason Jar and Bottle Hydroponic Systems
Glass jars and plastic bottles become mini ecosystems when transformed into hydroponic setups. These transparent containers let you watch roots develop while saving counter space. Perfect for kitchens or small apartments, they turn clutter into fresh herbs within weeks.
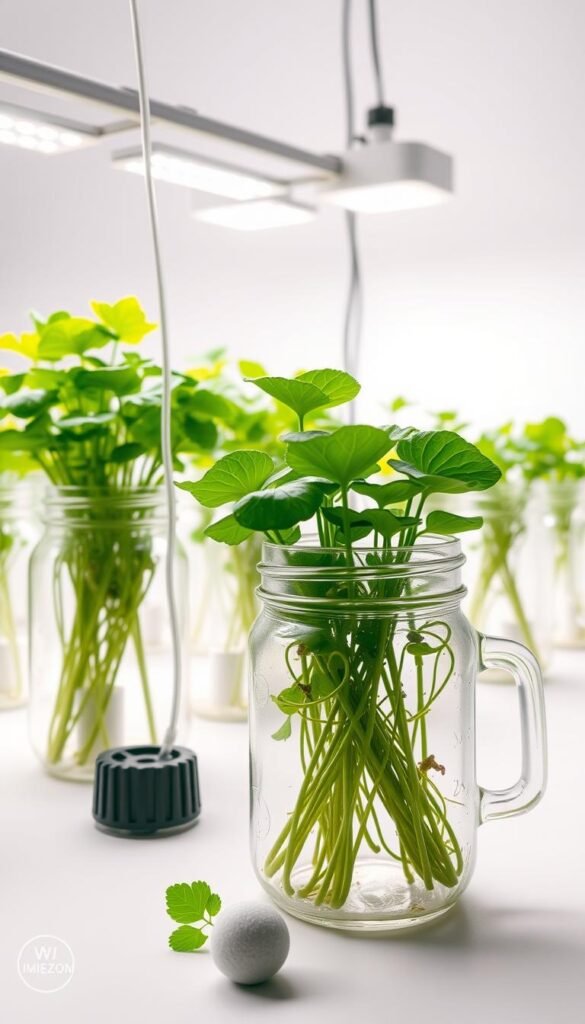
Mason Jar Hydroponic Setup Tips
Start with clean jars and net cups that hold plants above water. Use pH-balanced liquid nutrients – experts recommend changing the solution every 7 days. Pro tip: Wrap jars in foil to block light and prevent algae growth.
“Clear containers let you catch root issues before they harm plants.”
Repurposing Bottles for Growing Healthy Plants
Cut plastic bottles horizontally or vertically to create plant holders. Follow these steps:
- Rinse and remove labels
- Poke holes for net cups or seedlings
- Fill bottom with nutrient mix
- Add air stone for oxygenation
Compare both methods:
| Feature | Mason Jars | Bottle Systems |
|---|---|---|
| Visibility | Full root view | Partial monitoring |
| Space Use | Single plants | Multi-plant setups |
| Cost | $2-5 per jar | Free (recycled) |
Check water levels daily through clear walls. Trim brown roots immediately to keep plants thriving. These systems cost less than takeout coffee while delivering continuous harvests.
Creative Styrofoam Boxes and Bucket Methods for Indoor Gardens
Turn overlooked materials into thriving plant spaces with two clever approaches. Styrofoam boxes – often tossed after shipping – make excellent shallow systems for greens like spinach or kale. Meanwhile, buckets support heavier crops like peppers while fitting neatly under counters.
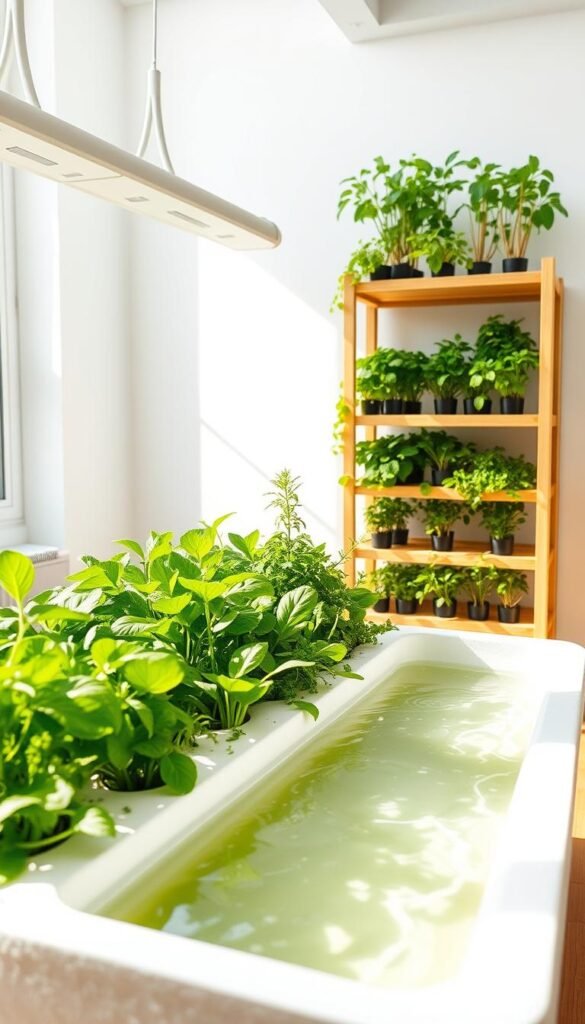
Designing Your Kitchen Hydroponic System
For leafy veggies, modify a Styrofoam box in three steps:
- Cut holes for net pots
- Line with pond liner
- Add air stone for root oxygen
Buckets work better for deep-rooted plants. Drill holes in the lid for net pots, then fill the base with nutrient mix. Both setups thrive with weekly pH checks (5.5-6.5 ideal) and liquid fertilizer added every 14 days.
| Feature | Styrofoam Box | Bucket Setup |
|---|---|---|
| Plant Capacity | 6-8 small greens | 2-3 large plants |
| Water Depth | 2-3 inches | 6-8 inches |
| Best Location | Countertops | Floor corners |
Keep algae at bay by covering containers with reflective tape. Roots should stay pearly white – any browning signals oxygen issues. Pro tip: Use dark-colored buckets to block light and reduce maintenance.
These methods prove you don’t need fancy gear for fresh produce. A recycled box or bucket becomes a self-watering garden that fits tight spaces. Start small, track growth patterns, and expand as your green thumb develops!
Utilizing PVC Pipes for Vertical Hydroponic Gardens
Elevate your growing game by turning basic plumbing supplies into lush plant towers. Vertical setups maximize wall space while creating a striking visual element. PVC pipes offer durability and customization – cut them to match your ceiling height or window dimensions.
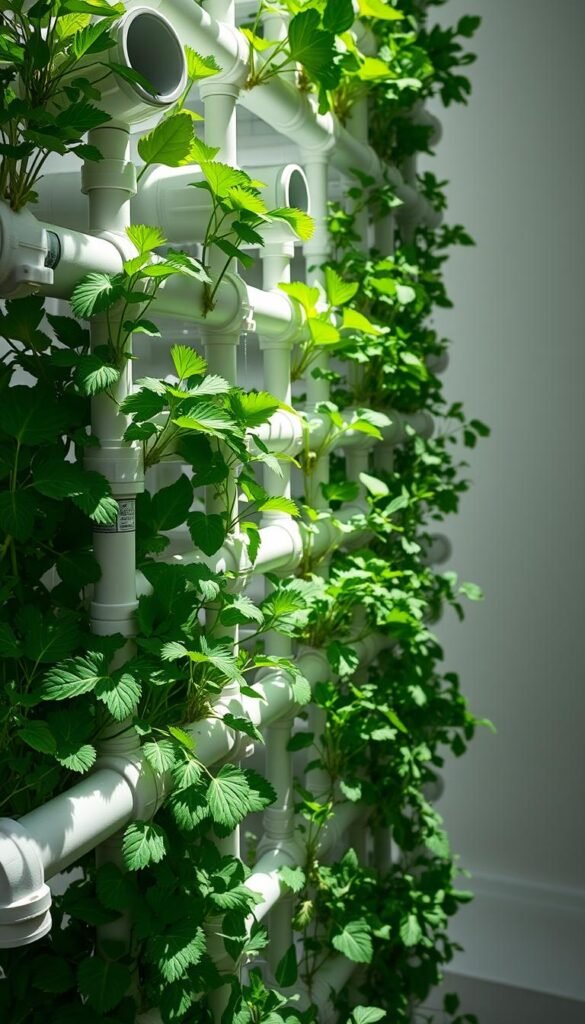
These structures work exceptionally well for herbs like mint or basil. Their compact design lets you cultivate multiple varieties in one organized column. You’ll need:
- 4-inch diameter PVC pipes
- Net cups sized for seedlings
- Submersible water pump
- Drill with hole saw attachment
Assembly Steps for Optimal Growth
Start by marking planting holes every 8 inches along the pipe. Drill at a slight upward angle to prevent nutrient runoff. Secure net cups in each opening, then connect pipes to form a closed loop. A small pump at the base circulates water through the entire structure.
“Vertical gardens reduce floor space use by 70% compared to traditional setups.”
| Aspect | Vertical System | Horizontal System |
|---|---|---|
| Airflow | Superior | Moderate |
| Harvest Access | Ergonomic | Bending Required |
| Pest Control | Easier | Challenging |
Keep water flowing evenly by tilting pipes 5 degrees. Check the pump filter weekly – debris buildup starves roots of nutrients. Pro tip: Add a timer to cycle water every 2 hours. This mimics natural rainfall patterns, encouraging stronger root development.
Your vertical creation becomes both a functional food source and living decor. Imagine plucking fresh oregano from eye-level while cooking! With proper care, these systems yield continuous harvests for 6-8 months before needing component replacements.
Transforming Unused Aquariums into Functional Hydroponic Gardens
Old fish tanks aren’t just for guppies anymore. That dusty aquarium in your garage becomes a self-contained ecosystem for herbs and greens with simple modifications. Clear glass walls offer a front-row seat to root development while saving floor space.
Start by cleaning the tank thoroughly – no soap residue allowed. Add a small water pump and air stone to keep nutrients circulating. Use floating raft boards or net pots to suspend plants above the waterline. Pro tip: Paint the back glass white to reflect light onto leaves.
Smart Maintenance for Thriving Plants
Change 30% of the water weekly to prevent mineral buildup. Test pH levels every 3 days using drops or strips – aim for 6.0-6.5 for most greens. LED grow lights mounted above the tank mimic sunlight without overheating the water.
“Aquarium systems let you catch root rot early through full visibility.”
Compare costs:
| Component | Aquarium Setup | Commercial Kit |
|---|---|---|
| Container | Free (repurposed) | $80-$200 |
| Lighting | $15 LED strip | $50 specialty bulb |
| Pump | $12 aquarium model | $30 hydroponic pump |
This method turns monitoring into a visual delight. Watch mint or basil spread roots like underwater fireworks. Darken three tank sides if algae appears – sunlight fuels unwanted growth.
Experiment with floating lettuce varieties or dwarf cherry tomatoes. You’ll grow food and conversation starters simultaneously. Best part? No drilling required – everything sits inside the existing structure.
Conclusion
Your journey into soil-free cultivation starts with simple containers and creativity. From glass jars to vertical pipe arrays, these methods let plants thrive in compact spaces while conserving resources. Whether nurturing herbs on a windowsill or strawberries along a wall, each approach adapts to your living area and schedule.
These setups prove you don’t need complex equipment for success. Repurposed materials slash costs, while controlled nutrients accelerate growth. Regular pH checks and oxygen-rich water keep roots healthy – the foundation of any productive indoor garden.
Choose a design matching your space and ambition. Small-scale bottle systems offer low commitment, while bucket setups support larger crops. Remember: consistency with nutrient mixes and light exposure matters more than expensive gear.
Ready to taste homegrown flavors? Grab spare containers, mix your solution, and watch greenery flourish. Share your thriving creations online – your balcony-to-table story might inspire others to rethink modern gardening possibilities!

