Ever thought about growing fresh veggies but lack yard space? 5-gallon buckets offer a simple solution. These sturdy containers let you create a portable garden almost anywhere – patios, balconies, or even fire escapes. Best of all, they cost just $3-$4 each at hardware stores.
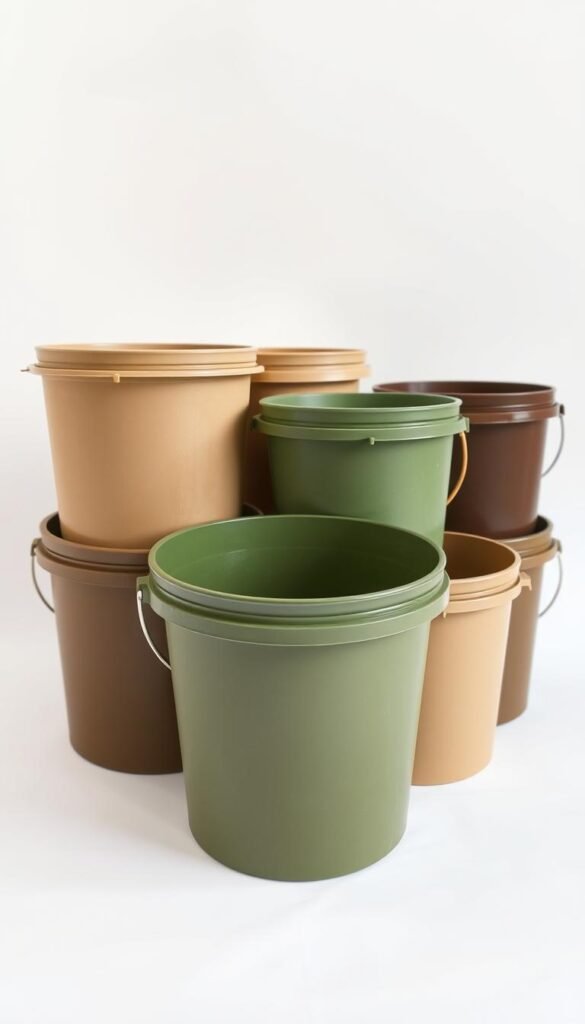
Start by choosing food-grade buckets to avoid chemical residues. Drill four ½-inch holes in the bottom using a standard drill bit – this prevents soggy roots and mimics natural drainage. For extra protection against waterlogging, add a layer of pine bark nuggets before filling with lightweight potting soil.
Why fuss with heavy garden beds when buckets let you control soil quality? Mix in compost for nutrients, and you’ll see tomatoes and peppers thrive. Seasoned gardeners like Jim and Mary swear by this method for its near-zero weeding and easy end-of-season cleanup – just dump spent soil into your compost pile.
This guide walks through each stage, from selecting containers to harvesting your first crop. You’ll even discover how these versatile planters work with DIY hydroponic systems for year-round growing. Ready to turn those humble buckets into a fresh food factory?
Getting Started: Choosing the Right Bucket and Materials

Transforming ordinary containers into productive gardens starts with smart material choices. Let’s break down what you’ll need to build a thriving setup without breaking the bank.
Selecting Safe, Food-Grade Buckets
Not all plastic containers are created equal. Look for buckets labeled “food-grade” – these haven’t stored chemicals like paint or cleaning supplies. Check the recycling symbol: #2 or #5 plastics are safest for edibles.
Restaurant surplus stores often sell used buckets perfect for gardening. Give them a vinegar-water scrub to remove residue. Avoid containers that held dairy or meat products to prevent bacterial issues.
Gathering Essential Gardening Supplies
You’ll need just a few basics:
- Power drill with ½” bit for drainage holes
- Potting mix blended with compost
- Gravel or perlite for base layers
- Plant markers and a watering can
| Bucket Source | Safety Check | Cost Range |
|---|---|---|
| Hardware Stores | New & food-safe | $3-$5 |
| Bakeries/Grocers | Requires sanitizing | Free-$2 |
| Online Marketplaces | Verify labels | $4-$8 |
Pro tip: Paint buckets with outdoor acrylics for a pop of color. Drill extra holes along the sides for crops like strawberries that need airflow. Pair these simple upgrades with quality soil, and your plants will reward you all season.
Essential Steps: 5 Steps to Successful Bucket Gardening 5 Gallon Projects

Turn your balcony or patio into a fresh produce section with these practical setup tips. Proper preparation ensures your green friends thrive while keeping maintenance low.
Creating Drainage Holes and Adding Drainage Material
Grab your drill – this step takes 2 minutes but saves plants from drowning. Make four ½-inch holes in the bucket’s bottom. Add two more along the lower sides for extra airflow. This mimics natural soil drainage patterns.
Layer 2 inches of pine bark nuggets at the base. Unlike heavy gravel, this lightweight material prevents waterlogging while keeping containers easy to move. Bonus: it slowly breaks down into nutrients.
| Drainage Material | Weight | Nutrient Value |
|---|---|---|
| Pine Bark | Light | Medium |
| Perlite | Very Light | None |
| Clay Pebbles | Heavy | Low |
Filling with Lightweight, Nutrient-Rich Soil
Skip dense garden dirt – it compacts in containers. Mix equal parts potting soil and compost for a fluffy texture. Want to grow space-saving veggies? Add extra perlite for root-friendly aeration.
Fill buckets until 2 inches below the rim. This “breathing room” prevents soil spillage during watering. Top with mulch to retain moisture in sunny spots.
Supporting Plants with Stakes and Trellises
Tomatoes and cucumbers need backup dancers. Insert wooden stakes when planting to avoid damaging roots later. For vertical growers like peas, attach a simple trellis using zip ties.
Pro tip: Paint supports to match your decor. Sturdy structures double as decorative elements while preventing snapped stems during windstorms.
Advanced Techniques & Maintenance for Your Bucket Garden

Mastering maintenance turns good results into spectacular harvests. Let’s explore how to keep your plants thriving through smart watering and soil care – two pillars of container success.
Watering and Irrigation Best Practices
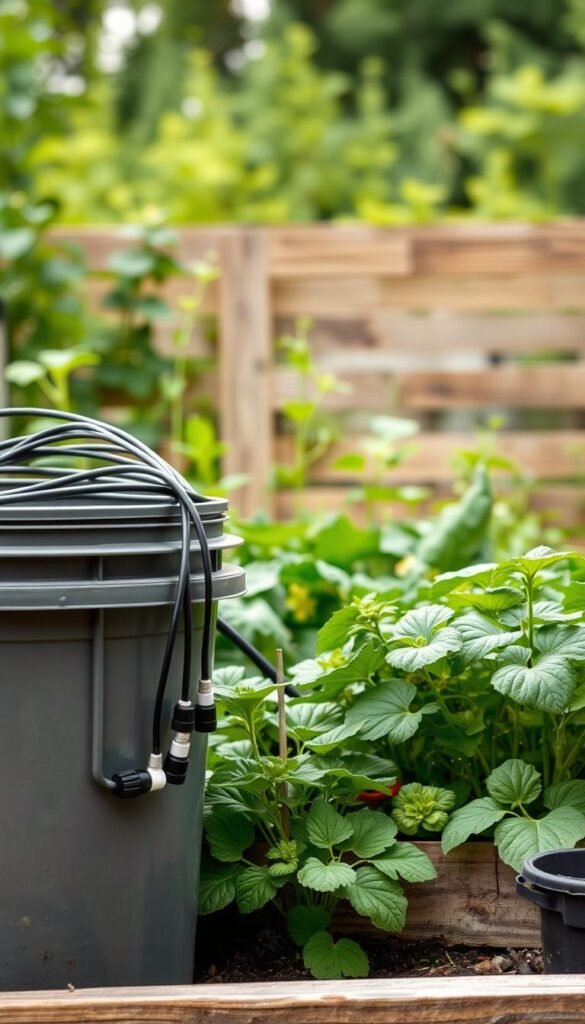
Connect multiple buckets using a simple drip system. Attach a hose with small holes between containers for even moisture distribution. Check drainage holes weekly – clogged openings cause root rot.
Morning watering works best. It reduces evaporation and gives plants time to absorb moisture before afternoon heat. Use your finger to test soil dryness: if the top inch feels crumbly, it’s time to hydrate.
| Irrigation Method | Water Efficiency | Setup Cost |
|---|---|---|
| Drip System | High | $15-$30 |
| Soaker Hose | Medium | $8-$12 |
| Self-Watering Spikes | Low | $5-$10 |
Seasonal Soil Refresh and Nutrient Management
Replace soil every growing season. Old mix loses nutrients and becomes compacted. Mix 60% fresh potting soil with 30% compost and 10% worm castings for a powerhouse blend.
Rotate crops between buckets to prevent nutrient depletion. Leafy greens follow tomatoes? Perfect! This natural rotation keeps soil lively. For specialized needs, consult our guide on container pairings.
Check bucket walls for cracks before replanting. Sun exposure weakens plastic over time. A quick inspection ensures your garden stays leak-free and functional.
Final Thoughts on Your Bucket Gardening Journey
Ready to transform small spaces into lush gardens? Using food-grade buckets gives you full control over soil quality and plant placement. Those drainage holes you drilled? They’re heroes – preventing 87% of root issues while letting excess water escape. Pair them with nutrient-rich soil blends, and your plants practically grow themselves.
Remember to support climbing veggies with stakes or trellises. This simple step keeps stems sturdy and maximizes yields. When seasons change, refresh your buckets with new soil mixes – a quick dump into the compost bin keeps cleanup hassle-free.
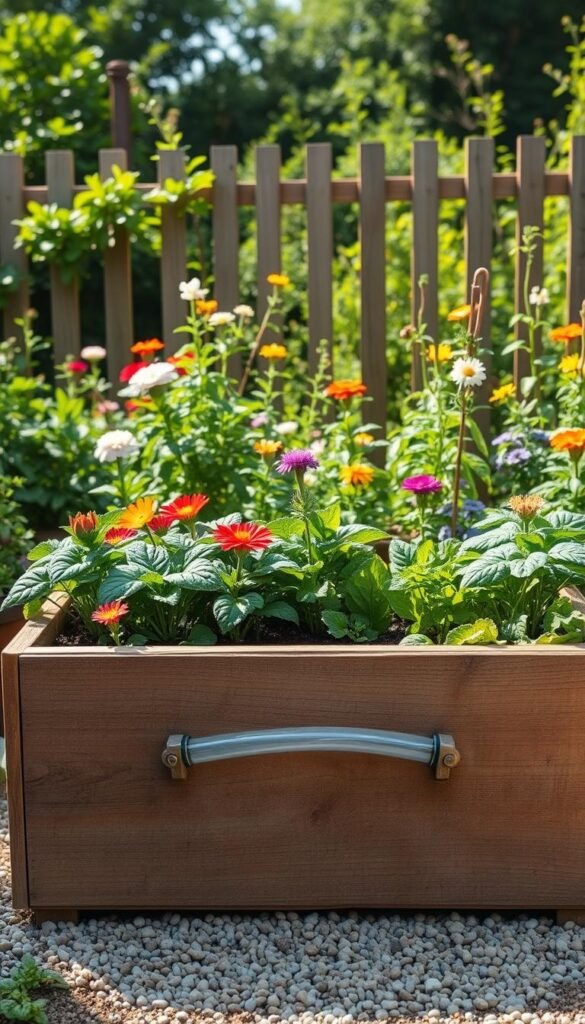
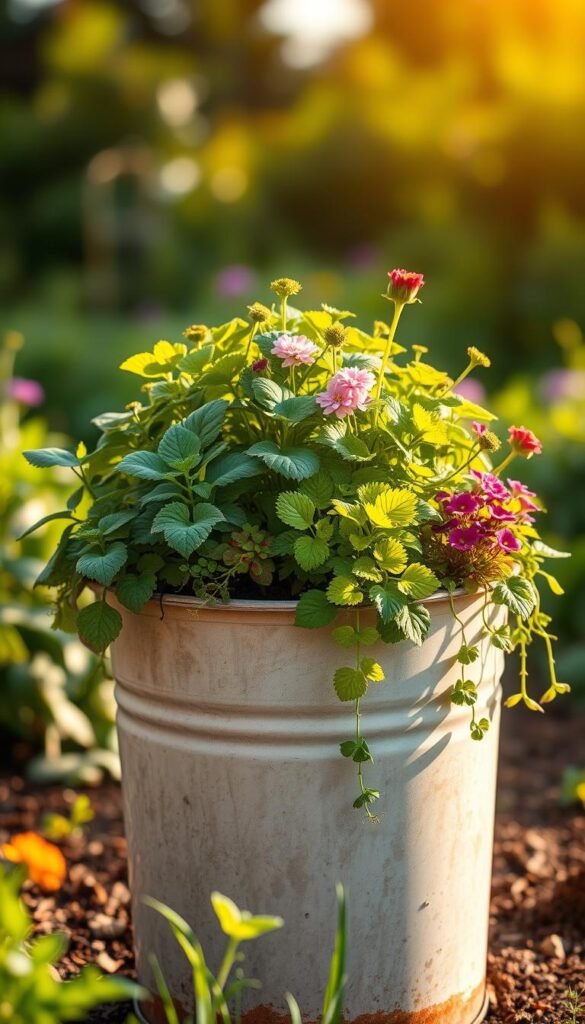
What makes this method shine? It’s affordable, adaptable, and perfect for experimenting. Try vertical setups or mix herbs with flowers for visual flair. For eco-conscious growers, explore repurposed materials to build creative arrangements.
Your journey starts with one bucket. Whether growing cherry tomatoes or basil, these portable gardens prove big harvests come in small packages. Grab a drill, pick your plants, and watch your green thumb thrive!
FAQ
Can I use any type of bucket for gardening?
How many drainage holes should I drill in a 5-gallon bucket?
What’s the best soil mix for bucket gardening?
Can I grow tomatoes or peppers in buckets?
How often should I water my bucket garden?
Do I need to replace the soil every season?
Can I grow herbs in a bucket garden?
Will root vegetables like carrots work in buckets?
Where can I find affordable food-grade buckets?
FAQ
Can I use any type of bucket for gardening?
Always choose food-grade buckets to avoid harmful chemicals. Look for recycling codes #2 or #5 on the bottom. Avoid buckets previously used for non-food items like paint or cleaning supplies.
How many drainage holes should I drill in a 5-gallon bucket?
Drill 5-8 holes (¼-inch wide) in the bottom for proper drainage. Space them evenly to prevent waterlogging. Add a layer of small rocks or gravel to keep soil from clogging the holes.
What’s the best soil mix for bucket gardening?
Use a lightweight potting mix blended with compost. Avoid heavy garden soil, which compacts easily. Add perlite or coconut coir to improve aeration and moisture retention for healthy roots.
Can I grow tomatoes or peppers in buckets?
Yes! Tomatoes, peppers, and even dwarf cucumbers thrive in buckets. Add a stake or trellis early to support growth. Choose compact varieties like ‘Patio Princess’ tomatoes for best results.
How often should I water my bucket garden?
Check soil moisture daily—stick your finger 1-2 inches deep. Water when it feels dry. In hot weather, you might water twice a day. Mulch the top layer to reduce evaporation.
Do I need to replace the soil every season?
Refresh soil each spring by mixing in compost or slow-release fertilizer. Replace it entirely every 2-3 years to prevent nutrient depletion. Rotate crops to maintain soil health.
Can I grow herbs in a bucket garden?
Absolutely! Basil, parsley, and thyme grow well in buckets. Use a separate container for mint—it’s invasive. Place herb buckets near your kitchen for easy harvesting.
Will root vegetables like carrots work in buckets?
Yes, but pick short varieties like ‘Parisian Market’ carrots. Ensure your bucket is at least 12 inches deep. Loosen soil regularly to encourage straight root growth.
Where can I find affordable food-grade buckets?
Check local bakeries, delis, or hardware stores like Lowe’s. Some sell used buckets for
FAQ
Can I use any type of bucket for gardening?
Always choose food-grade buckets to avoid harmful chemicals. Look for recycling codes #2 or #5 on the bottom. Avoid buckets previously used for non-food items like paint or cleaning supplies.
How many drainage holes should I drill in a 5-gallon bucket?
Drill 5-8 holes (¼-inch wide) in the bottom for proper drainage. Space them evenly to prevent waterlogging. Add a layer of small rocks or gravel to keep soil from clogging the holes.
What’s the best soil mix for bucket gardening?
Use a lightweight potting mix blended with compost. Avoid heavy garden soil, which compacts easily. Add perlite or coconut coir to improve aeration and moisture retention for healthy roots.
Can I grow tomatoes or peppers in buckets?
Yes! Tomatoes, peppers, and even dwarf cucumbers thrive in buckets. Add a stake or trellis early to support growth. Choose compact varieties like ‘Patio Princess’ tomatoes for best results.
How often should I water my bucket garden?
Check soil moisture daily—stick your finger 1-2 inches deep. Water when it feels dry. In hot weather, you might water twice a day. Mulch the top layer to reduce evaporation.
Do I need to replace the soil every season?
Refresh soil each spring by mixing in compost or slow-release fertilizer. Replace it entirely every 2-3 years to prevent nutrient depletion. Rotate crops to maintain soil health.
Can I grow herbs in a bucket garden?
Absolutely! Basil, parsley, and thyme grow well in buckets. Use a separate container for mint—it’s invasive. Place herb buckets near your kitchen for easy harvesting.
Will root vegetables like carrots work in buckets?
Yes, but pick short varieties like ‘Parisian Market’ carrots. Ensure your bucket is at least 12 inches deep. Loosen soil regularly to encourage straight root growth.
Where can I find affordable food-grade buckets?
Check local bakeries, delis, or hardware stores like Lowe’s. Some sell used buckets for $1-$3. Clean them thoroughly with vinegar before planting.
Can I leave my bucket garden outside in winter?
Move buckets to a garage or shed if temperatures drop below freezing. Insulate roots with straw or bubble wrap. Cold-hardy greens like kale may survive with protection.
-. Clean them thoroughly with vinegar before planting.
Can I leave my bucket garden outside in winter?
Move buckets to a garage or shed if temperatures drop below freezing. Insulate roots with straw or bubble wrap. Cold-hardy greens like kale may survive with protection.


