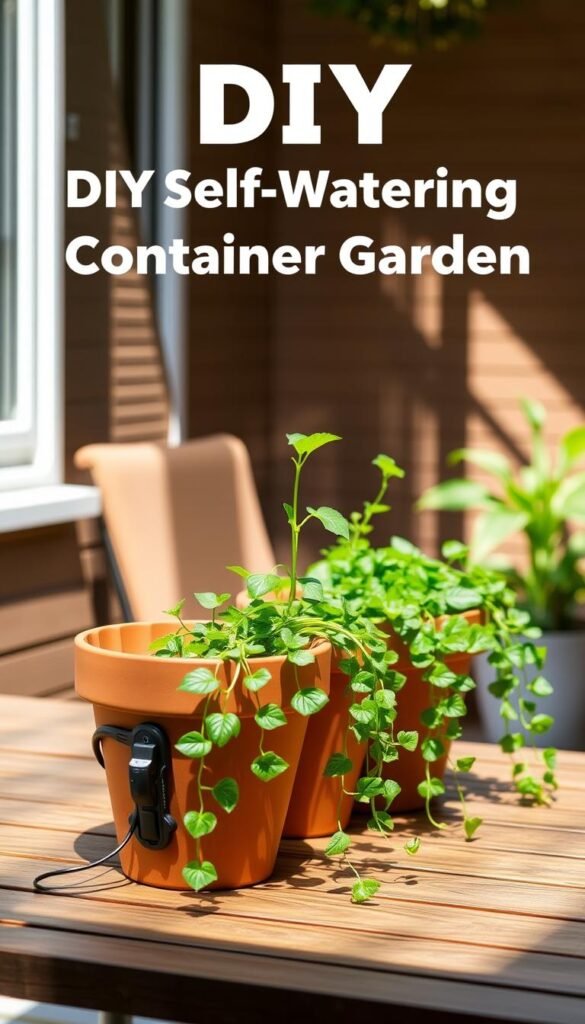
Ever wish your patio pots or window boxes could water themselves? Modern gardening tricks let you create low-maintenance setups that keep soil moist for days. These clever methods use basic supplies like PVC pipes and cotton rope to deliver hydration right where plants need it most.
How does it work? Sub-irrigation systems store water in a reservoir below the soil. A wicking material pulls moisture upward, giving roots steady access without overwatering. This approach cuts daily chores while helping your greenery survive summer heat or weekend trips.
You don’t need fancy equipment to start. Many gardeners repurpose plastic containers or use affordable tubing from hardware stores. The secret lies in balancing airflow and water flow—too little, and roots drown; too much, and plants dry out.
Ready to build your own? Up next, we’ll break down each step using materials you likely already have. You’ll learn how to size reservoirs, position pipes, and choose the best soil mix for thriving herbs, flowers, or veggies.
Understanding the Benefits of Self-Watering Systems for Your Container Garden
Tired of daily watering routines? Sub-irrigation lets your greenery thrive while you focus on life’s other priorities. These setups work like a hidden hydration partner, delivering moisture precisely when roots need it most.
Why Sub-Irrigation Works for Busy Gardeners
Plants “sip” water through capillary action instead of drowning in sudden floods. This steady supply means you can skip a weekend trip or forgetful day without wilted casualties. Urban gardeners often report healthier basil and tomatoes in window boxes using this method.
The system eliminates guesswork. Roots draw what they need from below, avoiding soggy soil or parched stems. Over time, this balance reduces root rot and nutrient loss—common issues in traditional pots.
Water Conservation and Healthier Plants
By recycling reservoir water, these setups use up to 30% less than top-watering. One study showed pepper plants produced 20% more fruit with sub-irrigation over three years. Your herbs stay lush even during heatwaves.
Proper moisture levels also boost microbial activity in the soil. This creates a living ecosystem that feeds roots naturally. Front-yard flower beds using this approach often outlast neighbors’ plots during droughts.
Ready for the next step? We’ll break down how to build your system using everyday items. You’ll learn to size parts correctly and avoid leaks—key to long-term success.
Gathering Essential Supplies and Tools
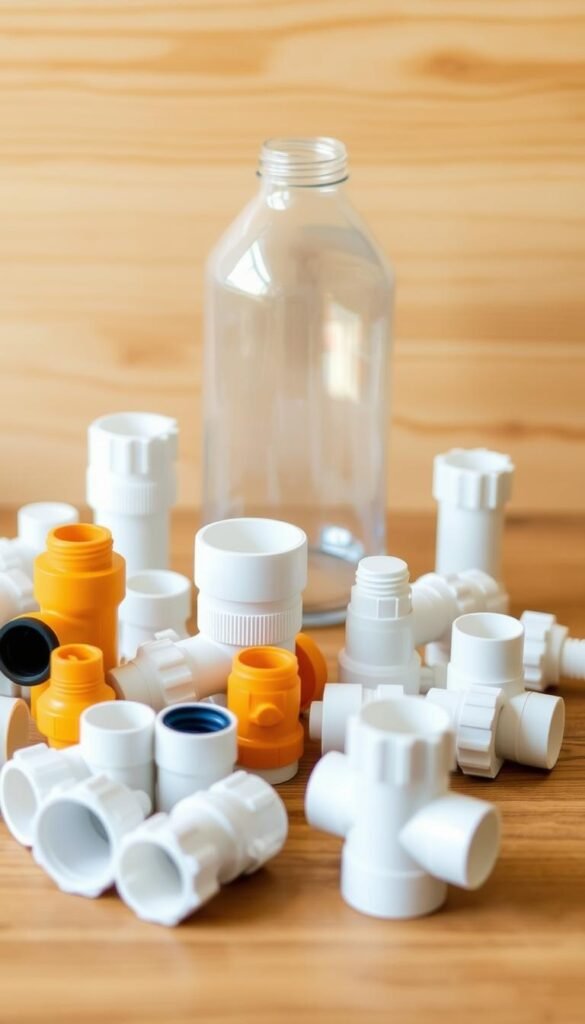
Your journey to effortless plant care begins with gathering a few crucial components. Let’s explore what you’ll need to create a reliable hydration setup that keeps roots happy for days.
Key Components: PVC Pipe, End Caps, and Elbows
A ½-inch PVC pipe forms the backbone of your watering system. Pair it with matching end caps and 90-degree elbows to create an L-shaped reservoir. These pieces channel water directly to the bottom planter area while maintaining airflow.
Don’t forget cotton rope—this humble wick moves moisture upward through capillary action. Choose a natural fiber type (3/8-inch thick works best) available through Amazon or garden stores. Measure twice: your rope should reach from the reservoir to the top soil layer.
Additional Materials for a Smooth Project
Grab PVC primer and cement for leak-proof joints. A power drill helps create drainage holes in your planter—use a ¼-inch bit for optimal water flow. Add landscape fabric to prevent soil from clogging the reservoir.
Quality matters when selecting containers. Durable plastic or resin planters withstand constant moisture better than porous materials. Check local hardware stores for PVC fittings and end caps—they’re cheaper in bulk.
Before assembling, verify your amount water capacity matches your container size. A 5-gallon bucket needs a 2-inch deep reservoir. This balance prevents overflow while delivering enough hydration between refills.
Step-by-Step Guide to Building Your Self-Watering System
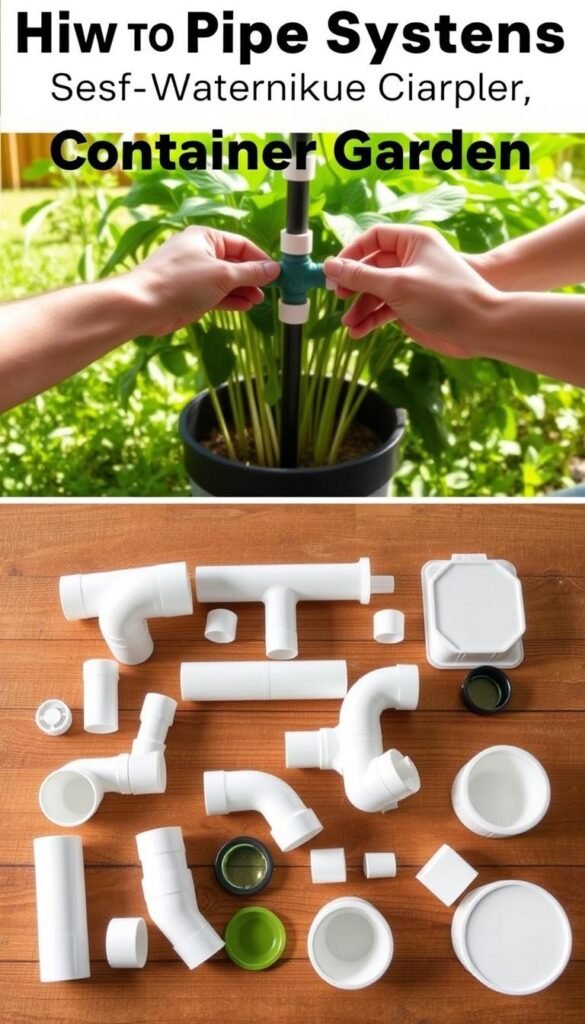
Building a reliable hydration system starts with precise measurements and smart assembly. Let’s transform everyday materials into a plant-nurturing powerhouse that keeps roots hydrated for days. Follow these steps carefully to avoid leaks and ensure consistent watering.
Measuring, Cutting, and Assembling the Pipe
Start by measuring your container’s height and diameter. Cut a ½-inch PVC pipe 2 inches shorter than your pot’s height—this allows space for soil. Use a hacksaw for clean edges, and smooth cuts with sandpaper to prevent wick damage.
| Step | Tool Needed | Pro Tip |
|---|---|---|
| Measure pot depth | Tape measure | Add 1″ extra for end caps |
| Cut PVC pipe | Hacksaw | Mark lines with painter’s tape |
| Attach elbow joint | PVC cement | Let adhesive cure 30 minutes |
Inserting Cotton Rope and Creating Drainage Holes
Thread three 12-inch cotton ropes through ¼-inch holes drilled near the pipe’s base. Position wicks evenly to distribute moisture. Next, drill five drainage openings in the container’s bottom using a power drill—space them 2 inches apart.
Securing Components and Ensuring a Leak-Free Setup
Apply PVC primer before cementing joints to prevent leaks. Test your system by filling the reservoir—watch for drips at connections. Adjust fittings if needed, then let everything dry overnight. One gardener in Arizona solved leaks by wrapping threads with plumber’s tape.
Once assembled, your setup delivers water on autopilot. Test it with a half-filled reservoir before adding plants. Notice how the ropes darken as they pull moisture upward? That’s your signal it’s working!
DIY Self-Watering Systems for Hassle-Free Container Gardens
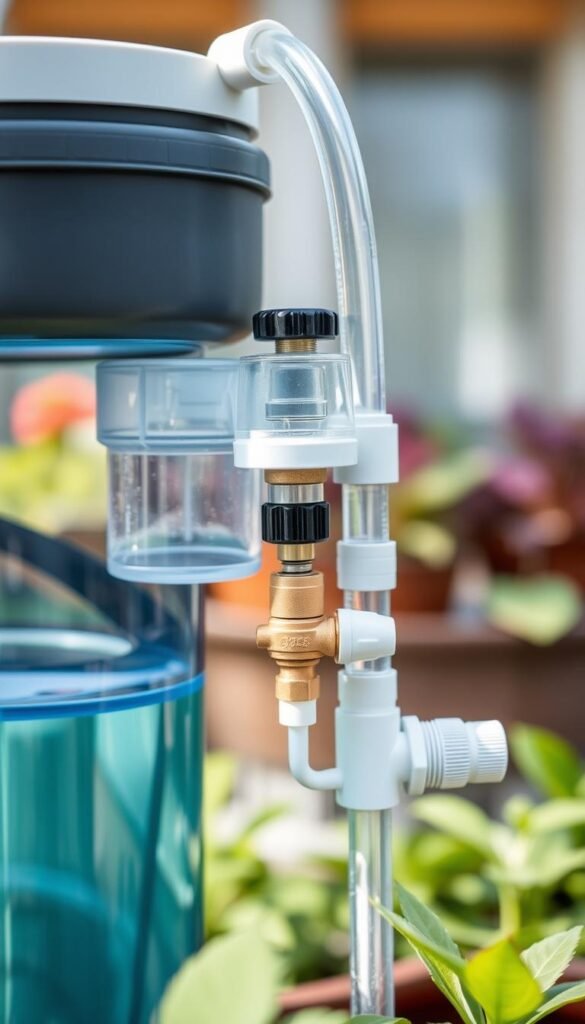
Discover how to maintain perfect moisture levels effortlessly once your setup is complete. A well-tuned system reduces guesswork, but smart habits keep plants thriving through changing seasons.
Key Tips for Effective Watering
Start strong by filling the reservoir completely during initial setup. This primes the wicks and helps soil absorb moisture evenly. Check water levels every 3 days using a wooden stick—dry residue means it’s refill time.
Secure connections prevent messy surprises. Wrap threaded joints with plumber’s tape before assembly, and double-knot cotton ropes at the bottom. One urban gardener avoided leaks for 6 months by replacing frayed wicks every 8 weeks.
- Rotate pots weekly for even sun exposure
- Clear debris from drainage holes monthly
- Add a bit of hydrogen peroxide to stagnant reservoirs
Notice dry patches? Adjust wick placement or add another rope near struggling plants. For persistent issues, review these smart watering techniques to fine-tune your approach.
Keep a maintenance journal—track refill dates and plant responses. This helps spot patterns, like thirsty tomatoes needing larger reservoirs. Small tweaks post-installation make all the difference!
Integrating Technology for Automatic Irrigation
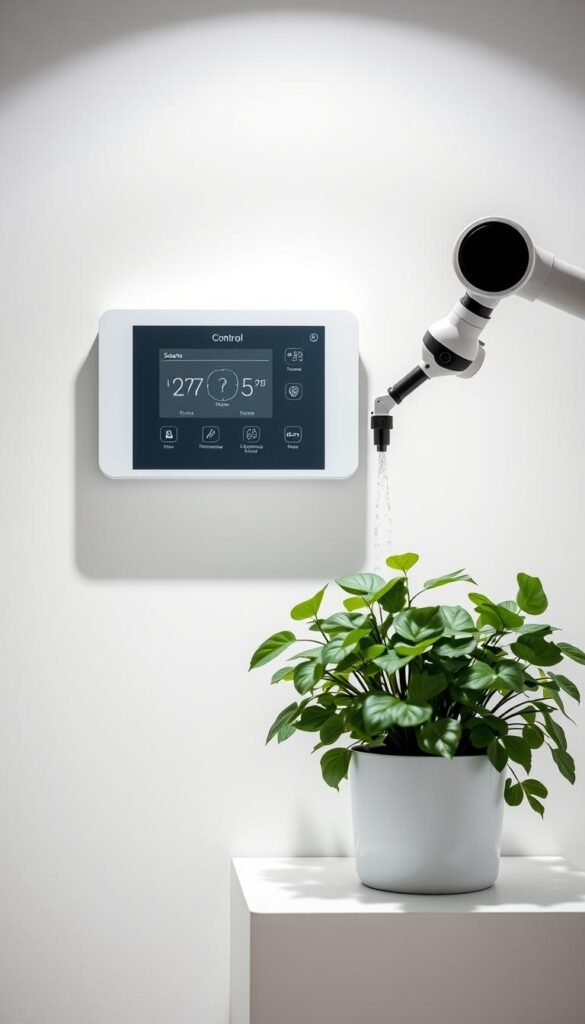
Take your garden’s hydration to the next level with tech-powered precision. Modern tools let you control moisture levels from your phone while ensuring plants get exactly what they need—even when you’re away.
Smart Valves Meet Smarter Control
A 12-volt solenoid valve acts as your system’s faucet. Mount it near your plant box using two ¼-inch mounting holes. Pair it with a Shelly Pro 1 smart relay—this compact box connects to your home Wi-Fi for remote scheduling.
Here’s how to wire it safely:
- Turn off power before connecting wires
- Use waterproof connectors for outdoor setups
- Test with a manual switch before automation
Your Phone Becomes the Watering Can
Download the Shelly app to set custom schedules. Want tomatoes watered at sunrise? Program it daily. Going on vacation? Boost watering cycles during heatwaves—all from your home screen.
Match component size to your garden’s needs. A ½-inch valve works for most window boxes, while larger planters might need ¾-inch models. Always leave ventilation holes near electrical parts to prevent overheating.
One urban gardener automated six plant boxes using this setup. Their secret? Labeling wires clearly and sealing entry holes with silicone. Now their basil thrives while they binge-watch gardening shows guilt-free!
Optimizing Your Container Garden: Planting and Soil Considerations
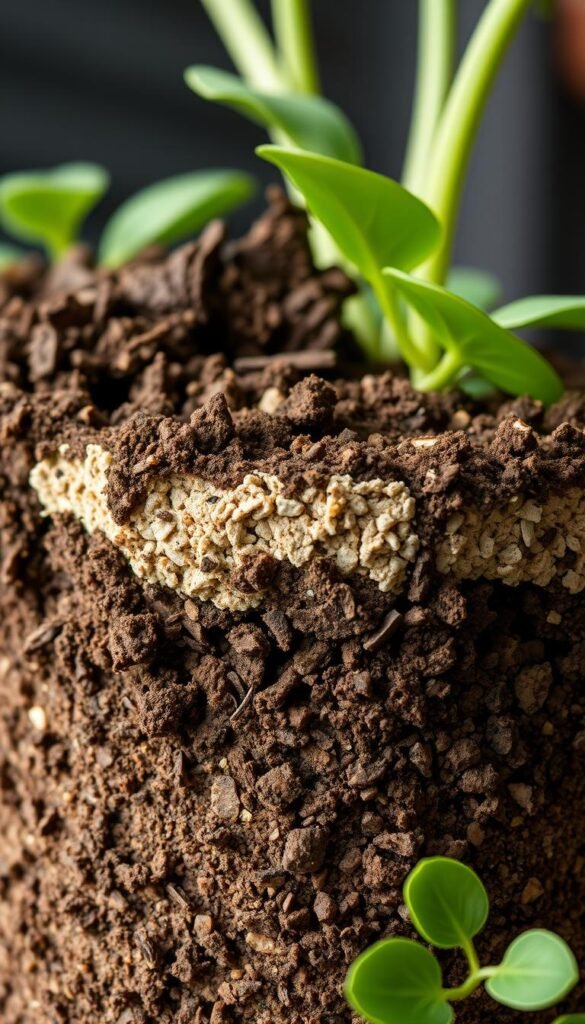
The secret to thriving greenery lies beneath the surface. Your watering system works best when paired with smart soil choices and proper drainage layers. Let’s explore how to create the perfect foundation for roots to drink deeply without drowning.
Choosing the Right Soil and Potting Mix
Skip regular garden dirt—it compacts too easily. Opt for a lightweight mix with perlite or vermiculite. These additives improve airflow while helping wicks pull moisture upward. One urban gardener boosted her basil yield by mixing 40% coco coir with 30% compost and 30% coarse sand.
Pre-mixed potting soils labeled “moisture control” work well too. They retain enough water for the project while letting excess drain freely. Test your blend: squeeze a handful—it should clump briefly before crumbling.
Enhancing Drainage with Rocks and Landscape Fabric
Start with a 1-inch layer of pea gravel at your planter’s base. This creates space for water to pool without soaking roots. Top it with landscape fabric—this barrier stops soil from clogging your reservoir. Use scissors to cut fabric 2 inches wider than your container’s diameter.
For tall planters, drill extra air holes 3 inches above the reservoir line. A ¼-inch bit works best here. One Texas gardener prevented root rot in her tomatoes by adding side vents with a cordless drill.
Adjust your setup based on container depth. Shallow window boxes need thinner gravel layers than raised beds. Always leave ½ inch between the soil surface and the rim—this prevents overflow during heavy watering.
Real-Life Inspirations from DIY Self-Watering Projects
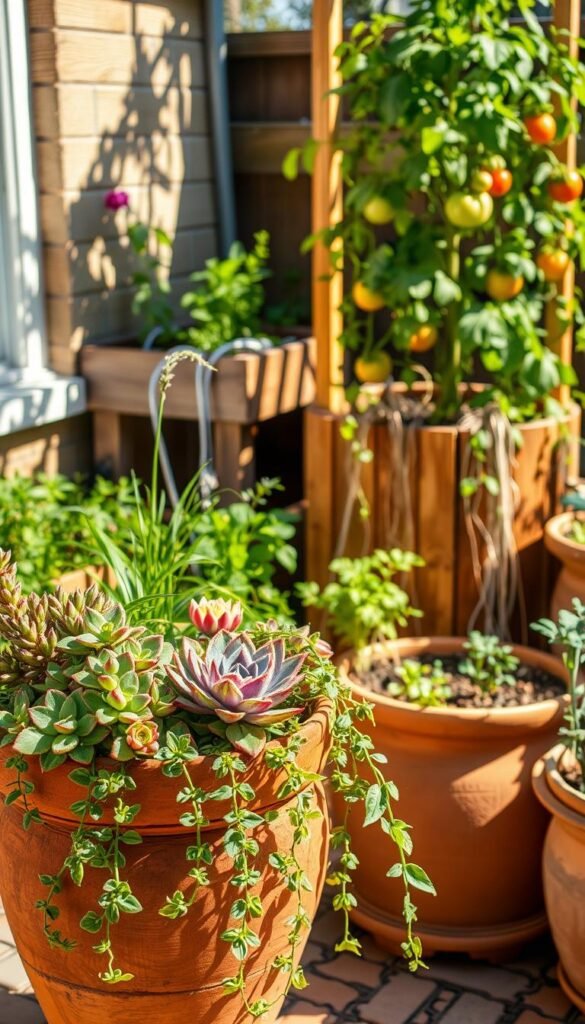
Seeing thriving greenery in unexpected spaces proves these setups work. From cramped balconies to sprawling yards, creative gardeners adapt designs to fit their needs while solving common watering challenges.
Creative Solutions for Every Space
A Brooklyn apartment transformed its fire escape with window boxes using soda bottles as reservoirs. By drilling strategic drainage holes and adding cotton wicks, they keep herbs hydrated for 10 days between refills. Their TikTok video tutorial shows how to layer gravel and landscape fabric for compact setups.
In Arizona, a front-yard flower bed uses buried PVC pipes to deliver the perfect amount of water during 110°F summers. The gardener shares:
- Rocks placed around pipes improve airflow
- Mulch reduces reservoir evaporation by 40%
- Weekly checks prevent mineral buildup
Raised planters in Oregon demonstrate climate adaptation. By adjusting reservoir depth based on rainfall data, the owner doubled tomato yields. Their YouTube video series highlights how to modify designs for local weather—shallower reservoirs in humid areas, deeper ones in arid zones.
Want to try? Search “projects” like “urban lettuce wall” or “patio citrus tree” for step-by-step guides. Many tutorials show how to calculate water amount based on container size and plant type. Start small, then expand as you master the balance between drainage and moisture retention.
Wrapping Up and Next Steps for Your Garden Mastery
You’ve now got everything needed to transform how your plants drink. By combining simple materials like PVC pipes and cotton wicks, you’ve created a steady hydration system that works while you’re busy. These setups cut watering frequency, prevent root rot, and keep herbs thriving during vacations.
Start small with a single planter, then expand to your yard or vegetable patches. Notice how tomatoes respond to consistent moisture? Adjust wick numbers or reservoir sizes based on their growth. For larger gardens, connect multiple containers using extended tubing.
Next-level tweaks include adding moisture sensors or smart timers. Share your tutorial results online—many communities love seeing creative adaptations. One gardener boosted pepper yields by adding shade cloth over their setup.
Remember: success starts with fundamentals. Pair your system with well-draining soil and proper sun exposure. Need a refresher? Our beginners’ guide covers pot selection and soil mixes in detail.
Your garden thrives when you listen to its needs. Track progress, swap tips with neighbors, and enjoy the freedom of greener thumbs with less work!

