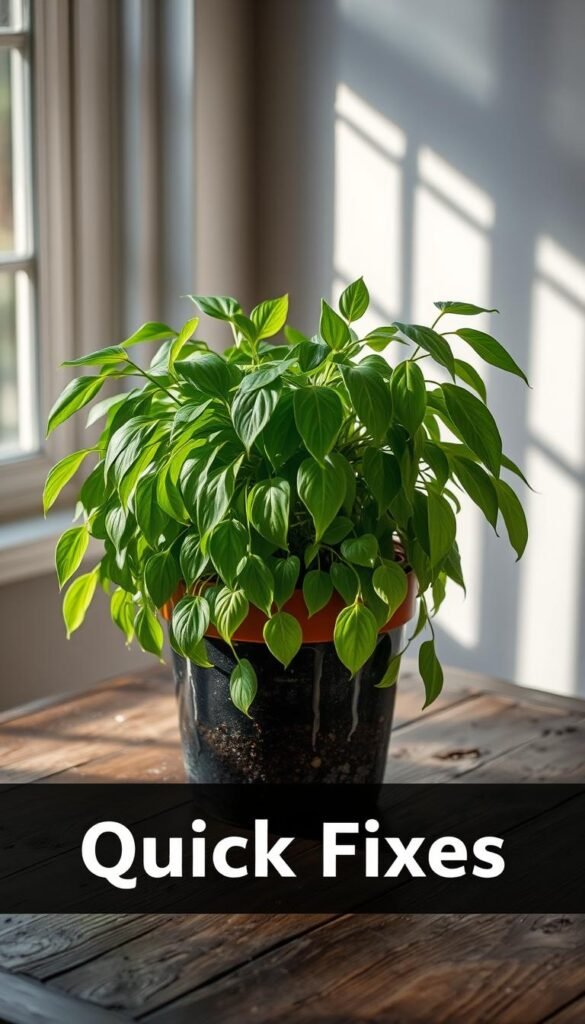
Seeing your favorite greenery struggle can feel disheartening. Overwatering is one of the most common mistakes in container gardening, often caused by enthusiasm or misjudging soil needs. The good news? Many stressed plants can bounce back with simple adjustments.
Yellowing leaves or a musty smell from the soil are early warnings. Check moisture by pushing your finger 1-2 inches deep—if it feels soggy, hold off on watering. Healthy roots need air as much as water, and oversaturated soil suffocates them over time.
Proper hydration starts at the base. Pour slowly, letting moisture absorb evenly. Watch for water flowing freely through drainage holes—this signals your plant isn’t sitting in excess liquid. If you spot pooling on the surface, switch to lighter watering sessions spaced farther apart.
This guide walks through practical steps to nurse your greenery back to health. You’ll learn how to assess root conditions, adjust care routines, and prevent future issues through smarter soil checks. Let’s give your plants the fresh start they deserve!
Understanding Overwatering: Common Signs and Causes
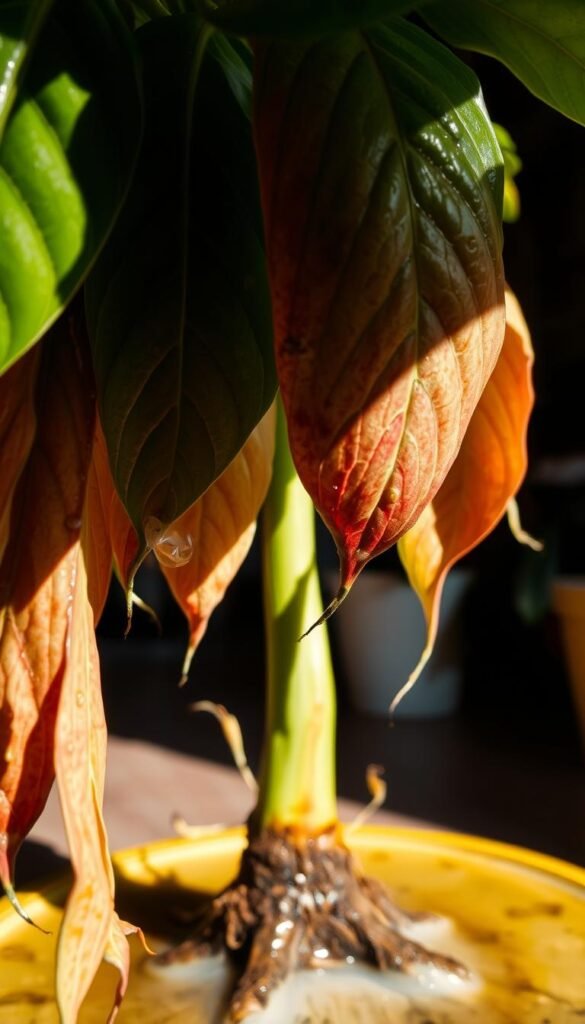
Yellow leaves and drooping stems aren’t just cosmetic issues—they’re cries for help. Overwatering often creates a deceptive cycle where soggy soil and stressed roots hide beneath a lush appearance. Let’s decode what your plant is trying to tell you.
Recognizing Yellowing and Wilting Leaves
Bright green turning pale? Leaves feeling limp? These are classic distress signals. Unlike thirsty plants, overwatered ones often show yellowing starting at the lower leaves. The stems might feel mushy near the soil line, too.
Identifying Soggy Soil and Root Rot
If the soil clings to your fingers like wet clay days after watering, poor drainage is likely the culprit. Decorative pots without holes trap moisture, creating a breeding ground for root rot. A musty odor or blackened roots confirm this silent killer.
Quick checks save lives: press a chopstick into the soil—if it comes out muddy, hold off on watering. Always choose containers with multiple drainage holes to let excess water escape. Your plant’s roots need air as much as hydration!
Assessing Your Plant’s Health: Checking Soil and Roots
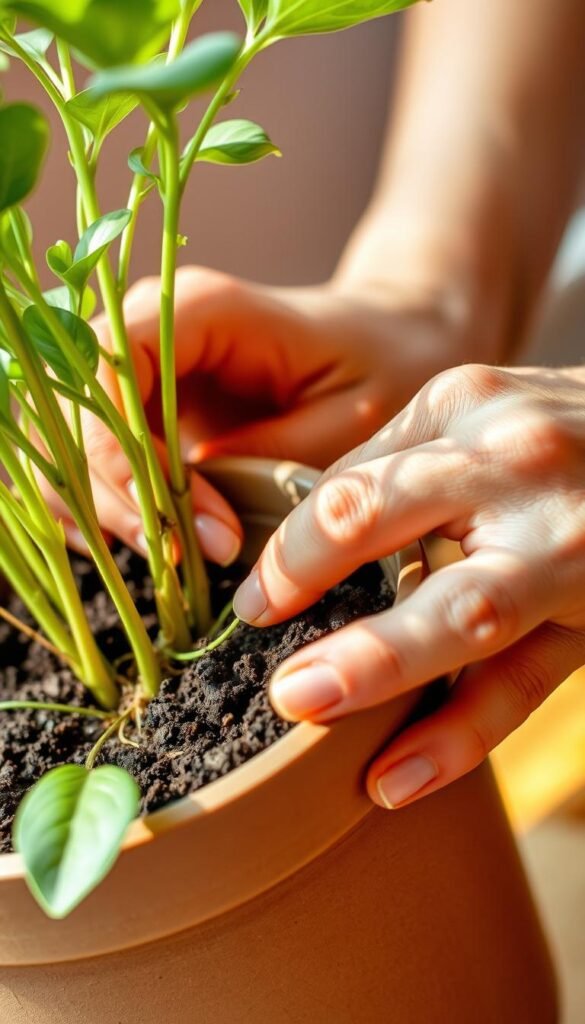
Healthy plants start with what’s beneath the surface. Before adjusting care routines, dig deeper—literally. A quick soil and root check reveals hidden issues that leaves alone can’t show.
Measuring Soil Moisture Accurately
Surface dryness tricks many plant owners. Push your finger 2-3 inches down—if soil sticks, wait. For precision, use a moisture meter. Its probe reaches deeper layers where water lingers.
Check drainage holes at the bottom of the pot. Dampness here means trapped moisture. Always make sure the entire root zone feels dry before watering again.
| Method | Accuracy | Best For |
|---|---|---|
| Finger Test | Moderate | Quick Checks |
| Moisture Meter | High | Precision Monitoring |
Inspecting Roots for Damage
Gently remove the plant to examine roots. Healthy ones are firm and white. Brown, mushy roots signal rot—trim these with sterilized scissors. Rinse remaining roots to spot hidden issues.
After pruning, let roots air-dry briefly. Repot in fresh soil, ensuring new containers have multiple holes. This prevents future water buildup around the bottom.
Consistent checks catch early signs overwatering. Combine soil tests with root inspections every 2-3 weeks during recovery. Your plant’s comeback starts below the surface!
How to Revive Overwatered Container Plants: Quick Fixes
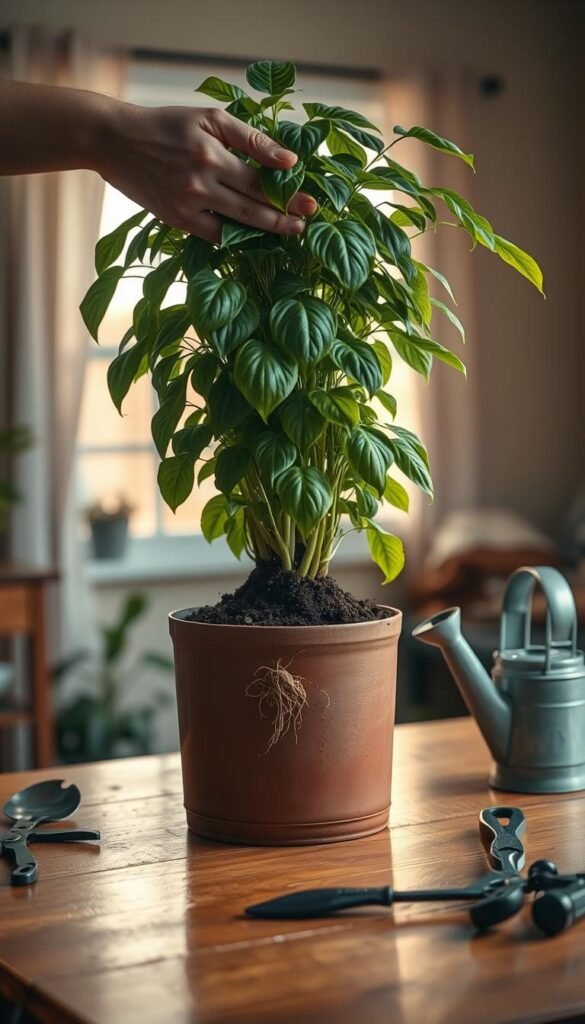
Acting fast makes all the difference when rescuing waterlogged plants. The first 24 hours are critical for reversing damage and preventing root rot. Follow these practical steps to give your greenery a fighting chance.
Immediate Actions When You Spot Overwatering
Stop watering immediately and move the plant to a shaded area. Gently remove yellow or brown leaves—they won’t recover and drain energy. Use a fork to carefully aerate the soil, allowing air to reach deeper roots.
Boost drying by placing the pot near an open window or fan. Rotate it periodically for even air flow. If the soil feels swampy, temporarily remove the plant to let roots breathe on newspaper for 1-2 hours.
| Action | Purpose | Timing |
|---|---|---|
| Stop Watering | Prevents further saturation | Immediately |
| Increase Airflow | Dries soil faster | First 48 hours |
| Trim Damaged Leaves | Redirects plant energy | Within 24 hours |
Adjusting Your Watering Schedule
Wait until the top 2 inches of soil feel dry before watering again. Check moisture at different times of day—morning readings are most reliable. Consider your plant’s type: succulents need far less frequent hydration than tropical varieties.
Adopt smart watering techniques like the “soak and dry” method. Water thoroughly until it drains out, then wait until the soil is nearly dry. Track progress by noting leaf color changes—brighter greens signal recovery.
Proper Watering and Repotting Techniques for Recovery
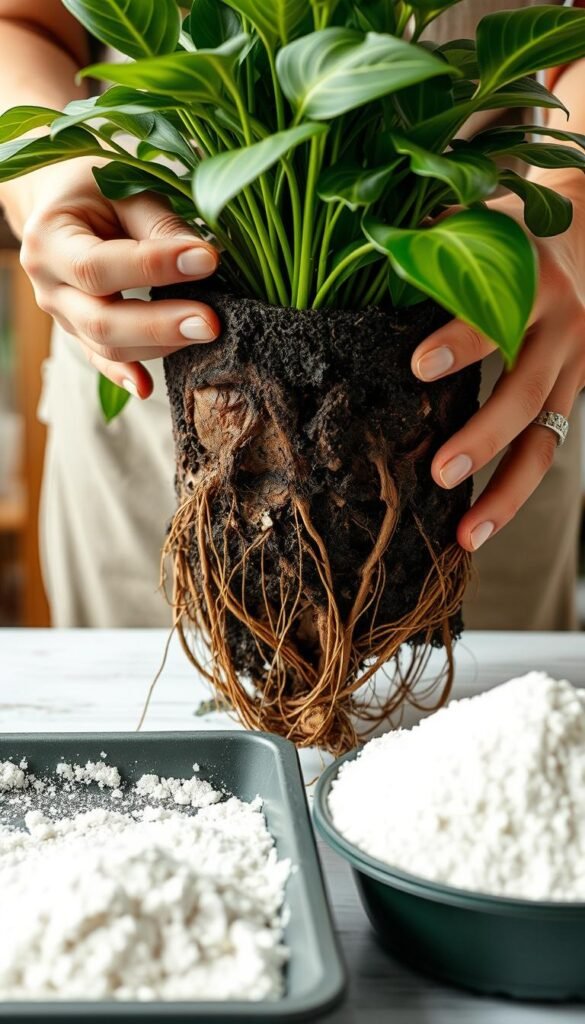
Bringing your plant back to health requires smart adjustments in both care and environment. Timing and technique matter when dealing with excess water damage. Let’s explore how to balance hydration and airflow for lasting recovery.
Effective Watering Methods for Drying Out Excess Moisture
Wait until the top 2 inches of soil feel dry before adding water. Use a wooden skewer—if it comes out clean, your plant needs a drink. Water slowly at the base, letting moisture absorb without pooling.
For severely overwatered plants, try bottom watering. Place the pot in a shallow tray of water for 15 minutes. This lets roots draw only what they need. Remove any standing water afterward to prevent soil wet conditions.
Repotting Steps and Choosing a Well-Draining Soil Mix
If roots are rotting or soil stays soggy, repot plant immediately. Gently remove it and shake off clinging soil. Trim blackened roots with clean scissors—healthy ones look white and firm.
Choose a pot with multiple drainage holes and fill it halfway with fresh, fast-draining mix. A blend of potting soil, perlite, and coarse sand works best. Position the plant, add more soil, and lightly press to eliminate air pockets.
| Soil Component | Drainage Benefit | Ideal For |
|---|---|---|
| Perlite | Improves aeration | All plants |
| Coarse Sand | Prevents compaction | Succulents |
| Pine Bark | Retains nutrients | Orchids |
Wait 3-5 days before watering after repotting. This gives roots time to settle. Monitor new growth—it signals your plant’s comeback!
Enhancing Drainage and Air Flow for Faster Recovery
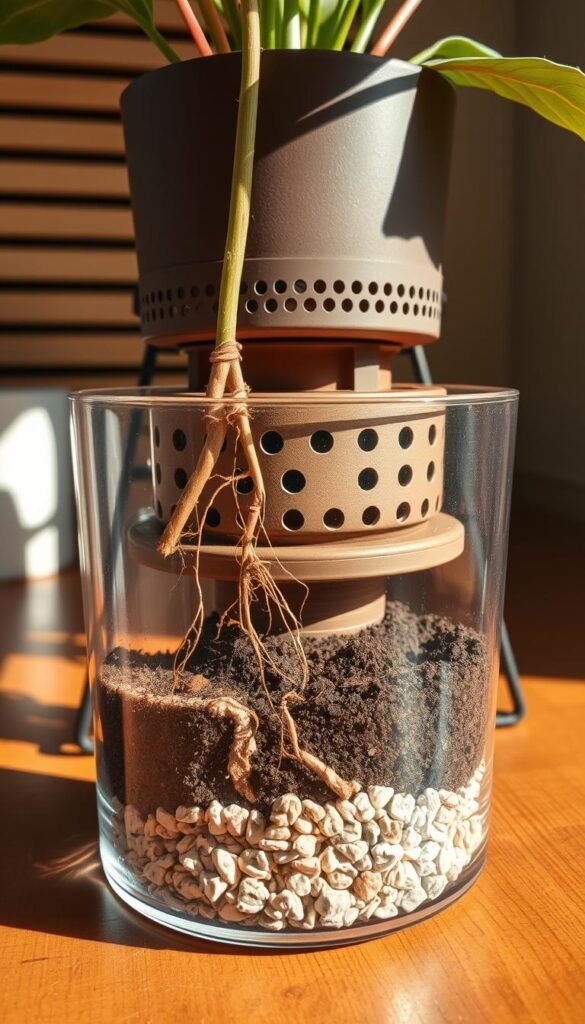
Creating the right environment helps your plant heal faster. Proper airflow and drainage work together to balance moisture levels, giving roots space to breathe. Let’s explore simple upgrades to boost your plant’s recovery journey.
Upgrading Your Pot with Adequate Drainage Holes
Pots without enough holes trap excess water, risking root rot. Drill 2-3 extra holes in plastic containers using a ¼-inch bit. For ceramic pots, add a layer of gravel at the bottom before adding soil.
Choose porous materials like terracotta—they naturally wick away moisture. Pair these with saucers to catch runoff, especially for indoor plants. Outdoor containers benefit from elevated stands that prevent water pooling.
| Pot Material | Drainage Efficiency | Best For |
|---|---|---|
| Terracotta | High | Moisture-sensitive plants |
| Plastic | Moderate | Lightweight setups |
| Glazed Ceramic | Low | Decorative displays |
Utilizing Fans and Natural Air Flow to Dry Soil
Position plants near open windows or under ceiling fans. Gentle airflow speeds up drying without stressing growth. Avoid direct blasts—a oscillating fan on low works best.
Rotate pots weekly so all sides get equal air exposure. For dense foliage, trim a few leaves to improve circulation. Check moisture daily using a meter—dry topsoil doesn’t always mean dry roots!
Remember: indoor plants need more airflow than outdoor ones. Patios and balconies naturally dry soil faster. Adjust your care based on location, and watch your plant thrive!
Prevention Strategies: Tailoring Your Watering Routine

Smart prevention beats frantic fixes every time. By optimizing your plant’s environment and habits, you’ll dodge common health issues before they start. Let’s build routines that keep leaves vibrant and roots thriving.
Selecting the Right Potting Mix and Container
Your potting mix is the foundation of plant health. Heavy soils trap moisture, leading to yellowing leaves. Choose blends with perlite or coconut coir for better airflow. Match your container size to the plant’s roots—oversized pots hold excess water longer.
| Mix Component | Benefit |
|---|---|
| Perlite | Boosts drainage |
| Peat Moss | Retains nutrients |
| Orchid Bark | Prevents compaction |
Establishing a Consistent Watering Schedule
Plants crave routine. Check soil moisture at the same time daily—morning checks prevent evening overwatering. Adjust your schedule seasonally: less in winter, more in summer heat. Use a calendar app to track patterns until it becomes second nature.
Exploring Self-Watering Solutions and DIY Drip Irrigation
Tech meets tradition with self-watering pots. Their reservoirs release moisture gradually, cutting guesswork. For a budget fix, try a plastic bottle drip system. Poke holes in the cap, bury it neck-down near roots, and refill weekly.
Pair these methods with proper light exposure. Bright, indirect sun helps soil dry evenly. Rotate plants weekly to ensure all sides get equal light and airflow. Your greenery will reward you with lush, unblemished leaves!
Wrapping Up Your Plant Rescue Journey
Rescuing plants from excess water damage hinges on swift, informed action. By catching issues early—like soggy soil or yellow leaves—you’ve taken the first step toward recovery. Remember: checking moisture levels, upgrading your container’s drainage, and adjusting watering habits form the core of effective care.
Consistent prevention beats emergency fixes. Repotting with airy soil, trimming damaged roots, and ensuring proper airflow keep your green friends thriving. Early detection minimizes stress, giving plants energy to regrow stronger leaves and roots.
Your container garden can rebound beautifully with patience. Celebrate new growth as a sign of success, but stay vigilant. Stick to routines that balance hydration and dryness, adapting to seasonal changes or plant needs.
Keep learning from your greenery’s cues. Every adjustment—whether soil checks or pot upgrades—builds resilience against future damage. With these strategies, your plants won’t just survive—they’ll flourish!

