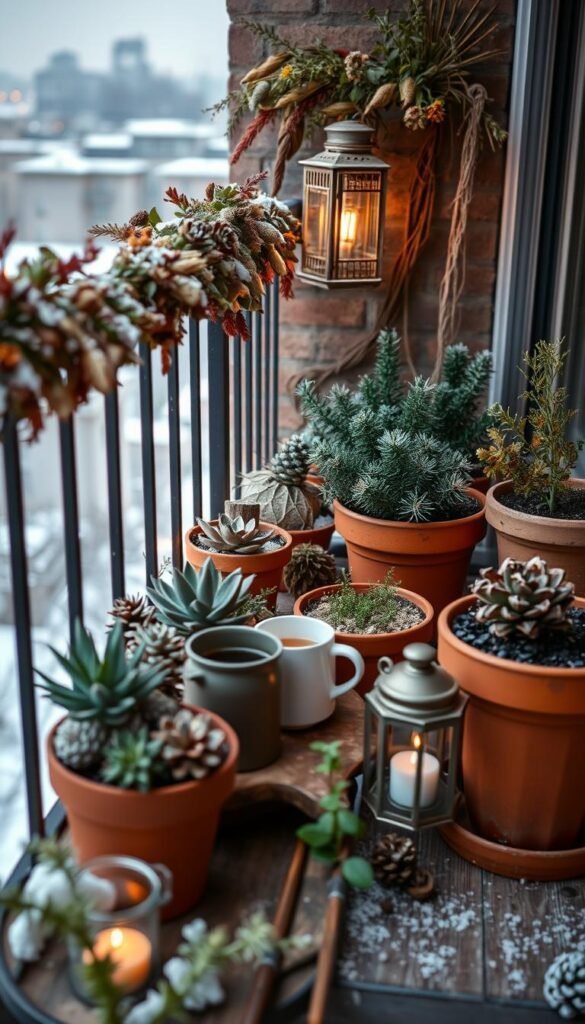
When temperatures drop, urban plant lovers face unique challenges. Limited indoor space and tricky microclimates make winter care essential for keeping tender greenery alive. Unlike ground gardens, container plants in cities deal with faster soil drying and exposed roots – issues that small-space growers know well.
Your favorite tropicals and perennials need smart strategies when days shorten. Choosing the right storage spots in your house becomes crucial – think sunny windowsills or insulated corners. Even balconies can work with proper planning, despite their reputation as “summer ovens” during warmer seasons.
Success starts early. You’ll want to assess which plants deserve prime real estate indoors and which can handle sheltered outdoor conditions. Timing matters too – gradual transitions prevent shock when moving specimens. This guide will show how to maximize every square foot while maintaining healthy growth cycles.
From selecting durable containers to creating temporary cold frames, we’ll explore practical solutions tested in real city settings. You’ll learn to avoid common pitfalls like overwatering dormant plants or underestimating frost dates. Let’s transform your compact growing area into a resilient winter haven.
Understanding the Basics of Overwintering in Limited Spaces
Winter brings unique hurdles for those nurturing plants in confined urban areas. Keeping greenery alive through colder months means working with your environment rather than against it. This process involves protecting plants from extreme temperatures while managing limited resources like water and sunlight.
Recognizing Microclimates and Urban Challenges
City landscapes create pockets of warmth you can exploit. South-facing walls absorb heat during the day, raising local temperatures by several degrees. These zones let cold-sensitive plants survive longer outdoors. But exposed corners might feel frostier than your weather app suggests due to wind tunnels between buildings.
Reduced water availability complicates winter care. Containers dry slower in cool weather, yet roots still need moisture. Check soil weekly – if the top inch feels crumbly, give a light drink. Overdoing it risks root rot, especially in low-light indoor spots.
Why Winter Care Is Essential for Your Small Garden
Proper cold-season maintenance ensures your plants wake up strong in spring. Sheltering herbs near windows or wrapping pots in burlap prevents frost damage. Compact space? Prioritize perennial favorites over annuals – they’ll reward you year after year with smart care.
Adjust watering routines as growth slows. Most plants need 30-50% less water in dormancy. Watch for crispy leaves signaling dry air indoors, and group pots to boost humidity naturally. A little effort now means vibrant growth when warmth returns.
Preparing Your Small Space & Balcony Garden for Winter

Urban greenery needs smart adjustments as seasons shift. Start by mapping your balcony’s light patterns – track where shadows fall during peak daylight hours. South-facing spots often retain warmth longest, creating micro-zones for cold-sensitive plants.
Assessing Sunlight and Wind Patterns
Wind sneaks through railings and gaps, stressing plants more than you’d expect. A simple method? Use tall shrubs or lattice screens as natural barriers. For roots in exposed pots, wrap containers with bubble wrap – this protection traps heat better than thin plastic.
Choosing Resilient Plants and Protective Methods
Some species thrive with minimal fuss. Herbs like rosemary and sage handle chilly air if their roots stay dry. Reduce watering for moisture-sensitive plants like Colocasia, a key example of winter adaptation. Delicate Begonias? Take cuttings – they root easily indoors, saving space compared to moving entire plants.
Group pots near walls for added insulation, and prioritize perennials over annuals. These methods shield both leaves and roots, ensuring your green friends rebound vigorously come spring.
Overwintering Tips for Small Space & Balcony Gardens
As chilly winds sweep through cityscapes, your green companions need clever shielding from temperature extremes. Three elements prove vital: trapping heat, blocking frost, and maintaining airflow. Let’s explore how to balance these factors in tight quarters.
Techniques to Prevent Freezing and Root Damage
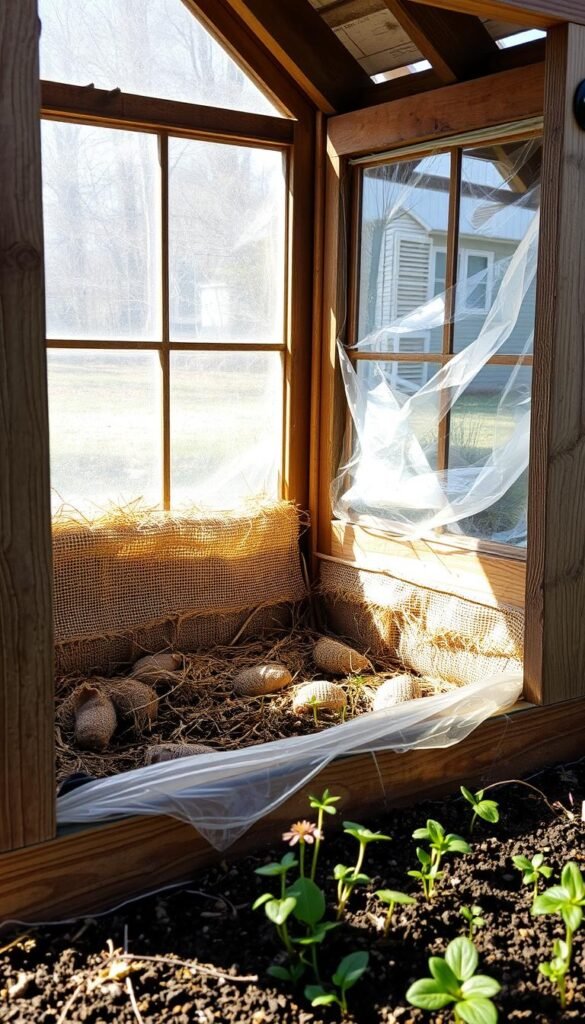
Sunlight remains your ally even in cold months. Position pots where they catch maximum light – south-facing spots often stay several degrees warmer. For delicate specimens, build a simple cold frame using old windows and wooden planks. This creates a mini-greenhouse effect, keeping plants warm during frosty nights.
Creating Safe Zones with Insulation and Mulch
Layering matters. Spread 3-4 inches of straw or shredded leaves over soil to help roots survive winter. For potted plants, wrap containers in burlap and stuff gaps with newspaper. These methods buffer against sudden temperature swings while allowing moisture exchange.
| Material | Insulation Value | Best Use |
|---|---|---|
| Straw | High | Ground beds |
| Bubble wrap | Medium | Potted plants |
| Burlap | Low-Moderate | Wind protection |
| Mulch | Variable | Root zones |
When spring comes, gradually remove layers over 2-3 weeks. This prevents shock as plants adjust to warming trends. Pair insulation with weekly moisture checks – dormant roots still need occasional hydration without becoming waterlogged.
Container and Pot Care During Winter
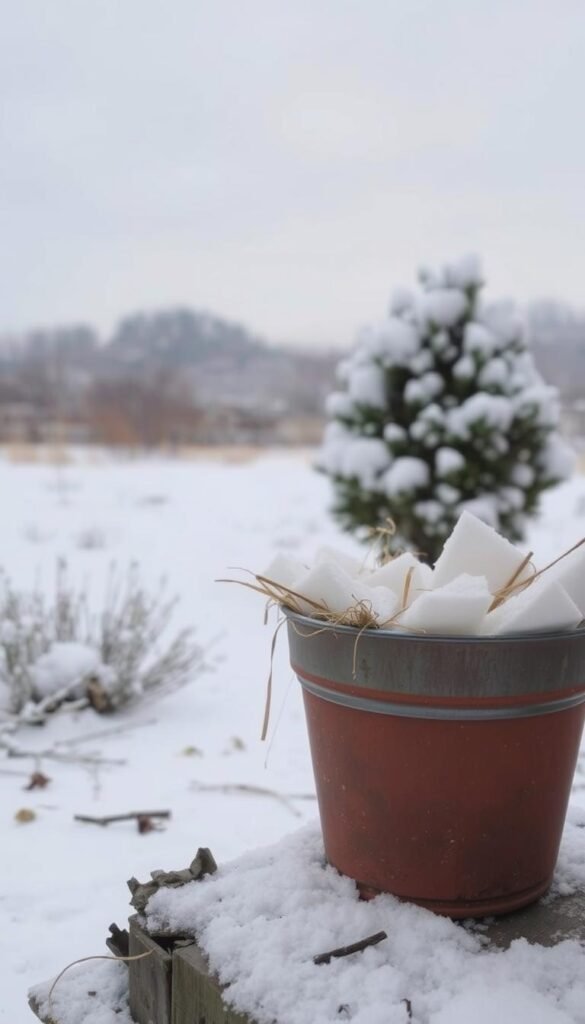
Winter’s chill tests every gardener’s resolve, but container plants face especially tough trials. Unlike garden beds, pots expose roots to rapid temperature swings. Freeze-thaw cycles can crack materials and damage root systems – even in regions that rarely frost deeply.
Protecting Terra-Cotta, Plastic, and Glazed Pots
Clay pots need bubble wrap jackets. Wrap them snugly, securing with twine. For plastic containers, use burlap sacks – they block wind while letting moisture escape. Glazed ceramics? Check drainage holes aren’t blocked by ice.
Cluster pots near walls or under eaves. This creates a microclimate 2-5°F warmer than open areas. Add extra mulch on soil surfaces – shredded bark works best for insulation without waterlogging.
Strategies to Minimize Freeze-Thaw Damage
Elevate pots on wooden slats to prevent ground ice adhesion. For trees in large containers, wrap trunks with frost cloth on coldest nights. Build a simple frame from PVC pipes and clear plastic sheeting for vulnerable specimens.
| Material | Best For | Key Benefit |
|---|---|---|
| Bubble wrap | Terra-cotta | Prevents cracking |
| Burlap | Plastic pots | Breathable shield |
| Straw | Root zones | Insulates soil |
| Frost cloth | Trunks/stems | Blocks windchill |
Check protective layers weekly. Adjust wraps if condensation builds up, and refresh mulch after heavy rains. With these steps, your pots – and their green tenants – emerge undamaged when spring arrives.
Indoor Overwintering Strategies for Tender Plants
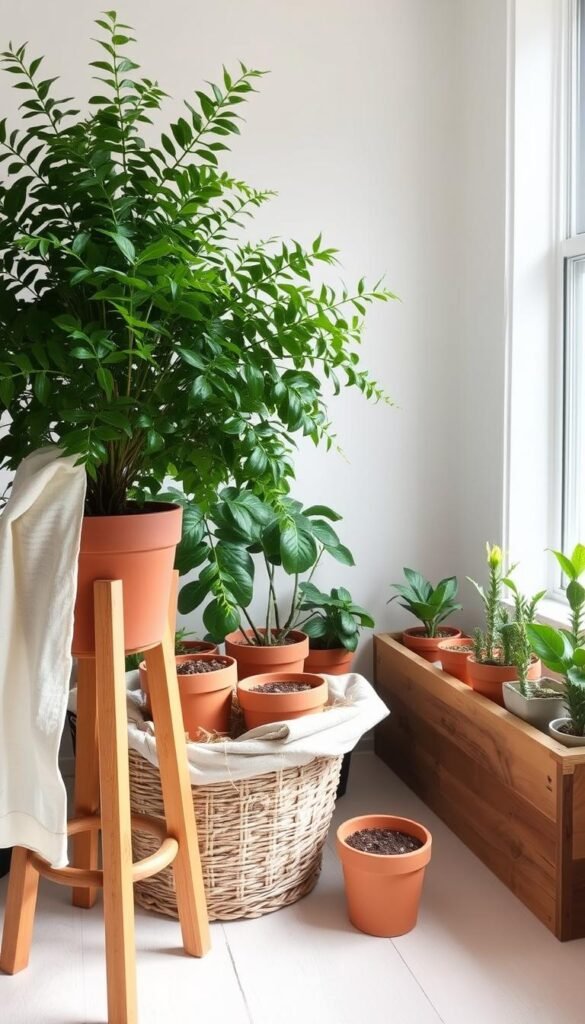
Transitioning tender plants indoors requires more than just moving pots. Timing and placement determine success. Start by relocating specimens before nighttime temperatures dip below 45°F. Check leaves for pests – a quick neem oil spray prevents indoor infestations.
Bringing Plants Inside and Adjusting Water Levels
Choose a location near an interior wall to buffer temperature swings. East-facing windows offer gentle morning light without scorching leaves. Central heating dries air fast – water only when soil feels dry two inches down. For tropicals like Ficus lyrata, set pots on pebble trays to boost humidity.
Using Cuttings and Seed Collection for New Growth
Snip 4-inch stem cuttings from Coleus or Begonias if space is tight. Root them in water near bright windows – you’ll have new plants by spring. Collect seeds from spent blooms like Marigolds. Store in labeled envelopes in a cool building closet until planting season.
Group potted herbs on insulated shelves near south-facing glass. This setup mimics a mini-greenhouse, shielding roots from chilly drafts. Rotate plants weekly for even growth, and wipe leaves monthly to maximize light absorption.
Utilizing Vertical Space and Shelving in Balcony Gardens
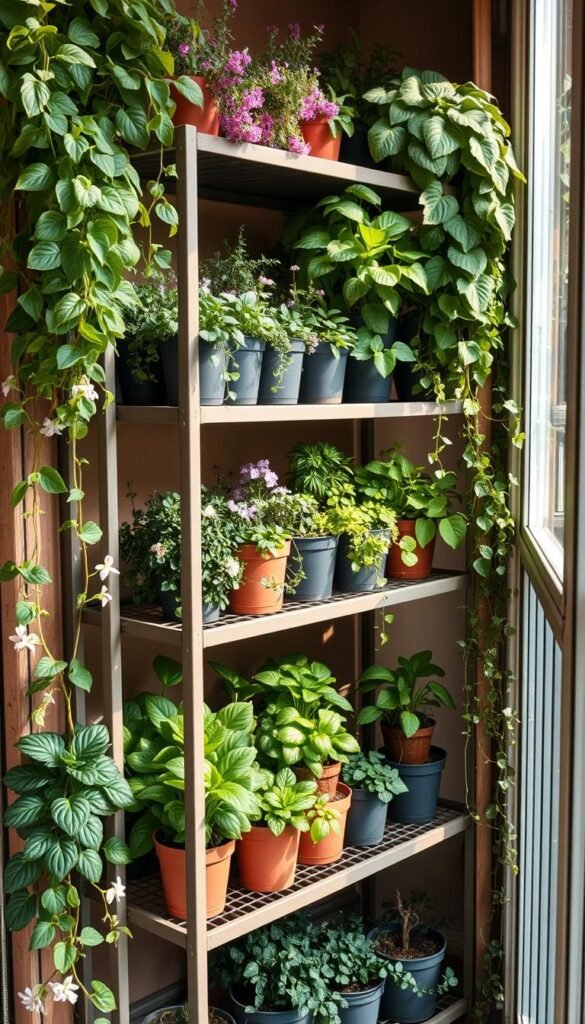
When square footage is scarce, reaching upward unlocks hidden growing potential. Vertical gardening transforms bare walls and railings into lush green zones. This approach works especially well for climbing plants that naturally stretch toward sunlight.
Maximizing Space with Wall-Mounted Planters and Trellises
Vining crops like peas and cucumbers thrive in vertical setups. Mounted planters with trellises guide growth upward, freeing floor space for herbs or compact flowers. Choose containers with drainage holes and quality soil – a mix of compost and perlite prevents waterlogging.
Rotate wall-mounted pots every few days to ensure even light exposure. South-facing surfaces get the most sun, but east-facing walls offer gentler morning rays for delicate greens. For shaded areas, try shade-tolerant ivy or ferns.
Maintenance stays simple. Check soil moisture daily – vertical setups dry faster than ground-level beds. Refresh mulch using shredded leaves to retain moisture and insulate roots. Wrap exposed containers in burlap during frost alerts for extra protection.
Urban gardeners can explore balcony gardening strategies that prioritize height over sprawl. Even narrow spaces host thriving ecosystems when you think vertically. Pair these methods with urban container setups for maximum impact in minimal areas.
Cold Frames, Mulch, and Natural Insulation Techniques
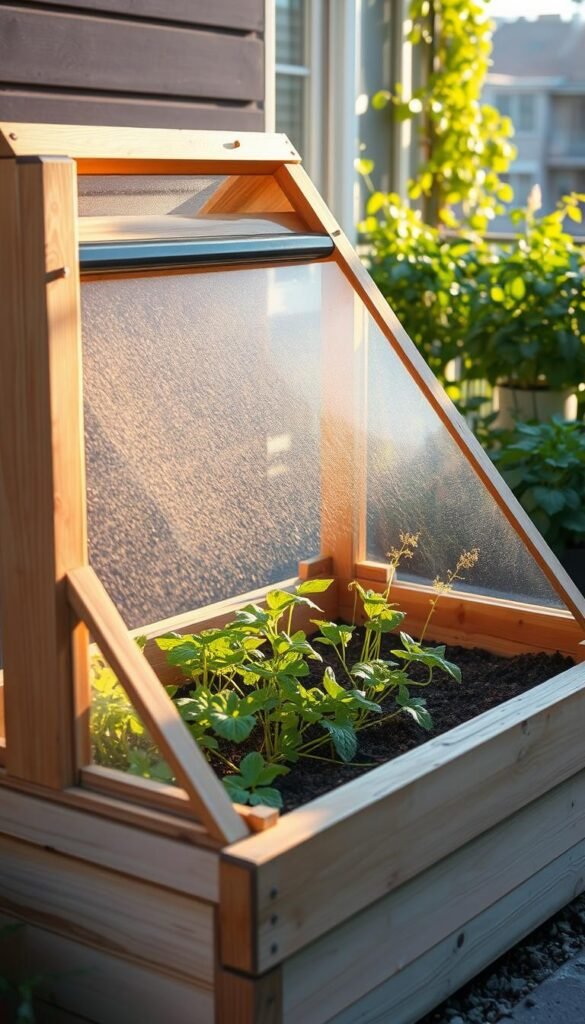
Protecting your green companions from winter’s bite doesn’t require fancy equipment. Simple structures and organic materials create micro-environments that mimic nature’s insulation. Cold frames act as miniature shields, while mulch and burlap offer cozy blankets for vulnerable roots.
Building a Weather-Resistant Shelter
Transform old windows or clear plastic sheets into a protective place for plants. Position the frame on the south side of your balcony to maximize sunlight absorption. Angle the top slightly to shed rain and snow naturally. Secure the edges with bricks or wooden planks to block wind tunnels common in urban areas.
Layering for Root Protection
Wrap pots in burlap sacks, then stuff gaps with straw or shredded leaves. This double layer insulates roots while allowing airflow. Spread 3 inches of mulch over soil surfaces – it acts like a thermostat, moderating temperature swings near the plant base. Refresh materials after heavy rain to maintain effectiveness.
| Material | Insulation Power | Best Use Case |
|---|---|---|
| Straw | High | Root zones in windy areas |
| Burlap | Moderate | Potted plant protection |
| Pine needles | Medium | Acid-loving plants |
| Shredded bark | Variable | Decorative mulch layers |
Come spring, remove covers gradually over 10 days. Start by propping open cold frames during daylight hours. This slow transition prevents shock, letting plants adjust to outdoor conditions. Pair these methods with cold frame extensions for year-round growing success.
Regular Maintenance and Monitoring Through Winter
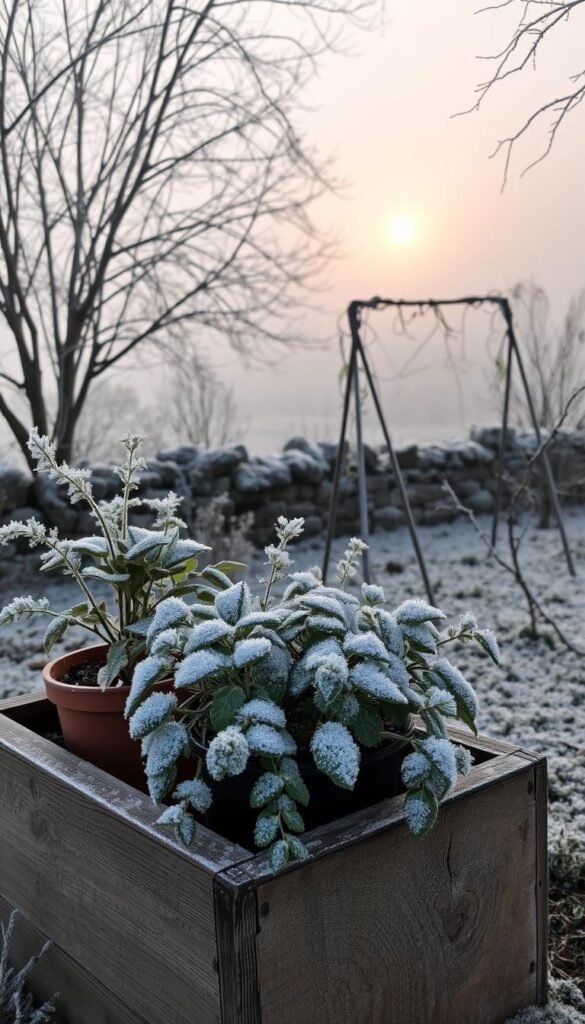
Winter care thrives on rhythm. Consistent checks let you catch issues before they escalate, especially when frost nips at your plants. Start by marking frost dates on your calendar and inspecting greenery every 3-4 days.
Optimizing Watering and Checking for Frost Damage
Test soil moisture with your finger – if the top inch feels dry, offer a modest drink. Overwatering in dormancy drowns roots, while underwatering leaves them brittle. Look for these signs of trouble:
- Leaves turning black or translucent (frost damage)
- Cracked stems from freeze-thaw cycles
- White mold patches on mulch or container sides
Pack hay or straw around pot edges for insulation. These materials buffer roots without trapping excess moisture. For extra protection, drape burlap over vulnerable plants during cold snaps.
| Material | Best Placement | Replacement Frequency |
|---|---|---|
| Hay | North-facing sides | After heavy rain |
| Straw | Root zones | Every 6 weeks |
| Pine needles | Acidic soil plants | Season-long |
Resist the urge to wake plants early. Gradual temperature rises help them exit dormancy safely. Once frost threats pass, clear old insulation to prevent rot. A steady watch ensures your garden emerges healthy when warmth returns.
Final Reflections on Nurturing Your Winter Garden
As winter’s grip loosens, your garden’s success hinges on thoughtful transitions. Smart preparation pays off when you balance protection removal with spring-ready care. Gradually peel back bark or mulch layers over two weeks, letting plants adjust to warming sun exposure.
Consistent watering habits remain crucial – increase hydration slowly as new growth emerges. Check ground moisture frequently, especially near roots recovering from cold stress. A bit of extra attention now prevents shock and strengthens plants for blooming seasons.
Every strategy you’ve implemented matters. From insulated containers to indoor cuttings, these methods work together like puzzle pieces. Celebrate your green victories, knowing each step fuels next season’s vibrant displays.
When warmer days arrive, your garden will thank you. Trust the process, refine your techniques yearly, and watch how small efforts yield big rewards. Here’s to thriving greenery that bridges winter’s quiet beauty with spring’s explosive growth!

