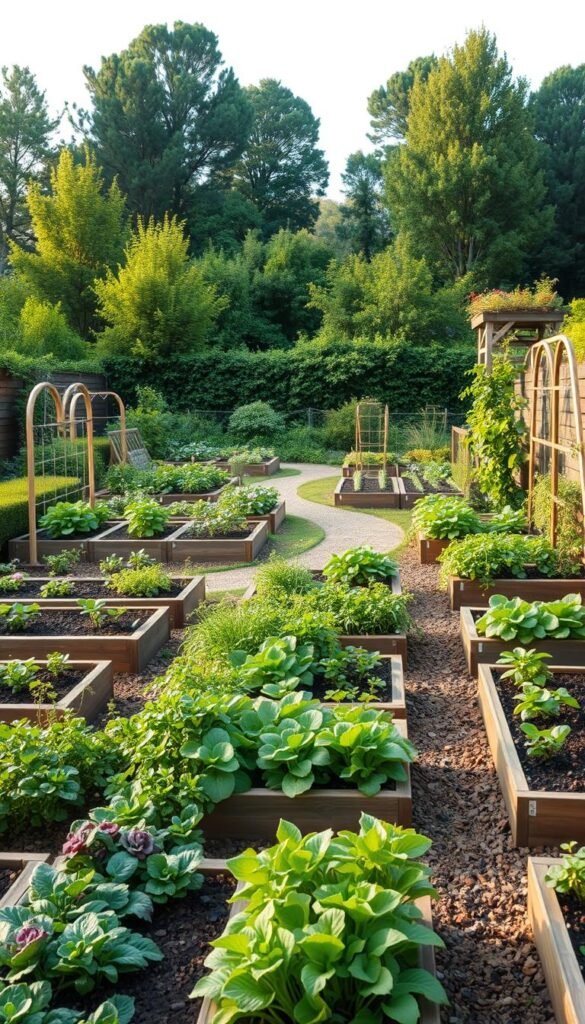
Ever feel overwhelmed by traditional gardening methods? You’re not alone. Mel Bartholomew, the creator of square foot gardening, felt the same frustration with endless rows and wasted space. His innovative approach changed how many grow fresh produce in small areas—and it’s perfect for beginners.
This method divides your growing space into tidy grids, making it easier to manage plants and soil. Unlike raised beds or row planting, it focuses on maximizing yields while minimizing work. But even the best plans can hit snags. That’s why learning from common missteps helps you grow a thriving garden faster.
Maybe you’ve struggled with overcrowding or uneven harvests. Perhaps your soil didn’t cooperate last year. Whatever the challenge, each season offers a fresh start. This guide shares practical tips inspired by real gardeners and detailed tutorials, so you can sidestep pitfalls and enjoy success.
Remember, every mistake is a chance to grow—both your skills and your plants. Let’s turn your garden into a space that works for you, not against you.
Understanding the Square Foot Gardening Method
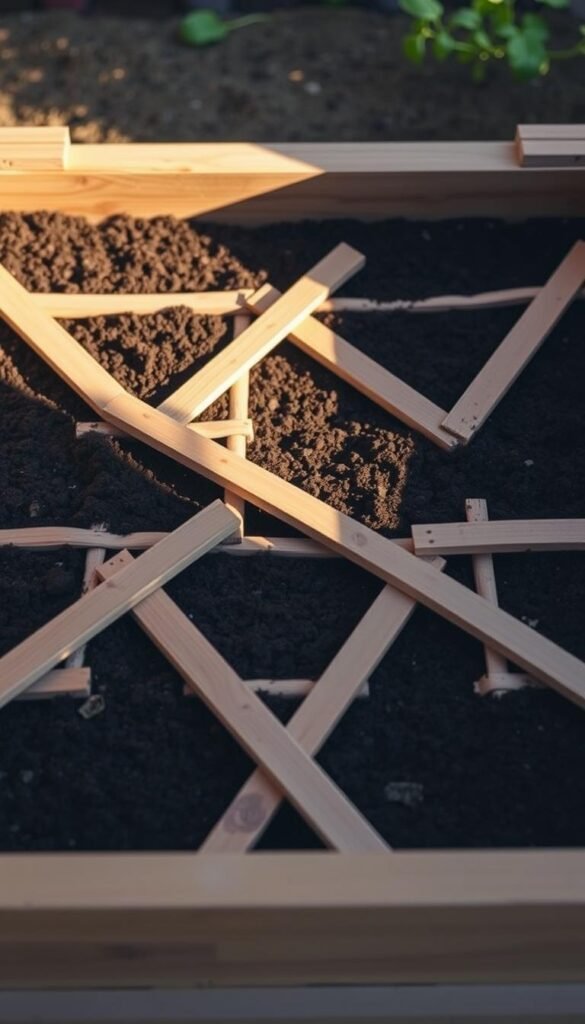
Imagine a garden where every inch works smarter, not harder. That’s the vision Mel Bartholomew, a civil engineer, brought to life with square foot gardening. Instead of wrestling with sprawling plots, this approach divides your space into 1’x1’ grids. Each square becomes its own mini-garden, letting you focus on one manageable section at a time.
Why Compact Gardens Thrive
Smaller spaces mean less weeding, watering, and bending. You’ll spend minutes daily instead of hours—perfect for busy schedules. The grid layout takes guesswork out of spacing: plant 16 carrots or 1 tomato per square. No overcrowding. No wasted room. Just crisp organization.
| Aspect | Traditional Gardening | Square Foot Method |
|---|---|---|
| Space Use | Rows waste 50%+ space | 95% efficiency |
| Maintenance | High weeding/watering needs | Targeted care per square |
| Growing Season | Limited by soil prep time | Extended harvests |
Beginner-Friendly by Design
New gardeners love how the grid acts like training wheels. You’ll learn spacing rules quickly—no measuring tape needed. Raised beds aren’t required, but they add structure if you want it. Either way, you’ll grow more plants in less space while keeping soil nutrient-rich with compost.
This method stretches your growing season too. Rotate crops easily between squares, and protect tender plants with simple covers. You control the environment, square by square.
5 Mistakes to Avoid with Square Foot Gardening Layouts
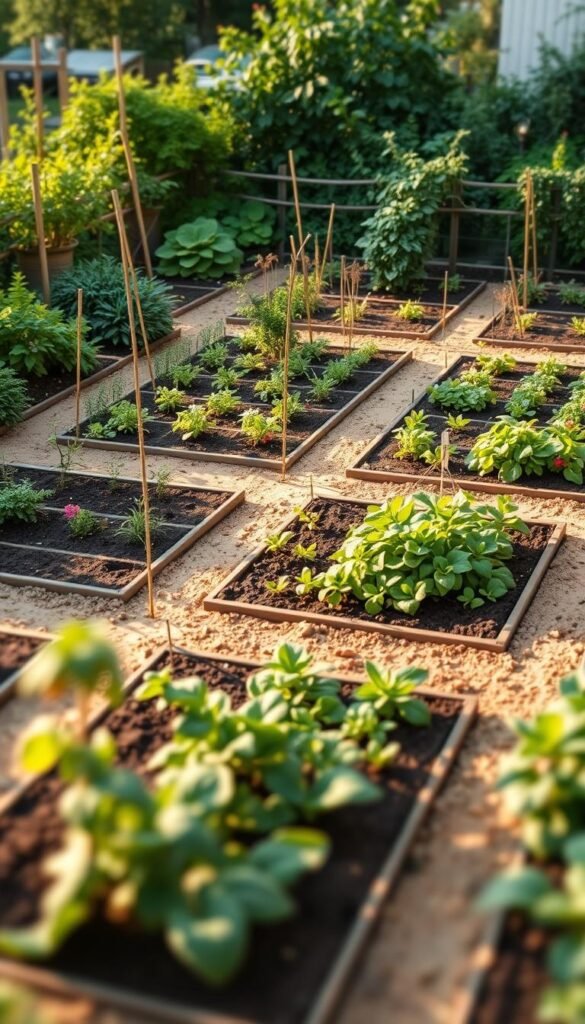
What separates thriving gardens from struggling ones? Often, it’s learning from early missteps. Seasoned growers know that common errors—like cramming too many seedlings or misjudging walkways—can derail progress. But these slip-ups also hold golden lessons for refining your approach.
Learning from Experience and Others’ Missteps
Take Jenna from Ohio, who planted zucchini in a 1’x1’ square. The leaves smothered nearby herbs by midsummer. Or Carlos in Texas, who skipped pathways between beds and trampled delicate roots during harvests. These real-world stories show how easy it is to underestimate spacing needs or overlook access points.
| Error | Consequence | Fix |
|---|---|---|
| Overcrowding plants | Stunted growth, disease spread | Follow spacing charts strictly |
| Shallow beds | Poor root development | Build beds 12″ deep minimum |
| Ignoring sunlight | Weak yields | Track sun patterns before planting |
Even experts like Renee’s Garden admit to early soil mix blunders. One grower shared how using pure compost burned tender seedlings—now she blends ⅓ peat moss for balance. Your garden journal becomes your best ally here. Jot down what thrives and what wilts each month.
Notice yellowing leaves? Maybe your soil needs more nitrogen. Harvests smaller than expected? Adjust plant placements next season. Every challenge sharpens your planning skills, turning “oops” moments into stepping stones.
Designing a Precise Garden Grid
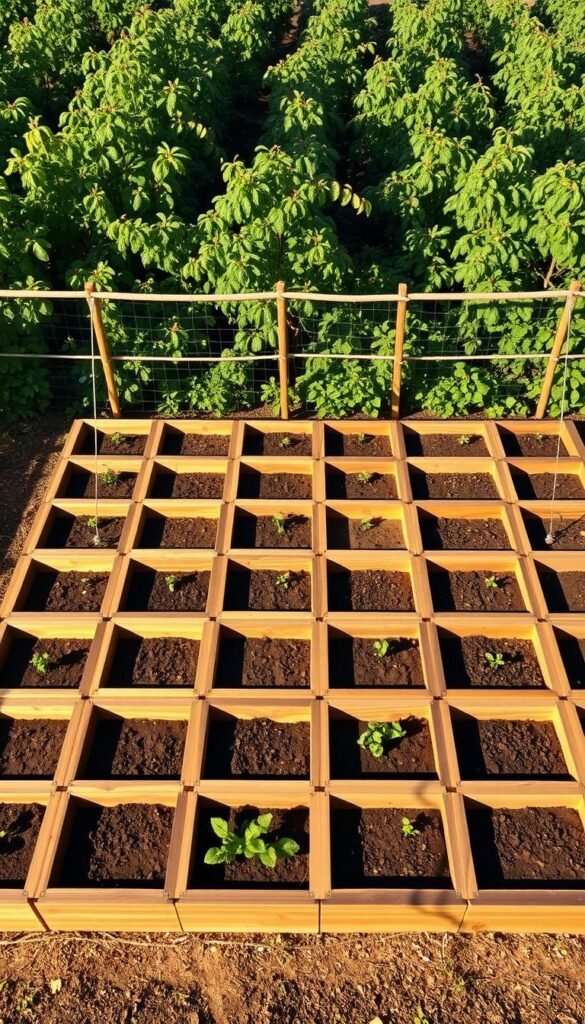
A precise grid transforms your garden from chaotic to controlled. Unlike guesswork layouts, measured squares ensure each plant gets exactly what it needs. Follow our step-by-step guide to perfect your setup and avoid wasted space.
Accurate Measurement and Grid Marking
Start by laying heavy-duty twine directly on your garden beds. Keep lines snug to the ground to prevent tripping and maintain visibility. Measure twice—errors as small as 2 inches can steal planting room. For example, a crooked row might leave your middle squares uneven, crowding plants that need breathing space.
Tools and Techniques for Consistency in Layout
Use a carpenter’s square to verify 90-degree angles at every intersection. Wooden stakes anchored at each corner keep strings taut all season. Check the middle of each square with a ruler before planting—this ensures roots have equal space to spread.
| Tool | Purpose | Pro Tip |
|---|---|---|
| Twine | Marking grid lines | Choose bright colors for easy visibility |
| Carpenter’s Square | Ensuring right angles | Check corners weekly for shifts |
| Stakes | Securing strings | Hammer 6″ into ground for stability |
These tips turn your grid into a reliable visual map. You’ll know exactly where to place seeds and how to rotate crops later. Consistent spacing means healthier plants and fewer headaches at harvest time.
Common Raised Bed Missteps in Square Foot Gardening
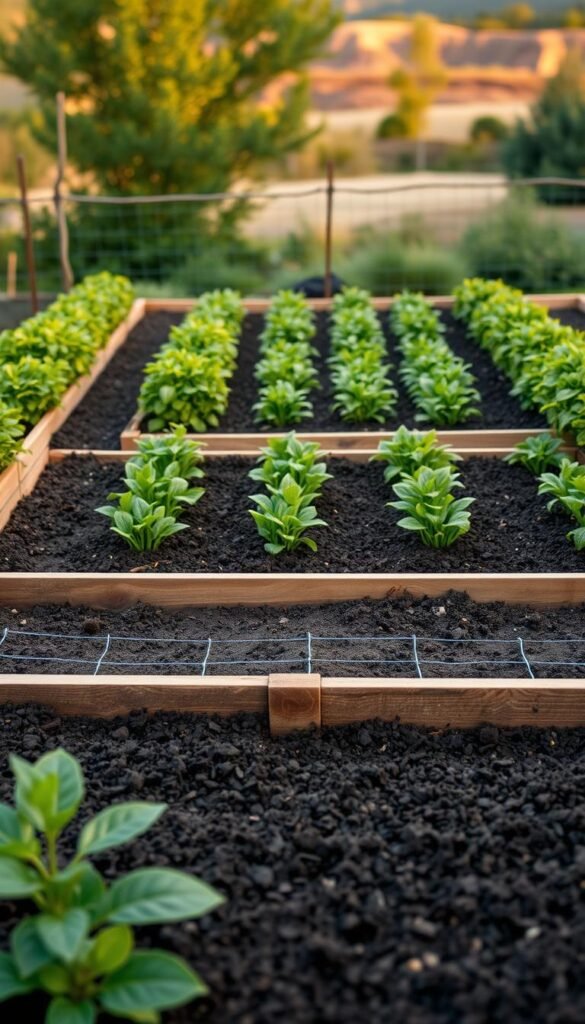
Raised beds can supercharge your gardening game—if you size them right. Many growers assume bigger is better, only to struggle with hard-to-reach plants or uneven soil moisture. Let’s fix that.
Choosing the Right Dimensions for Your Beds
A bed wider than 4 feet turns harvesting into a stretch contest. Keep edges within arm’s reach to tend plants without stepping on soil. For example, a 4’x4’ bed lets you access every square from either side. Narrower 2’x8’ designs work well against fences or walls.
| Width | Pros | Cons |
|---|---|---|
| 2 feet | Easy access from one side | Limits planting variety |
| 4 feet | Central reachability | Requires pathways |
| 6 feet | Large capacity | Needs stepping stones |
Understanding When Raised Beds Are Optional
You don’t need raised beds to succeed. Existing garden beds with good drainage work perfectly. Add grids directly to the ground using stakes and twine. But if your soil is rocky or compacted, raised beds give roots the fluffy texture they crave.
Test your space: Can you amend native soil easily? Do puddles linger after rain? Your answers decide whether to build up or plant down. Either way, keep those grids precise!
Overcrowding vs. Underplanting: Mastering Plant Spacing
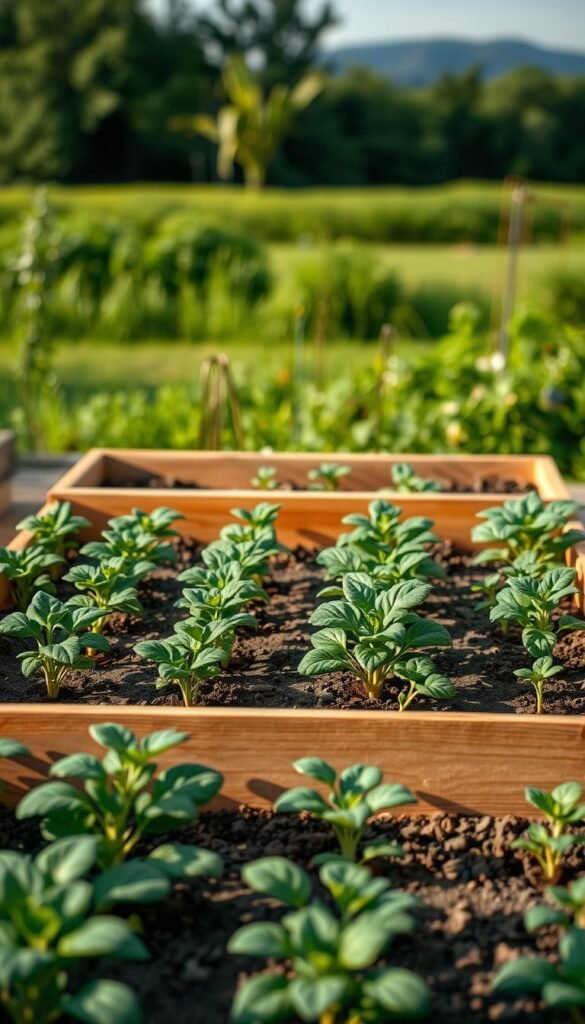
Getting plant spacing right is like solving a puzzle—every piece needs its spot. Crowd them, and roots fight for nutrients. Spread them too thin, and you waste precious growing space. The sweet spot? Follow seed packet guidelines while adapting to your garden’s unique conditions.
Interpreting Plant Spacing Guidelines
Seed packets often list inches between plants. For square foot gardening, divide 12 inches by that number. If carrots need 3″ apart, you’ll fit 16 per square. But leafy greens like spinach? Nine per square works best. Check the table below for common crops:
| Vegetable | Spacing (inches) | Plants per Square |
|---|---|---|
| Carrots | 3 | 16 |
| Bush Beans | 4 | 9 |
| Tomatoes | 12 | 1 |
Overcrowding stunts growth. Tomato leaves block sunlight for smaller plants. Underplanting? Bare soil invites weeds. For beans, cluster seeds 4″ apart—they’ll support each other as they climb. Rotate crops yearly to prevent soil fatigue, especially when planning seasonal care.
Test your layout with popsicle sticks before planting. Adjust if leaves overlap at maturity. Your garden thrives when each plant claims its territory without bullying neighbors.
Effective Watering Practices for Your Garden
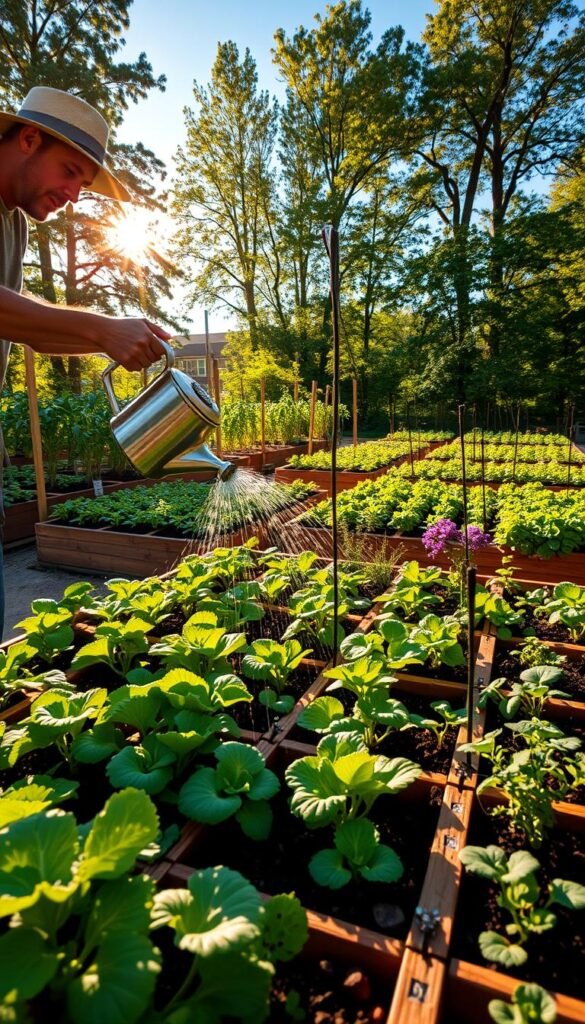
Your plants thrive when their roots sip, not swim. Timing and technique matter just as much as quantity. Morning watering gives crops a hydration head-start before the sun intensifies, reducing evaporation and fungal risks. Let’s explore how to balance moisture without drowning your greens.
Establishing a Consistent Morning Watering Routine
Set your alarm 30 minutes earlier to hydrate plants at dawn. This primes them for daytime heat and lets leaves dry before cooler evenings. Systems like the Garden Grid™ deliver water evenly across squares, preventing dry spots. For warm climates, water 4-5 days weekly—adjust if rain intervenes.
Techniques to Avoid Over- and Underwatering
Stick your finger 2″ into the soil. If it’s damp, wait a day. Sandy soil? Water shorter time spans but more frequently. Clay holds moisture longer—space sessions 3-4 days apart. Use this quick guide:
| Signs of Overwatering | Signs of Underwatering |
|---|---|
| Yellowing leaves | Crispy leaf edges |
| Mold on soil | Soil pulling from edges |
Consistency is key. Irregular schedules stress plants, making them prone to pests. Mulch with straw to lock in moisture, and track rainfall with a simple jar. Your garden will reward you with plump tomatoes and vibrant greens.
Nurturing Soil Health and Mulching Practices
Think of your garden’s soil as a living pantry—it needs restocking to keep plants thriving. Healthy dirt isn’t just dirt; it’s a bustling ecosystem. Without proper care, even the best layouts struggle. Here’s how to turn your ground into a nutrient powerhouse.
The Role of Compost and Organic Matter
Compost acts like a multivitamin for your garden. Mixing 1-2 inches into beds each season feeds beneficial microbes that break down nutrients. Research shows compost improves drainage by 30% in clay soils and boosts moisture retention in sandy plots. For example, shredded leaves or grass clippings add nitrogen, while coffee grounds balance pH.
| Compost Type | Benefits | Best For |
|---|---|---|
| Vegetable Scraps | Quick nutrient release | Leafy greens |
| Manure | Long-term fertility | Heavy feeders like tomatoes |
Mulching Strategies to Retain Moisture and Control Weeds
A 3-inch straw layer stops weeds by blocking sunlight. It also keeps roots cool during summer heat. Organic mulches like wood chips decompose slowly, feeding the soil as they break down. Replenish every 6-8 weeks to maintain coverage.
Water deeply before applying mulch to lock in hydration. Avoid piling it against stems—this invites pests. Your garden stays weed-free, and the soil stays fed, season after season.
Strategic Garden Layout Planning for Sunlight and Accessibility
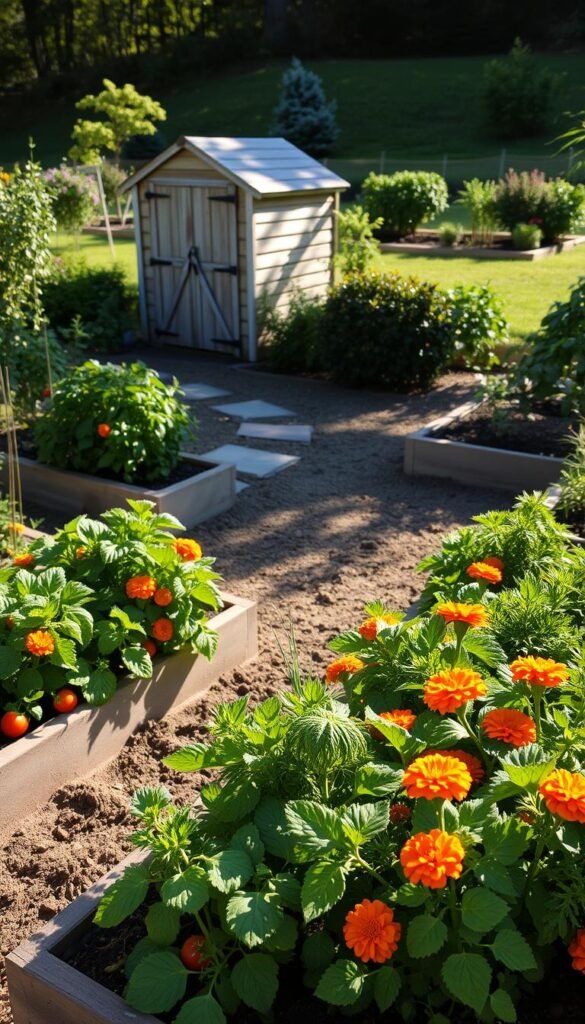
Your garden’s success starts long before you plant a single seed. Where you place your beds determines how much sun your crops soak up and how easily you can tend them. Let’s explore how to position your vegetable garden for maximum light and convenience.
Selecting the Ideal Location Near Your Home
Choose a spot that gets 6-8 hours of direct sunlight daily. Watch for shadows from trees, fences, or buildings—they’ll block precious rays. The Old Farmer’s Almanac suggests placing beds within 10-20 feet of your house. This makes watering, harvesting, and pest checks effortless.
Test the ground by checking drainage after rain. Puddles that linger more than 4 hours? Pick a different area. For sloped yards, position beds on the south side for consistent warmth. If space is tight, try these small-space gardening hacks to optimize every inch.
Adjusting for Seasonal Sunlight and Shade
Sun angles shift with the seasons. A spot that’s sunny in June might be shaded by November. Use a free guide like SunCalc to track light patterns year-round. Rotate crops based on seasonal needs—leafy greens tolerate spring shade, while tomatoes crave summer’s full blaze.
Plant tall crops like corn on the north side to avoid shading shorter plants. In winter, use row covers to protect cold-sensitive greens while letting weaker sun through. Smart planning ensures your garden thrives no matter the month.
Balancing Variety Without Becoming Overwhelmed
Starting a garden feels exciting—until choices multiply faster than zucchini in July. The secret? Begin with simplicity. Grow what you love to eat, and let your skills blossom alongside your plants.
Start Small, Harvest Big
Pick 3-5 vegetables your family enjoys most. For example:
- Leafy greens like spinach or kale
- Reliable cherry tomatoes
- Snap peas for vertical growth
Focusing on fewer crops lets you master their needs. You’ll spot pests faster, water accurately, and harvest consistently. Over time, expand to new varieties as confidence grows.
Smart Pairings for Healthier Gardens
Companion planting acts like a neighborhood watch for your garden. Certain plants protect others from pests or boost growth. Try these proven duos:
| Vegetable | Companion | Benefit |
|---|---|---|
| Tomatoes | Basil | Repels hornworms |
| Cucumbers | Marigolds | Deters beetles |
Rotate crops yearly to prevent soil fatigue. After growing nitrogen-hungry tomatoes, plant beans next season—they’ll replenish nutrients naturally. These tips help your garden produce more food while staying manageable.
Remember, abundance comes from balance. Grow enough to fill your plate without emptying your energy reserves.
Learning from Your Garden: Recording and Reflecting
A gardener’s best tool isn’t a trowel—it’s a notebook filled with observations. Tracking your garden’s journey helps uncover patterns that lead to healthier plants and richer harvests. Let’s explore how simple notes can transform your approach year after year.
Documenting Changes and Noting Successes
Start by jotting down what you plant and when. Note the seed varieties that thrive in your soil versus those that struggle. Did your tomatoes ripen faster this year? Did basil wilt during a heatwave? These details matter. Experienced growers recommend updating your journal weekly. For example:
- Record rainfall and watering schedules
- Sketch plant placements for crop rotation
- Flag pest issues or nutrient deficiencies
Over years, these notes become a personalized guide. One gardener discovered her zucchini yields doubled when planted after peas—a tip she’d forgotten until reviewing past entries. Track soil amendments too. Compost blends that boosted lettuce growth one spring might revive tired beds the next fall.
Your journal isn’t just for problems. Celebrate wins! Did carrots finally grow straight? Did marigolds deter beetles? Highlight these victories to replicate success. As seasons pass, you’ll spot trends that turn guesswork into confidence. Your garden evolves, and so do you—one page at a time.
Wrap Up: Your Path to a Bountiful Square Foot Garden
Your journey to a thriving garden begins with smart choices and small adjustments. Steer clear of overcrowding by honoring spacing rules—those tiny seedlings need room to stretch. Keep beds accessible with thoughtful pathways, and prioritize morning watering to protect delicate roots.
Every season teaches new lessons. Maybe your first attempt at vertical gardens felt chaotic, or your soil mix needed tweaking. That’s okay! Even experienced gardeners refine their approach year after year. The key is to track progress, adjust layouts, and celebrate small wins.
Make sure your setup aligns with sunlight patterns and plant needs. Rotate crops to keep soil lively, and pair companions like tomatoes and basil for natural pest control. Remember, tidy rows aren’t just for looks—they help you spot issues early.
Whether you’re nurturing herbs in compact beds or growing a rainbow of veggies, each garden thrives through patience and attention. Revisit these tips as you plan future seasons, and let every harvest remind you: growth happens one square at a time.

