
Ever wonder how to grow vibrant plants without relying on synthetic products? By working with nature’s rhythms, you can create a self-sustaining space where everything—from earthworms to tomato plants—thrives together. This approach builds richer earth, reduces waste, and keeps harmful chemicals out of your backyard.
Healthy earth is the secret. When you focus on feeding it nutrient-packed materials like compost or leaf mulch, you’re not just growing vegetables—you’re cultivating life underground. Tiny organisms break down these additions, releasing minerals that help roots absorb what they need. The result? Plants that naturally resist pests and diseases.
You’ll also save water and money. Well-prepared earth holds moisture better, meaning less time dragging hoses around. Plus, swapping store-bought fertilizers for kitchen scraps or grass clippings cuts costs while reducing plastic packaging.
But the perks go beyond your garden bed. Digging, planting, and harvesting keep you active, while fresh air and sunshine lift your mood. Imagine biting into a sun-warmed strawberry you nurtured from seed—that’s the reward of partnering with nature instead of fighting it.
Ready to transform your patch of dirt into a living ecosystem? Let’s explore how simple changes today lead to healthier harvests tomorrow.
Understanding the Foundations of Organic Gardening
What if every shovel of dirt in your plot teemed with life? This mindset shifts how you nurture green spaces. Instead of battling nature, you become its partner—cultivating relationships between roots, worms, and microbes.
What Does This Approach Involve?
It starts by ditching lab-made additives. Synthetic sprays might offer quick fixes, but they disrupt delicate balances underground. Think of earth as a bustling city: fungi act as nutrient highways, beetles aerate tight spaces, and worms recycle leftovers into plant food.
| Aspect | Conventional Methods | Organic Approach |
|---|---|---|
| Soil Treatment | Chemical additives | Compost & natural matter |
| Pest Control | Synthetic pesticides | Beneficial insects |
| Water Usage | High irrigation | Improved retention |
Why It Matters Beyond Your Plot
Kids and pets can safely dig here—no hidden toxins. Healthier earth holds moisture longer, cutting hose time by 30% on average. Birds and butterflies become regular visitors, pollinating blooms and snacking on aphids.
Over seasons, this living network grows stronger. Plants develop natural defenses, while you save cash on store-bought fixes. It’s a win for your dinner plate and local streams—fewer chemicals mean cleaner waterways downstream.
Preparing Your Soil: Clearing, Loosening, and Amending

Your garden’s success begins beneath the surface. Transforming ordinary dirt into thriving earth requires three key actions: removing obstacles, creating space for roots, and feeding the ground’s hidden workforce.
Essential Steps for Soil Preparation
Start by clearing rocks and weeds. Use a spade to slice grassy areas into 12-inch squares—like cutting brownies—then lift them out. This creates clean planting zones while preserving nearby grass roots.
Next, loosen compacted earth. Dig 8-12 inches deep using a garden fork. Deeper tilling lets roots stretch further, accessing water reserves during dry spells. Avoid working wet ground—it clumps like overworked cookie dough.
Now enrich your garden soil. Spread 2-3 inches of compost across the surface. This natural booster improves structure by creating air pockets and moisture traps. Think of it as fluffing a pillow before guests arrive.
Timing matters most. Prep beds 2-4 weeks before planting to let amendments settle. Well-prepared earth absorbs rain like a sponge while resisting erosion—a perfect balance for seedlings.
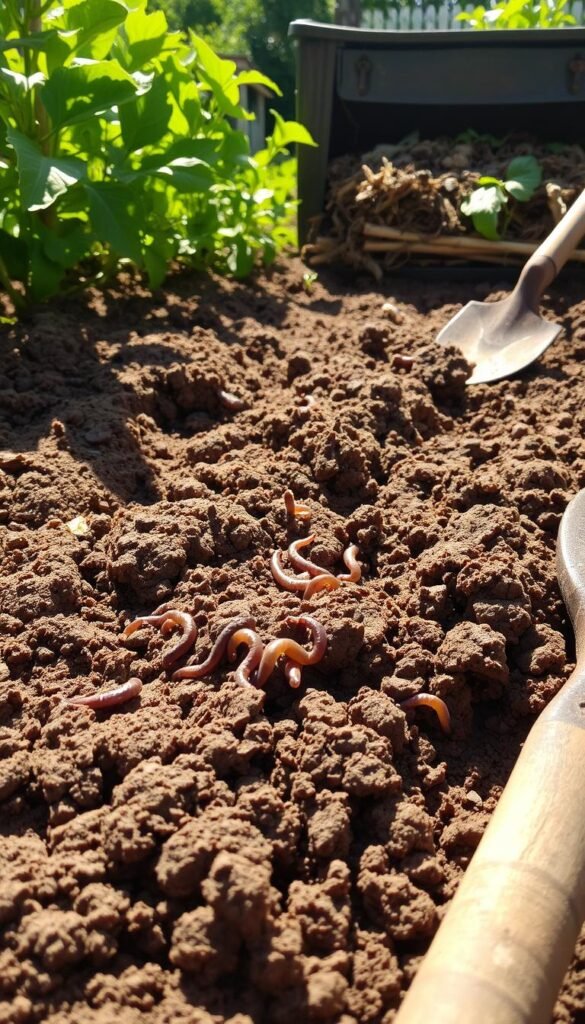
Remember: healthy ground isn’t sterile. Those wiggling worms and crumbling clumps mean your organic matter is working. By spring, you’ll have loose, crumbly earth ready to nurture life from seed to harvest.
Composting: Creating and Using Homemade Nutrient-Rich Amendments

What if your coffee grounds and fallen leaves could become plant superfood? Turning everyday waste into black gold transforms your space while cutting trash bills. This living process feeds roots, improves earth structure, and invites helpful critters to your growing area.
DIY Composting Techniques
Start by layering kitchen scraps with yard debris. Vegetable peels and eggshells mix with dry leaves in a 1:3 ratio. Microbes feast on this blend, heating the pile to 130°F—hot enough to kill weed seeds but gentle on earthworms.
Keep your heap damp like a wrung-out sponge. Turn it weekly with a pitchfork to add oxygen. Within months, banana peels become crumbly humus packed with minerals. Test readiness by spotting worm tunnels or smelling fresh earth.
Vermicomposting for Faster Results
Red wiggler worms turbocharge decomposition. They devour apple cores and shredded paper, leaving behind castings richer than standard compost. Use shallow bins with drainage holes, and avoid citrus or meat scraps that attract pests.
Harvest worm tea every 2 weeks—a liquid growth booster for seedlings. Mix finished castings into planting holes to help roots access water and nutrients. Your plants will grow sturdier stems and deeper green leaves, naturally resisting drought stress.
Both methods recycle 30% of household waste while building healthier earth. Start small—even a 5-gallon bucket can yield enough amendments for patio containers. Soon you’ll spot more butterflies and songbirds visiting your thriving green space.
Exploring Natural Fertilizers and Organic Nutrients

Your plants crave nutrients like you need a balanced diet. The big three—nitrogen, phosphorus, and potassium—fuel leafy growth, sturdy roots, and disease resistance. But not all plant foods work the same way. Some release nutrients quickly, while others feed your garden slowly over months.
Choosing Between Plant-Based and Animal-Based Options
Plant-derived fertilizers work gently. Cottonseed meal (5-2-1 NPK) feeds crops for 3-6 months, perfect for tomatoes and peppers. Kelp meal breaks down faster—2-3 weeks—giving quick potassium boosts to flowering plants. Alfalfa meal acts like a multivitamin, packed with trace minerals for overall health.
Animal-based choices pack more punch. Blood meal’s 13-0-0 ratio greens up lettuce and spinach within weeks. Bone meal’s phosphorus strengthens carrot and beet roots all season. Fish meal offers balanced nutrition but needs careful mixing to avoid strong odors.
| Type | Best For | Release Speed |
|---|---|---|
| Cottonseed Meal | Acid-loving plants | 3-6 months |
| Blood Meal | Leafy greens | 1-4 months |
| Kelp Meal | Flowering plants | 2-3 weeks |
Mix different meals like ingredients in a recipe. Combine fast-acting kelp with slow-release bone meal when transplanting seedlings. For heavy feeders like corn, layer cottonseed meal under fish emulsion. Always check NPK ratios to match your plants’ growth stage—more nitrogen early, extra phosphorus during fruiting.
“Feed the soil, not just the plant” applies here. The right meal combinations create living earth that sustains crops year after year.
Test blends in small areas first. Track how your squash vines or bean bushes respond. Over time, you’ll learn which mixtures give that perfect boost without wasting resources.
Step-by-Step Guide to Soil Testing and Analysis

Think of your garden as a puzzle—soil testing reveals the missing pieces. Knowing your earth’s composition helps you fix imbalances before planting. Start by rubbing a handful of moist dirt between your fingers. Gritty textures mean sandy soil, sticky clumps suggest clay, while silty types feel like powdered sugar.
DIY Soil Jar Test and Professional Analysis
Try the mason jar method for quick insights. Fill a jar one-third with soil, add water, shake vigorously, then wait 24 hours. Sand settles first, followed by silt, then clay. Measure each layer’s thickness to calculate percentages. This shows whether you need to improve drainage or water retention.
For precise data, send samples to your local agricultural extension office. Their lab tests measure pH and nutrient levels like nitrogen and phosphorus. Results often include amendment recommendations tailored to specific vegetables or flowers. Pair this with our soil preparation guide for best results.
Interpreting Soil pH and Nutrient Deficiencies
Most vegetables thrive in slightly acidic earth (6.0-7.0 pH). Blueberries prefer 4.5-5.5, while asparagus tolerates up to 7.5. Use this table to match crops:
| Plant Type | Ideal pH Range |
|---|---|
| Tomatoes | 6.0-6.8 |
| Carrots | 5.5-7.0 |
| Hydrangeas | 5.0-6.0 |
Yellow leaves often signal nitrogen shortage. Purple tints indicate phosphorus deficiency, while weak roots suggest low potassium. Adjustments like adding lime for acidity or sulfur for alkalinity let plants access locked-up nutrients. Test annually—your earth’s needs change as you grow different crops.
Organic Gardening Basics: Soil Prep and Natural Fertilizers

Unlock your garden’s full potential by aligning soil prep with seasonal rhythms. Timing transforms random tasks into a growth-boosting strategy. Wait two weeks after mixing in compost or other amendments before sowing seeds—this pause lets materials integrate while protecting tender roots from nutrient shock.
Clear the stage for your plants’ debut. Rake beds smooth, removing sticks and stones that hinder root expansion. Level surfaces help water distribute evenly, giving every seedling equal opportunities. Think of it as making a welcoming bed for your green guests.
Fall vs Spring Prep: Seasonal Advantages
| Timing | Benefits | Key Tasks |
|---|---|---|
| Autumn | Winter breakdown creates crumbly texture | Add compost, cover crops |
| Spring | Immediate planting readiness | Final raking, squeeze test |
Test soil readiness with the squeeze method. Grab a handful—if it holds shape but crumbles when poked, start planting. Soggy clumps mean wait 3-5 days to prevent compaction. This simple check saves your garden from becoming concrete-like dirt.
Pair these steps with your local growing season. Cool-climate growers might prep beds in March, while southern gardeners begin in February. Track frost dates and plant growth phases to build a custom calendar that maximizes harvests without wasting time or effort.
Managing Pests Organically and Promoting Beneficial Insects
Imagine your garden as a busy neighborhood where good bugs keep troublemakers in check. This balance lets you protect your plants without harsh chemicals. You become the conductor of an insect orchestra, encouraging allies while gently discouraging leaf-munchers.
Natural Methods to Control Pests
Start by disrupting pests’ routines. Companion planting confuses them—try mixing garlic with roses to deter aphids. A spray of soapy water (1 tsp dish soap per quart) knocks soft-bodied insects off leaves without harming earthworms.
Physical barriers work wonders. Floating row covers let sunlight through but block cabbage moths. Copper tape around pots stops snails cold—they hate the electric sensation. Check plants weekly, removing egg clusters by hand before they hatch.
Attracting Helpful Insects
Invite nature’s pest control squad. Plant dill and fennel to lure ladybugs that devour 50 aphids daily. Sunflowers attract predatory wasps, while yarrow brings lacewings to snack on mites. Add a shallow water dish with stones for drinking spots.
Leave some wild areas with native flowers. Goldenrod feeds pollinators in fall, while milkweed shelters butterfly larvae. These helpers patrol your garden, reducing the need for interventions. Soon, you’ll spot fewer damaged leaves and more thriving plants.


