
Imagine turning an ordinary corner of your yard into a vibrant hub where creativity meets education. A simple plywood surface can become a dynamic tool for teaching, playing, and exploring nature. This hands-on feature blends practicality with imagination, making it ideal for families or educators seeking engaging ways to connect children with outdoor environments.
Building this interactive surface takes just a few materials and costs less than a weekend dinner out. At around $40 for a 4×8-foot board, you’ll create a weather-resistant space that lasts through seasons. Unlike store-bought options, you control the size, shape, and placement to match your yard’s unique layout.
Vertical writing areas aren’t just for doodling—they help young minds develop coordination and problem-solving skills. Teachers and parents report better focus when lessons move outside, combining fresh air with tactile learning. Even teens find value in using these surfaces for group projects or casual brainstorming.
This guide will show you how to craft a durable, personalized board that thrives in sun, rain, or snow. You’ll learn why communities nationwide are embracing this trend to make education more lively and accessible. Let’s explore how to build something that grows with your family’s needs while sparking joy in every season.
Finding Inspiration and Planning Your Project

The key to a successful project lies in thoughtful design and strategic placement. Start by sketching your available space. Measure twice to ensure your surface fits perfectly. This prevents overcrowding and maintains a balanced look.
Design Ideas for Enhancing Your Space
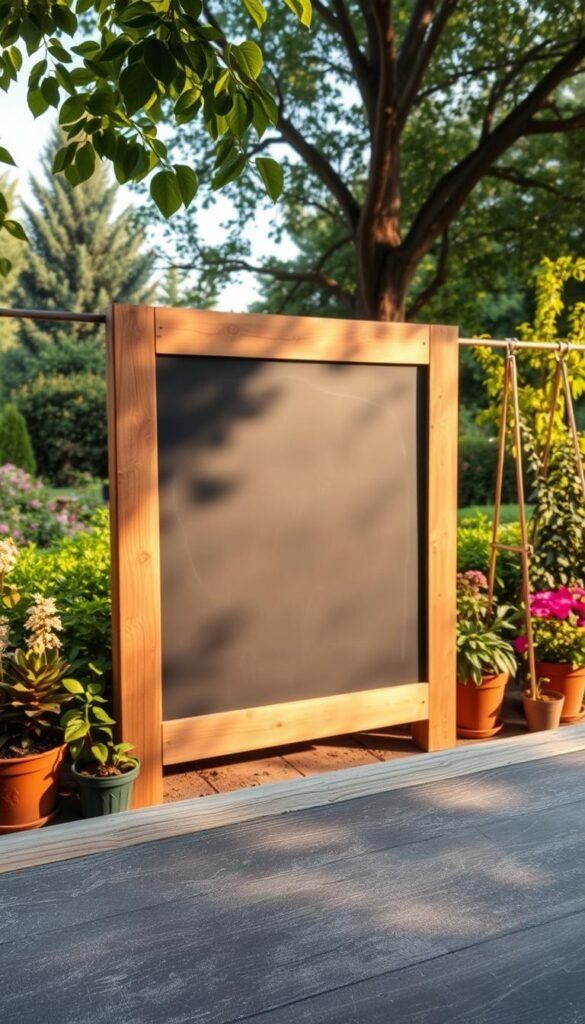
Match your board’s style to your surroundings. A sleek rectangle suits modern yards, while rough-cut wood complements rustic themes. Consider attaching it to a fence or freestanding post—both options save space while adding character.
Adjust the height based on who’ll use it most. Lower sections work for young artists, while taller areas accommodate adults. If you’re sharing the space, create tiered levels with multiple boards.
Adapting to Educational Activities
Position your creation where shadows fall naturally. Morning sun with afternoon shade protects surfaces from fading. Nearby benches or stools encourage group work and longer sessions.
Incorporate storage hooks for chalk and erasers. A small shelf underneath keeps supplies dry during rain. These tweaks make learning sessions smoother and more organized.
Choose colors that pop against your greenery. Darker finishes show vibrant chalk marks better. Test samples on scrap wood before committing—it’s easier to adjust early!
Gathering Materials and Prepping Your Site

Building your interactive surface starts with smart preparation. Begin by collecting a 4×8-foot piece of exterior plywood—pressure-treated options resist rot and moisture better than standard wood. Pair it with three pre-primed 1x4s and an 8-foot cedar 2×4 for sturdy mounting. Don’t forget screws (1.5″ and 3″), primer, and chalkboard paint to complete your materials list.
Essential Tools and Supplies Overview
| Material | Purpose | Quantity |
|---|---|---|
| Pressure-treated plywood | Main writing surface | 1 large piece |
| Cedar boards | Weather-resistant framing | 3-4 units |
| Exterior screws | Secure mounting | 50+ |
| Hollow door | Lightweight alternative | 1 (optional) |
Tips for Selecting the Best Outdoor Location
Choose spots with morning sun and afternoon shade to prevent surface warping. Avoid low areas where rainwater pools—elevate your board slightly using cedar boards as a base. Ensure the site allows easy access for all users while blending with existing landscaping.
Check nearby structures: mounting against a fence requires different screws than freestanding posts. Keep chalk storage dry by positioning shelves under covered areas. Test wind patterns by hanging a ribbon—if it flaps constantly, consider adding windbreaks.
DIY Outdoor Chalkboard: Fun and Functional for Garden Lessons

Transform your prepared materials into a durable learning space through careful assembly. Proper technique ensures smooth writing surfaces and lasting weather resistance.
Detailed Step-by-Step Construction Process
Start by sanding your plywood with 120-grit paper until smooth. Wipe away dust using a microfiber cloth. Apply white primer with a foam roller—three thin layers work better than one thick coat. Let each layer dry 2 hours before adding the next.
Cut frame boards at 45-degree angles using a miter saw. Test-fit pieces before gluing. Secure joints with clamps for 24 hours while the adhesive cures. This creates sturdy corners that withstand outdoor conditions.
| Step | Tool | Time Needed |
|---|---|---|
| Sanding | Orbital sander | 45 minutes |
| Priming | Foam roller | 6 hours (3 coats) |
| Frame Assembly | Clamps + glue | 24 hours |
Applying Primer and Chalkboard Paint Effectively
Use a high-density foam roller for chalkboard paint application. Five thin coats provide better durability than three thick ones. Wait 24 hours between layers—this prevents bubbling and uneven textures.
Lightly sand with 220-grit paper after each coat dries. Focus on edges where paint tends to pool. For visual guidance, check this step-by-step backyard chalkboard tutorial demonstrating professional techniques.
Seal the board’s back and sides with exterior-grade sealant. This extra protection blocks moisture from warping your creation. Let everything cure 72 hours before mounting.
Installation and Secure Mounting Techniques

Securing your creation properly ensures it survives both weather and enthusiastic use. Choose between permanent fixtures or movable setups based on your space and needs.
Hanging Methods for Optimal Stability
For fence installations, center your board between posts. Use cedar spacer boards to create airflow behind the surface. This prevents moisture buildup and warping.
Black-coated screws blend seamlessly into dark frames. Drive them through pre-drilled holes in the board’s corners. Check alignment with a level before tightening completely.
Using Cedar Boards, Screws, and Alternative Mounting Options
Cinderblocks offer a drill-free solution. Stack two blocks vertically, slide your board between them, and add weight to the base. This method works well with hollow-core doors.
| Method | Best For | Tools Required |
|---|---|---|
| Fence Mount | Permanent setups | Lag bolts, cedar spacers |
| Cinderblock Prop | Temporary spaces | Blocks, doorstop wedges |
Adjust mounting height based on user needs. Leave 6″ clearance from the ground for easy cleaning. Test stability by gently shaking the frame—it shouldn’t wobble.
Creative Uses and Maintenance for Your Chalkboard

Your new interactive surface becomes more valuable when paired with clever ideas and consistent care. Discover how to turn it into a multi-purpose hub that evolves with your family’s interests while staying resilient through weather changes.
Spark Curiosity Through Hands-On Activities
Transform the board into a rotating gallery of nature sketches or math challenges. Younger children thrive when tracing leaf shapes or practicing letters, while older kids design collaborative murals about garden ecosystems. Store chalk in magnetic containers attached to the frame for quick access.
Condition the surface before initial use: rub white chalk sideways across the entire board, then erase with circular motions. This creates a smoother texture for crisp writing and effortless cleaning.
Preserve Quality Through Seasonal Care
Refresh the paint every 6-12 months depending on wear. Lightly sand rough patches, wipe with a damp cloth, and apply two thin coats of chalkboard paint. During winter storms, cover the board with a waterproof tarp secured with bungee cords.
| Maintenance Task | Frequency | Best Tools |
|---|---|---|
| Deep Cleaning | Monthly | Vinegar-water mix |
| Paint Touch-Ups | Biannually | Foam roller |
| Frame Inspection | Seasonally | Screwdriver |
One family’s board remained functional for five years by reapplying sealant each spring. Store chalk in airtight jars on your patio to prevent moisture damage. Rotate seasonal themes—think pumpkin math in fall or seed-starting charts in spring—to keep engagement high.
Celebrating Your Outdoor Chalkboard Achievement
Stand back and admire your handiwork—a space where imagination meets nature. Families nationwide report lasting satisfaction with their custom creations, noting how kids rush outside to draw, learn, and collaborate. This isn’t just a surface—it’s a launchpad for discovery.
Snap photos of your finished project during golden hour. Capture chalk art against leafy backdrops or snapshots of group activities. Share these moments online to inspire neighbors while showcasing your home’s new focal point.
Your creation grows with your family. Toddlers trace shapes today; teens diagram science concepts tomorrow. Communities from cozy patios to sprawling yards adapt the design, proving its versatility. One parent’s board hosted spelling bees and summer math challenges for five straight years.
Take pride in building more than a structure—you’ve crafted opportunities. Motor skills sharpen through drawing, while problem-solving blooms during collaborative games. That cedar frame? It’s where memories form and curiosity thrives season after season.
Seal this achievement with a chalk-dusted high-five. You’ve transformed simple materials into a legacy of learning, proving that great ideas often start with a blank slate and bold strokes.


