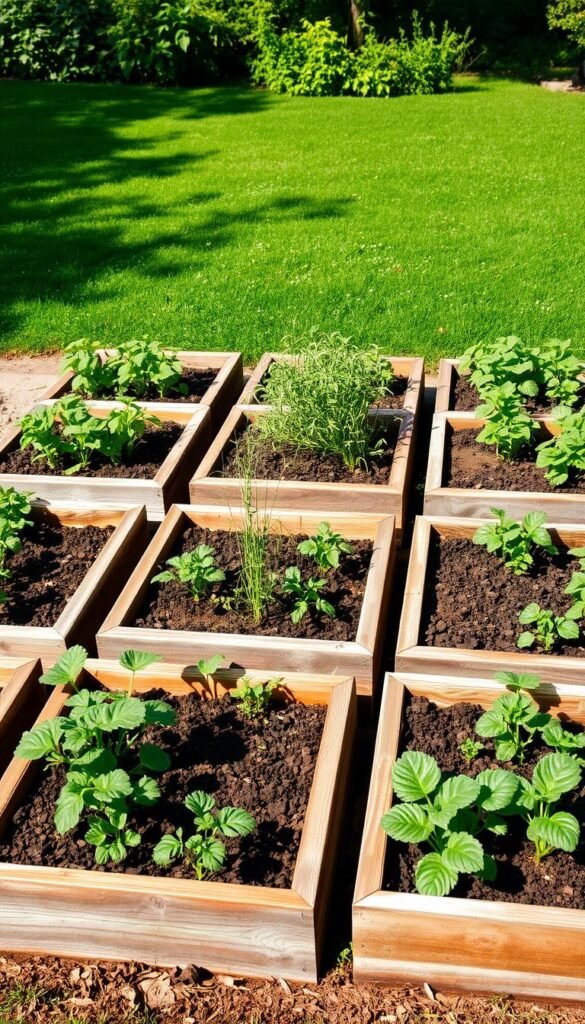
Imagine growing fresh veggies, herbs, and flowers without wasting space or time. That’s the magic of square foot gardening, a raised-bed system that organizes your green space into neat 1-foot squares. Developed by Mel Bartholomew in the 1970s, this approach simplifies growing food while boosting yields.
Instead of traditional rows, you’ll use a grid to plan exactly how many plants fit in each section. This saves effort and reduces weeds. Beginners love it because you control the soil quality from the start, mixing compost and peat moss for ideal growth. Plus, watering stays efficient since every square gets just what it needs.
Over 50 years, this method has evolved to fit modern needs like urban balconies and backyard plots. You’ll spend less time digging and more time harvesting. Whether you’re growing tomatoes or tulips, the system adapts to your goals.
Key Takeaways
- Uses organized 1-foot grids to maximize space and simplify care
- Originated from Mel Bartholomew’s innovative 1970s experiments
- Reduces weeds and water waste through targeted planting
- Works for both edible crops and decorative flowers
- Custom soil blends ensure healthier plant growth
- Ideal for small yards, patios, or beginner gardeners
Getting Started with Square Foot Gardening
Ready to transform your outdoor space into a thriving green oasis? This method replaces sprawling rows with organized squares, letting you grow more in less area. Perfect for small yards or balcony gardens, it’s designed to simplify your first steps into growing fresh food.
What Is This Approach?
At its core, the square foot gardening method uses raised beds divided into 1×1-foot sections. Each square becomes a mini-plot for specific crops. You’ll fill beds with Mel’s Mix—a blend of vermiculite, peat moss (or coconut coir), and compost. This lightweight soil retains moisture while feeding plants naturally.
Here’s why it works:
- No wasted space between rows
- Precise plant counts per square (like 16 carrots or 1 tomato)
- Easy access from all sides
Why Beginners Love It
New growers appreciate the simplicity. Weeds struggle to invade the dense planting layout, and watering stays focused. Raised beds mean less bending—ideal for those with mobility challenges. One user shared:
“My 4×4 bed produced enough lettuce for salads all summer!”
Compared to traditional gardens, you’ll use 80% less space while harvesting the same yield. Up next: how to map your unique growing area for maximum efficiency.
Planning and Mapping Your Garden Space
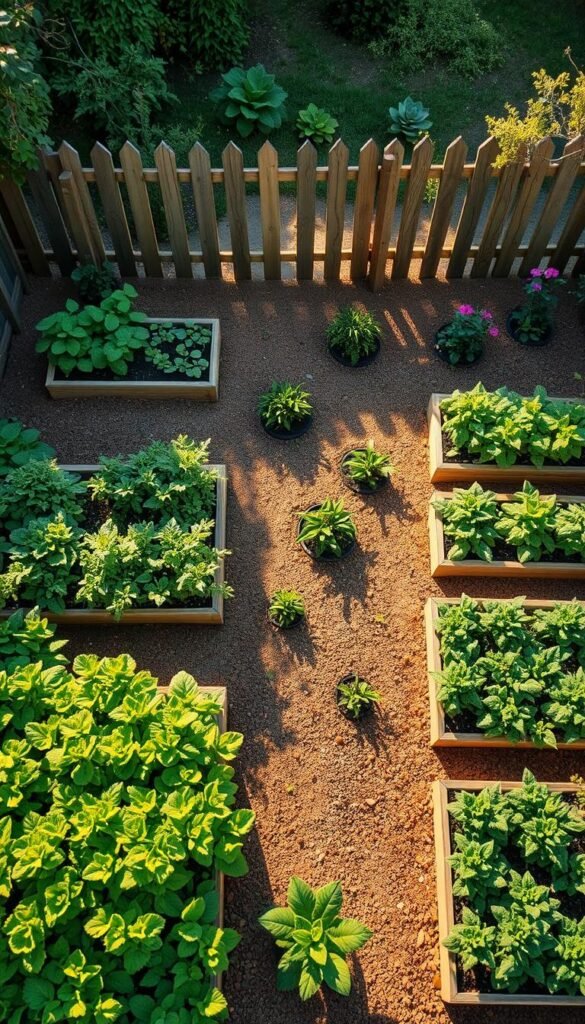
Effective garden design begins with a clear map of your available space. Whether you’re working with a patio or backyard, measuring sunlight exposure and flat surfaces helps determine ideal raised beds placement. Most enthusiasts start with a 4’x4′ frame—large enough for variety but manageable for first-timers.
Assessing Your Available Area
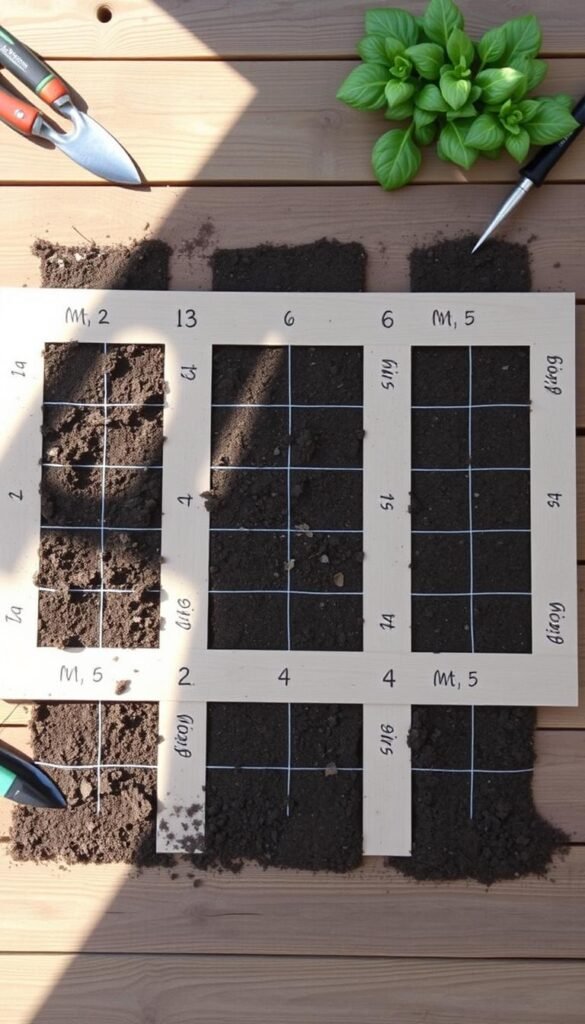
Measure your space’s width and length, leaving room for pathways. South-facing spots get the most sun—crucial for tomatoes and peppers. If your area slopes slightly, level it before building beds to prevent water runoff.
Creating a Functional Grid
Divide your garden bed using string, wood strips, or pre-made grid systems. These 1-foot squares make it easy to follow plant spacing charts—like fitting 9 spinach seeds per square. Trellises on the north side keep vine crops from shading neighbors.
Incorporating Companion Planting
Pair basil with tomatoes to repel pests naturally. Marigolds protect beans, while carrots thrive near radishes. This gardening method boosts yields up to 30% compared to single-crop squares. Rotate partners each season to keep soil nutrients balanced.
Smart planning now means fewer weeds and bigger harvests later. You’ll water efficiently and reach every plant without stepping on soil. Start small—even a 2’x2′ grid grows 4 different veggies!
Choosing Materials and Building Raised Garden Beds
Your garden’s success depends on the right foundation. Start with durable materials that create optimal growing conditions while saving time and effort. A well-built setup lasts years and makes maintenance easier.
Selecting the Ideal Soil Mix
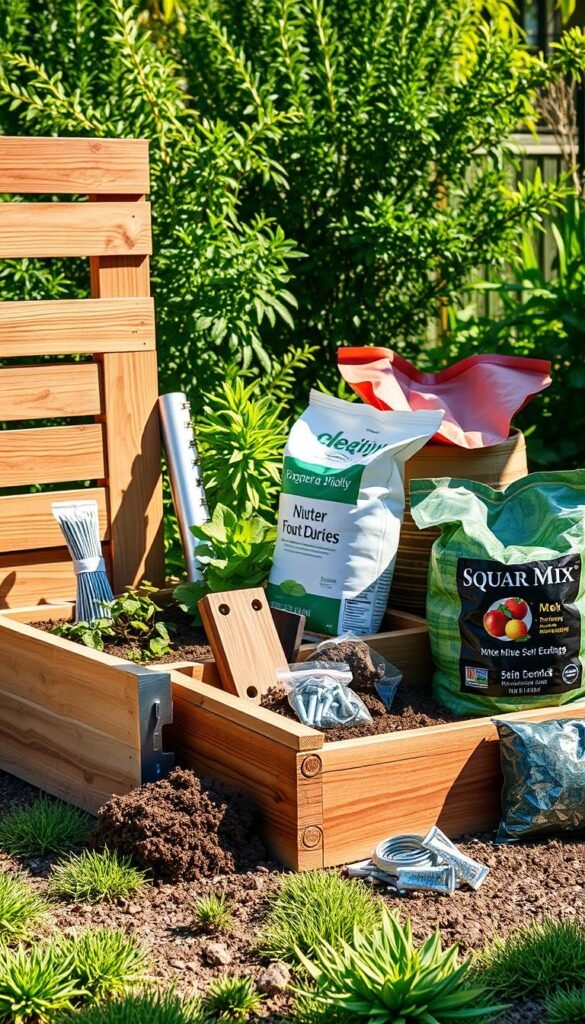
The secret lies in your mix. Mel’s original blend combines equal parts compost, vermiculite, and peat moss. This trio drains well yet holds moisture—perfect for roots. For eco-friendly options, swap peat moss with coconut coir.
Benefits of quality soil:
- Feeds plants naturally for 6+ months
- Reduces watering needs by 50%
- Prevents soil compaction
Constructing or Purchasing Your Raised Beds
Build beds using rot-resistant cedar or recycled plastic. A 4’x4′ frame (6-12″ deep) fits most spaces. Assemble boards with galvanized screws—no fancy tools needed. Pre-made kits from brands like Greenes Fence offer instant setups.
Key construction tips:
- Leave 3′ pathways between beds
- Attach a grid using twine or PVC strips
- Line the bottom with hardware cloth to deter burrowers
Raised bed soil warms faster in spring, letting you plant seeds earlier. One gardener reported:
“My DIY cedar bed outlasted cheaper models by five seasons!”
Compare DIY costs against Amazon’s top-rated kits. Either way, proper materials mean fewer replacements and tastier harvests.
Tips for Designing the Perfect Square Foot Gardening Layout
Turn limited space into abundant harvests with precise planning and resourceful systems. By focusing on three core strategies, you’ll grow more food while cutting maintenance time. Let’s break down the methods pros swear by.
Optimizing Plant Spacing and Layout
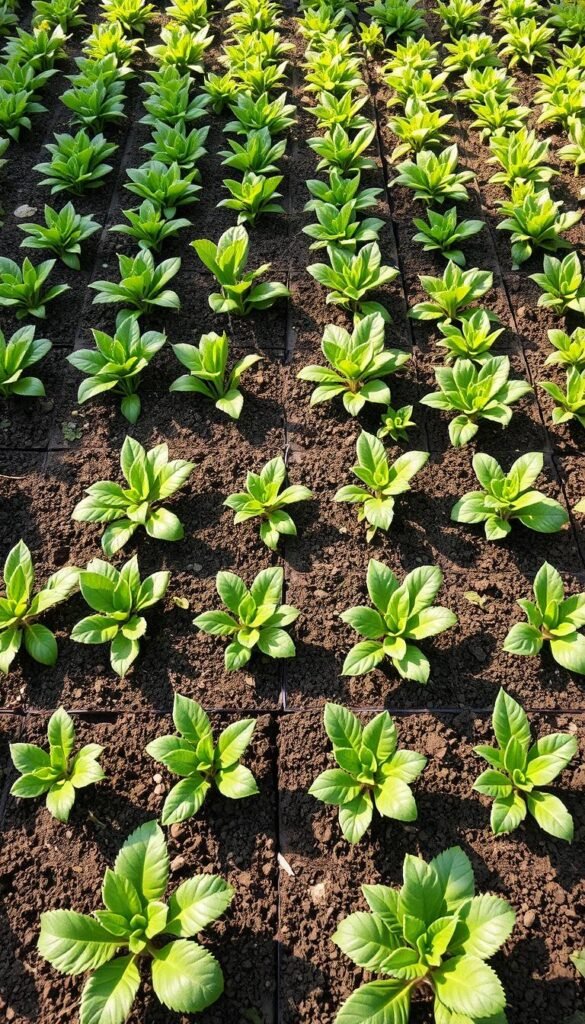
Check seed packets for spacing needs—most crops need 3-12 inches between plants. For vegetables like carrots, squeeze 16 per square. Leafy greens? Plant 9 per section. Use charts to determine the exact number of seeds or seedlings per grid cell.
Here’s a quick guide:
- Extra-large (1 per square): Tomatoes, peppers
- Large (4 per square): Broccoli, cabbage
- Medium (9 per square): Spinach, beets
- Small (16 per square): Radishes, onions
Utilizing Efficient Watering Systems
The Garden Grid™ attaches directly to your bed, delivering water to each square through drip lines. One user noted:
“My watering time dropped from 20 minutes to 5!”
Soaker hoses work too—just snake them through your grid. Water early to reduce evaporation.
Mixing Crops for Maximum Yield
Pair tall plants with shade-tolerant herbs. Try corn + beans + squash (the “Three Sisters” method) or basil beneath tomatoes. Rotate crops yearly to prevent soil depletion. For example, follow nitrogen-heavy lettuce with peas that replenish nutrients.
Quick tips:
- Place mint near cabbage to deter pests
- Grow marigolds between beans
- Alternate root and leafy crops
A bit of experimentation helps you discover what thrives in your microclimate. Track results to refine next season’s plan!
Conclusion
Growing your own fresh produce just got smarter. By adopting this organized layout, you eliminate traditional rows and create a streamlined way to maximize every inch. Whether you’re a small-space gardener or have room to expand, these strategies help you achieve a lot with minimal effort.
Start with a solid plan: map your grid, choose quality materials, and follow spacing tips. Raised beds prevent soil compaction while giving plants the nutrients they crave. As you refine your approach, you’ll spend less time bending back and more moments enjoying sprouts breaking through the soil.
One urban grower shared how their balcony setup yielded 20 pounds of veggies last summer. Your turn! Apply these tips, experiment with companion planting, and adjust as you learn. The beauty lies in customization—your space, your rules.
Now step back and watch your efforts bloom. With careful execution, that first juicy harvest isn’t just possible—it’s inevitable.

