
When frost blankets your landscape, a well-designed growing space becomes your secret weapon. These structures create protective bubbles where you can nurture life even as temperatures plummet. But here’s the catch: success depends on understanding your local weather patterns and your plants’ needs.
Many leafy companions struggle below 55°F, while others adapt by slowing growth. This means choosing cold-hardy varieties becomes essential. Imagine harvesting crisp kale or vibrant pansies while snow drifts outside—that’s the magic of smart seasonal planning.
Even without heating systems, these shelters extend your growing window by weeks. They trap daytime warmth using simple methods like water barrels or thermal curtains. For deeper insights, explore our guide to year-round growing tips that adapt to shifting seasons.
Your location’s unique chill factors determine everything from structure materials to planting schedules. Coastal Maine gardeners face different challenges than those in Minnesota’s Iron Range. By matching your setup to regional conditions, you’ll unlock fresh possibilities—think citrus in Zone 5 or early tomatoes in April.
This journey isn’t about battling nature but working with it. With thoughtful preparation, your frost-defying oasis will reward you with vibrant growth when others see only dormant earth.
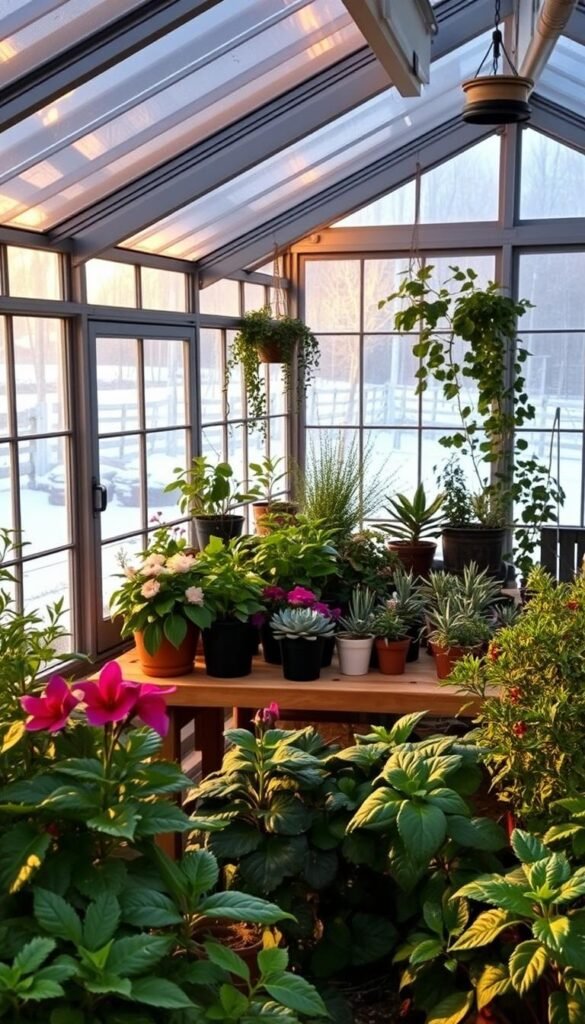
Introduction to Winter Greenhouse Gardening

While frost paints the ground, your insulated space nurtures growth against the odds. Winter growing transforms how you cultivate edibles and ornamentals, offering fresh harvests when outdoor beds lie dormant. But it’s not without hurdles—managing warmth and light requires smart adaptations.
Understanding the Benefits and Challenges
A well-planned setup shields crops from freezing winds while trapping solar energy. You’ll enjoy extended harvest windows for greens like spinach and herbs such as parsley. Frost-sensitive seedlings can sprout weeks earlier than usual, giving you a jumpstart on spring.
However, humidity spikes and limited daylight demand attention. Too much moisture invites mold, while short days slow plant metabolism. Balance is key—ventilation systems and reflective surfaces help maintain ideal conditions for your chosen varieties.
Setting Your Seasonal Goals
Start by listing what thrives in cooler conditions. Root hardiness lets some plants survive underground, ready to sprout in spring. Even without heating, these shelters protect roots, letting you extend harvests by 4-6 weeks in many regions.
| Plant Type | Ideal Temp Range (°F) | Light Needs |
|---|---|---|
| Leafy Greens | 35-50 | 6-8 hours |
| Root Vegetables | 30-45 | 5-7 hours |
| Herbs | 40-55 | 7-9 hours |
Focus on cold-hardy crops that tolerate fluctuations. Track overnight lows and daylight hours in your area—this data shapes everything from planting dates to insulation choices. Your goals should stretch your skills without overwhelming your resources.
Preparing Your Greenhouse for the Winter Months
Transforming your growing space into a winter-ready haven starts with smart insulation choices and reliable heating plans. Cold air sneaks through gaps you might not notice during warmer seasons, making thorough preparation essential for plant survival.
Assessing Insulation Needs and Materials
Begin by checking doors, windows, and joints for drafts. These spots lose heat fastest. Bubble wrap offers a quick fix—its air pockets block cold while letting light through. Use UV-resistant types made for outdoor use to avoid rapid degradation.
For permanent solutions, polycarbonate panels outperform glass. They’re lighter, tougher, and trap 60% more warmth. This makes them ideal for regions with harsh winters where consistent temperature control matters most.
| Material | R-Value* | Cost | Durability |
|---|---|---|---|
| Horticultural Bubble Wrap | 1.7 | $0.25/sq ft | 2-3 seasons |
| Polycarbonate (8mm) | 2.0 | $3.50/sq ft | 10+ years |
| Double-Pane Glass | 1.5 | $5.00/sq ft | 15+ years |
*Higher R-value = better insulation
Implementing Effective Heating Solutions
Electric heaters with thermostats work best for spaces under 300 sq ft. They maintain steady warmth without manual adjustments. Always use dedicated circuits to prevent overloads—safety matters as much as efficiency.
Pair your heater with thermal curtains at night. This combo reduces energy use by up to 30%. For extra protection, try insulating container plants near heated areas to safeguard tender roots.
Remember: Good materials and smart heating work together. Test your setup before deep frost hits to catch issues early. Your plants will thrive when you balance these elements just right.
Designing a Greenhouse Structure for Cold Climates

Those picturesque glass structures flooding social media? They often crumble under real winter demands. True cold-climate design starts with rejecting aesthetics-first approaches and embracing science-backed solutions.
Location matters more than you think. Position your structure where it catches maximum sunlight—even weak winter rays can boost interior temps 15°C above outdoor readings. Avoid shaded areas that sabotage this free warmth.
Your material choices make or break efficiency. Consider these options:
| Material | R-Value | Best Use |
|---|---|---|
| Double-Wall Polycarbonate | 3.5 | Roof & Walls |
| Spray Foam Insulation | 6.0 | Foundations |
| Tempered Glass | 1.0 | Decorative Elements |
Notice how traditional glass ranks poorly? That’s why savvy builders combine materials—polycarbonate for insulation, glass only where visual appeal outweighs function.
A sturdy foundation prevents shifting during freeze-thaw cycles. Bury footings below frost lines and use gravel drainage layers. For frame strength, aluminum outlasts wood in humid conditions and supports heavy snow loads better.
Smart layouts allocate 60% of floor space to plants, leaving room for heating systems and walkways. Pair this with cold frame gardening techniques to stretch your growing season further without expanding your main structure.
Remember: Every design choice should answer two questions—“Will this survive a blizzard?” and “Does this balance cost with long-term savings?” Get this right, and your plants won’t know it’s winter outside.
Implementing “Greenhouse Gardening Strategies for Colder Climates”

Turning your winter growing dreams into reality begins with a solid blueprint. Smart preparation transforms challenges into opportunities, letting you cultivate fresh produce even when snow blankets your yard. Let’s break down the essentials for creating a thriving cold-season setup.
Step-by-Step Planning and Execution
Start by listing your non-negotiables. How many months will you grow? What crops make your heart sing? Your answers shape everything—from insulation thickness to heating choices. Root vegetables demand different conditions than tropical blooms, so specificity matters.
| Planning Phase | Key Tasks | Timeline |
|---|---|---|
| Site Prep | Clear debris, level ground | 2-4 weeks pre-build |
| Foundation | Install frost-proof base | 1 week |
| Systems Setup | Water lines, power sources | 3-5 days |
Water access can’t be an afterthought. A buried line prevents freezing, while overhead tanks offer gravity-fed irrigation. Match your solution to local freeze patterns—what works in Vermont fails in Colorado’s drier cold.
Key Considerations for a Successful Setup
Power needs vary wildly. Heating mats for seedlings? Maybe. Full climate control? That’s a bigger commitment. One gardener shared: “I use solar-charged batteries for lights—cuts my energy bill by half.”
| Growing Method | Best For | Space Needed |
|---|---|---|
| Containers | Herbs, greens | 3-5 sq ft/plant |
| Raised Beds | Root crops, flowers | 10-15 sq ft/bed |
Don’t forget ground insulation! A 6-inch gravel layer under planting areas stops cold from seeping upward. Pair this with thermal mass like water barrels to stabilize temperatures day and night.
Optimizing Air Circulation and Ventilation

Moving air might feel chilly, but it’s your silent ally in maintaining plant health through winter months. Proper ventilation prevents moisture buildup while keeping temperatures stable—a delicate dance between fresh air intake and heat retention. Let’s explore how to master this balance.
Using Fans, Vents, and Natural Airflow
Strategic vent placement creates natural convection. Install intake vents low on walls to draw in cooler air, while roof vents release warm, humid air. This setup mimics Earth’s own breathing pattern, circulating oxygen without drastic temperature drops.
Exhaust fans boost this effect in larger spaces. Pair them with horizontal airflow fans to break up stagnant zones. One Minnesota grower shared: “Our 16-inch exhaust fan runs 10 minutes hourly—cuts mold by 80% without chilling seedlings.”
Automated systems simplify the process. Thermostat-controlled vents open when humidity hits 70% or temps rise above 45°F. For manual setups, crack doors during midday warmth using effective cooling strategies from warmer seasons.
| Equipment | Function | Best Placement |
|---|---|---|
| Circulation Fans | Prevent cold spots | 4-6 ft above plants |
| Louvered Vents | Adjustable airflow | North-facing walls |
| Solar-Powered Openers | Hands-free operation | Roof peaks |
Natural airflow thrives on smart design. Position structures to catch prevailing winds, channeling breezes through season-extending layouts. Remember: air movement shouldn’t feel drafty—leaves should rustle gently, not whip violently.
Maximizing Heat Retention with Insulation Techniques

Choosing the right materials can trap enough warmth to keep plants thriving when temperatures drop. Insulation acts like a cozy blanket, slowing heat escape through walls and roofs. Smart choices here mean fewer energy bills and happier greens.
Bubble Wrap vs. Polycarbonate: What Works Best?
Bubble wrap offers a quick fix for chilly nights. Apply it to your structure’s inner frame using UV-resistant clips—the air pockets create heat-trapping layers. One gardener noted: “It cut my heating costs by 20% overnight.” But remember: secure edges tightly to withstand winter gusts.
| Material | Heat Retention | Cost | Lifespan |
|---|---|---|---|
| Bubble Wrap | Good | $0.30/sq ft | 1-2 seasons |
| Polycarbonate | Excellent | $4.00/sq ft | 10+ years |
Polycarbonate panels outperform most options, blocking cold while letting sunlight through. Their honeycomb design holds warmth like a thermos. For maximum effect, layer materials—try bubble wrap over older glass panels before adding thermal screens.
Automated screens shine after sunset. They snap shut when temps dip, locking in heat without lifting a finger. Pair them with gravel floor insulation to stop cold seeping upward. This combo keeps roots snug even during subzero nights.
Integrating Sustainable Heating and Passive Techniques
Even in the coldest months, the sun and soil offer hidden warmth. By blending smart design with natural processes, you create a stable environment where plants flourish. Let’s explore how to tap into these free resources while keeping energy use low.
Utilizing Solar and Composting Methods
Compost piles work like natural heaters. As organic matter breaks down, they release warmth that can boost your space’s temperature by 5-10°F. Place them near plant beds or along north walls for maximum effect—this free heat source also enriches soil for spring planting.
Sunlight is your best ally. Dark-colored water barrels or concrete blocks absorb rays during the day, then radiate stored heat after sunset. Position these thermal masses where light hits longest—often south-facing areas. For extra efficiency, try cold-hardy vegetables alongside these heat banks to stretch your season further.
Balancing Artificial and Natural Heat Sources
Pair passive methods with targeted heating systems. Use electric mats for seedlings while relying on thermal curtains and gravel floors for mature plants. One Montana grower shared: “My solar-charged fans circulate warmth from compost bins—cuts propane use by half.”
Black gravel foundations absorb sunlight all day, releasing it slowly overnight. Combine this with bubble-wrapped walls to trap warmth. Remember: smart layering beats relying on any single method. Your plants get steady comfort, and your energy bills stay friendly.


