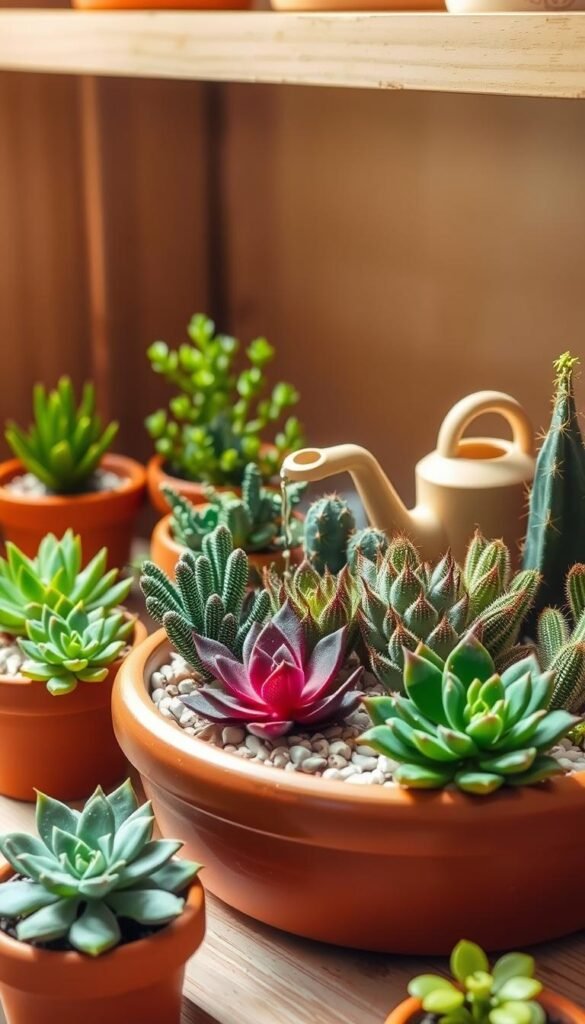
Your dish garden brings life and beauty to any space, but keeping it thriving requires smart care. Many indoor greenery enthusiasts face a silent threat: waterlogged soil that invites harmful fungi. These uninvited guests, like Fusarium and Pythium, attack roots when conditions stay too damp.
Yellowing leaves often signal trouble. What starts as a dull appearance can quickly escalate to full plant decline. The secret lies in mastering moisture balance—giving your plants enough hydration without drowning their roots.
This guide shares science-backed strategies for maintaining vibrant container gardens. You’ll learn to spot early warning signs and create an environment where roots breathe easy. We focus on practical techniques tailored to small-scale growing spaces, helping you avoid common pitfalls.
Through simple adjustments to watering habits and soil management, you’ll protect your botanical investment. Healthy roots mean lush foliage and lasting beauty in your curated plant displays. Let’s explore how to nurture resilience in your miniature ecosystem.
Understanding Root Rot and Overwatering in Your Dish Garden
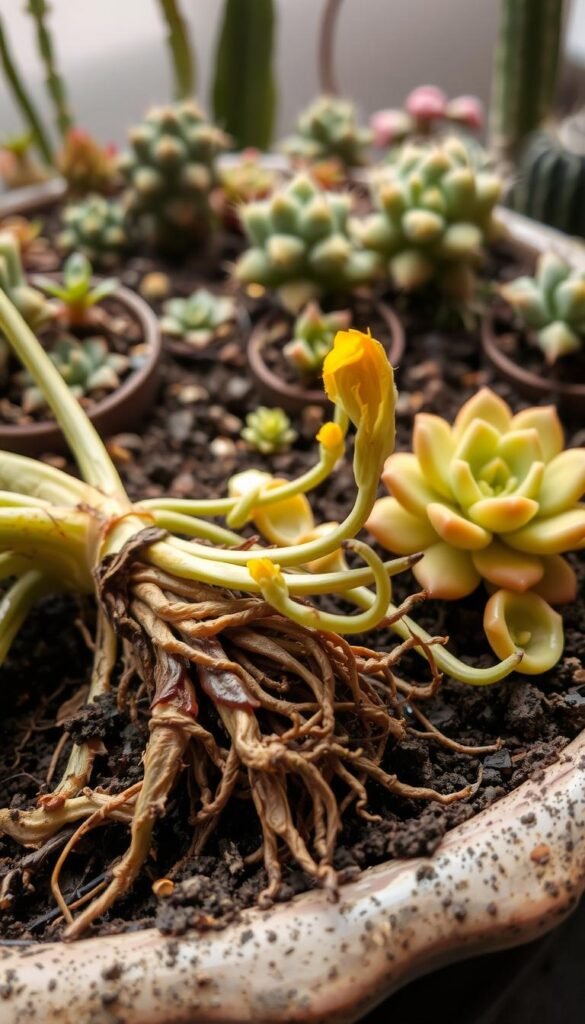
Dish gardens demand precise moisture control to stay healthy. While water keeps plants alive, too much creates perfect conditions for silent invaders. Two main factors combine to create trouble: excess hydration and hidden pathogens waiting to strike.
What Is Root Rot and Why It Occurs
Root rot starts when roots sit in wet soil too long. Without oxygen, they weaken and die. This creates openings for soil-dwelling fungi like Pythium and Phytophthora to attack. These pathogens multiply fastest in damp, poorly drained environments.
Some fungi stay dormant for months until overwatering wakes them. “It’s like flipping a switch,” says plant pathologist Dr. Linda Morrow. “Excess moisture activates fungal spores that devour compromised roots.”
Common Overwatering Mistakes in Dish Gardens
Many gardeners accidentally create ideal fungus habitats. Heavy potting mixes and containers without drainage holes trap water. Grouped plants in dish gardens share limited air circulation, slowing evaporation.
| Fungal Type | Preferred Conditions | Prevention Tip |
|---|---|---|
| Pythium | Cool, wet soil | Water less in winter |
| Phytophthora | Warm, stagnant water | Use fast-draining soil |
| Fusarium | High humidity | Increase air flow |
Seasonal changes matter too. Fungi become more active in specific temperatures. Adjust watering frequency as weather shifts – less in cool months, slightly more in summer heat. Always check soil moisture before adding water.
How to Prevent Overwatering and Root Rot in Your Dish Garden

Keeping your miniature garden thriving starts with understanding its unique hydration needs. Two critical skills separate successful growers from struggling ones: accurate moisture assessment and timely problem detection.
Mastering the Dry Touch Technique
Your finger becomes the best tool for preventing root rot. Push it 2″ deep near container edges – if soil sticks, wait. Desert plants like cacti need completely dry soil, while tropical varieties prefer slightly damp conditions.
For precision gardeners, soil moisture meters offer digital clarity. These $10 tools measure wetness at root level, eliminating guesswork. Pro tip: Test multiple spots since water distribution can vary.
Decoding Plant Distress Signals
Leaves tell secret stories about root health. Lower foliage turning yellow while soil stays wet screams trouble. “It’s like the plant’s sending an SOS from underground,” notes urban gardener Mia Torres.
Watch for these red flags:
- New growth stops despite adequate light
- Stems feel mushy near soil line
- Earth smells sour instead of earthy
Catch issues early, and you can often save plants with simple quick fixes. Wait until symptoms spread, and recovery becomes much harder. Weekly checkups help spot changes before they escalate.
Choosing the Right Potting Mix and Ensuring Proper Drainage
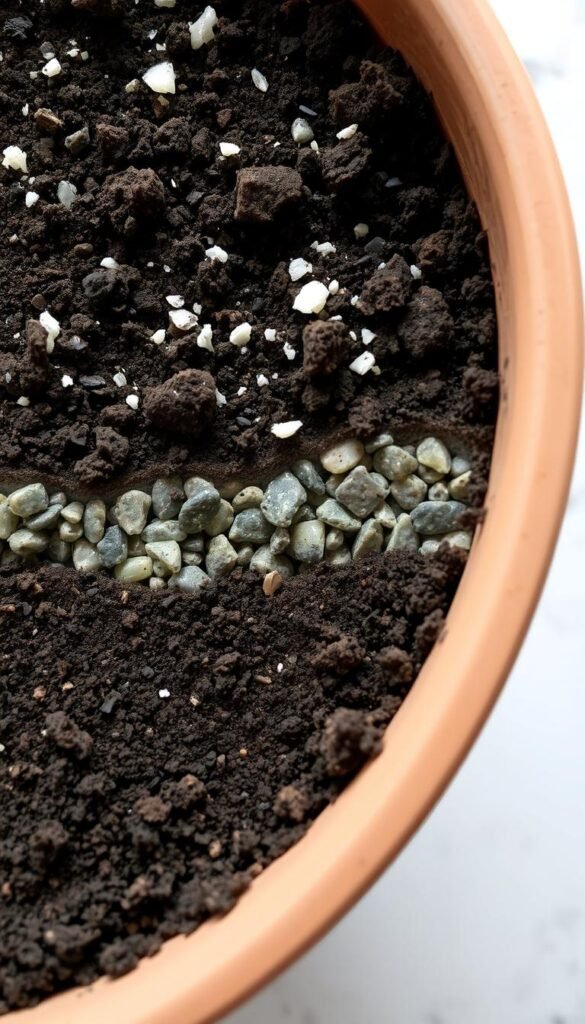
The secret to healthy roots lies beneath the surface. Your plants’ vitality depends on two critical allies: quality potting materials and smart container design. Together, they create an environment where roots thrive instead of drown.
Why Your Soil Needs Air Pockets
Well-draining potting mix acts like a breathable mattress for roots. Perlite’s white volcanic particles create essential air channels. “These tiny spaces let water flow through while keeping roots oxygenated,” explains horticulturist Rachel Green.
For heavy soils, mix in equal parts:
- Peat moss for moisture balance
- Bark chips for structure
- Perlite for rapid drainage
This combination prevents soggy conditions while retaining enough moisture between waterings. Always choose pasteurized mixes to avoid introducing harmful fungi.
Your Container’s Hidden Superpower
Drainage holes serve as emergency exits for excess water. Small containers need at least three quarter-inch openings. Terra cotta pots naturally wick moisture, while plastic types require more holes.
Test your container’s drainage capacity:
- Water until liquid flows out bottom
- Time how long soil takes to stop dripping
- Adjust soil mix if drainage takes >2 minutes
Elevate pots using feet or gravel trays to prevent water pooling. This simple step keeps roots high and dry between water sessions.
Early Signs and Effective Treatment for Root Rot
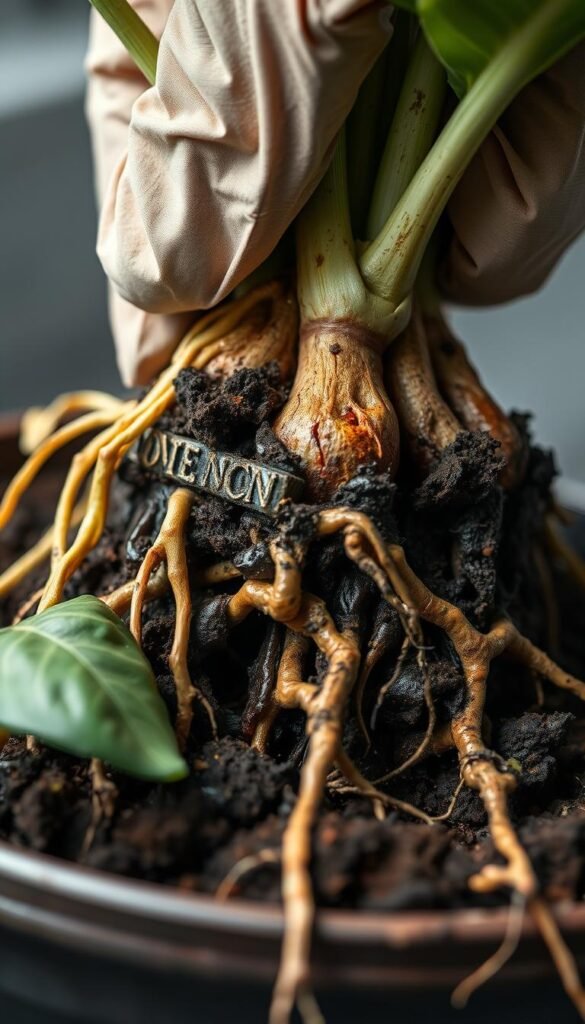
Catching root issues early makes all the difference between plant recovery and loss. Timely action can rescue greenery that seems beyond saving. Let’s break down detection methods and revival strategies.
Reading Your Plant’s Hidden Messages
Yellow leaves often wave the first red flag. Check if older foliage discolors while new growth stalls. Mushy stems near soil level signal advanced decay.
Healthy roots feel firm like fresh asparagus. Infected ones crumble like overcooked pasta. “Trust your nose – that sour smell means trouble’s brewing underground,” advises plant rehab specialist Marco Perez.
| Healthy Roots | Infected Roots |
|---|---|
| White/cream color | Brown/black coloration |
| Firm texture | Mushy consistency |
| Earthy scent | Rotten egg odor |
Rescue Protocol for Struggling Plants
Follow these steps to give greenery a second chance:
- Remove plant gently, shaking off old soil
- Rinse roots under lukewarm water
- Snip damaged parts with sterilized scissors
- Air-dry roots for 24 hours
- Repot in fresh, sterile mix
Use clean containers to prevent reinfection. For persistent issues, consider hydroponic solutions that bypass soil entirely. Most plants bounce back within 3-4 weeks with proper aftercare.
Rotate treated specimens away from other plants during recovery. Monitor moisture closely – let soil dry completely between waterings until new growth appears.
Parting Tips for a Thriving Dish Garden
Building a resilient dish garden ecosystem starts with disease-free plants and sterile tools. Source greenery from trusted nurseries that certify healthy roots. New additions need a 3-week quarantine period – this isolation helps spot hidden issues before they spread.
Cleanliness wins half the battle. Wipe scissors and pots with rubbing alcohol after each use. For stubborn cases, a bleach solution kills lingering fungal spores. Fresh potting mix should always come sealed from reputable brands.
Hold off fertilizer when nursing recovering plants. Excess salts from nutrients weaken roots, inviting trouble. Once new growth appears, use half-strength formulas until full recovery.
Bright indirect light and gentle airflow create conditions fungi hate. Rotate containers weekly for even exposure. Adjust your approach with seasonal changes using smart watering routines that match your plants’ needs.
Sharp observation beats cure every time. Notice leaf color shifts or slowed growth? Check soil moisture first. Remember – healthy gardens reward those who spot whispers before they become shouts.

