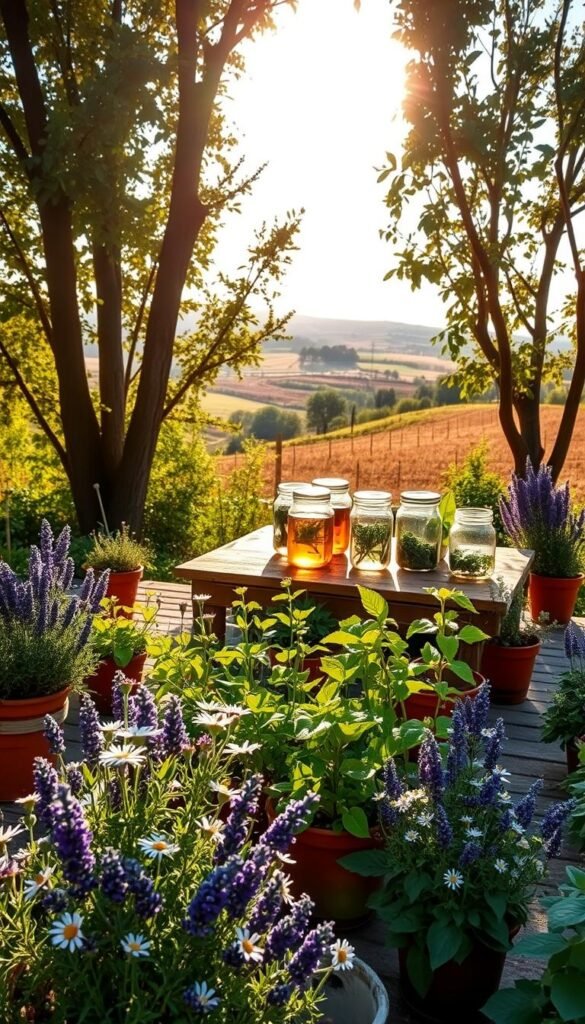
Twenty years ago, Denver’s health stores taught me a vital lesson: quality plants make powerful remedies. Facing shelves of mysterious jars, I created my first bitter brew – but that clumsy attempt sparked a passion for unlocking plants’ hidden potential.
Today, your backyard holds everything needed for vibrant wellness solutions. Growing therapeutic plants lets you craft blends that match your exact needs. Unlike store-bought options, homegrown ingredients guarantee freshness and potency.
This guide reveals simple methods to turn fresh leaves into soothing infusions. You’ll learn which plants thrive in different climates and how timing affects their healing properties. Even small spaces can yield enough chamomile for stress relief or peppermint for digestion support.
Discover how proper drying techniques preserve essential oils in rosemary or lemon balm. Master blending ratios to create balanced flavors while maximizing health benefits. Your personalized apothecary awaits – no fancy equipment required.
Seasonal harvesting ensures year-round access to nature’s remedies. From spring’s energizing nettle to winter’s calming lavender, each plant offers unique advantages. Start with three versatile varieties and expand as confidence grows.
Understanding the Benefits of a Medicinal Herbs Garden
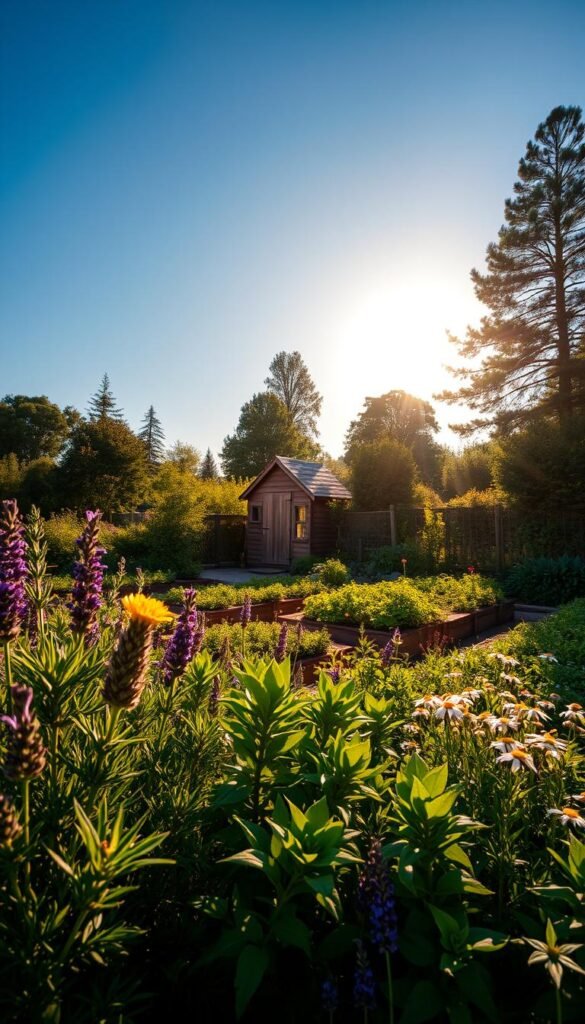
Imagine stepping into your backyard and finding a living pharmacy at your fingertips. Growing therapeutic plants lets you skip store shelves filled with uncertain-quality products. Fresh leaves and flowers picked minutes before brewing retain 90% more essential oils than dried commercial alternatives.
Your green space becomes a dual-purpose resource. Common kitchen staples like oregano and thyme double as immune boosters, while peppermint soothes digestion naturally. These multi-tasking plants let you address minor health issues while cooking dinner.
You control what touches your plants from seed to harvest. No mystery sprays or synthetic fertilizers compromise their natural healing properties. This purity matters—studies show organically grown herbs contain 28% higher antioxidant levels.
Seasonal harvesting creates year-round wellness solutions. Spring’s tender nettle leaves make energizing infusions, while autumn’s echinacea roots fortify winter immunity. Start with easy-to-grow options that thrive in containers or small plots.
Unlike synthetic medications, plant-based remedies work with your body’s rhythms. Their effects build gradually, supporting long-term health without harsh side effects. Your personal patch of earth becomes a sustainable source of gentle, effective care.
Setting Up Your Own Herbal Tea Garden
Your first medicinal plants can thrive where you least expect—think jars on windowsills. Space constraints disappear when you realize most healing greens need just six hours of sunlight daily. Even basil stems from grocery store bunches sprout roots in water glasses, offering instant gardening gratification and proving how easy grow projects can be.
Container choices make all the difference. Clay pots breathe better than plastic, while self-watering planters prevent overhydration. “The best gardens grow from observing what thrives in your unique environment,” notes an urban farming expert from Fine Gardening.
Consider these space-smart options:
| Container Stars | Ground Champions | Avoid Planting Together |
|---|---|---|
| Mint | Lemon Balm | Dill & Carrots |
| Thyme | Echinacea | Chamomile & Cabbage |
| Oregano | Calendula | Basil & Rue |
Start with three multi-use varieties like sage (soothes sore throats and enhances poultry). Match your plant picks to frequent needs—stress relief or immune support. Drainage holes and daily sun access prove more crucial than fancy tools.
Watch parsley regrow from leftover stems in shallow bowls before committing to seeds. This trial phase helps identify which greens align with your climate and consumption habits. Soon you’ll harvest peppermint for headaches while waiting for coffee to brew.
Harvesting and Preparing Fresh Herbs for Tea
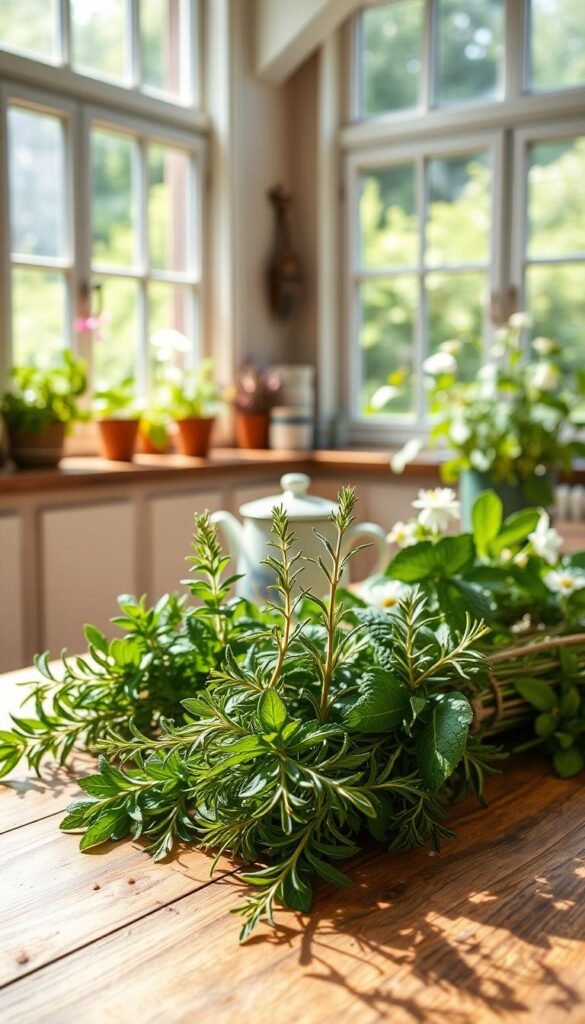
Morning sunlight filters through your garden as you approach with scissors in hand—this golden hour holds the secret to potent plant oils. Timing your harvest right makes the difference between mediocre and magnificent brews. Those dew-kissed stems you’ve nurtured need precise handling to lock in their healing powers.
Best Time and Techniques for Harvesting
Snip stems when morning dew evaporates but before noon heat arrives. This 2-3 hour window preserves peak oil concentration in leaves and flowers. For mint and basil, harvest just before buds form—their leaves pack maximum flavor at this stage.
Blooms like chamomile or calendula demand different timing. Pluck flowers when petals fully open but before they wilt. Their vibrant colors signal peak therapeutic compounds ready for your teapot.
Tools and Tips for a Clean Harvest
Sharp scissors prevent plant trauma better than hand-picking. Clean cuts heal faster, letting your herbs regrow quickly. Always sanitize blades with vinegar solution to avoid spreading diseases between plants.
Never collect damp leaves after rain or watering. Moisture invites mold during drying—wait 24 hours after watering for crisp, dry harvests. Store cuttings in breathable baskets instead of plastic bags to maintain freshness until processing.
Proper Techniques for Drying and Storing Your Herbs
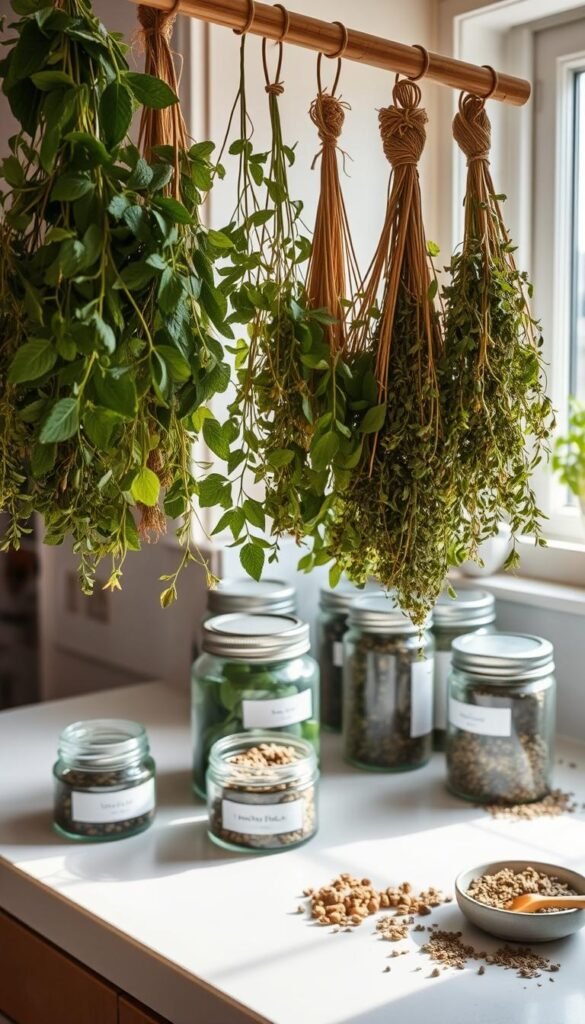
Freshly picked plants transform into pantry staples when dried correctly. Speed matters most – process your harvest within hours to lock in flavor and healing compounds. Gently shake stems to dislodge dirt or tiny visitors before laying them on mesh racks.
For quick results, use an oven set below 125°F. Low heat preserves delicate oils that give mint its cooling zing or chamomile its calming power. Keep the door slightly open and check every 15 minutes. Air-drying works beautifully for sturdy leaves like sage – hang small bunches in a shaded room with good airflow.
Test dryness by crushing a leaf between your fingers. Properly cured plants snap crisply, while bendy ones need more time. Remove stems from broad-leaf varieties to prevent moisture traps. Store your treasures in glass jars away from sunlight, labeling each container with dates.
Dried materials stay potent for 12 months, though they remain safe for up to two years. Rotate older stock into family-friendly projects as new harvests arrive. With these methods, you’ll always have vibrant flavors and remedies within reach.
Herbal Teas at Home: How to Use Your Medicinal Herbs Garden Effectively
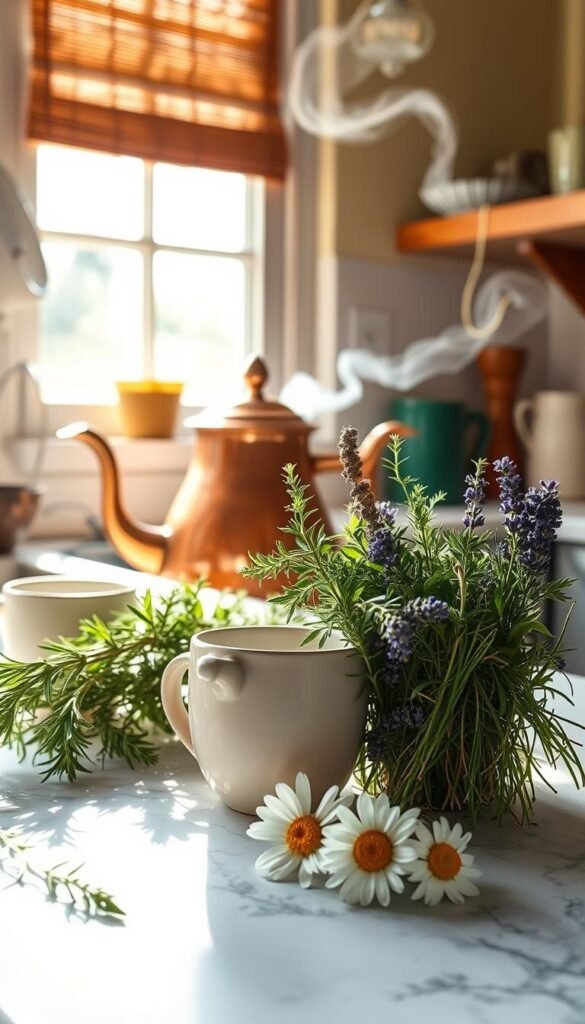
That first sip of golden chamomile infusion tastes different when leaves come from your patio pots. Freshly picked plants offer 40% more volatile oils than store-bought alternatives, creating richer flavors and stronger therapeutic effects. While grocery shelf teas lose potency during processing, your garden-to-cup approach preserves nature’s full benefits.
Seasonal availability challenges become opportunities with proper preservation. Air-dry summer’s bounty to enjoy peppermint’s digestive aid in December snowstorms. Frozen lemon balm cubes let you add citrusy zing to winter brews while maintaining 75% of fresh leaf nutrients.
| Fresh Garden Herbs | Dried Homegrown | Commercial Teas |
|---|---|---|
| Peak essential oils | Year-round access | Standardized potency |
| Vibrant colors | Concentrated flavors | Added preservatives |
| Immediate use | Space-efficient storage | Unknown sourcing |
Store-bought options often miss the mark. Mass-produced blends may use stems instead of leaves, reducing effectiveness. Your controlled steeping times (5-7 minutes for flowers, 10-12 for roots) extract maximum healing compounds commercial producers can’t match.
Keep three jars handy: one for daily mint infusions, another for immune-boosting echinacea blends, and a third for stress-relief mixes. Rotate stocks every six months to maintain potency. Your personalized apothecary stays fresh when you harvest with purpose and store with care.
Brewing Methods: Infusions and Decoctions Explained
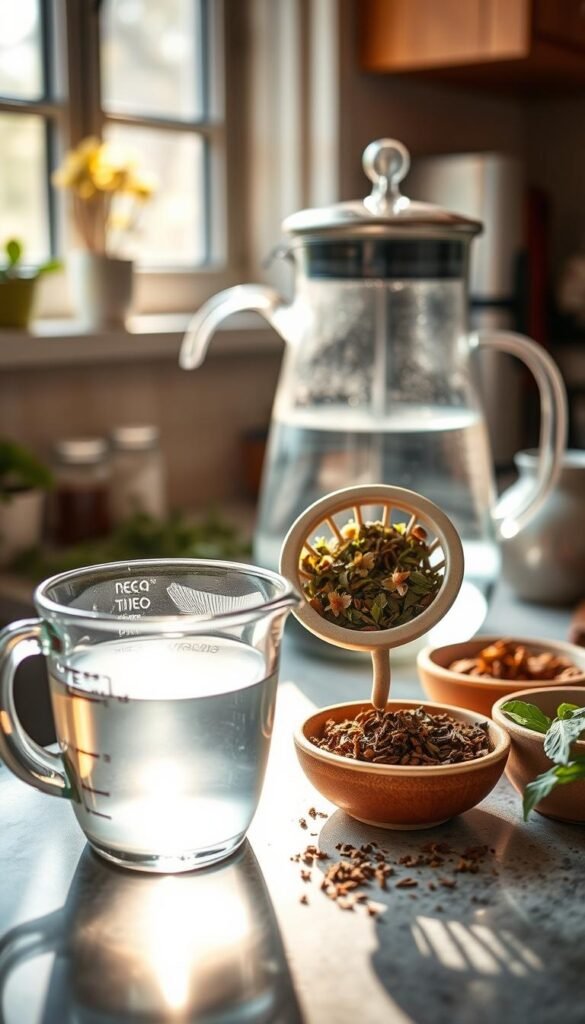
The difference between a lackluster brew and a powerhouse tea comes down to one choice: infusion or decoction. These two methods determine whether you extract maximum benefits from your plants or leave their potential untapped.
Understanding Infusions for Delicate Leaves and Flowers
Gentle steeping works best for fragile plant parts. Pour boiling water over fresh or dried flowers and leaves, then cover immediately. This traps volatile oils that evaporate quickly. Steep mint or chamomile for 10 minutes—longer than commercial tea bags—to release 70% more beneficial compounds.
Always use filtered water heated to 200°F. Glass or ceramic containers prevent metallic tastes. “Infusions preserve delicate aromas that factory processing destroys,” notes a UCLA herbalism study. Your patience rewards you with vibrant flavors and potent effects.
Decoctions: Extracting Maximum Benefits From Roots and Bark
Tough plant materials need tougher treatment. Simmer chopped roots, stems, or bark in water for 20-60 minutes. This slow heat breaks rigid cell walls, releasing minerals and antioxidants. Ginger root becomes 3x more potent when decocted versus steeped.
Combine methods when using mixed plant parts:
- Simmer roots first (20 minutes)
- Remove from heat
- Add leaves/flowers
- Steep covered (10 minutes)
This layered approach ensures every herb contributes its full spectrum of benefits. Your morning brew becomes a customized wellness elixir.
Step-by-Step Guide to Making Medicinal Herb Tea
Two proven techniques transform dried leaves into healing elixirs. Whether you need deep relaxation or quick relief, these methods help you extract maximum benefits from your plants. Always start with clean glass containers and filtered water for pure flavors.
Cold Brew for Complex Flavors
Fill a quart jar with 4-5 tablespoons of dried medicinal herbs. Pour slightly cooled boiled water (180°F) over them, leaving half an inch of space. Seal tightly and steep 4-12 hours at room temperature.
This slow method pulls out subtle compounds commercial processing destroys. Strain through cheesecloth into a pitcher. Store chilled for 3 days – perfect for iced tea lovers.
Speed Steeping for Busy Days
Simmer chopped roots in a saucepan for 15 minutes. Turn heat to its lowest setting before adding leaves or flowers. Let them dance in barely warm water for another 15 minutes.
Use 1 teaspoon dried or 2 teaspoons fresh herbs per cup. This hybrid approach balances time efficiency with potent results. Drink within 4 hours for peak freshness or refrigerate leftovers.
Both methods let you control strength and dosage. Experiment with ratios until your medicinal herb tea matches your needs. Remember – quality herbs make every sip count.

