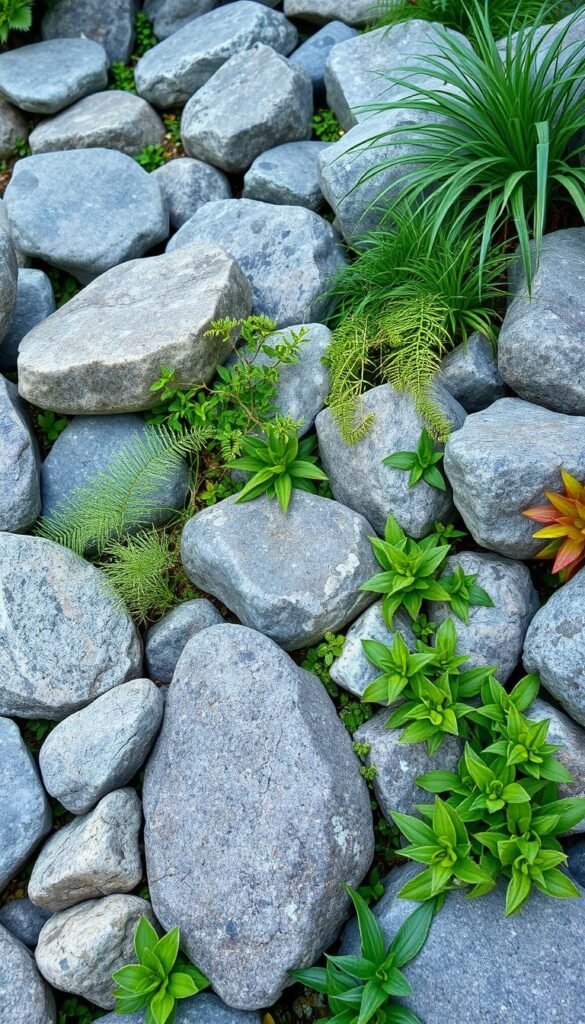
Imagine stepping into a yard where rugged beauty meets effortless care. Natural stone arrangements paired with drought-resistant plants offer a fresh approach to designing inviting outdoor areas. These spaces not only look striking year-round but also solve common issues like poor drainage while reducing water usage.
You’ll discover how balancing different stone sizes with strategic plant placement creates depth and movement in your layout. From cozy corner features to expansive showpieces, these designs adapt to various climates and property sizes. Many homeowners find them ideal replacements for high-maintenance lawns, especially when working with sloped or uneven terrain.
Smart material choices make these projects achievable for any budget. Local quarry stones often cost less than imported materials, while native plants thrive with minimal attention. For more inspiration on creating eye-catching outdoor areas, explore our guide to elevating your space with a gardening.
Whether you’re enhancing a small patio or reimagining your entire yard, stone-focused designs add structure and visual interest. They create natural focal points that guide the eye while preventing soil erosion – proving practical solutions can be beautiful too.
Understanding the Benefits of Rock Garden Landscaping
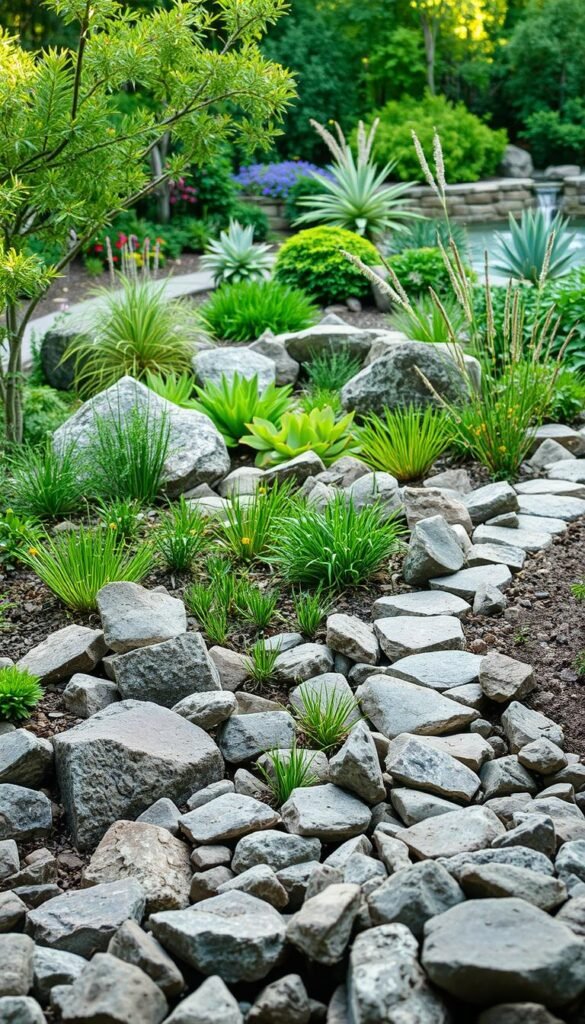
Why spend weekends mowing when your outdoor area can maintain its charm with smart design? Stone-focused layouts offer practical solutions that keep your yard looking sharp through every season. These arrangements work smarter, not harder, using nature’s own tools to create resilient spaces.
Low upkeep stands out as the top advantage. Unlike thirsty grass lawns, these designs slash water use by up to 60% in dry climates. You’ll save hours previously spent trimming edges or raking leaves.
| Feature | Traditional Lawn | Stone Layouts |
|---|---|---|
| Weekly Maintenance | 3-5 hours | 30 minutes |
| Water Needs | High | Minimal |
| Wildlife Support | Limited | Butterflies, birds |
Rocks act as natural temperature regulators. Their thermal mass protects roots during frosts and heatwaves. This stability helps drought-tolerant varieties like sedum thrive without constant attention.
You’ll also notice fewer pest problems. Stone beds discourage weeds while attracting pollinators. The result? A lively ecosystem that flourishes with zero chemicals. Plus, the textured look stays photogenic even when flowers fade.
Drainage improves dramatically too. Gravel layers prevent soggy soil, keeping plant roots healthy during heavy rains. This built-in water management means no more swampy patches after storms.
Rock Garden Landscaping Backyard Ideas: Blending Stones and Greenery for Texture
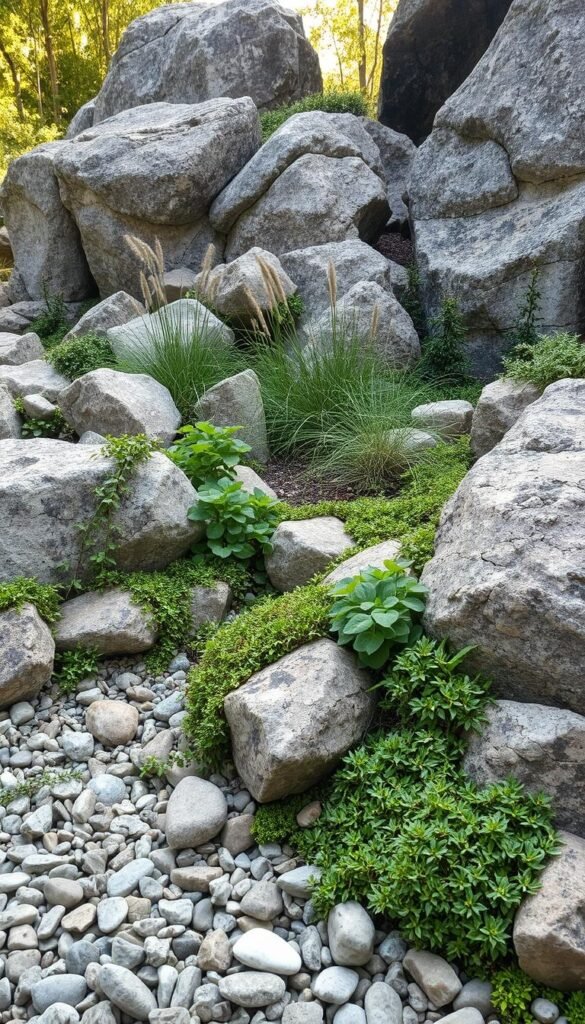
Discover how to craft eye-catching landscapes using varied stone sizes and plants. Start by layering different-sized materials to build depth. Massive boulders anchor spaces, while pebbles fill gaps naturally. This technique mimics how stones settle in wild environments.
Color coordination matters. Warm-toned stones complement earthy homes, while cool grays suit modern exteriors. Mix rough and smooth surfaces to add tactile interest. For example, pair jagged slate with polished river rocks.
| Rock Size | Best Use | Plant Pairing |
|---|---|---|
| Boulders (12-24″) | Focal points | Creeping thyme |
| Medium (4-8″) | Path borders | Sedum clusters |
| Pebbles (1-3″) | Ground cover | Moss varieties |
Softening edges creates balance. Tuck low-growing plants like blue star creeper between stones. Their delicate leaves contrast beautifully with rugged surfaces. Leave breathing room – clusters of greenery prevent overcrowding.
Arrange materials in curved patterns for organic flow. Avoid straight lines unless aiming for formal looks. Gradually shift from larger to smaller rocks between zones. This guides the eye smoothly through your space.
Remember: every choice impacts the final feel. Test layouts with garden hoses before setting stones. Adjust until you achieve that effortless, nature-inspired look.
Incorporating Natural Elements for a Dynamic Outdoor Space
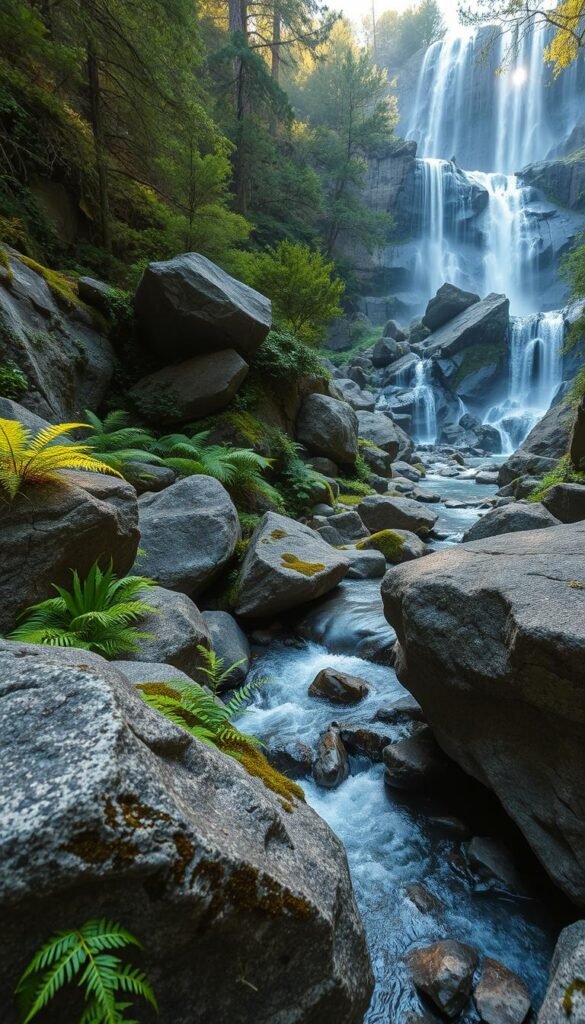
Transform your yard into a living masterpiece by mixing rugged materials with flowing elements. Strategic combinations of hardscapes and organic forms turn ordinary spaces into multi-sensory experiences. Let’s explore how to balance permanence and growth.
Using Boulders and Pebbles for Structure
Massive boulders act as nature’s furniture. Position one near seating areas to create sheltered nooks. Smaller stones fill gaps between these giants, forming natural stepping patterns.
Pebbles shine as problem-solvers. Use them to:
- Define winding paths that invite exploration
- Create dry creek beds for rainwater management
- Frame DIY garden art installations
| Element | Function | Visual Impact |
|---|---|---|
| Boulders | Anchor points | Dramatic focal areas |
| Pebbles | Path surfaces | Subtle texture |
Integrating Water Features and Lush Greenery
Moving water brings energy to stone arrangements. A simple recirculating fountain adds motion without complex plumbing. Surround it with moisture-loving ferns for contrast.
Choose plants that thrive in rocky conditions. Silver mound artemisia and blue fescue grass offer softness against stone surfaces. Their muted colors let boulders take center stage.
Remember: every splash and leaf should enhance your space’s natural rhythm. Test water flow rates to match your desired ambiance – gentle trickles relax, while cascades energize.
DIY Projects That Transform Your Backyard with Rock Designs
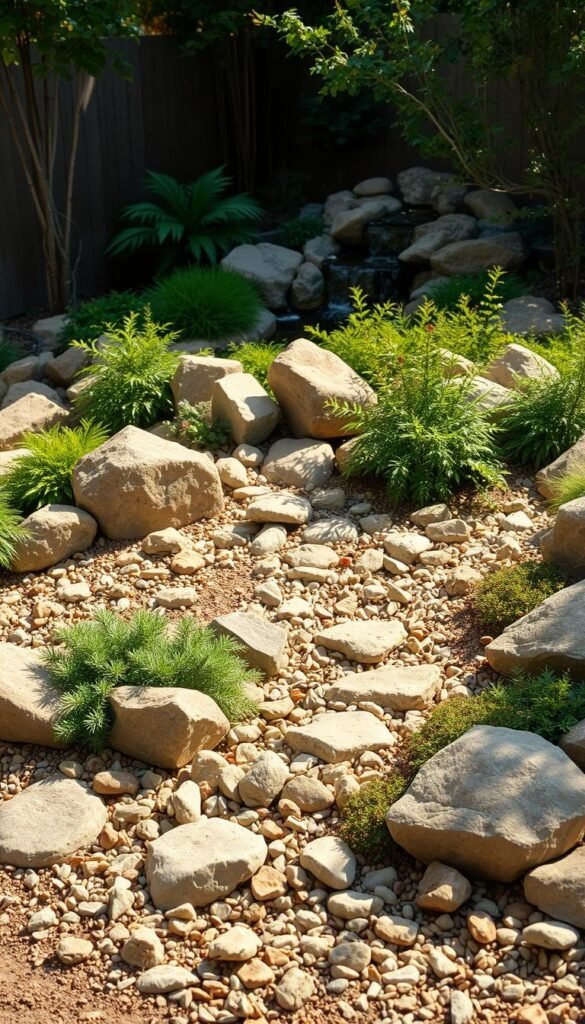
Turn your weekend into a creative adventure with simple stone projects that elevate ordinary spaces. These hands-on ideas let you craft personalized features without breaking the bank. Start by sketching your vision – even rough drawings help clarify material needs and layout flow.
Planning and Sourcing Materials
Smart preparation saves time and money. Measure your area twice to calculate stone quantities accurately. Check local quarries for discounted “seconds” – imperfect pieces that add character. Many municipalities offer free rocks through erosion control programs.
| Material Source | Average Cost | Best For |
|---|---|---|
| Landscape Suppliers | $50-$150/ton | Large boulders |
| Reclamation Yards | Free-$30/load | Unique shapes |
| Online Marketplaces | 50% off retail | Small quantities |
Step-by-Step DIY Installation Tips
Begin with soil prep – remove weeds and add 2″ of gravel for drainage. Place largest stones first, burying ⅓ of their height for stability. Fill gaps with drought-resistant plants like hens-and-chicks. For raised beds, stack flat stones using the timeless aesthetic of dry-stack techniques.
Use a hand truck for heavy lifting. Create depth by mixing stone sizes – three varying dimensions work best. Finish with tumbled glass accents between pebbles for subtle sparkle. Your new feature will weather beautifully, needing only occasional debris removal.
Enhancing Curb Appeal with Unique Rock Arrangements
Your home’s exterior tells a story before guests even reach the door. Thoughtful stone placements create instant curb appeal while solving practical challenges. Let’s explore how to turn functional elements into artistic statements that welcome visitors year-round.
Strategies for Effective Rock Trims
Clean borders transform messy edges into polished features. Use angular slate pieces along walkways to create crisp lines that withstand foot traffic. For curved beds, try smooth river rocks that follow organic shapes naturally.
| Material | Best Placement | Maintenance Level |
|---|---|---|
| Flagstone | Driveway edges | Low |
| Crushed granite | Planter outlines | None |
| Brick pavers | Entryway accents | Moderate |
House numbers carved into flat stones offer dual-purpose charm. Position them near entry lights for nighttime visibility. One homeowner shared:
“Our engraved address stone became the neighborhood conversation starter – and we never miss a package delivery!”
Color coordination ties everything together. Match warm sandstone with brick exteriors, or pair cool bluestone with modern facades. Add visual pop by tucking drought-tolerant sedum between larger pieces – their seasonal blooms create changing interest.
Remember: focal points guide the eye. Cluster three varied-sized boulders near your mailbox or porch. Top them with trailing plants that soften the arrangement. These maintenance-free features stay photo-ready through snow, rain, or summer heat.
Choosing the Perfect Plants for Your Rock Garden
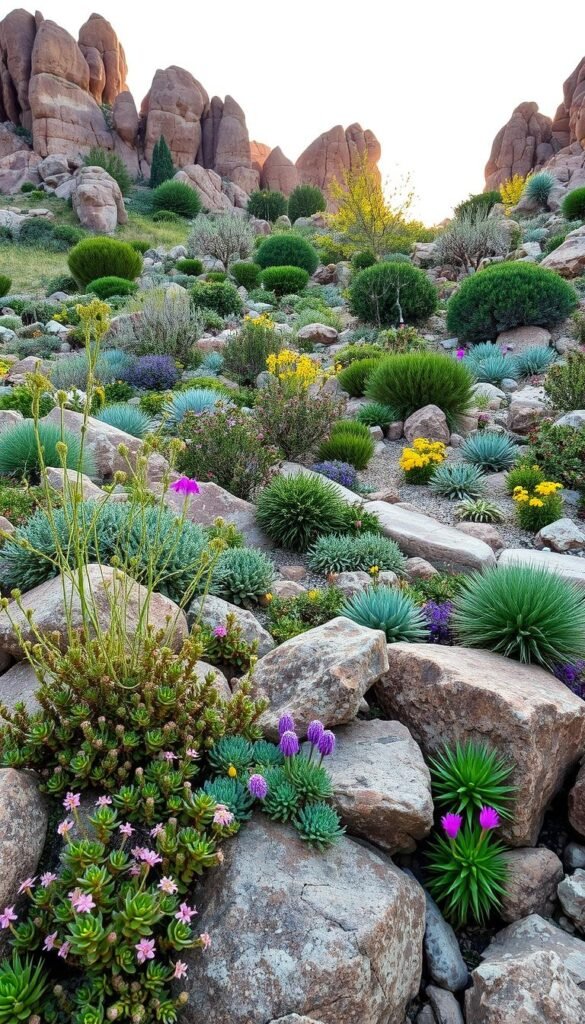
Selecting the right greenery transforms stone layouts into living art. The secret lies in matching resilient species with your terrain’s unique conditions. Let’s explore how to create thriving partnerships between flora and mineral elements.
Low-Maintenance and Drought-Resistant Varieties
High-altitude survivors make ideal candidates. Ice plants dazzle with magenta blooms while needing just 6″ of annual rain. Their fleshy leaves store moisture, thriving where other plants wither.
| Plant Type | Water Needs | Sun Exposure |
|---|---|---|
| Sedum | Low | Full sun |
| Blue Fescue | Moderate | Partial shade |
| Lavender | Low | Full sun |
Miniature conifers add evergreen structure. Their slow growth prevents overcrowding. Pair them with ornamental grasses for movement that dances in breezes.
Pairing Succulents with Rock Elements
Succulents mirror stone textures beautifully. Echeveria rosettes echo rounded boulders, while vertical Sansevieria complements angular slate. Match silver-leaf varieties with cool-toned rocks for cohesion.
One gardener shared:
“My red yucca’s coral blooms pop against charcoal basalt – it looks fire-kissed year-round!”
Time plantings with seasonal changes. Spring-blooming Aubrieta cascades over ledges, while autumn Stonecrop offers rusty hues. For more design strategies, explore professional rock garden layouts that balance flora and hardscapes.
Balancing Colors and Textures: Stones, Pebbles, and Blooming Accents
Your outdoor space becomes a living canvas when you master the interplay of hues and surfaces. Start by choosing three dominant colors from your home’s exterior or natural surroundings. Earthy reds and golden yellows pop against gray stones, while purple blooms add depth to neutral palettes.
Warm vs. cool tones create visual drama. Pair rust-colored boulders with blue-green succulents for striking contrast. Use this simple guide to mix shades effectively:
| Base Color | Complementary Accent | Texture Pairing |
|---|---|---|
| Charcoal | Silver foliage | Polished pebbles |
| Sandstone | Red yucca | Rough-cut slate |
Mix smooth and jagged surfaces to engage multiple senses. River rocks nestled against spiky dianthus leaves create tactile interest. One gardener noted:
“The crunch of gravel underfoot makes my path feel intentional, while fuzzy lamb’s ear softens the edges.”
Seasonal blooms should enhance, not overpower. Choose plants like drought-tolerant gaillardia that offer six weeks of color without constant care. Their fiery petals contrast beautifully with muted stones.
Neutral bases let accents shine. Light gray gravel makes purple salvias appear richer, while tan sandstone intensifies green sedums. Layer textures from coarse boulders to fine sand, creating movement that guides the eye naturally through your design.
Creating Functional Walkways and Natural Steps
Pathways become storytellers in your outdoor space, guiding feet while protecting delicate roots. Smart designs blend practicality with visual harmony, turning necessary routes into design features that last decades.
Designing Pebble Paths and Rock Steps
Start with purpose. Curved trails invite leisurely strolls, while straight lines suit utility routes. Bury flat stones partially for stable stepping surfaces. One gardener shared:
“Our zigzag path up the slope feels like a mountain trail – kids race along it daily!”
Mix materials for visual rhythm. Try this combo:
| Pebble Size | Best Use | Stability |
|---|---|---|
| 1/4″ | Filler between steps | High |
| 1/2″ | Main path surface | Medium |
| 1″ | Edging accents | Low |
Secure loose pebbles with polymeric sand. It hardens when wet, preventing washouts. For family-friendly spaces, consider wider paths (36-42″) that allow side-by-side walking. Engage young helpers by letting them arrange colorful stones – a perfect gardening activity for building fine motor.
Sloped areas demand stepped solutions. Use irregular boulders as natural risers, spacing them 6-7″ apart for comfortable climbing. Always test layouts by walking them repeatedly before finalizing. Your finished route should feel intuitive, like nature placed each stone itself.
Integrating Zen and Minimalist Designs into Your Garden
Crafting a space for quiet reflection starts with stripping away the unnecessary. Zen principles teach us to find beauty in simplicity through intentional arrangements of natural elements. These meditative spaces use carefully curated materials to spark inner calm.
Establishing a Tranquil Zen Zone
Begin with a clean slate – literally. Remove existing vegetation and level your chosen area. A 6×8 foot space works well for most yards. The foundation matters: use crushed granite or coarse sand for proper drainage.
Material selection follows symbolic meanings in Japanese tradition. Odd-numbered stone groupings represent islands amidst “water” created through raked patterns. Consider this guide:
| Material | Purpose | Recommended Use |
|---|---|---|
| White sand | Water symbolism | Central areas |
| Pea gravel | Dry riverbeds | Border accents |
| Granite boulders | Mountain forms | Focal points |
Raking becomes moving meditation. Traditional bamboo tools create waves symbolizing ocean currents. Circular patterns promote harmony, while straight lines suggest flowing streams. One practitioner shares:
“Morning raking clears my mind better than coffee – it’s become my favorite daily ritual.”
Maintain your sanctuary with a stiff broom and fine-tooth rake. Avoid colored stones that distract from natural tones. For existing layouts, add a Zen corner using slate stepping stones leading to a single weathered boulder. The key lies in purposeful emptiness – let each element breathe.
Seamlessly Blending Water Features with Rock Landscapes
There’s magic in how moving water interacts with stone. When placed thoughtfully, these elements create a natural partnership that delights both eyes and ears. The trick lies in choosing water features that complement your existing layout rather than compete with it.
Start by considering scale. A small recirculating fountain adds gentle sound without overwhelming cozy spaces. For larger areas, tiered designs mimic mountain streams, their cascades catching sunlight through the day. Position them near seating spots to amplify relaxation benefits.
Stones guide water’s flow while preventing erosion. Bury part of a basin behind boulders for hidden functionality. Add pebble borders to blend edges naturally with your terrain. This approach works beautifully with rock fountains designed for patios, which thrive in tight spaces.
Maintenance stays simple with strategic placement. Keep pumps accessible behind removable stones. Use native plants around water elements to attract dragonflies – nature’s pest control. Your landscape becomes a living ecosystem where every drop and pebble plays its part.

