
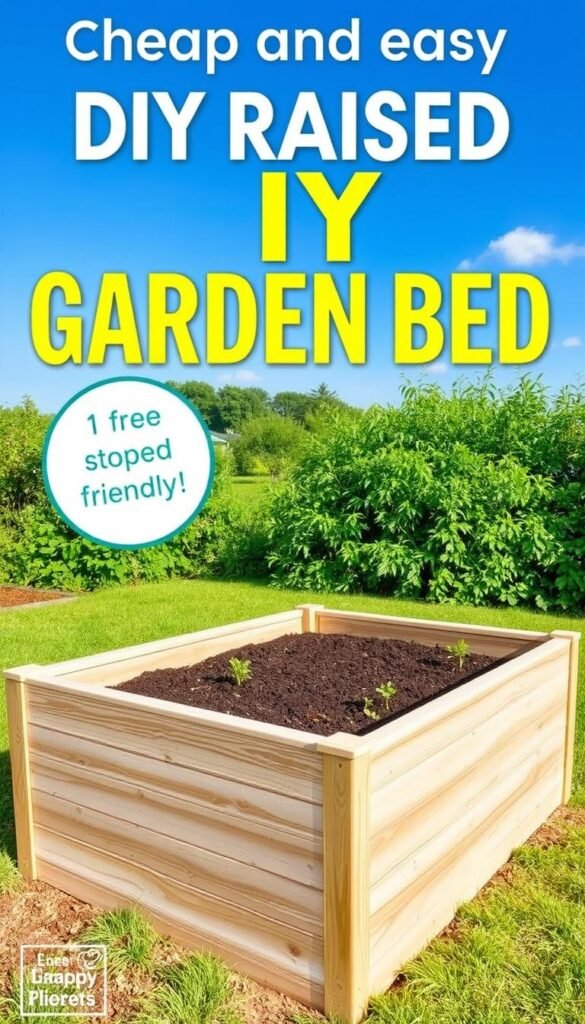
Want fresh veggies without spending a fortune? Building your own planting space costs less than $22 per box using simple materials. Cedar fence planks – priced around $3.15 each – create a sturdy, chemical-free foundation. You’ll need just six boards to assemble a durable frame that lasts years.
Why choose cedar? Its natural oils fight rot better than treated wood, keeping your soil safe for edible plants. Unlike store-bought kits, this budget-friendly approach lets you customize sizes while saving money. Check out our step-by-step tutorial to learn how simple it is to create these boxes in one afternoon.
Elevated soil warms faster in spring, giving seeds a head start. You’ll dodge common issues like poor drainage or compacted earth. Plus, tending waist-high boxes means less bending – perfect for sore backs or involving kids.
Imagine biting into juicy tomatoes grown in your backyard. With controlled soil quality and smart layouts, these compact spaces yield surprising harvests. One square foot can hold 16 carrot plants or nine spinach heads!
This method isn’t just about growing food. It’s about crafting meals you trust, teaching little ones life skills, and savoring that “I built this” pride. Ready to dig in?
Understanding the Benefits of Raised Garden Beds

Elevated planting spaces offer smart solutions for common growing challenges. These structures create a controlled environment where plants thrive with less effort. Let’s explore how they simplify maintenance and boost productivity.
Water Works Smarter, Not Harder
Excess moisture drowns roots in traditional plots. With elevated setups, water drains efficiently through loose, uncompacted earth. This prevents soggy conditions that cause rot. One study found crops in raised spaces yield 25% more due to better oxygen flow.
Bend Less, Grow More
Working at waist height saves your joints during long sessions. No more kneeling in mud or straining to reach distant plants. The contained design also keeps playful pets from trampling seedlings. As master gardener Lisa Mason notes:
“A well-built planter turns gardening from a chore into a joy – your back will thank you.”
| Feature | Traditional Plot | Raised Setup |
|---|---|---|
| Weed Growth | High | Low |
| Soil Control | Limited | Full customization |
| Accessibility | Bending required | Waist-level access |
| Space Efficiency | 30% walkways | 90% planting area |
You’ll spend minutes instead of hours pulling unwanted plants. The defined borders block invasive roots from neighboring areas. For space optimization ideas, explore our guide to square-foot layouts that maximize every inch.
Quality soil makes all the difference. Unlike native earth that might contain contaminants, you fill these planters with ideal growing mixtures. This control results in healthier crops and fewer pest issues.
Planning Your DIY Raised Garden Bed

Smart layout planning transforms your growing area into a productive oasis. Start by sketching your vision – this helps avoid costly mistakes later.
Choosing the Perfect Location
Sunlight rules your plant selection. Track shadows throughout the day using free apps like Sun Seeker. Leafy greens tolerate partial shade, but tomatoes demand full sun.
Position your structure near water spigots. A 50-foot hose reaches most yards comfortably. Avoid low spots where puddles linger after storms – even elevated planters need drainage help.
Designing a Functional Layout
Four-foot widths let you reach center plants without compacting soil. Leave 30-inch paths between boxes for wheelbarrow access. Landscape fabric under gravel walkways prevents weeds.
| Plant Type | Ideal Position | Spacing |
|---|---|---|
| Tomatoes | North side | 24″ apart |
| Lettuce | South edge | 8″ apart |
| Cucumbers | East/West ends | 12″ apart |
Master gardener Emma Cooper advises:
“Group plants by water needs – it simplifies care and reduces waste.”
Level ground matters most for structural integrity. Use a $10 line level during site prep. Slopes over 2% require terracing adjustments.
Selecting the Right Materials and Lumber

What separates a temporary plot from a lasting growing space? Your choice of wood determines durability, safety, and long-term costs. Let’s break down popular options to help you make informed decisions.
Cedar, Redwood, and Other Options
Cedar boards shine as the sweet spot for most builders. Their natural oils repel insects and slow decay without chemical treatments. At under $4 per board, they offer 5-7 years of reliable service – perfect for budget-conscious growers.
Redwood boasts similar rot resistance but costs nearly double. While beautiful, its price tag makes it impractical for large projects. Douglas Fir provides a cheaper alternative but may need replacing every 3-4 years in moist climates.
| Wood Type | Cost per Board | Durability | Food Safe |
|---|---|---|---|
| Cedar | $3.15-$4.20 | 5-7 years | Yes |
| Redwood | $6.50-$8.00 | 10+ years | Yes |
| Douglas Fir | $2.80-$3.50 | 3-4 years | Yes |
| Pressure-Treated | $4.00-$5.00 | 15+ years | No |
Avoid pressure-treated lumber for edible plants. Though long-lasting, chemicals like copper can seep into soil over time. Untreated pine works for short-term use but decays quickly when exposed to moisture.
Master carpenter Eli Thompson advises:
“Inspect each board for twists or cracks – straight grain patterns handle soil pressure best.”
Local availability impacts costs significantly. Check nearby mills for discounted prices on cedar remnants. Always prioritize untreated, naturally resistant materials to keep your harvests chemical-free.
DIY Raised Garden Bed: Cheap and Easy Projects for Beginners

Watching your planting area take shape feels magical. Many first-timers finish their initial structure in under three hours using basic tools like a drill and saw. Even better? You can create multiple units simultaneously – six fully functional boxes from sunrise to sunset.
Store-bought kits often cost 4x more than homemade versions. Compare options:
| Feature | Commercial Kit | Handmade Design |
|---|---|---|
| Cost per box | $90-$150 | $18-$22 |
| Size Options | 3 standard sizes | Fully customizable |
| Assembly Time | 45 minutes | 30 minutes |
| Material Quality | Thin panels | Durable boards |
That satisfying click when boards lock together? That’s your confidence growing. No advanced skills needed – if you can measure twice and cut once, you’re set. Borrow tools from neighbors or rent them for $10/day at hardware stores.
Custom sizing solves space puzzles. Create narrow boxes against fences or extra-deep units for root vegetables. One user transformed their 8’x4’ balcony into a salad factory using tiered planters they built themselves.
As urban gardener Marco Perez observes:
“The rhythm of construction becomes meditation – hammering nails blends with birdsong.”
Your hands will remember this achievement long after harvest. Those sturdy boxes? They’re not just soil holders – they’re proof that you can shape your environment.
Assembling Your Raised Garden Bed Frame
Transforming raw materials into a functional growing space requires careful execution. Follow these steps to ensure your structure withstands seasons of growth while maintaining its shape.
Measuring and Cutting Lumber
Grab your measuring tape and pencil. Mark the center point on each 6-foot cedar board – this creates ideal 3-foot end pieces. Use a circular saw for clean cuts, keeping edges square for tight joints.
Master carpenter Jake Reynolds advises:
“A square frame starts with precise cuts – double-check measurements before slicing through those boards.”
Constructing a Sturdy Box
Lay two long cedar pieces parallel on a flat surface. Position 10-inch 2×4 corner connectors at each end. These lumber braces create 90-degree angles when you attach the shorter side boards.
Drill pilot holes to prevent wood splitting. Secure each joint with 3-inch exterior screws. Repeat the process for the second layer, stacking boards vertically to double your bed’s depth.
| Component | Quantity | Purpose |
|---|---|---|
| Cedar boards | 6 | Frame walls |
| 2×4 connectors | 4 | Corner support |
| Exterior screws | 24 | Structural fastening |
Add a center support beam along each long side. This prevents outward bowing when filled with soil. Your completed box should feel rock-solid – try pushing the sides to test stability before filling.
Step-by-Step Building Instructions

Building your own growing space becomes simple when following clear directions. Start by gathering tools: a drill, measuring tape, and circular saw. These essentials help create precise cuts and secure joints.
First, trim pointed tops from cedar picket fences if you prefer smooth edges. This optional step takes two minutes per board. Measure and mark two 6-foot boards at their midpoint. Cut them in half to create four 3-foot end pieces.
Lay two long boards parallel with aligned ends. Position a 10-inch connector piece at one end. Drill pilot holes to prevent splitting, then secure with 3-inch screws. Master carpenter Jake Reynolds advises:
“Measure twice, cut once, and check squareness after each connection.”
Stand the connected boards upright with cedar sides down. Place a short end piece perpendicular to form your first corner. Tighten screws through the connector into both boards. Repeat this process for all four corners, ensuring 90-degree angles.
| Component | Quantity | Purpose |
|---|---|---|
| Cedar boards | 6 | Frame walls |
| 2×4 connectors | 4 | Corner support |
| Exterior screws | 24 | Structural fastening |
Add a second layer of boards for extra depth. Install a center support beam along each long side – this prevents bulging when filled with soil. Your frame should feel sturdy enough to handle 15 cubic feet of dirt without bending.
You’ll need to double-check all joints before filling. Make sure screws sit flush with the wood surface. With these steps complete, your custom planter stands ready for soil and seeds.
Essential Tools for Your Project
The right gear turns your vision into reality with precision and ease. Having quality equipment streamlines construction while keeping you safe. Let’s explore what makes the cut for efficient assembly and lasting results.
Power Tools and Safety Equipment
A circular saw delivers clean cuts through cedar boards. Pair it with a sharp blade to prevent splintering. Your drill becomes your best friend for creating pilot holes and securing screws – two steps that prevent wood cracks.
Accurate measurements matter. Use a tape measure and speed square to verify right angles. These tools ensure snug joints that withstand soil pressure. Don’t skip safety glasses – wood chips fly faster than you’d expect.
Protect your hands with thick gloves during assembly. A sturdy shovel simplifies soil transfers once your frame’s ready. For ongoing maintenance, our guide to essential gardening gear covers trowels, pruners, and watering solutions.
You’ll need hearing protection when operating loud tools. Keep a respirator handy if cutting treated wood. With these items, your project progresses smoothly from lumber pile to thriving planter.


