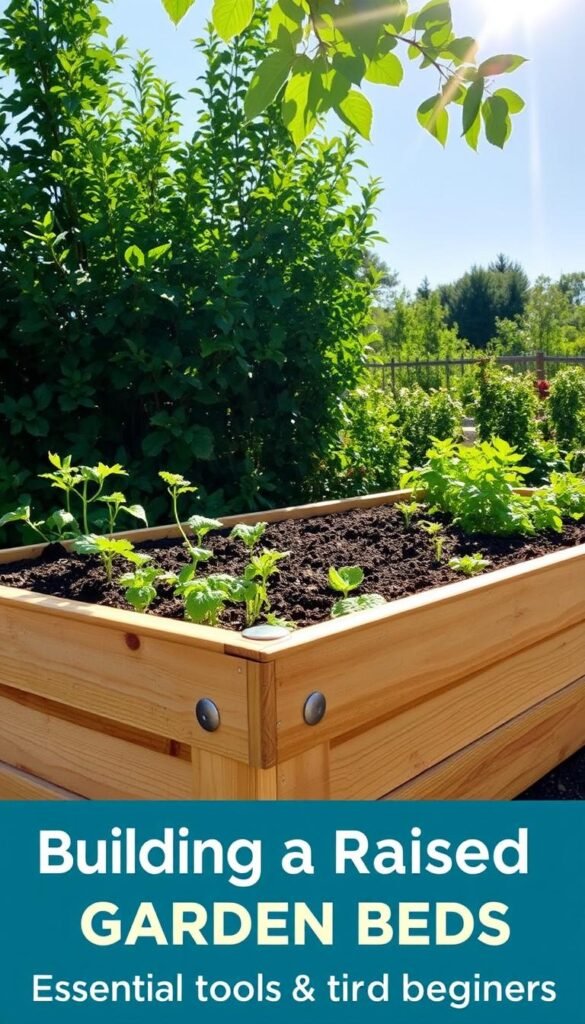
Ready to take your green thumb to new heights? Creating elevated planting spaces offers numerous advantages over traditional methods. These structures provide better soil control, improved drainage, and easier access to your plants.
This hands-on endeavor typically requires about a day to complete, making it perfect for weekend warriors. With an average cost of $100–300 per bed, you’ll invest in materials like durable lumber and weather-resistant screws. Optional add-ons like hardware cloth can protect your plants from pests.
Why choose this approach? Many enthusiasts find it transforms their growing experience entirely. You’ll skip the backaches from bending over and gain precise control over soil quality. Plus, these setups extend growing seasons in cooler climates.
Our walkthrough simplifies every step – from picking the ideal location to harvesting your first crops. Even if you’ve never held a hammer, you’ll learn straightforward construction methods and maintenance tricks. Discover how proper planning ensures your plants thrive year after year.
Pro tip: Start small if you’re new to DIY projects. A well-built 4×4-foot bed can yield surprising amounts of fresh produce while building your confidence. Let’s dig into the details!
Understanding the Benefits of Raised Garden Beds
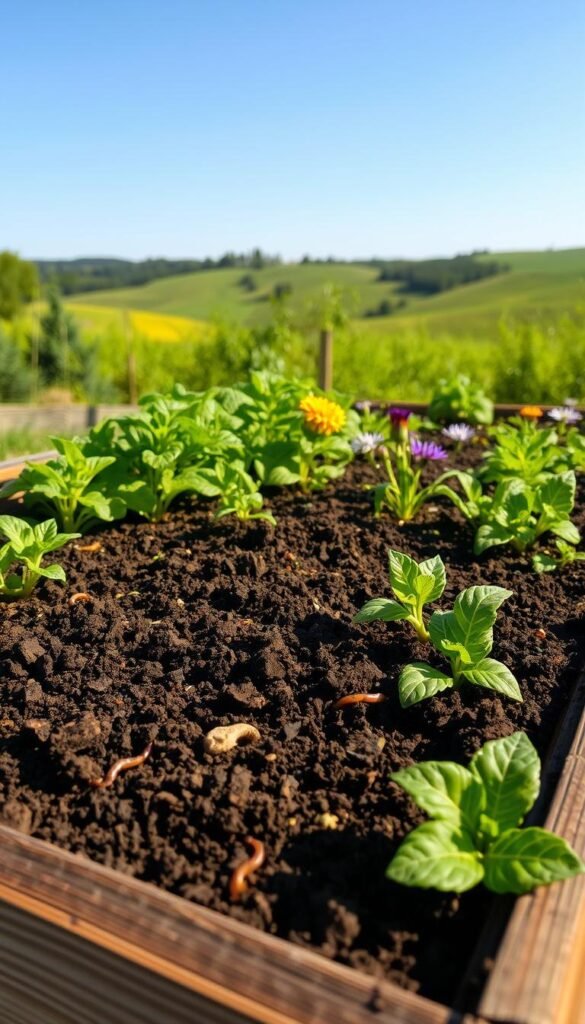
Ever wonder why seasoned growers swear by elevated planting spaces? These structures solve common gardening headaches while boosting plant health. Let’s explore two game-changing perks that’ll make you rethink traditional methods.
Roots Breathe Better, Plants Grow Stronger
Traditional gardens often struggle with soggy soil. In a raised bed, excess water drains efficiently through loose, nutrient-rich earth. This prevents root rot and gives plants the oxygen they crave.
You’re no longer stuck with your yard’s natural dirt. Fill your frame with custom soil blends packed with compost or peat moss. One gardener put it perfectly: “My tomatoes doubled in size once I switched to a tailored soil mix.”
Work Smarter, Not Harder
Say goodbye to backaches from constant bending. Most raised beds sit 12–24 inches high – perfect for tending plants while standing or sitting. Knees and hips get relief, especially during long gardening sessions.
| Feature | Raised Bed | In-Ground |
|---|---|---|
| Drainage Speed | 2–3 hours | 6–8 hours |
| Soil Customization | Full control | Limited |
| Comfort Height | Waist-level | Ground-level |
These setups warm faster in spring too. Start planting weeks earlier than in cold ground. Plus, defined edges keep pathways clean and make harvesting a breeze.
Planning Your Raised Garden Bed Location
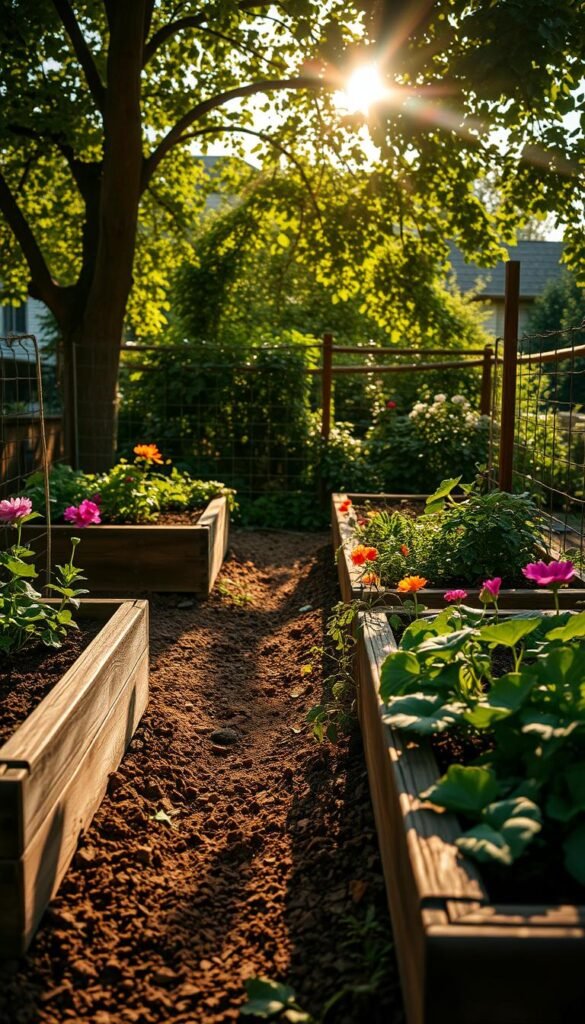
Picking the right spot for your plants is like choosing real estate – location determines everything. Two critical factors will make or break your harvest: light availability and ground conditions.
Maximizing Sunlight Exposure
Your green friends crave sunshine like beachgoers in July. Most veggies need 6-8 hours of direct sun daily to produce juicy tomatoes or crisp peppers. Watch how shadows move across your yard during peak growing months.
Position beds at least 10 feet from trees or structures. In the U.S., face them south for all-day brightness. One gardener shared: “Turning my beds north-south doubled my bean yield – plants stopped shading each other!”
Evaluating Soil and Drainage
While raised beds let you control soil quality, the underlying ground still matters. Avoid low spots where water pools after rain. Sandy or loamy earth drains better than heavy clay.
| Location Factor | Ideal Condition | Common Issue |
|---|---|---|
| Sun Exposure | 8+ hours direct light | Morning shade |
| Drainage | 1″ per hour absorption | Standing water |
| Soil pH | 6.0-7.0 | Acidic clay |
Test drainage by digging a 12-inch hole and filling it with water. If it takes over 4 hours to drain, consider adding gravel under your bed. Smart placement today means fewer headaches tomorrow!
Gathering Essential Tools and Materials
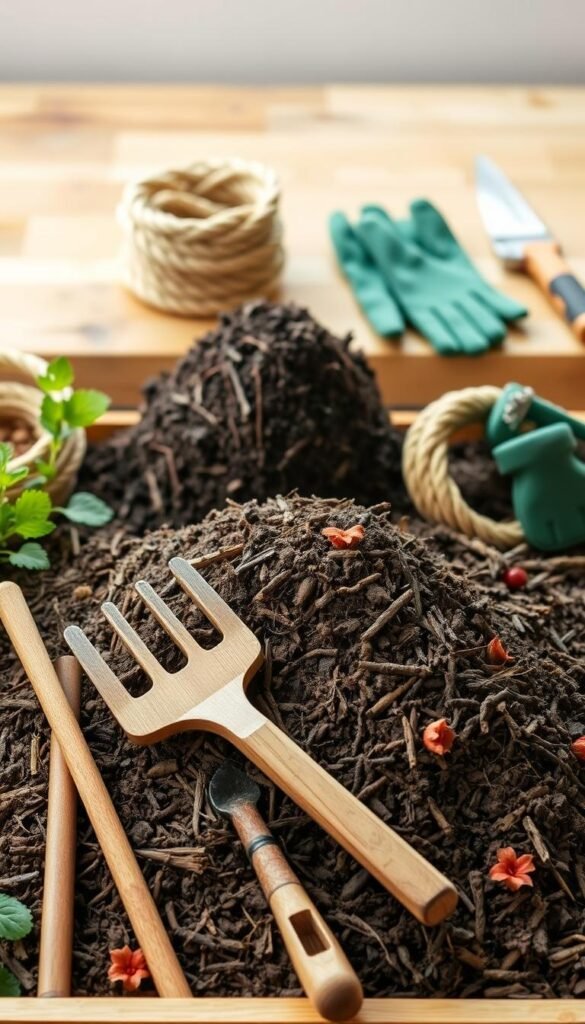
What separates a smooth DIY project from a frustrating one? Having everything within arm’s reach before you start. Let’s organize your workspace with purpose-built gear that makes assembly efficient and safe.
Cutting and Fastening Essentials
Your toolkit should include power equipment that handles wood like butter. A compound miter saw creates perfect angles, while a circular saw works for straight cuts. Pair these with a drill/driver using star-drive bits – they grip screws better than standard Phillips heads.
| Category | Must-Haves | Nice-to-Haves |
|---|---|---|
| Cutting | Circular saw, blades | Miter saw station |
| Measuring | Tape measure, speed square | Laser level |
| Safety | Gloves, safety glasses | Knee pads |
Smart Material Choices
You’ll need weather-resistant lumber – cedar or redwood last longer than pine. One gardener noted: “Deck screws outlast nails by years in wet soil conditions.” Line your bed’s base with hardware cloth to deter underground visitors.
Don’t skimp on soil quality. A 50/50 mix of compost and topsoil gives plants nutrients while draining well. Keep a staple gun handy for securing plastic liners that protect wood from moisture damage.
Pro tip: Organize materials in order of use. Lay out boards first, then fasteners, followed by pest barriers. This workflow prevents backtracking during assembly.
Selecting the Right Wood and Lumber Options
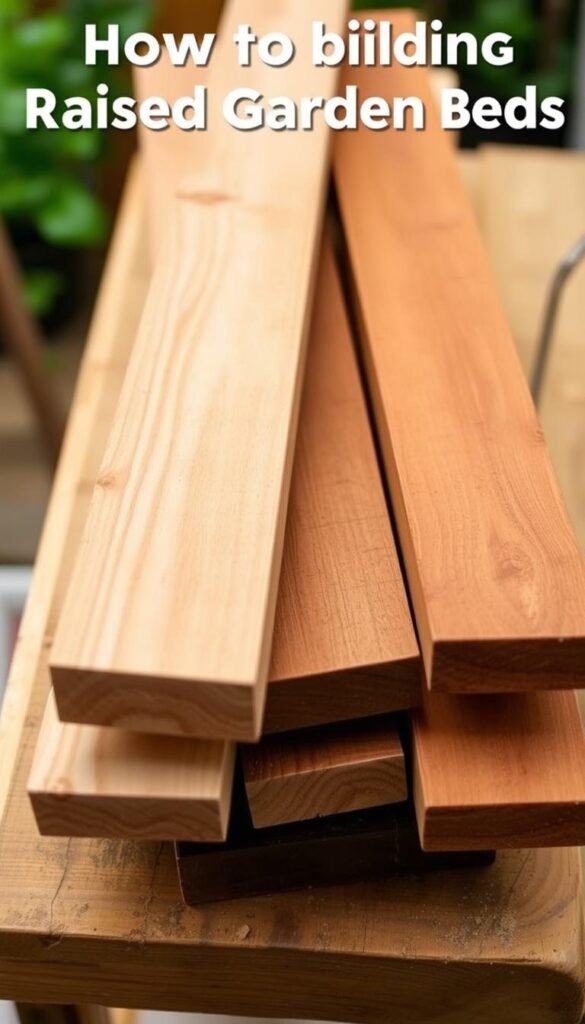
Your material choices determine how long your planting space lasts and how much maintenance it needs. Let’s break down what works best for different budgets and climates.
Cedar, Redwood, and Pine Considerations
Cedar shines as a top pick for durability. It naturally resists rot and insects, lasting 10–20 years untreated. East Coast gardeners often choose it for availability and affordability.
Redwood offers similar benefits but thrives in western states. Its rich color and termite resistance justify the higher price tag. One grower shared: “My redwood beds still look new after 15 rainy Oregon winters.”
| Wood Type | Durability | Cost | Best For |
|---|---|---|---|
| Cedar | 10–20 years | $$ | Humid climates |
| Redwood | 15–25 years | $$$ | Coastal regions |
| Pine/Fir | 3–7 years | $ | Temporary setups |
| Treated | 20+ years | $$ | High-moisture areas |
Treated Versus Untreated Lumber
Modern pressure-treated options use ACQ, which the EPA approves for edible plants. Let boards dry for 2–3 months before planting vegetables. Always wear gloves when cutting them.
Thicker 2-inch boards outlast thinner ones. For extra safety, line treated wood with heavy-duty plastic. Check for FSC certification to support sustainable forestry practices.
Designing Your Raised Bed Layout
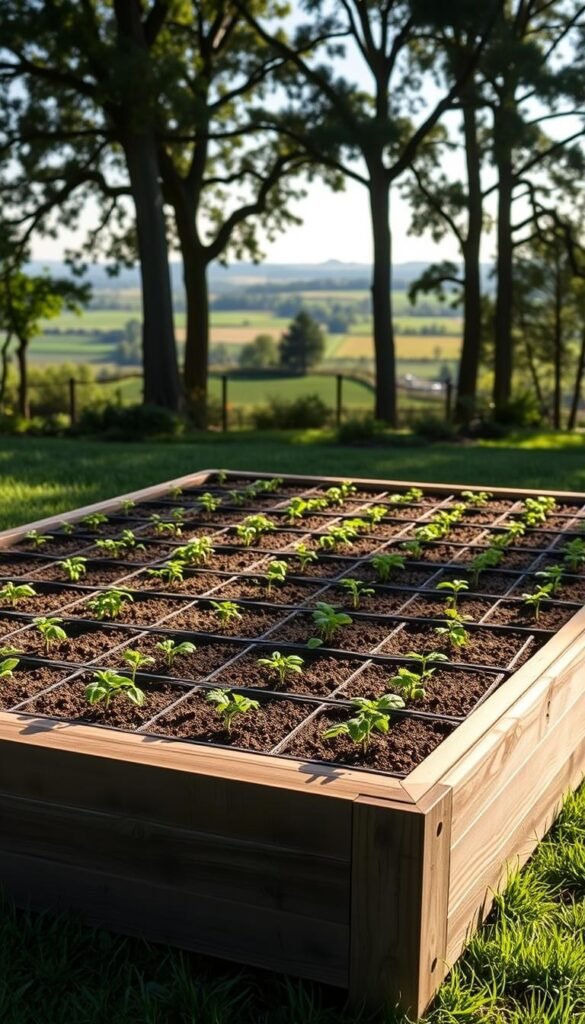
Smart layout planning transforms good gardens into great ones. Get these measurements right, and you’ll harvest more veggies with less strain. Let’s break down the numbers that matter most.
Determining Size and Spacing
Keep beds narrow enough for easy reach. A 4-foot width lets you access the center from both sides without compacting soil. Against walls? Shrink it to 3 feet for single-side access.
Length matters too. Beds longer than 10 feet often sag under soil weight. Stick to 8-foot sections for easier maintenance. One gardener explained: “My 16-inch tall beds let carrots grow straight down without hitting hardpan.”
| Bed Feature | Recommended Size | Benefits |
|---|---|---|
| Width | 3-4 feet | Full reach access |
| Length | 8-10 feet | Prevents bowing |
| Height | 16-18 inches | Deep root growth |
| Path Width | 28-48 inches | Equipment access |
Planning for Accessibility
Leave room to move! Paths between beds need at least 28 inches – 36 inches lets wheelbarrows pass. For square-foot gardening setups, cluster multiple small beds instead of one giant plot.
Test layouts with garden stakes before building. Account for plant spread in summer – tomatoes need extra elbow room. Your future self will thank you when harvesting kale without tripping over hose reels!
Creating the Structure: Cutting and Assembling
Transform raw materials into a sturdy planting space with precise assembly techniques. Attention to detail during this phase ensures your growing area withstands seasons of growth and weather changes.
Measuring and Cutting Boards Accurately
Actual lumber dimensions matter more than labeled sizes. A “2×6” board measures 5.5 inches tall – three stacked boards create 16.5-inch tall sides, not 18 inches. Cut end pieces 3 inches shorter than your planned width to account for overlapping sidewalls.
Use a compound miter saw for clean angles. Always measure twice before cutting. One gardener learned the hard way: “I wasted two cedar boards by forgetting the overlap calculation!”
Securing Corners and Walls
Build shorter sides first using 4×4 corner posts. Position boards flush with post edges. Drive 2.5-inch deck screws through each board end – two per connection point works best.
Keep screws 1 inch from edges to prevent splitting. Work on a level garage floor or patio. Check alignment frequently with a carpenter’s square. Your finished bed should sit perfectly flat before adding soil.

