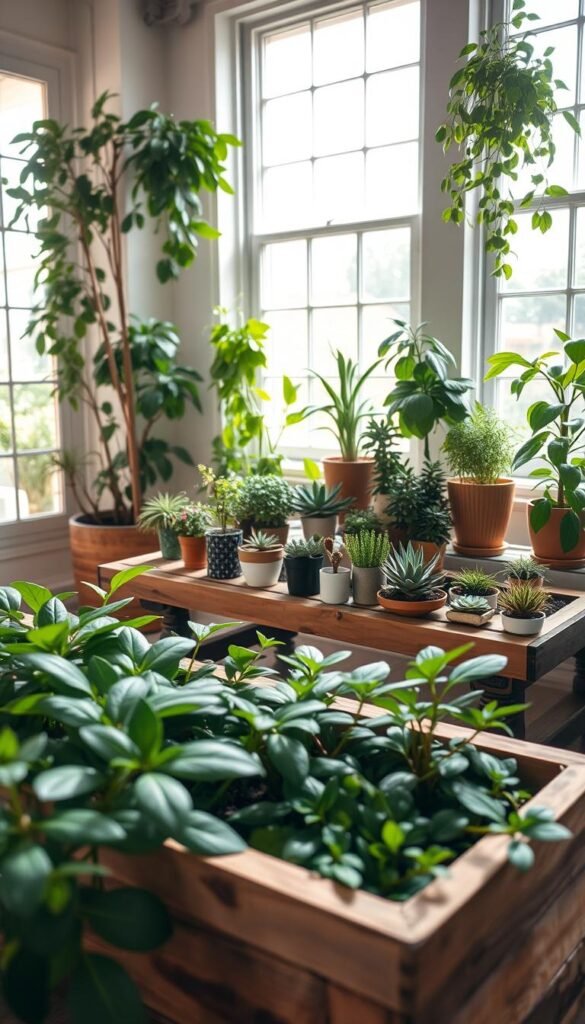
Imagine plucking fresh basil for your pasta or snacking on cherry tomatoes grown right in your living room. Urban dwellers across the country are discovering the joy of cultivating thriving plant havens in apartments and rental spaces. Take inspiration from Brooklyn residents who transformed a narrow alcove into a productive green zone using vertical shelving and smart lighting.
You don’t need a backyard to enjoy homegrown flavors. With strategic planning, even that awkward corner by your window becomes prime real estate for greenery. The secret lies in maximizing vertical space and choosing compact growing systems that deliver big results.
Modern solutions like adjustable wire racks and energy-efficient LEDs make plant care accessible to everyone. Pair these with the square-foot gardening technique – where you grow up to 16 plants in one square foot – and watch your harvest multiply. This method works wonders for herbs, leafy greens, and even dwarf vegetable varieties.
Your journey begins with understanding three key elements: proper light distribution, space-efficient layouts, and climate control. We’ll show you how to combine these factors to create a self-sustaining ecosystem that flourishes year-round. Whether you’re nurturing culinary herbs or decorative foliage, the right setup turns any room into a vibrant, oxygen-rich retreat.
By the end of this guide, you’ll master the art of transforming unused areas into productive growing spaces. Get ready to experience the satisfaction of nurturing life while enhancing your home’s aesthetics and air quality – no green thumb required!
Planning Your Indoor Garden Space
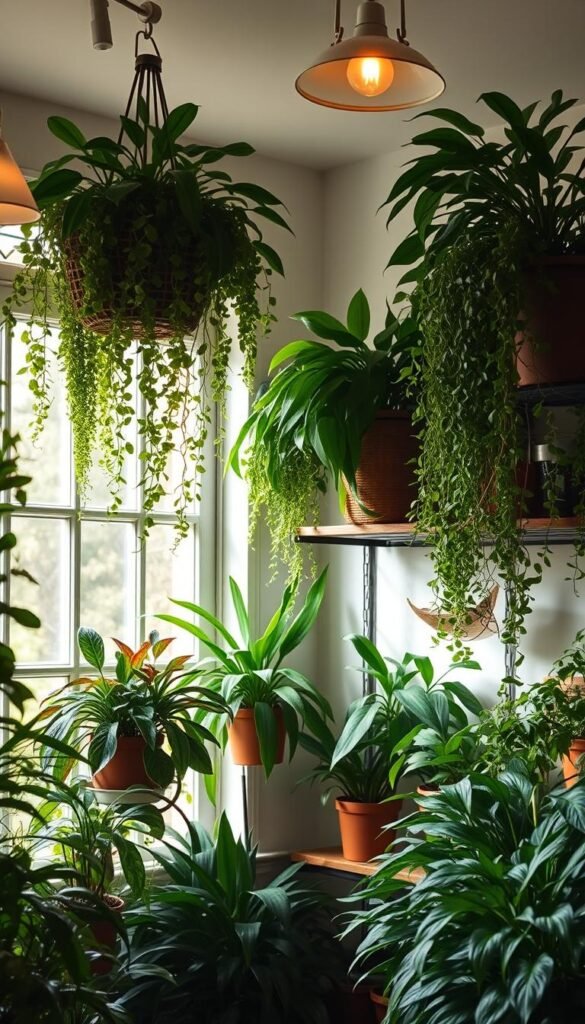
Creating a flourishing plant collection starts with smart spatial design. Think like an architect mapping sunlight patterns through your rooms. Track how shadows move across surfaces during peak daylight hours – this reveals hidden opportunities.
Assessing Light and Space in Your Home
South-facing windows act as natural spotlights, bathing surfaces in 6+ hours of direct light. These zones become prime real estate for Mediterranean herbs and dwarf tomatoes. West-facing areas receive intense afternoon rays – perfect for plants needing moderate light.
| Window Direction | Light Intensity | Best Plants |
|---|---|---|
| South | Full sun (6+ hours) | Rosemary, Basil, Oregano |
| West | Partial sun (4-6 hours) | Thyme, Sage, Cherry Tomatoes |
| East/North | Low light (2-4 hours) | Mint, Chives, Ferns |
Choosing the Perfect Location for Success
That empty wall near your breakfast nook? Install floating shelves for cascading herbs. Bathrooms with frosted windows often provide ideal humidity for tropical species. Measure vertical spaces – many compact grow systems only need 18″ depth.
Watch for leggy stems or pale leaves – these signal light starvation. Rotate pots weekly for even exposure. Dark corners transform with LED strips emitting 2000+ lumens. Group plants by moisture needs near water sources to simplify care routines.
Gathering Essential Materials and Tools
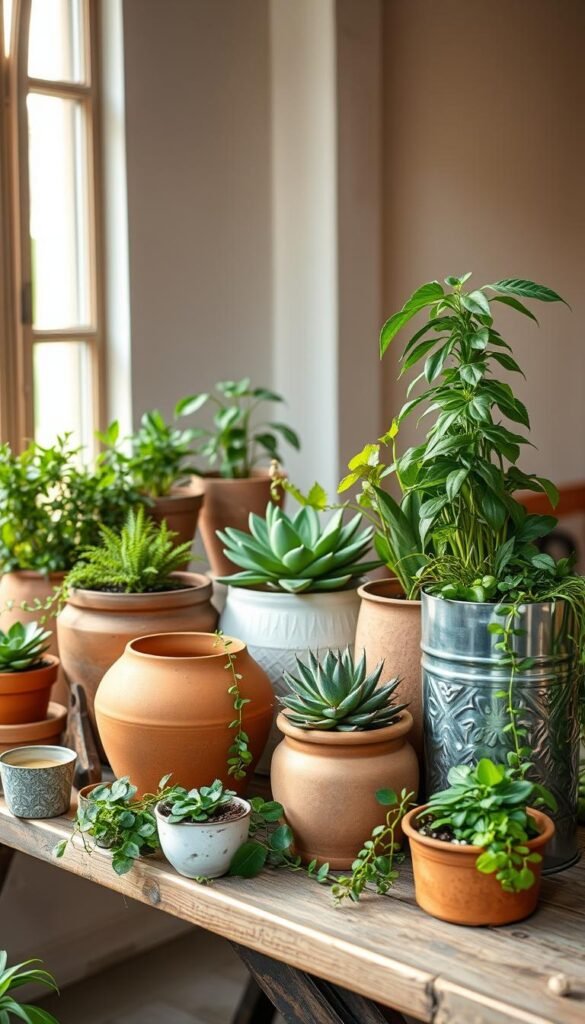
Your indoor oasis begins with smart material choices that support plant health and simplify maintenance. Quality containers and nutrient-rich growing mediums form the foundation of every thriving setup, whether you’re cultivating herbs or dwarf vegetables.
Selecting Pots, Planters, and Garden Bins
Start by matching container sizes to your plants’ root systems. Shallow 6″ pots work for basil and parsley, while 14-gallon storage bins handle multiple lettuce heads or compact tomato varieties. Always verify drainage holes – or create them using a 1/4″ drill bit.
Consider stackable containers for vertical growth. Fabric grow bags offer excellent airflow, while self-watering planters reduce maintenance. Protect floors with silicone saucers, especially in rental spaces.
Choosing High-Quality Soil, Fertilizer, and Compost
Bagged potting mix outperforms outdoor soil by eliminating pests and chemicals. Mix equal parts soil, coconut coir (expands 5x when hydrated), and compost for moisture-balanced magic. This trio prevents soggy roots while delivering nutrients.
| Soil Type | Drainage | Best For |
|---|---|---|
| Sandy | Fast | Carrots, Radishes |
| Loamy | Moderate | Tomatoes, Peppers |
| Clay | Slow | Avoid for containers |
Pair your mix with organic fertilizer pellets that release nutrients gradually. Keep a kitchen compost bin for banana peels and coffee grounds – your plants will thank you later!
Simple Steps for Building a DIY Indoor Garden from Scratch
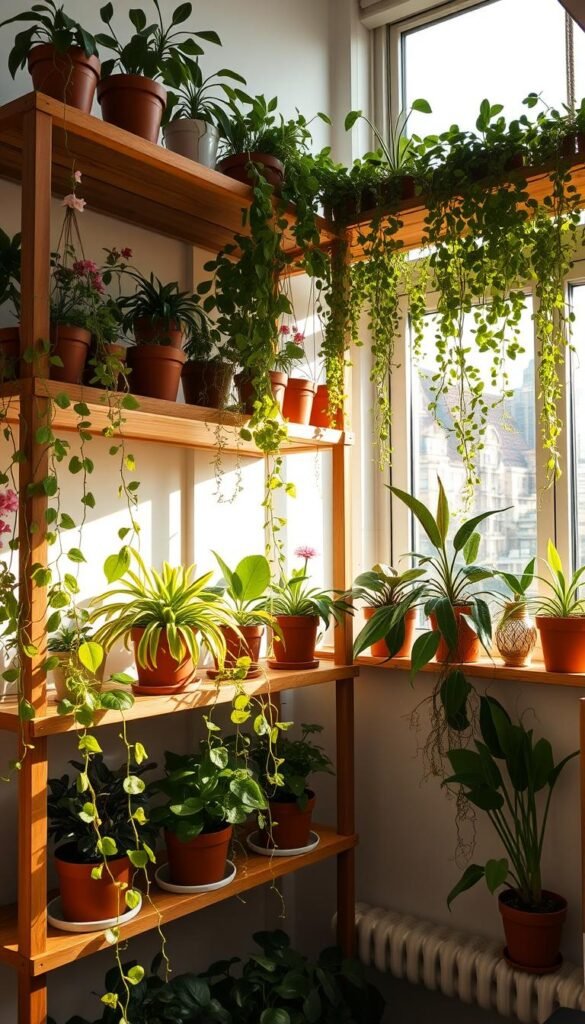
Transform your space into a lush growing zone with smart organization and lighting strategies. The right setup ensures your greenery thrives while keeping maintenance manageable.
Setting Up Your Garden Shelf and Containers
Start by assembling a tiered wire shelf – it’s like building a high-rise for your plants. Adjust shelf heights to create distinct zones: upper levels for seedlings in 4” pots, middle for herbs in 6” containers, and lower tiers for deep-rooted veggies in 12” bins. Leave 2” between light fixtures and plant tops to prevent scorching.
Label each container with planting dates and care needs using waterproof tags. This system works wonders for apartment gardening, letting you maximize every inch. Test accessibility – you should reach all plants without knocking over your watering can!
Implementing LED Grow Lights for Optimal Growth
Mount LED panels under shelves using adjustable chains. These energy-sippers emit full-spectrum light that mimics midday sun. Set timers for 14 hours daily – consistent cycles trigger proper growth phases. Position lights 6-12” above leafy greens, 12-18” above flowering plants.
Rotate containers weekly so all sides receive equal exposure. Combine warm (3000K) and cool (6500K) bulbs for balanced development. Your plants grow fuller when lights cover their entire canopy – no more lopsided basil!
Nurturing and Caring for Your Indoor Garden
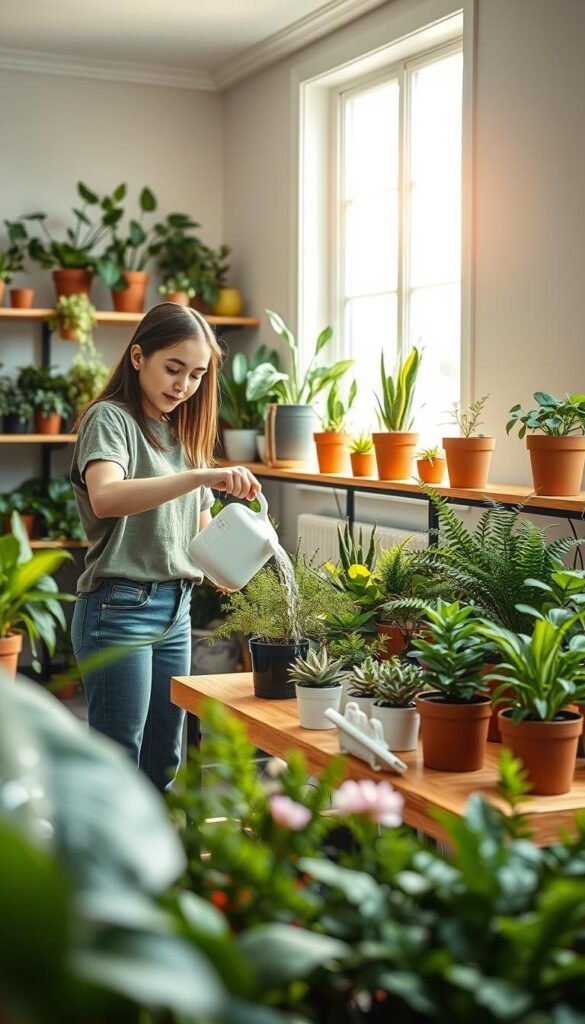
Keeping your green companions thriving requires mastering two fundamental skills: hydration harmony and light literacy. Your plants’ needs change with seasons and growth stages, but a few key practices ensure consistent results.
Watering Techniques and Moisture Management
Test soil moisture daily using the finger dip method – if the top inch feels dry, it’s time to hydrate. Basil thrives when watered weekly, while rosemary prefers drying out completely between sessions. Pro tip: Water before noon so leaves dry before cooler evenings.
Household heating systems can zap moisture faster than desert winds. Combat this by grouping moisture-loving herbs like mint on pebble trays. Always water until you see drainage – this flushes salts and ensures deep root hydration.
Understanding Plant Light Needs and Adjustments
Rotate containers 90 degrees every time you water to prevent lopsided growth. Watch for telltale signs: basil stretching toward windows needs more light, while scorched leaves indicate excessive exposure.
| Herb | Daily Light Needs | Ideal Position |
|---|---|---|
| Basil | 6-8 hours | South-facing shelf |
| Rosemary | 4-6 hours | West window |
| Parsley | 3-5 hours | East-facing area |
Adjust LED panels seasonally – raise them 2-3 inches during summer’s intensity. Most herbs flourish under 14-hour light cycles, mimicking their natural growing conditions.
Troubleshooting and Enhancing Garden Success
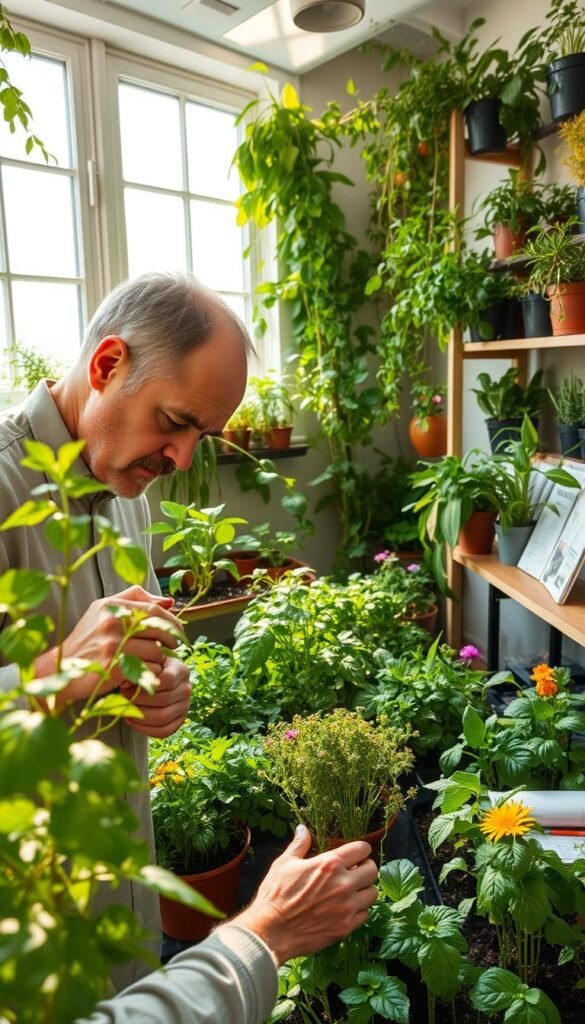
Even the most carefully tended gardens hit occasional bumps. Your plants communicate through visual cues – learning their language helps you respond effectively. Let’s decode common issues and create ideal growing conditions.
Spotting and Fixing Plant Problems
Leaves tell vivid stories. Browning edges often mean light overload, while pale yellow foliage suggests hunger for sunshine. Leggy stems? They’re stretching desperately for photons. Try these fixes:
- Move light-sensitive vegetables like lettuce 6″ further from LEDs
- Rotate pots every watering session for balanced exposure
- Use reflective surfaces to bounce light onto shaded areas
Root vegetables need special attention. Carrots demand deep containers and daily light marathons, while radishes thrive in cooler spots. Indoor vegetable gardening success comes from matching each plant’s needs.
Climate Control Mastery
Most plants need 65-75°F temperatures – similar to comfortable home settings. Use these tricks for humidity management:
| Issue | Quick Fix | Long-Term Solution |
|---|---|---|
| Dry air | Pebble trays | Humidifier near herbs |
| Stagnant air | Oscillating fan | Ventilation system |
| Heat spikes | Shade cloth | Thermostat-controlled lights |
Proactive Plant Care
Consistency beats crisis management. Wipe leaves monthly to boost photosynthesis. Check these weekly:
- Soil moisture depth
- Undersides for pests
- Light timer accuracy
Track growth patterns in a journal. Notice which seeds perform best in your space – this knowledge becomes gold for future planting cycles. Remember: thriving gardens grow from attentive observation and timely tweaks!
Final Reflections on Cultivating Your Indoor Oasis
Your journey into indoor gardening marks the start of a nourishing relationship with nature. Those vibrant herbs and crisp greens aren’t just food sources – they’re living air purifiers working silently in your home. Every snip of basil adds freshness to meals while filtering toxins from your environment.
Through daily care routines, you’ve created more than a garden. You’ve built a self-renewing ecosystem that teaches responsibility and patience. Share extra harvests with neighbors to spread joy – a basket of homegrown lettuce can brighten someone’s day while strengthening community bonds.
Remember those first seeds you planted? They’ve grown into proof that small spaces can yield big rewards. Rotate crops seasonally using the square-foot method to keep your plants thriving. As your skills grow, experiment with new vegetables or flowering varieties that complement your lifestyle.
Your indoor garden will keep evolving, just like your connection to the natural world. Celebrate each new leaf and troubleshoot challenges with confidence – you’ve mastered the essentials. This living sanctuary now sustains both your body and spirit, one harvest at a time.

