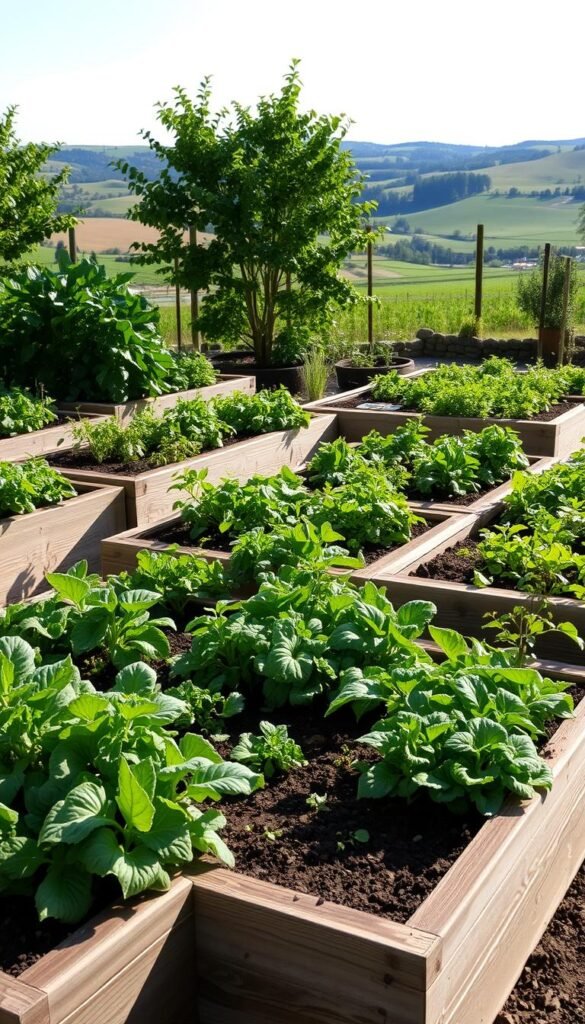
Imagine growing fresh, vibrant crops in a space that works with you instead of against you. Many seasoned growers call the switch from traditional plots to structured systems a game-changer. These elevated setups offer better soil control, fewer weeds, and easier access—all while fitting neatly into small yards or urban spaces.
Smart spacing becomes your secret weapon here. Unlike sprawling ground plots, compact designs let you arrange crops efficiently. You’ll give each plant room to thrive without wasting precious square footage. This approach reduces competition for nutrients and sunlight, leading to healthier roots and bigger harvests.
Why does this method shine? First, drainage improves dramatically, preventing waterlogged soil. Second, you gain weeks of extra growing time since raised soil warms faster in spring. Third, bending over becomes optional—a relief for your back during long tending sessions.
Ready to transform how you grow food? This guide breaks down the essentials: arranging crops strategically, balancing companion plants, and adapting designs for your climate. Let’s turn your outdoor space into a productive, low-maintenance oasis that keeps delivering season after season.
Understanding the Benefits of Raised Bed Gardening
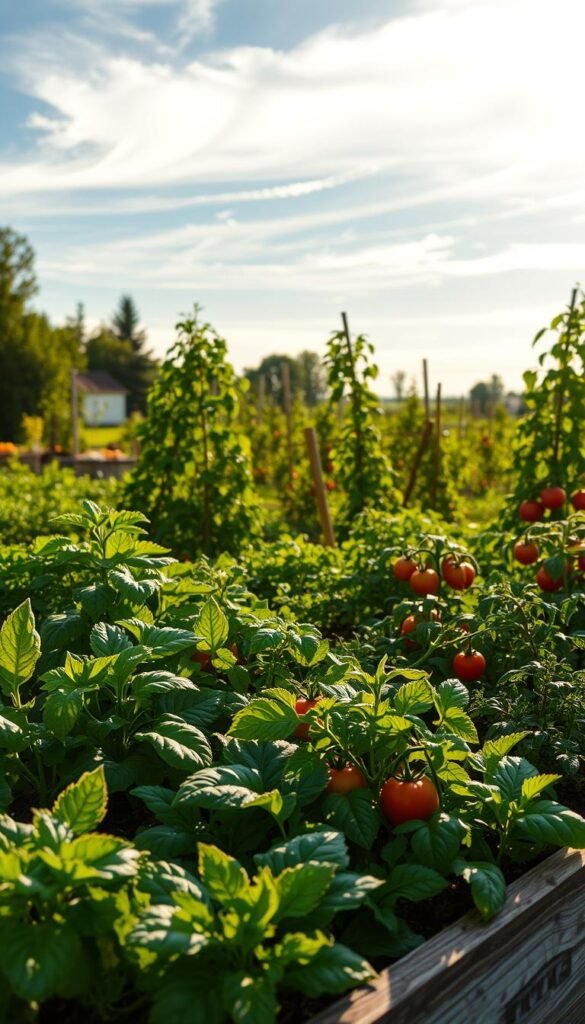
What if your garden could defy chilly springs and soggy soil? Elevated setups unlock growing advantages that ground-level plots simply can’t match. Let’s break down why these structured systems help you grow more with less effort.
Longer Growing Seasons and Improved Yields
Elevated soil heats up faster when winter loosens its grip. You’ll often plant 3-4 weeks earlier than in-ground methods. Better drainage means roots avoid drowning during rainy spells. This combo extends your harvest window dramatically.
Intensive planting becomes possible since you’re not battling weeds or compacted dirt. More plants per square foot? Yes—without sacrificing size or flavor. Vertical supports let vining crops climb instead of sprawl, doubling your usable space.
Enhanced Soil Quality and Reduced Weeding
Forget guessing your yard’s soil type. Fill your frames with custom blends—perfect pH, nutrients, and texture. Annual refreshes keep dirt lively without backbreaking tilling.
Built-in borders act like moats against invasive grasses. Fewer weeds mean less bending to pull them. No foot traffic preserves soil structure, letting roots breathe and drink deeply. Your back thanks you too—tending at hip height beats crawling on knees.
Planning Your Ideal Raised Bed Layout
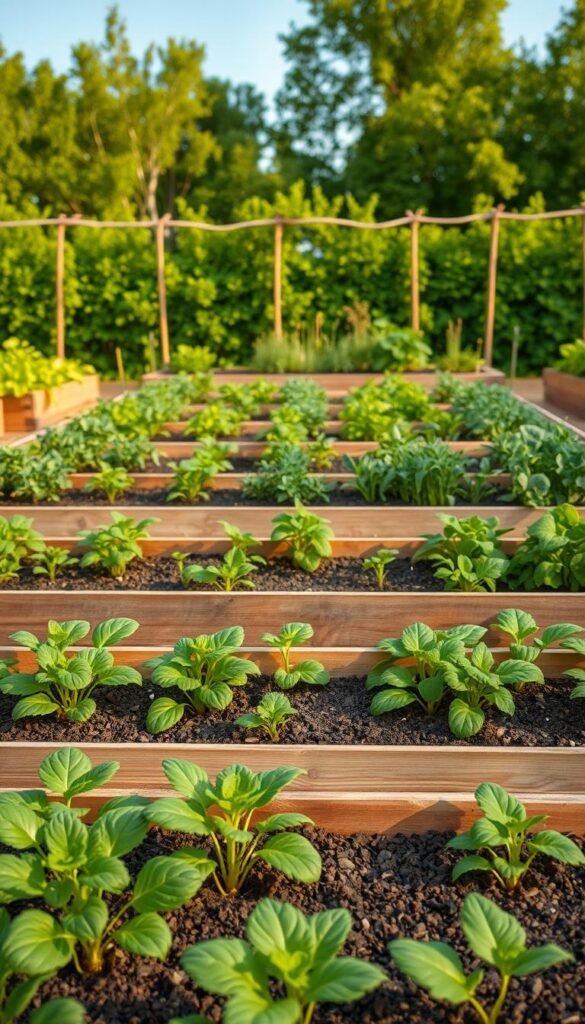
Where you place your growing space matters more than you think. A well-planned arrangement boosts yields while saving time and energy. Let’s map out how to position and build your setup for success.
Sunlight First, Everything Else Follows
Track sunlight patterns for 2-3 days before breaking ground. Most crops need that golden 8-hour daily window to thrive. Avoid low spots where water pools—roots hate soggy shoes. Position near water sources to simplify summer watering marathons.
Leave 18-24 inches between structures for easy movement. North-south orientation prevents taller plants from shading neighbors. Windbreaks matter too—a fence or shrubs block damaging gusts.
Material Choices That Last Seasons
Cedar resists rot naturally but costs more upfront. Composite boards offer durability without chemical treatments. Galvanized steel beds shine in rainy climates, while recycled plastic works for budget-conscious growers.
Depth matters: 6-inch frames suit shallow roots like lettuce. Go 12 inches deep for carrots or potatoes. “Your soil quality dictates height needs,” notes urban farming expert Lisa Nguyen. Deeper beds let roots stretch in compacted earth.
Raised Bed Vegetable Garden Layout: Plant Spacing for Maximum Productivity
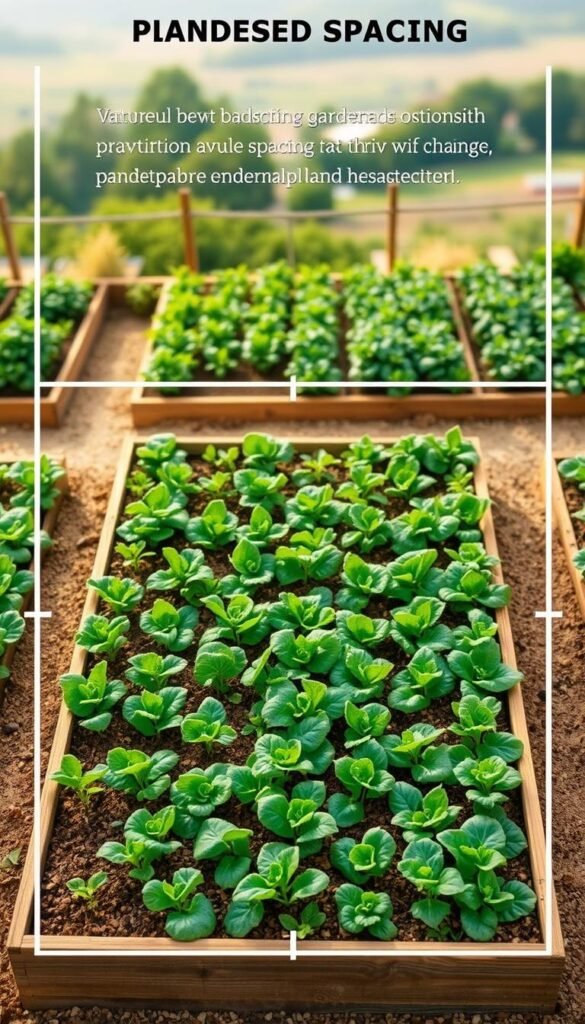
Ever wondered how to squeeze more harvest from your compact growing area? Ditch those outdated row patterns—modern growers pack more into less by treating each square foot as prime real estate. Your seed packets hold the key: ignore the row guidance meant for farm fields and focus solely on the spacing between individual crops.
Key Considerations for Effective Spacing
Here’s the golden rule: Divide 12 inches by the recommended space between plants. Square that number to calculate how many fit in a square foot. Leafy greens needing 6 inches apart? That’s 4 per square (12÷6=2, then 2×2=4).
Popular crops show this range:
- Carrots: 9–16 per square (3-inch gaps)
- Lettuce varieties: 2–6 per square
- Tomatoes: 1 per square (with 24-inch cages)
- Radishes: 16 per square (2-inch spacing)
Proper spacing prevents leafy canopies from becoming fungal playgrounds. It also lets you pair quick growers like arugula with slower ones like broccoli. “Think vertically too,” suggests urban gardener Mia Torres. “Trellised beans free up ground space for low-growing herbs.”
For precise layouts, bookmark this visual spacing guide. It adapts recommendations for your specific bed depth and crop rotation plans.
Optimizing Space with Intensive Planting Techniques
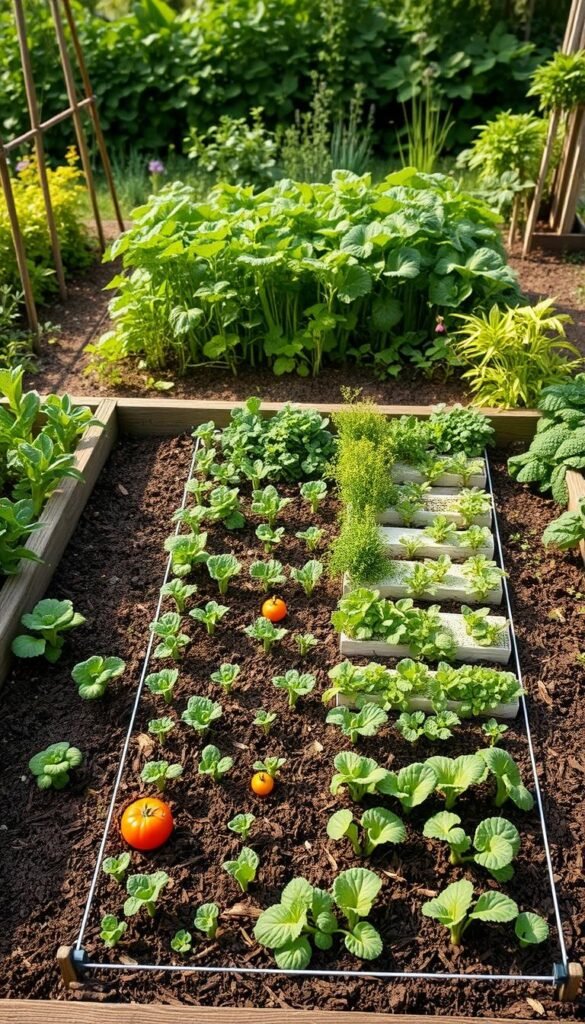
What if every inch of your garden worked harder? Intensive methods let you harvest bumper crops without expanding your footprint. These strategies turn compact areas into powerhouses by combining smart organization with nature’s growth patterns.
Implementing Square Foot Gardening Principles
Divide your growing area into 12-inch grids using string or wooden slats. This visual guide helps you place crops precisely. For example:
- 16 radishes per square (2-inch gaps)
- 1 tomato plant per square with vertical support
- 4 lettuce heads spaced 6 inches apart
This method outshines traditional rows by eliminating wasted pathways. You’ll fit up to 5x more plants while simplifying maintenance. Follow our square foot garden planning guide for crop-specific layouts.
Maximizing Growing Area in Tight Spaces
Stack plants vertically using trellises for beans or cucumbers. Underplant tall crops with shade-tolerant greens like spinach. “Pair quick growers like arugula with slower vegetables,” advises urban farmer Diego Martinez. “You’ll harvest two crops from one square.”
Try succession planting:
- Grow spring radishes
- Replace them with summer basil
- Plant fall kale after basil bolts
This living mulch approach blocks weeds while keeping soil active. You’ll enjoy fresh produce from first frost to last—no empty squares allowed!
Planting Strategies for Healthy Growth
Your planting choices can make or break your harvest. Timing and technique determine whether your greens thrive or struggle. Let’s explore how to match methods to your crops for best results.
Seeds vs. Starters: What Works Where
Direct sowing shines for root vegetables like carrots and beets. Their delicate taproots hate being moved. Cool-weather crops like peas also prefer going straight into soil—they’ll sprout when temperatures hit 45°F.
Transplanting gives heat-lovers like tomatoes a critical edge. Starting these indoors shaves weeks off their growing time. This trick becomes essential in regions where frost cuts seasons short. Eggplants and peppers similarly benefit from this head start.
Soil warmth matters more than you think. Warm-season seeds need 60-70°F dirt to wake up. Use a soil thermometer—it’s the smart way to avoid wasted effort. Quick-growing herbs like basil? Start those from seed right in your garden beds once nights stay warm.
Mix both approaches for continuous harvests. Sow lettuce greens between transplanted broccoli. You’ll maximize every inch while keeping meals diverse. Remember: healthy plants grow best when you work with their natural rhythms.
