
Imagine stepping outside your door to pluck juicy peaches or crisp apples from your own backyard. Creating a thriving edible landscape takes careful planning, but the rewards last decades. Proper preparation ensures healthy growth, maximizes harvests, and turns your space into a personal food haven.
Mature lemon and peach varieties can produce hundreds of pounds of fruit annually. But success starts long before harvest day. Where you plant matters as much as what you plant. Sun exposure, soil quality, and spacing between plants directly impact their ability to thrive.
Smart design lets even compact areas support multiple varieties. Cross-pollination needs, growth habits, and root systems all influence placement. A well-organized setup reduces pest issues and makes maintenance easier over time.
This guide walks through every step – from selecting compatible species to arranging them for optimal yield. You’ll learn how to avoid common pitfalls and create a resilient, productive space that keeps your kitchen stocked for generations.
Understanding Your Orchard Vision and Goals

Think about which seasonal delights would make your kitchen come alive. Grab a notebook and list every treat your family loves – sticky peach jam on toast, tart apple pies, or fresh-picked snacks. This wishlist becomes your roadmap for choosing plants that deliver both flavor and practicality.
Consider how you’ll use your harvest beyond fresh eating. Do summer berries disappear into smoothies? Could extra plums become holiday gifts? One mature tree often yields more than a household consumes – a single apple variety might produce 10 bushels annually. Plan preservation methods or sharing arrangements early.
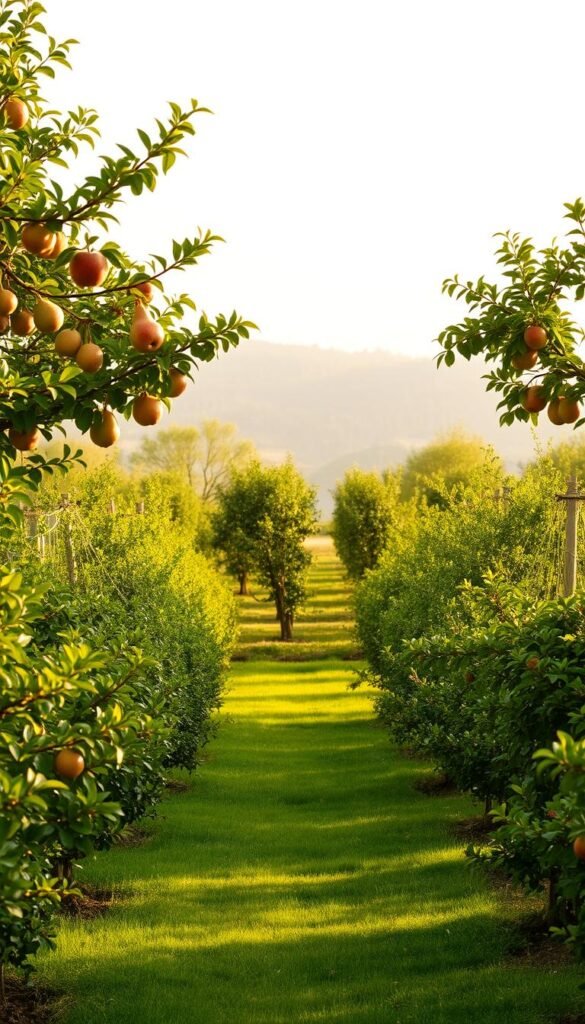
Space limitations? Dwarf varieties let you grow multiple fruits in compact areas. Prioritize favorites that store well or serve dual purposes. A pear tree might provide autumn desserts and winter preserves, while lemons offer juice year-round.
Your vision evolves with time. Maybe today’s goal is fresh snacks, but next decade’s dream involves pressing cider. Choose adaptable plants that grow with your ambitions, creating a legacy of abundance.
Assessing Your Homestead Conditions for Fruit Trees

Your land’s natural features will make or break your edible oasis. Three factors decide success: how sunlight dances across your space, what’s happening underground, and where moisture collects. Get these right, and your plants will reward you for decades.
Sun Exposure and Light Requirements
Watch where shadows fall during spring mornings and summer afternoons. Most varieties demand 6-8 hours of direct sun – anything less means smaller harvests or bland flavors. “South-facing slopes often work best,” says a USDA grower’s guide, “but track seasonal changes in your specific area.”
Note existing structures or tall plants that block light. A spot perfect for dwarf citrus today might become too shady as nearby maples mature. For compact spaces, consider training trees against sunny walls using square-foot gardening principles to maximize light exposure.
Soil Quality and Water Availability
Dig deeper than surface appearances. A $15 soil test reveals pH balance and nutrient gaps – critical intel for choosing amendments. Clay-heavy ground holds moisture but suffocates roots, while sandy soil drains too fast during heatwaves.
Check how rainwater behaves after storms. Puddles lingering over 24 hours signal drainage issues. During droughts, can you easily run drip lines or haul water? Smart placement beats constant labor – plant thirstier varieties near existing spigots or rain barrels.
Choosing the Right Fruit Varieties and Tree Sizes

Your fruit selection determines more than just flavors – it shapes your harvest success. Some varieties work solo, while others need partners. Size choices affect everything from maintenance to yield. Let’s break down these key decisions.
The Solo Artists vs Team Players
Self-fertile trees like peaches and citrus don’t need neighbors. Perfect for small spaces, they’ll set fruit with just one tree. “You get full harvests without planting partners,” notes a University of California study on stone fruits.
But apples and pears play hardball. Most need two varieties blooming together. Plan for compatible pairs – Honeycrisp apples need Gala or Fuji nearby. Check bloom times when selecting partners.
Size Matters in Your Space
Standard trees tower over landscapes but demand room. Their 20-foot spreads work best for large properties. Dwarf types stay under 10 feet – ideal for patios or tight rows.
Semi-dwarfs split the difference at 12-15 feet. They offer bigger harvests than dwarfs but need less pruning than standards. Remember: smaller trees bear fruit faster but may need stakes for support.
Your ladder tolerance matters too. Dwarf trees let you pick while standing firm. Standards? You’ll need climbing gear for those juicy top fruits!
Orchard Garden Layout with Fruit Trees: Planning for Pollination and Spacing
Did you know honeybees can travel up to 5 miles but prefer sticking to nearby blooms? This fact shapes how you arrange your edible treasures. Group varieties that help each other thrive – like best friends sharing secrets.
Compatible partners must bloom simultaneously within buzzing distance. Keep pollinator pairs under 50 feet apart – about the length of two school buses. Check bloom calendars when selecting partners. Early-flowering cherries won’t assist late-blooming plums, even if planted side by side.
Your neighbor’s yard might hold hidden helpers. A crabapple tree three houses down could pollinate your new apple sapling. Scout nearby properties before choosing your varieties to avoid duplicate plantings.
| Tree Type | Spacing Between Trees | Harvest Timeline |
|---|---|---|
| Standard | 20-25 feet | 4-6 years |
| Semi-Dwarf | 12-15 feet | 3-4 years |
| Dwarf | 8-10 feet | 2-3 years |
Leave room for growth between plantings. Crowded roots compete for nutrients, reducing yields. Allow pathways wide enough for wheelbarrows – you’ll thank yourself during harvest season.
Gentle breezes assist pollination, but strong winds harm blossoms. Position vulnerable varieties near windbreaks like sheds or evergreens. “Strategic placement protects flowers while letting nature do its work,” advises a Michigan State horticulture report.
Mapping Your Orchard: Planning on Paper

Grab graph paper and colored pencils—your backyard’s blueprint is about to become delicious. Start by sketching your property’s boundaries and permanent features. Mark existing structures, utility lines, and slopes that could impact root growth or equipment access.
Assign each fruit type a color code. Crimson for apples, sunshine yellow for lemons—this visual system reveals pollination partners instantly. “Color-coding prevents cross-variety confusion during planting season,” notes a California horticulturist. Ensure compatible pairs sit within buzzing distance of each other.
Walk your draft layout outdoors with measuring tape. Verify trunk positions won’t block future pathways or crowd sun-loving plants. A full-grown cherry tree’s shadow could smother tomato beds—anticipate these changes by sketching mature canopy spreads.
Jot down water sources and tool storage spots. Circle zones needing soil amendments in red. Leave 4-foot aisles between rows for comfortable harvest cart access. Your map evolves as you discover new needs—date each revision to track progress.
This living document becomes your edible empire’s master plan. Store it in a weatherproof sleeve near your gardening tools. Years later, you’ll marvel at how those colored scribbles transformed into a thriving foodscape.
Selecting Dwarf, Semi-Dwarf, and Standard Rootstocks

The secret to your tree’s future lies beneath the soil. Every named fruit variety grows on grafted root systems that shape its destiny. Rootstocks act as underground architects, determining size, disease resistance, and even how soon you’ll taste that first harvest.
Size vs Speed vs Strength
Dwarf types work magic in tight spaces. These compact wonders start bearing fruit in 2-3 years – perfect for impatient snackers. But they’ll need permanent stakes, like training wheels for trees. “Their shallow roots make them top-heavy,” warns a Cornell University arborist report.
Semi-dwarfs strike a balance. At 12-15 feet tall, they outlive dwarfs by decades while still fitting suburban yards. Expect first crops around year four. Standards demand patience (5+ years) but become family heirlooms, towering over grandchildren’s play areas.
| Type | Mature Height | First Fruit | Lifespan |
|---|---|---|---|
| Dwarf | 8-10 ft | 2-3 years | 15-20 years |
| Semi-Dwarf | 12-15 ft | 3-4 years | 25-35 years |
| Standard | 18-25 ft | 5-7 years | 30-50+ years |
Winter Survival Strategies
Rootstock choices affect cold tolerance. Some dwarf varieties like M27 apple rootstocks struggle below -10°F, while semi-dwarf M111 handles -25°F. Check USDA zone ratings for both scion and rootstock – mismatches lead to spring surprises.
In frost-prone areas, standard rootstocks often anchor deepest. Their extensive roots access groundwater during freezes. But dwarf lovers aren’t doomed – simply choose cold-hardy varieties like Budagovsky 9 for apples or Krymsk 86 for stone fruits.
Site Preparation: Soil Testing and Amendments
Your soil’s hidden secrets determine whether saplings become thriving producers or struggling survivors. Before digging your first hole, uncover what’s happening underground through professional testing. Local extension offices offer affordable kits that reveal pH balance, nutrient gaps, and organic content – the recipe for success or failure.
Effective Soil Testing Techniques
Collect samples from multiple spots where you’ll plant. Mix them in a clean bucket for an accurate average. “Test six months before planting,” advises a Missouri extension specialist. “This gives time to adjust pH if needed.” Acidic soil? Add lime. Alkaline? Sulfur works wonders.
| Soil Type | Drainage Speed | Nutrient Retention | Recommended Amendments |
|---|---|---|---|
| Sandy | Too Fast | Low | Compost, Peat Moss |
| Clay | Too Slow | High | Gypsum, Coarse Sand |
| Loam | Ideal | Balanced | Annual Mulching |
Managing Standing Water and Drainage
Puddles that linger after rain spell trouble. Roots drown without oxygen, leading to rot. For chronic wet spots, create 18-inch raised mounds using topsoil mixed with compost. French drains channel excess moisture away from planting zones.
Check depth by digging a test hole. If water pools at 24 inches, choose a different site. Well-draining ground lets roots breathe while retaining enough moisture for summer droughts. Balance is key – like a sponge that’s damp but not dripping.
Watering Practices and Irrigation Setup
Water acts as the lifeblood of your edible landscape, especially during summer’s peak. Young plants need consistent moisture to build sturdy roots—skip this, and you’ll see stunted growth or cracked fruit. Set up your irrigation method before planting to avoid scrambling when heat waves hit.
Options range from simple soaker hoses to automated drip systems. Rain barrels capture free moisture, while timed sprinklers deliver precise amounts. What works for a small patio collection might fail in a sprawling grove—match your setup to your space’s size and sun exposure.
Newly planted specimens crave deep drinks weekly, about 1-2 inches total. Shallow sprinkles encourage surface roots that fry in drought. Probe the soil weekly—if the top 3 inches feel dry, it’s time to water thoroughly.
Mature plants handle some dryness, but prolonged thirst reduces yields. Watch for curled leaves or dropped fruit—nature’s SOS signals. With smart hydration habits, your green investments will flourish year after bountiful year.


