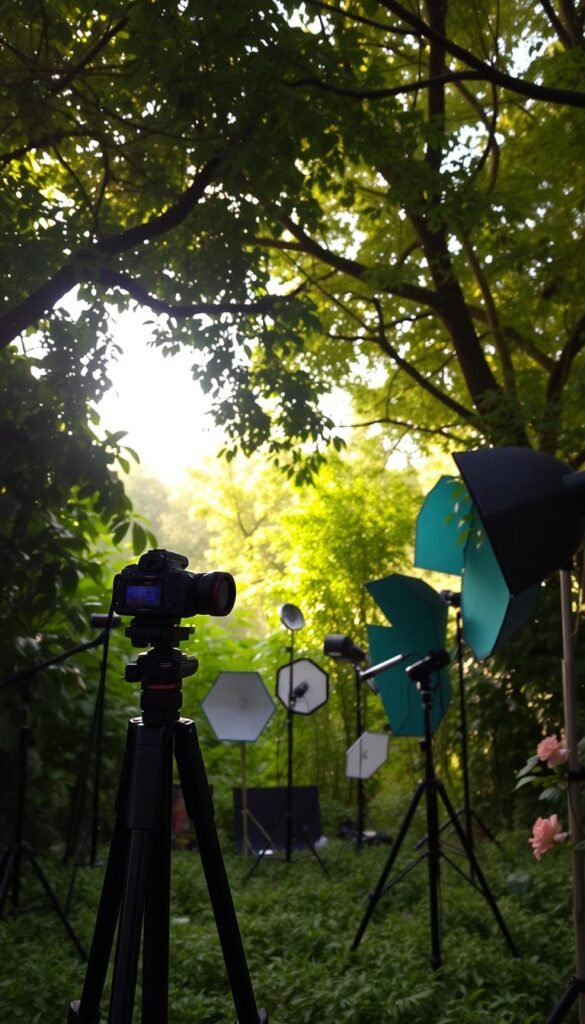
Imagine stepping into a world bursting with color, where every corner offers a fresh opportunity to create art. Outdoor spaces filled with vibrant blooms aren’t just beautiful—they’re dynamic stages for storytelling through your lens. Whether you’re a hobbyist or a seasoned photographer, these environments provide endless inspiration.
Natural illumination plays a huge role in bringing your shots to life. Early mornings and late afternoons cast soft, golden tones that make petals glow and shadows dance. This gentle light adds depth to your compositions, turning simple scenes into striking visual narratives.
Seasonal shifts mean your backdrop is always evolving. Spring’s pastels, summer’s bold hues, and autumn’s warm tones each bring unique moods. By aligning your shoots with these changes, you’ll capture the essence of nature’s rhythm.
Beyond technical skills, great imagery connects emotionally. A dew-covered petal or a sunbeam filtering through leaves can evoke serenity, joy, or nostalgia. This guide will walk you through practical strategies to elevate your work—from framing techniques to mastering light—so every click reflects the magic around you.
Preparing Your Garden for a Photoshoot
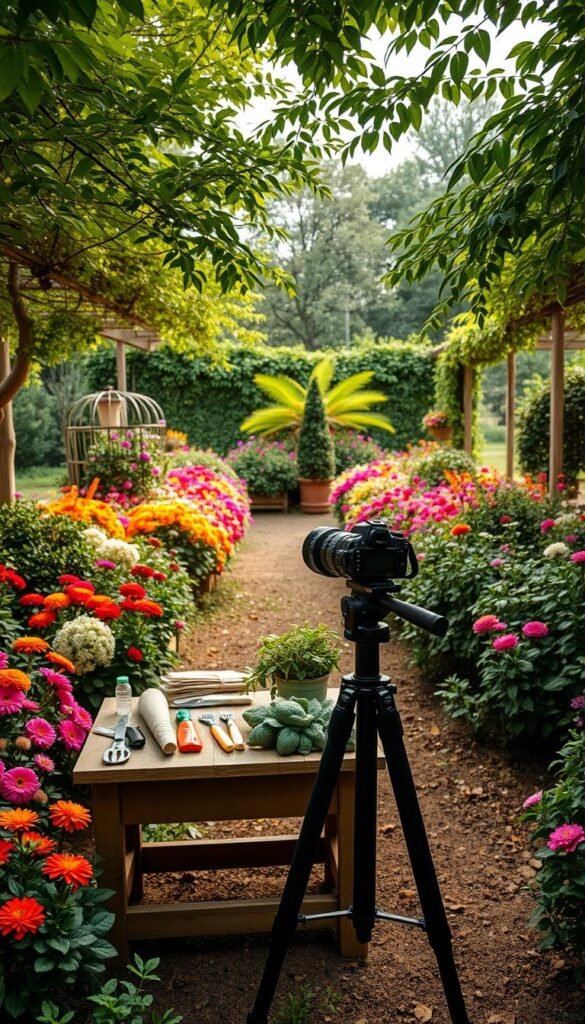
Your outdoor space becomes a canvas when planned thoughtfully. Start by observing which areas showcase blooms at their peak. Avoid shoots when buds are closed or petals wilt—timing is everything for vibrant results.
Find Your Frame-Worthy Spots
Scout your location for balanced backgrounds—think contrasting colors or textures that complement your subject. Seasonal arrangements matter: cluster spring tulips against evergreen shrubs or position summer roses near stone pathways. Remove clutter like fallen leaves or garden tools to keep focus on the blooms.
“Bright overcast days act like nature’s softbox. Colors pop without harsh shadows stealing the show.”
Gear Up for Success
Your camera settings can make or break shots. Use a tripod in low light during early morning sessions. For crisp details, set aperture between f/5.6 and f/8. Rotate pots to showcase each plant’s photogenic side—sometimes the backside hides the best angles!
Golden hour transforms ordinary scenes. Arrive 45 minutes post-sunrise or pre-sunset when light wraps around petals like liquid gold. Pair this glow with beginner-friendly gardening checklist practices for healthy, camera-ready plants year-round.
Understanding Natural Light and Golden Hour in Your Garden
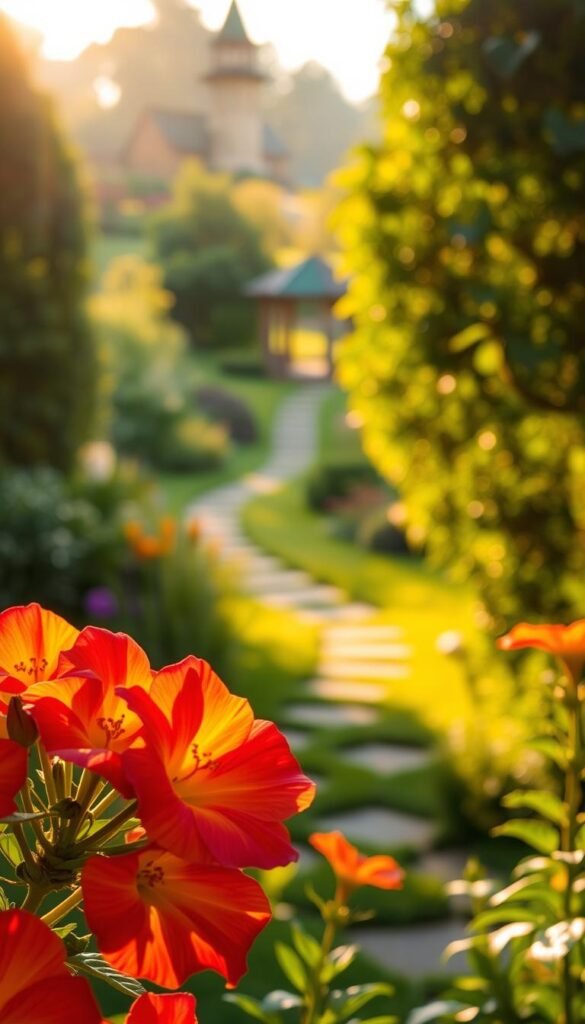
Light transforms ordinary scenes into visual poetry. Different conditions create unique color stories—overcast skies add cool blue tones, while dawn and dusk bathe everything in golden warmth. These shifts affect how pinks and purples appear in your shots, making timing crucial for color accuracy.
Benefits of Early Morning and Late Afternoon Light
That first hour after sunrise offers magic. Dewdrops catch the soft illumination, adding dimension to petals. Position yourself so the sun lights your subject from behind—this prevents washed-out details in bright blooms. Morning light also creates longer shadows that add depth without overwhelming your composition.
Managing Shadows and Soft Illumination
Watch where your body blocks the sunlight. Crouch slightly to keep your shadow off the frame. Use your hand to shade the viewfinder when shooting toward bright areas—this helps your camera meter accurately. For even lighting, try these setups:
| Lighting Condition | Color Shift | Shadow Intensity |
|---|---|---|
| Overcast | Cool blue tones | Soft, minimal |
| Golden Hour | Warm yellow/red | Gentle, directional |
| Midday Sun | Neutral white | Harsh, short |
Late afternoon glow wraps around subjects like a cozy blanket. This diffused light reduces glare on waxy leaves and makes delicate petals appear translucent. Pair these conditions with reflective surfaces like light-colored pathways to bounce sunlight into darker areas.
Choosing the Right Angles and Perspectives
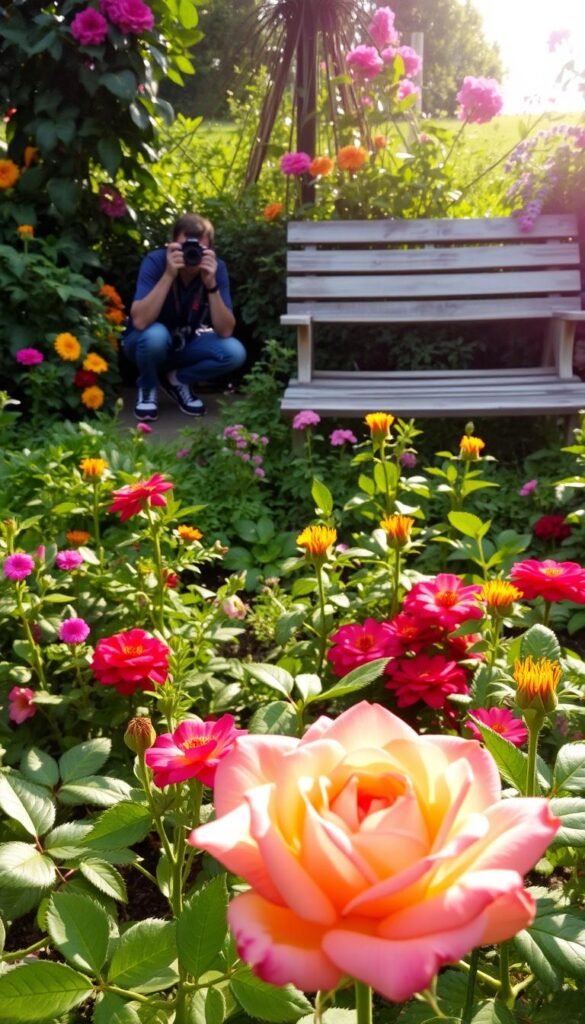
Your camera’s position can transform ordinary subjects into extraordinary images. While many default to standing eye-level shots, creative positioning reveals hidden details and shapes how viewers experience your subject. A simple shift in elevation or rotation around your plant can turn sparse foliage into lush textures or make delicate petals command attention.
Experimenting with Low and High Angles
Try crouching low to highlight towering stems. This low-angle approach makes delphiniums or hollyhocks appear majestic against open skies. For compact plants like succulents, shoot directly overhead to showcase geometric patterns hidden from side views.
Tall specimens thrive in portrait orientation—it emphasizes their vertical grace. Dome-shaped varieties often benefit from 45-degree angles that hide bare spots while capturing their rounded form. Rotate around your subject slowly, watching how light interacts with each new perspective.
Don’t fear imperfect specimens. Position damaged leaves behind healthier ones using strategic angles. Shoot through nearby blooms to create natural frames that draw attention to your focal point. Test three distinct viewpoints for every plant—you’ll discover how different angles tell unique visual stories.
Remember: the best shots emerge when you break routine. Get your knees dirty for ground-level drama, or climb a step stool for sweeping overviews of clustered blooms. Each adjustment reveals fresh opportunities to showcase nature’s artistry.
Managing Depth of Field and Aperture Settings
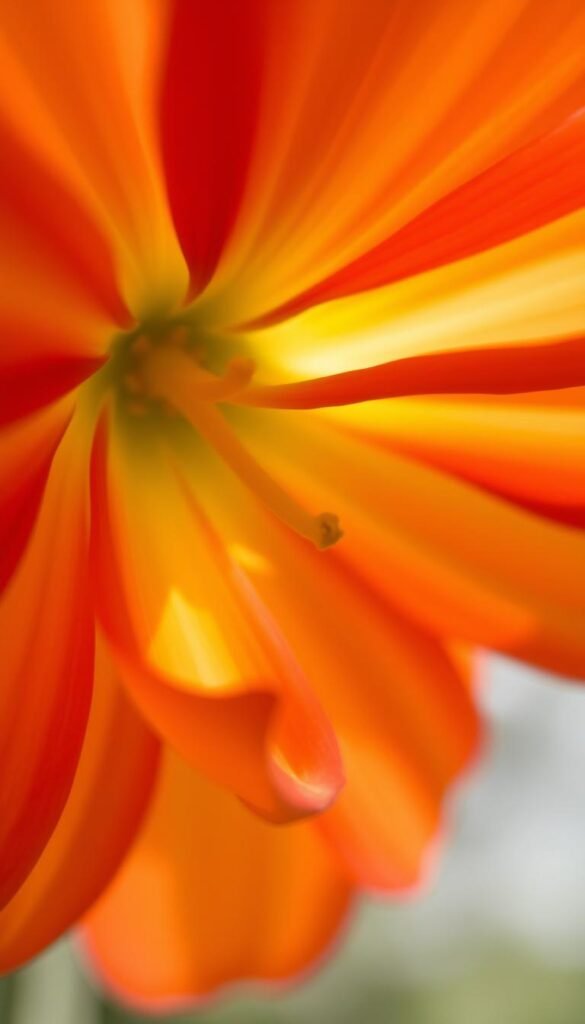
Ever wonder how photographers make their subjects pop against dreamy backgrounds? It all comes down to controlling your camera’s aperture—the gateway to mastering depth of field. This setting determines how much of your scene stays sharp versus softly blurred, letting you guide viewers’ eyes exactly where you want them.
Utilizing Wide Aperture for a Blurred Background
Switch to aperture priority mode (usually marked as A or Av) for quick control. Lower f-numbers like f/2.8 create a shallow depth of field, melting busy backgrounds into creamy washes of color. This works wonders for single blooms or detailed textures, making them leap off the screen.
Watch your distance from the subject. The closer you are, the stronger the blur effect. Pair wide apertures with side lighting to add dimensionality—petals will glow while shadows gently fade into the background.
Improving Focus on Your Subject
When shooting clusters of plants or layered arrangements, dial up to f/8 or higher. These smaller openings increase your depth of field, keeping multiple elements crisp from front to back. Use single-point autofocus to nail sharpness on specific details like dewdrops or stamens.
Struggling with focus accuracy? Try these fixes:
- Use manual focus for precise control over delicate petals
- Stabilize your camera with a tripod when using slow shutter speeds
- Check focus peaking displays if your camera supports them
Remember: your aperture choices shape the story. A blurred background whispers romance, while full sharpness shouts vibrant energy. Experiment to find what each scene demands.
Creative Composition Techniques for Stunning Garden Photos
Transform ordinary scenes into captivating stories through smart composition choices. Your outdoor space holds hidden guides—pathways, borders, and archways—that shape how viewers experience your photos. By working with these elements, you turn random shots into intentional art that celebrates nature’s beauty.
Incorporating Natural Frames and Leading Lines
Look for curved walkways or rows of shrubs—these act as leading lines that pull attention toward your main subject. Position yourself so these pathways start at the image’s edge, creating depth. A stone border can anchor your frame, while overhanging branches form organic windows around clusters of blooms.
Apply the rule of thirds by imagining a grid over your viewfinder. Place focal points where the lines intersect—like a vibrant blossom at the lower-right crosshair. This technique balances your composition, making images feel dynamic yet harmonious.
“Great compositions feel discovered, not forced. Let the garden’s existing features whisper where to point your lens.”
Create layered interest by combining foreground foliage with mid-ground textures and distant color splashes. For elevating your garden’s visual appeal, use arched trellises or clustered pots as framing devices. These elements add dimension while focusing eyes exactly where you want them.
Flower Garden Photoshoot Tips: Capturing the Best Angles and Lighting
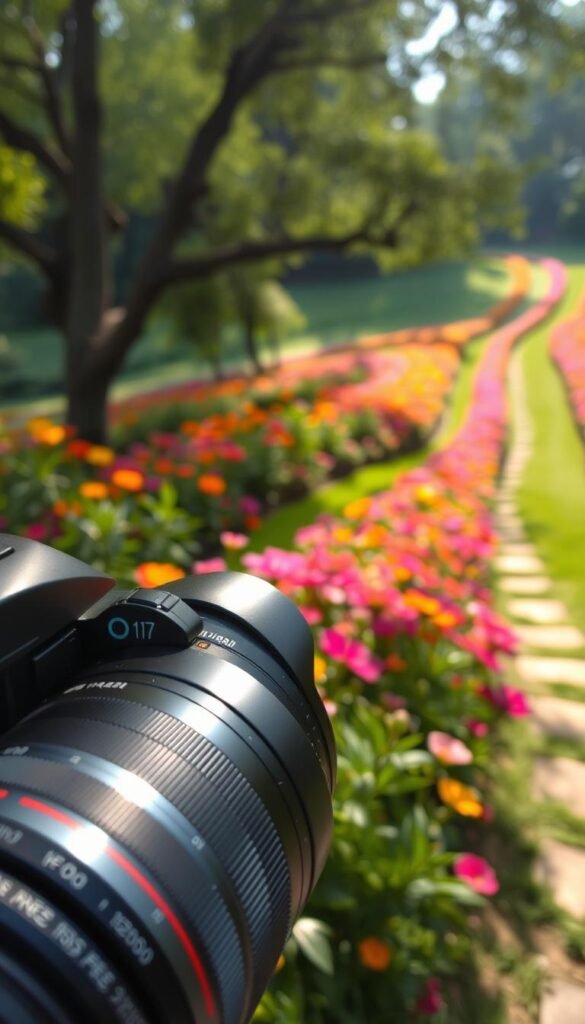
Your lens holds the key to transforming petals into masterpieces with just a few adjustments. While creativity drives your shots, technical precision ensures they shine. Let’s explore how to harmonize settings with your environment for images that resonate.
Mastering Camera Settings for Perfect Shots
Start by choosing the right shooting mode. Many cameras offer preset options like Landscape (mountain icon) or Close-up (flower icon). Surprisingly, the mountain mode often outperforms the flower setting for garden scenes. Why? It maximizes depth of field, keeping entire clusters sharp from foreground to background.
| Shooting Mode | Depth of Field | Best For |
|---|---|---|
| Landscape | Maximum | Grouped blooms, wide scenes |
| Close-up | Shallow | Single blossom details |
| Sports | Variable | Moving subjects like bees |
When using zoom lenses, try the wide-angle end. Position yourself close to your subject—this emphasizes textures while maintaining focus across curved stems or layered leaves. Set aperture between f/8 and f/11 for crisp details in sunlight.
Balancing the Elements of Light and Composition
Pair your camera settings with natural conditions. In bright midday light, switch to manual mode. Lower ISO to 100 and increase shutter speed to prevent washed-out colors. For backlit scenes, use spot metering to preserve delicate petal translucency.
Wide-angle lenses (18-35mm) excel for sweeping views of flower beds. They stretch perspectives, making pathways appear longer and clusters more abundant. For tight spaces, tilt your lens upward to frame blooms against open sky—this simplifies busy backgrounds.
Remember: your gear should enhance nature’s drama, not compete with it. Test different combinations during golden hour, when light and shadows work together to create depth. With practice, these photography tips become second nature, letting you focus on capturing moments that take breath away.
Experimenting with Macro and Wildlife Photography
Dive deeper than wide shots to uncover hidden worlds thriving in your green space. Macro photography lets you magnify delicate petals and insect wings, revealing patterns invisible from afar. Meanwhile, observing wildlife interactions adds life to your frame—think bees mid-flight or butterflies sipping nectar.
Getting Close-Up with Textures and Structures
A dedicated macro lens reveals textures like velvety leaf surfaces or pollen-dusted stamens. Position your subject parallel to the camera sensor for maximum sharpness. Soft morning light minimizes harsh shadows while enhancing intricate details.
For razor-sharp macro shots, use manual focus and a tripod. Try shooting upward through dewdrops clinging to blooms—this creates natural prisms that scatter sunlight. Experiment with angles where overlapping plants form abstract backgrounds.
Documenting Nature’s Tiny Visitors
When shooting fast-moving subjects like dragonflies, set shutter speed above 1/1000s. Position yourself near native species that attract pollinators, such as Purple Coneflower or Wild Bergamot. These plants act as wildlife magnets, offering frequent photo ops.
Patience pays off. Wait near vibrant flowers until insects land, then fire short bursts. Use backlighting to outline translucent wings—it turns ordinary bee shots into glowing masterpieces. Remember: every click celebrates nature’s interconnected beauty.

