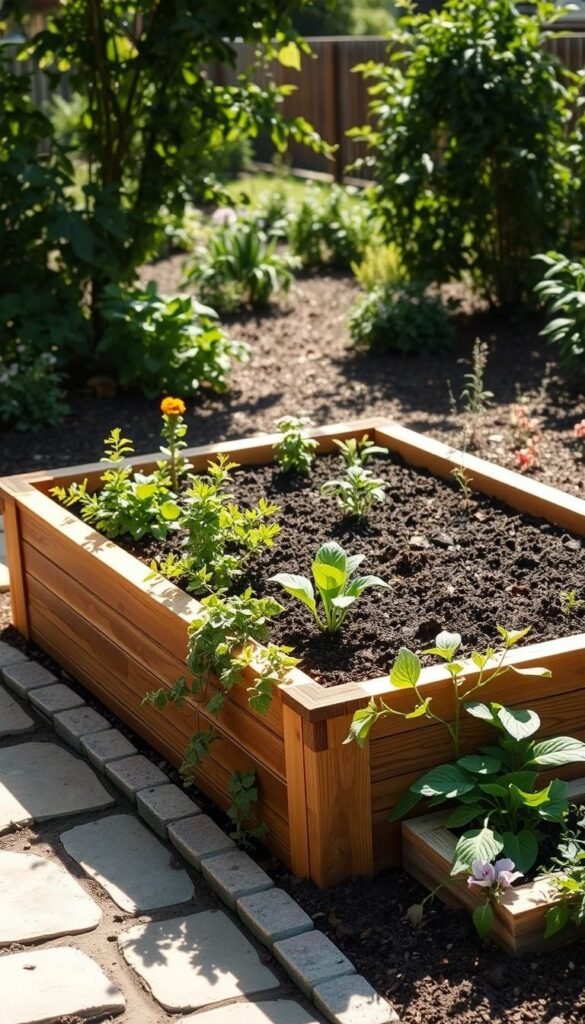
Creating elevated planters revolutionizes how you grow vegetables, herbs, and flowers. These structures let you customize soil quality while reducing back strain—perfect for urban yards or uneven terrain. Whether you’re growing tomatoes or tulips, this method offers unmatched flexibility compared to traditional ground planting.
Most projects take about a day to complete, costing between $100 and $300 depending on size and materials. With basic carpentry skills, you’ll assemble durable frames using weather-resistant lumber and galvanized screws. Hardware cloth for pest control? Optional but recommended for root protection.
Why choose this approach? Improved drainage prevents waterlogging. Defined spaces simplify weed management. You’ll also gain earlier spring planting thanks to faster soil warming. Plus, no more kneeling—your knees will thank you!
This guide shares practical insights from constructing 40+ beds nationwide. We’ll explore cost-effective designs, tool recommendations, and soil preparation tricks. Ready to grow healthier plants with less effort? Let’s dig into the details.
Planning Your Raised Garden Bed Project
Strategic preparation ensures your raised garden meets both aesthetic and functional needs. Start by sketching your yard’s dimensions. Measure walkways and existing features like trees or patios—this helps avoid cramped layouts.
Ask yourself: What thrives in your climate? Tomatoes demand full sun, while lettuce prefers partial shade. Depth matters too—root vegetables need 18-inch beds, but herbs flourish in 10 inches. Match your plant choices to your available space and sunlight patterns.
“Measure twice, plant once. A thoughtful layout prevents headaches during growing season.”
| Factor | Shallow Beds (8-12″) | Deep Beds (18-24″) |
|---|---|---|
| Best For | Herbs, flowers | Carrots, potatoes |
| Soil Cost | $30-$50 | $80-$120 |
| Water Needs | Daily | Every 2-3 days |
Consider time investment beyond construction. Will you travel often? Opt for drip irrigation. Limited mobility? Keep beds under 4 feet wide for easy reach. Future expansion? Leave 3-foot paths between structures.
Your skill level shapes material choices. Beginners excel with cedar or composite boards—they’re forgiving and rot-resistant. Got power tools? Try angled corners for visual flair. Remember: Start small. Two 4×8-foot raised beds often outperform one giant plot.
Choosing the Right Location and Garden Layout
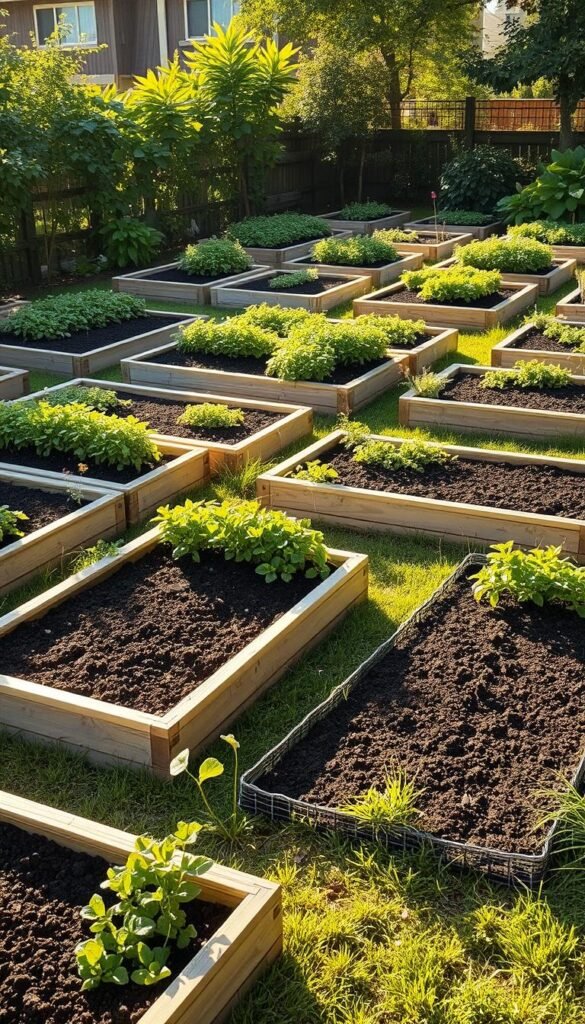
Optimal placement ensures your plants thrive with minimal effort. Start by scouting your ground for areas bathing in 6-8 hours of daily sunlight. Leafy greens tolerate some shade, but tomatoes and peppers demand full sun exposure.
Watch how shadows move across your space through seasons. A spot that’s sunny in spring might get shaded by tree canopies by summer. South-facing zones work best in most U.S. regions, letting crops soak up consistent light.
Drainage matters as much as sunlight. Avoid low-lying areas where puddles linger after storms. If your yard slopes slightly, position beds across the incline to prevent soil erosion.
| Path Width | Purpose | Equipment Access |
|---|---|---|
| 28″ | Foot traffic | Hand tools only |
| 36-48″ | Wheelbarrow use | Soil delivery |
| 60″ | ADA compliance | Mobility devices |
Keep beds within 30 feet of a water source—you’ll thank yourself during daily watering. Leave 3-foot pathways between structures for comfortable movement. For small yards, try a square-foot gardening layout to maximize productivity.
North-south orientation prevents taller plants from shading neighbors. Place vining crops like cucumbers on the north side, with shorter herbs southward. This smart raised garden arrangement turns limited space into a powerhouse of fresh produce.
Essential Tools and Materials for DIY Raised Beds
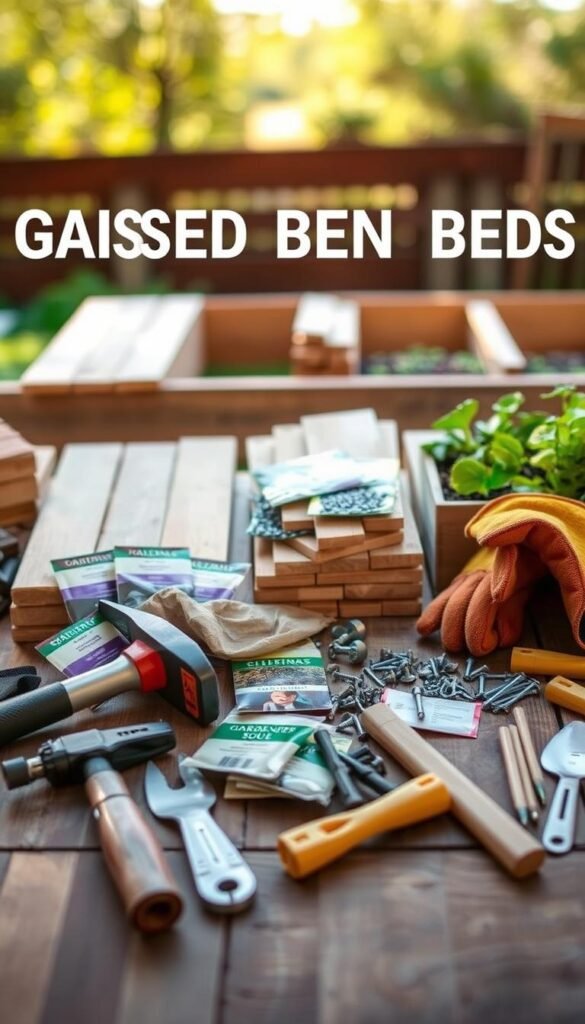
Equipping your workspace with the right gear transforms building garden beds from frustrating to fulfilling. While you might already own some items, a few specialized materials and hardware upgrades ensure lasting results. Let’s break down what truly matters for your project.
Cutting-Edge Essentials
Start with a circular saw for precise lumber cuts – no need for expensive miter models. A drill/driver with #2 square bits handles 90% of assembly tasks. For measurement, combine a 25-foot tape measure with a speed square for perfect 90° corners.
“Invest in coated deck screws – they outlast standard options by 5 years in wet soil conditions.”
| Must-Haves | Nice-to-Haves |
|---|---|
| Circular saw | Staple gun |
| Galvanized screws | Tin snips |
| Hardware cloth | Soil sifter |
| Work gloves | Moisture meter |
Smart Material Choices
Pressure-treated 2x4s offer cost efficiency for frame construction. Pair them with wide-mesh hardware cloth to deter burrowing pests. For soil, blend 60% topsoil with 30% compost and 10% perlite – this mix balances drainage and nutrients perfectly.
Safety gear proves crucial when cutting treated lumber. A basic respirator filters harmful particles, while ear protection makes power tool use comfortable. Remember: Proper DIY preparation saves time during assembly and future repairs.
Selecting Quality Wood, Lumber, and Alternatives
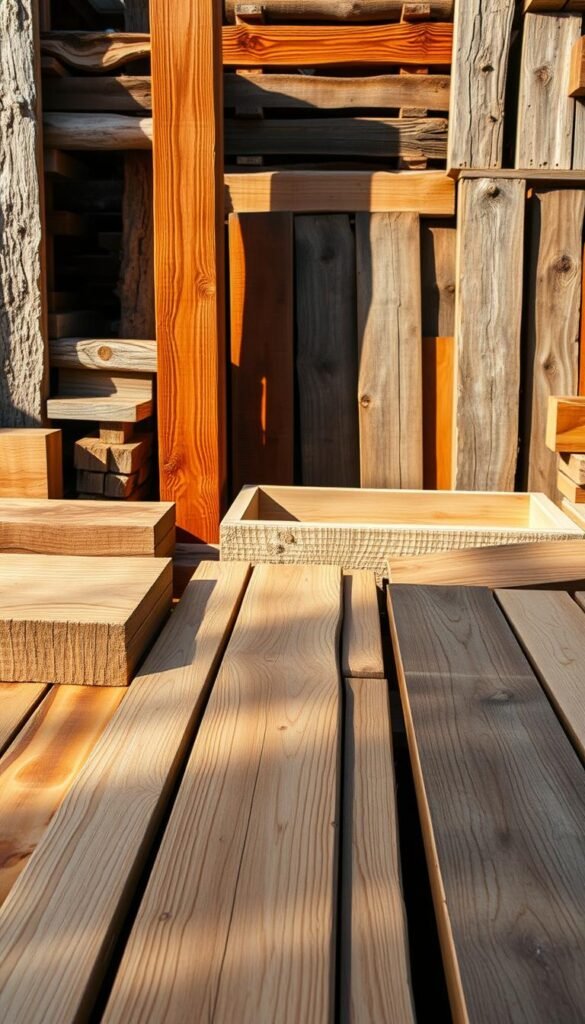
Your garden’s longevity starts with smart material choices. Premium woods like cedar and redwood shine for their natural resistance to rot and pests. These lumber options require no chemical treatments and can last 10-20 years – perfect for permanent installations despite higher upfront costs.
Mid-range materials like pine and Douglas fir boards offer budget-friendly solutions. While less durable than cedar, they provide good value for 3-7 years of service. Always check for cracks or warping before purchasing, and prioritize FSC-certified sources to support sustainable forestry.
“Modern pressure-treated lumber uses safer copper-based preservatives, but I still recommend lining beds with landscape fabric for edible plants.”
| Material | Lifespan | Cost per Foot |
|---|---|---|
| Cedar | 10-20 years | $3.50 |
| Pine | 3-7 years | $1.80 |
| ACQ Treated | 15+ years | $2.40 |
For non-wood alternatives, galvanized steel troughs add industrial charm while composite lumber resists weathering. These metal and synthetic materials require minimal upkeep, letting you focus on growing rather than maintaining your garden structures.
Designing Your Raised Garden Bed Structure
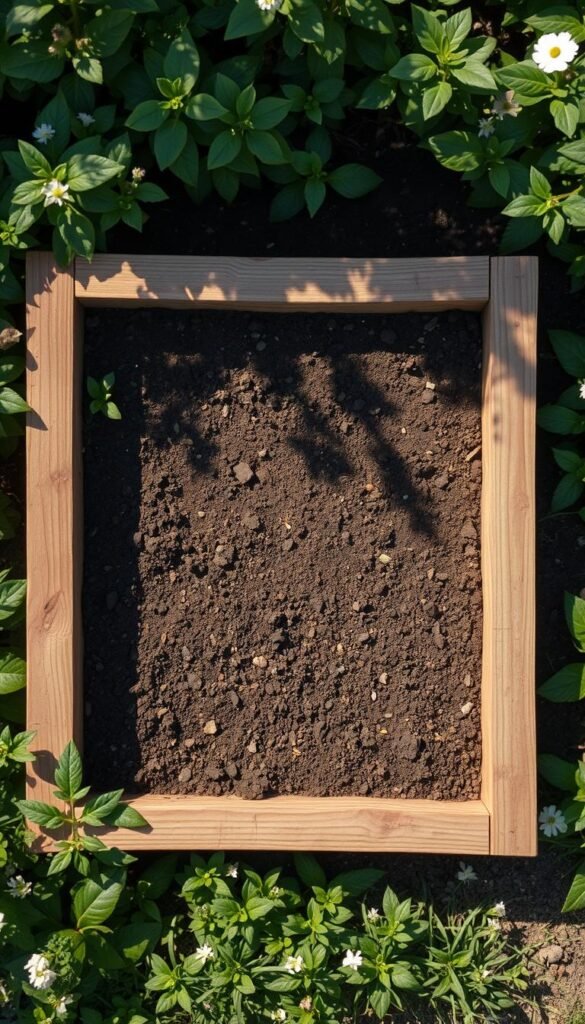
Crafting a functional garden structure begins with precise design choices. Start by marking your lumber with painter’s tape – this simple trick prevents measurement errors. For standard 4×8-foot beds, cut two 8-foot boards for length and two 45-inch pieces for width. This accounts for overlapping corners while maintaining proper size.
Smart Cutting Techniques
Actual board dimensions matter more than labels. A “2×6” piece measures 1.5×5.5 inches – factor this into height calculations. Use a speed square to mark perfect 90° angles. For holes, drill pilot openings ¾-inch from edges to prevent splits during assembly.
Rock-Solid Assembly
Begin with shorter sides, attaching them to 4×4 corner posts. Check diagonals match – this ensures square alignment. Secure joints with 3-inch screws, alternating between top and bottom for balanced tension. Rotate boards to hide any imperfections on the inner faces.
| Component | Measurement | Purpose |
|---|---|---|
| Short Sides | 45″ | Prevents overreach |
| Long Sides | 96″ | Maximizes yield |
| Post Height | 20″ | Allows soil settling |
“Pre-drilling is non-negotiable – it protects your boards from stress cracks that develop over seasons.”
For deeper beds, stack tiers using the same DIY approach. Follow this modular construction method to create adaptable growing spaces. Allow ½-inch gaps between boards for natural wood movement – your structure will stay true for years.
How to Make Raised Garden Beds: Construction, Tools, and Materials Explained
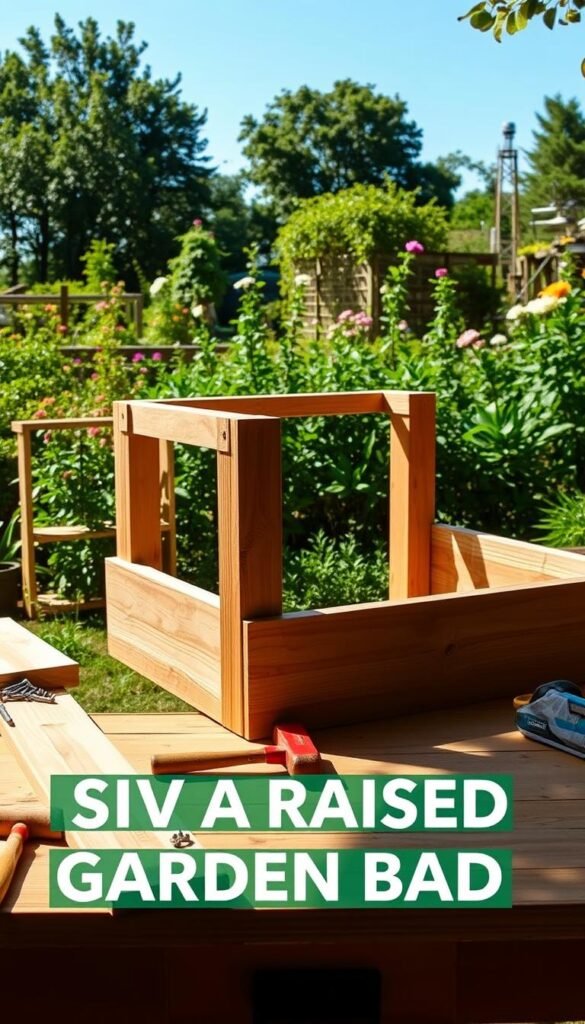
Transform your materials into a sturdy growing space with precise assembly techniques. Begin by arranging boards on a flat surface like a driveway or workshop floor. Clamp long and short sides together, ensuring ends align perfectly for seamless corners.
Position 4×4 posts 1½ inches from short wall edges – this offset creates interlocking joints. Drill holes at ¾-inch intervals using a countersink bit to prevent wood splitting. Secure posts with 3-inch screws, driving them straight to avoid angled weak points.
Connect all four sides to form a box with posts inside the structure. For extra-long designs over 6 feet, install steel braces mid-span. These reinforcements combat soil pressure that causes walls to bulge outward over time.
“Always pre-drill near board ends – it’s the difference between a five-year bed and a fifteen-year investment.”
Check squareness by measuring diagonal corner distances. Adjust until both measurements match, then tighten all fasteners. This simple verification step ensures even weight distribution and prevents future alignment issues.
Finally, test stability by gently rocking the frame. No wobble? You’ve built a foundation that’ll support hundreds of growing seasons. Now you’re ready to position your creation and fill it with life-giving soil!
Preparing the Ground and Setting Up Your Bed
Proper site preparation transforms your gardening efforts from frustrating to fruitful. Start by marking your raised bed outline using spray paint or stakes. This step ensures precise placement on level ground, saving you from heavy lifting adjustments later.
Clear the area thoroughly—remove grass, weeds, and rocks. Dig out surface vegetation to expose bare soil. Leftover organic matter at the bottom creates air pockets that hinder roots. Break up compacted earth with a spading fork, loosening 6-8 inches deep for better drainage.
Position your bed frame directly on prepared ground, not pavement. Soil contact lets plant roots stretch deeper while preventing water pooling. Enlist a helper—assembled frames weigh more than you’d expect!
Make sure corners align perfectly before filling. A well-prepared foundation gives plants the headstart they deserve. Now you’re ready to layer soil and watch your garden thrive!

