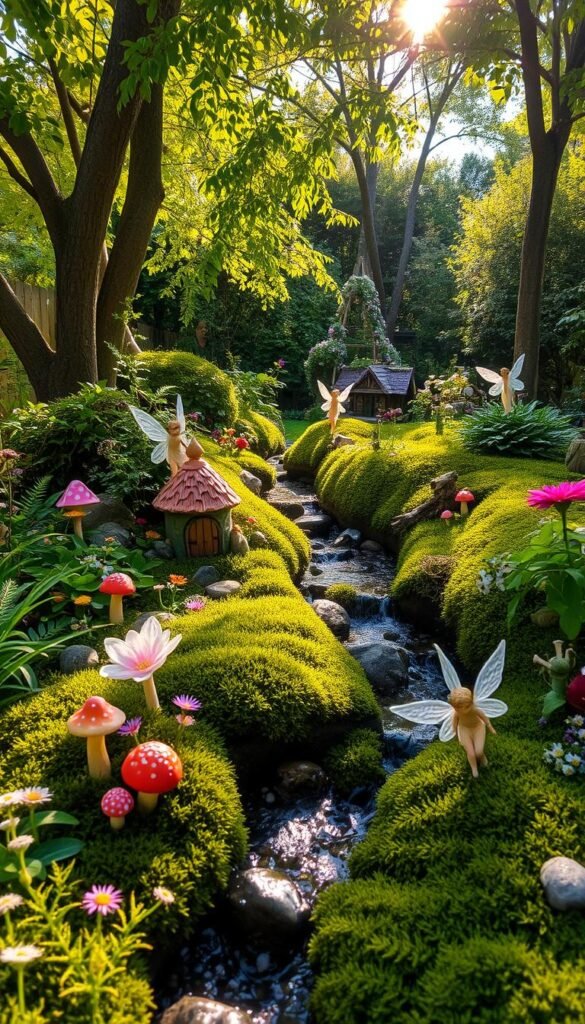
Imagine stepping into a storybook every time you walk into your yard. With a few creative touches, you can craft magical landscapes that blend nature’s beauty with playful charm. These tiny ecosystems let you design everything from cozy cottages to sparkling streams, turning ordinary areas into captivating escapes.
What makes these projects special? They’re affordable, flexible, and perfect for all skill levels. Whether you’re repurposing an old planter or designing a sprawling backyard scene, you’ll find endless ways to mix plants, pebbles, and miniature decor. Even beginners can create stunning results in just an afternoon.
Families love how these projects spark creativity while teaching kids about gardening. As you arrange mossy pathways or tiny furniture, you’re building more than decor – you’re crafting memories. For those drawn to rustic charm, consider blending your design with cottagecore aesthetic elements like wildflowers and weathered wood.
The secret lies in balance. Choose plants that stay small, pair smooth stones with rough bark, and let each piece tell part of your story. Before long, your outdoor space becomes a living canvas where imagination grows as freely as the flowers.
Getting Started with Your Magical Fairy Garden
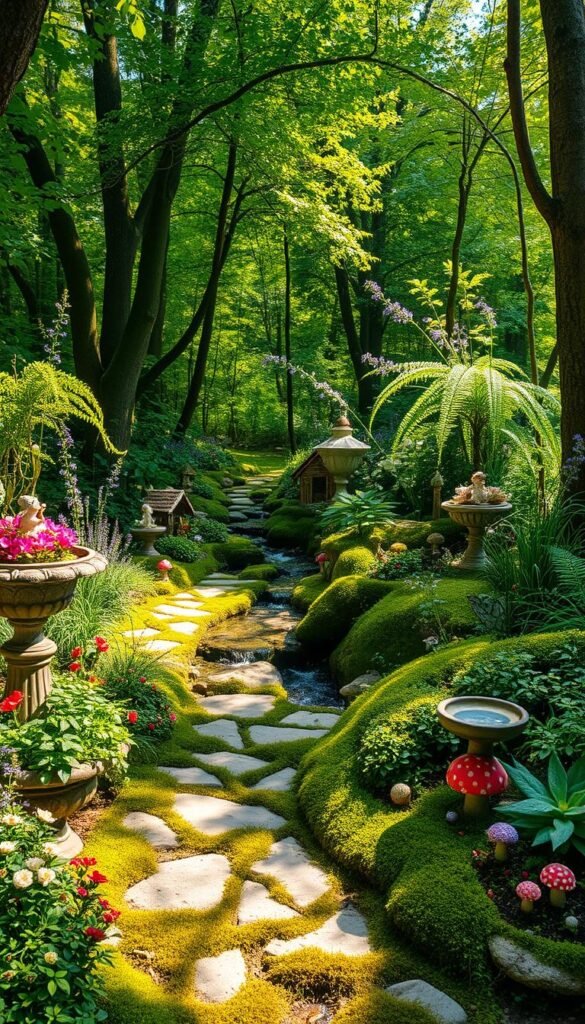
Building a tiny world requires attention to detail and a touch of folklore wisdom. The first rule? Keep everything in consistent scale. Miniature cottages, bridges, and figurines should match in size to create a believable scene. Think of it as designing a dollhouse where every piece feels like it belongs.
Next, choose plants that thrive under similar conditions. Low-growing herbs like thyme or mosses work beautifully since they need the same sunlight and water. Avoid pairing thirsty ferns with drought-tolerant succulents – mismatched needs lead to wilted greenery.
Folklore fans will appreciate this tip: skip nickel or iron decorations. Tradition says these metals keep mystical visitors away. Instead, use pebbles, twigs, or resin accessories to maintain that enchanted vibe.
Want to attract butterflies and hummingbirds? Plant violets or foxgloves. These blooms invite pollinators while aligning with tales of fairies befriending nature’s helpers. It’s a win for both your living ecosystem and the storybook aesthetic.
Spend time sketching your layout before digging in. A rough plan prevents costly mistakes and ensures your vision grows smoothly. Remember, the best spaces balance creativity with practicality – just like magic itself.
Planning Your Enchanted Outdoor Space
Transforming your yard into a magical retreat starts with smart planning. Begin by measuring your available area – whether it’s a sprawling backyard or a cozy balcony corner. This helps determine the ideal size for your project. For tight spots, try a terra cotta planter or elevated container to maximize garden space without overwhelming the area.
Next, scout locations considering sunlight and drainage. Most miniature plants thrive with 4-6 hours of morning light. Avoid low spots where water pools after rain. Position your creation where you’ll enjoy it daily – near seating areas or visible from windows.
Sketch a rough layout before planting. Note existing trees, slopes, or rocks that could become natural pathways or hills in your design. Working with these features saves effort and creates harmony with your larger landscape. Seasonal changes matter too – place shade-loving plants under deciduous trees that leaf out in summer.
For those elevating your outdoor space, balance open areas with clustered details. Leave room for plants to grow while ensuring tiny houses remain visible. Annual herbs like creeping thyme make flexible groundcover that adapts as your vision evolves.
Remember: great plans blend practicality with wonder. Your backyard’s unique character will guide the magic – let it shine through every decision.
Gathering Essential Supplies and Materials
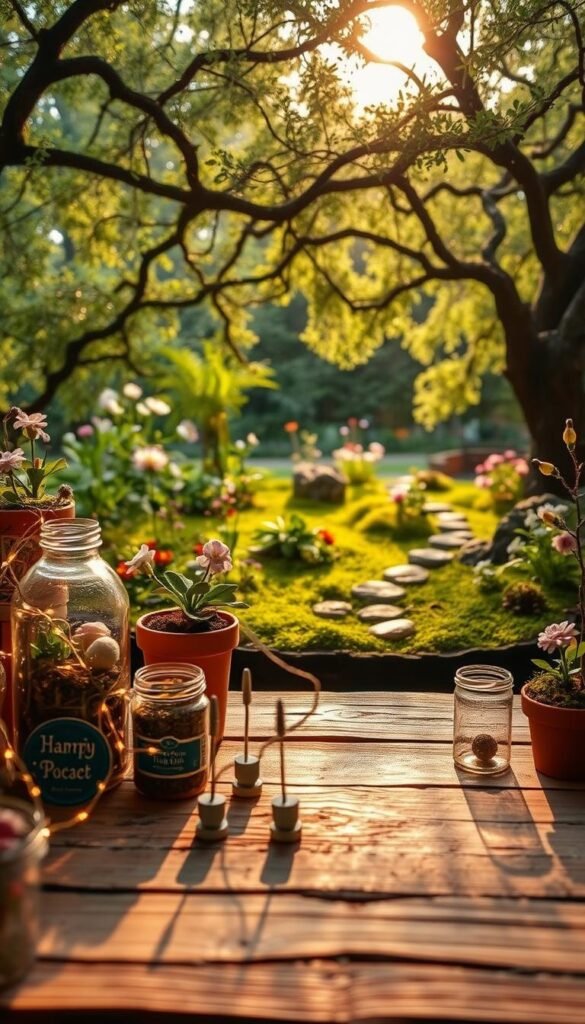
Assembling your miniature wonderland begins with smart material choices. Craft stores and dollar shops offer hidden treasures like tiny cottages and resin mushrooms at wallet-friendly prices. Check discount aisles for seasonal items – miniature benches or birdbaths often cost less than a latte.
A hot glue gun becomes your best friend here. It securely attaches delicate pieces to surfaces while surviving light rain. Pair it with popsicle sticks – these humble DIY staples morph into picket fences, arched bridges, or rustic chairs with basic cutting and painting.
Clay pots shine as multi-purpose garden materials. Turn small ones upside down to create whimsical towers, or nestle them sideways as cozy planters. For more inspiration on pairing them with blooms, explore our guide to colorful container gardening.
Weather resistance matters for outdoor displays. Seal wooden items with outdoor-grade varnish and choose plastic over paper decor. Moss makes excellent natural carpeting that thrives in shaded spots, while succulents handle sunny areas beautifully.
Remember: creativity trumps cost. Twigs become ladders, bottle caps transform into ponds, and pebbles pave winding paths. Your magical space reflects resourcefulness as much as imagination.
Choosing the Perfect Container or Garden Space
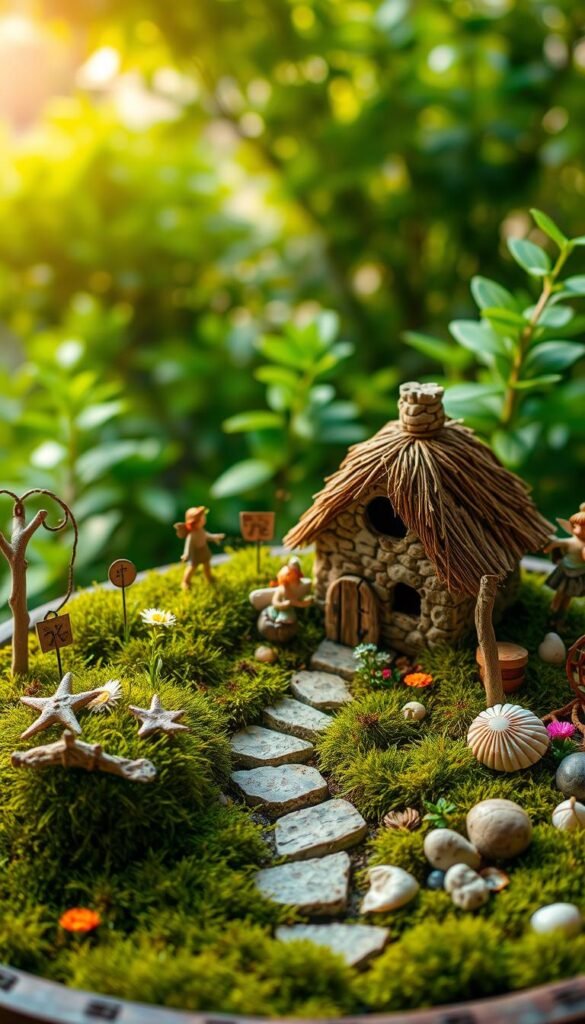
Your journey into miniature magic begins with selecting the right foundation. Containers let you craft portable wonderlands that fit anywhere – from studio apartments to sprawling patios. An old wheelbarrow becomes a rolling hillside village, while a cracked birdbath transforms into a water-loving oasis.
Drainage keeps your tiny ecosystem thriving. Drill holes in metal buckets or line wooden crates with gravel before adding soil. This prevents root rot while letting rainwater flow naturally through your design.
Apartment dwellers love how containers adapt to changing light. Move your creation weekly to chase sunlight or shield delicate moss from afternoon heat. For outdoor fairy garden displays, match pots to your home’s style – galvanized troughs suit farmhouses, while glazed bowls complement modern decks.
Winter-proof your work with these tips:
- Swap tender plants for cold-hardy sedums
- Wrap fragile containers in burlap
- Store figurines indoors during heavy snow
Remember: the best garden space isn’t about size. A single teacup bursting with succulents and a tiny bench can spark just as much joy as larger setups. Let your container’s shape guide the story – round planters suggest cozy gatherings, while rectangular troughs create perfect pathways.
Designing Your Miniature Fairy Home
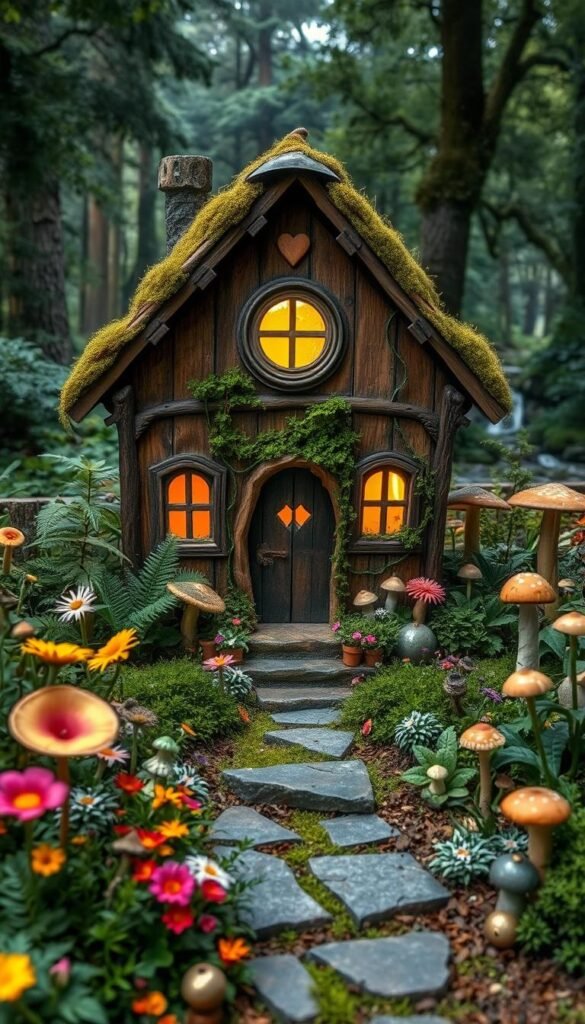
Crafting tiny homes for magical residents starts with everyday items. An upside-down terracotta pot becomes a perfect base – paint arched doors and shuttered windows using outdoor acrylics. Add flower box details with dried moss for instant charm. These fairy houses gain personality through color choices: pastels suit cottage styles, while earthy tones create woodland vibes.
Natural materials blend your creation into the landscape. Pinecone roofs and acorn chimneys give authentic texture to miniature dwellings. Press lichen into clay to craft stone-like walls, or stack birch bark slices for rustic siding. Existing trees become living fairy homes when you attach tiny doors at their bases – use waterproof glue for lasting installations.
Architectural styles range from hobbit-hole roundness to Victorian spires. Match your garden’s mood: twisted twig roofs suggest enchanted forests, while mushroom-shaped caps add storybook flair. Pair your creation with gentle water elements from our guide to creating a magical evening atmosphere nearby.
Protect your work with clear outdoor sealant. Apply two coats to painted surfaces and natural materials alike. For extra durability:
- Use UV-resistant spray on colored details
- Replace seasonal decorations before storms
- Elevate wooden structures on pebble bases
Final touches make each house unique. Glue a pebble path leading to miniature mailboxes. Nestle tiny lanterns beside entryways using LED tea lights. Your magical neighborhood now awaits its first residents – just watch for glittery footprints after dusk!
Incorporating Natural Elements for a Whimsical Touch

Nature provides the best materials for crafting enchanting spaces. Moss transforms ordinary soil into lush carpets that invite playful stories. Whether you choose living moss or preserved varieties, this versatile element adds depth while softening edges between structures. It’s like rolling out a green welcome mat for magical visitors.
Live moss thrives in shaded, moist areas – perfect under miniature bridges or beside tiny cottages. For sunny spots, try faux moss from craft stores. It stays vibrant year-round without watering. Here’s a quick guide to help you decide:
| Type | Best For | Maintenance | Longevity |
|---|---|---|---|
| Live Moss | Shaded areas | Daily misting | 2-3 years |
| Artificial Moss | Full sun | Occasional dusting | 5+ years |
Collect stones from local streams or buy polished pebbles to create winding paths. Arrange them in curves rather than straight lines – it looks more organic. Larger rocks make excellent seating areas for tiny figures. Pair them with handmade garden art to personalize your space.
Twigs and bark add rustic charm. Use birch pieces as miniature fences or stack pinecones into whimsical trees. These natural elements weather beautifully, developing patinas that enhance the garden’s storybook feel.
Refresh your design seasonally. Swap delicate fern fronds for hardy sedums in winter. Rotate decorative acorns with pinecones during fall. With thoughtful updates, your creation stays magical through every weather change.
DIY Fairy Garden Ideas for Creating a Whimsical Backyard Retreat
Infuse personality into your miniature landscape by adding playful companions. Tiny rabbits perched near mushroom stools or ceramic owls guarding cottage doors create lively scenes. These handcrafted elements transform static displays into dynamic storytelling spaces.
Start with simple projects like customizing a wooden birdhouse. Apply outdoor primer before painting – this helps colors stay vibrant through sun and rain. Try ombre effects for roofs or stencil leafy patterns on walls. Seal with clear acrylic spray to protect your artistic touches.
| Animal Type | Material | Durability | Best For |
|---|---|---|---|
| Resin Squirrels | Plastic Composite | 5+ Years | Shaded Areas |
| Ceramic Foxes | Glazed Clay | 3-5 Years | Protected Spaces |
| Metal Butterflies | Powder-Coated Steel | Indefinite | Sunny Spots |
Upgrade basic figurines with simple tweaks. Glue moss to deer figurines for a woodland effect, or add glitter to dragonfly wings. Thrift store finds become treasures – turn chess pawns into garden gnomes with acrylic hats and beards.
Group elements thoughtfully. Position frogs near pebble ponds or mice beside miniature vegetable patches. This placement creates natural narratives that engage viewers. Rotate pieces seasonally – swap autumn-colored birds for spring hatchlings.
Advanced crafters can sculpt custom creatures from polymer clay. Create sleeping cats curled on benches or turtles carrying tiny shells. Bake according to package instructions, then seal with weatherproof varnish. These one-of-a-kind additions make your space truly unique.
Enhancing Your Garden with Stones, Water, and Moss
Unlock the secret to a captivating outdoor space by combining earthy textures with tranquil accents. Natural materials like smooth river rocks and velvety moss transform ordinary corners into enchanting ecosystems. These elements work together to create depth and movement in your design.
Stone Pathways and Textured Ground Cover
Arrange flat stones as stepping “paths” between miniature structures. Mix pebble sizes for visual interest – larger rocks make perfect benches, while gravel mimics gravel driveways. Ground cover plants like Irish moss soften edges and create lush carpets between features.
Blue glass chips sparkle like winding streams when placed in curved patterns. For dry creek beds, layer tan pebbles between slate slabs. Always leave space for moss to spread naturally around stones.
Water Elements That Spark Imagination
Shallow ceramic dishes become instant ponds when filled with water-safe resin. Add floating lily pads cut from green felt for realism. Small solar-powered fountains create gentle bubbling sounds without wiring.
Hide pump tubing under moss or behind rocks for seamless waterfalls. Change water weekly to prevent algae in active features. Pair these elements with ferns or creeping jenny for a serene setting that invites quiet moments outdoors.
Remember: balance is key. Let stones anchor your design, water add movement, and moss weave everything together. Your space will feel alive with texture and hidden stories waiting to unfold.

