
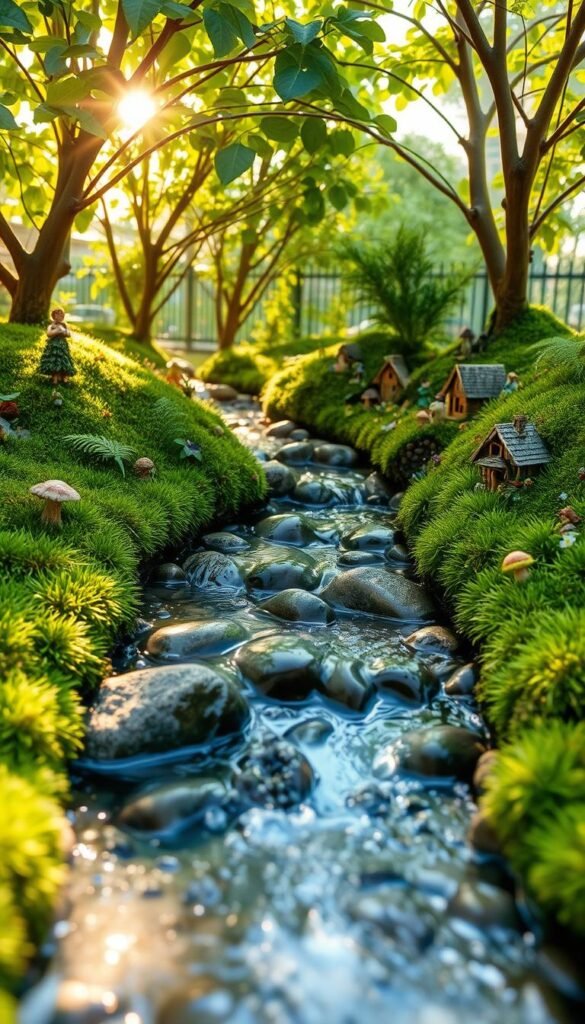
Imagine a whimsical corner where sunlight dances across glistening surfaces, and delicate winged figures gather near shimmering reflections. Water elements breathe life into miniature landscapes, transforming ordinary spaces into realms where magic feels possible. These natural accents don’t just beautify your setup—they invite storytelling and wonder.
Folklore suggests mystical beings thrive near bubbling brooks and tranquil pools. In your own creation, a small pond or winding stream becomes more than decor—it’s a natural magnet for enchantment. Whether indoors or outdoors, these features anchor your design, making scenes feel alive with movement and depth.
You’ll find endless ways to experiment, from mirror-like still pools to cascading waterfalls. Materials like resin, pebbles, or even repurposed household items offer flexibility for any skill level. For inspiration, explore easy DIY projects that blend simplicity with striking results.
Planning ensures your vision harmonizes with existing elements. Consider scale, placement, and how water interacts with plants or structures. With thoughtful design, you’ll craft a serene retreat that captivates both fairies and admirers alike—no prior experience required.
Understanding the Magic of Water Features in Fairy Gardens

Every magical scene needs a heart—a spot where stories begin and tiny wonders unfold. Water features become that focal point, pulling attention to shimmering surfaces where fairies might gather or play. These elements anchor your design, turning ordinary setups into immersive worlds brimming with charm.
Still water brings calm to your miniature realm. A tiny pond or glassy puddle creates peaceful spots for figurines to rest. Use smooth stones or resin to mimic reflective surfaces, perfect for quiet moments in your enchanted landscape.
Flowing water adds energy. Miniature streams or cascades introduce motion, making scenes feel alive. Pebbles and glue-based techniques help craft realistic ripples, as if a gentle breeze just swept through.
These features blend seamlessly with moss, bridges, or gardening aesthetic accents. They also engage multiple senses—think of faint trickling sounds or sunlight bouncing off “water.”
Whether crafting a serene pond or lively waterfall, each choice sparks creativity. Imagine fairies fishing by a lake or racing leaf boats downstream. Your design isn’t just pretty—it’s a stage for endless tiny tales.
Planning Your Miniature Landscape for Enchanting Water Elements

Creating a captivating scene starts with smart preparation. Whether designing indoor displays or outdoor fairy garden setups, location matters most. For exterior spaces, pick shaded areas to prevent sun damage to delicate materials like colored resins or painted stones.
Wind protection keeps lightweight decorations secure. Tuck your creation near walls or dense foliage to shield it from gusts. This preserves tiny bridges, faux lily pads, and other whimsical details that complete the look.
Scale transforms good designs into believable worlds. Match your water elements to surrounding structures—a pond shouldn’t dwarf nearby cottages. Use coins or bottle caps as size guides when crafting streams to maintain proportion.
Drainage prevents messy surprises in rainy climates. Elevate outdoor setups slightly or add gravel layers beneath features. For indoor projects, waterproof trays keep surfaces safe from spills.
Sketch rough layouts before building. Visualize how paths curve around ponds or where sunlight hits shimmering surfaces. This step saves time and helps spot potential issues early, letting you focus on the fun parts—like imagining where fairies might sip morning dew.
Gathering Materials and Tools for Your DIY Water Projects
What separates ordinary crafts from spellbinding miniature water scenes? The right supplies. Start with Woodland Scenics Realistic Water—a pourable resin that mimics lakes and streams effortlessly. Its quick-setting formula works for both first-timers and seasoned creators.
Adhesives make or break your design. Tacky glue and Mod Podge Glossy create glossy water effects without breaking the bank. Pair them with white acrylic paint for frothy wave details along pebble-lined shores.
Polymer clay opens endless possibilities. Mold custom pond bases or sculpt rocky ledges, then bake them to permanence. Surround these with glass pebbles or fire glass for instant sparkle. Mix sea glass and colorful stones to mimic natural riverbeds.
Don’t forget tools! A hot glue gun crafts instant waterfall textures, while stiff brushes add ripples to resin surfaces. Safety matters: wear gloves when handling sharp stones or fire glass fragments.
Hunt for materials creatively—craft stores, dollar bins, or even old jewelry supplies work. Repurpose clear beads as “bubbles” or use broken mirrors for reflective pools. With these essentials, you’re ready to build liquid magic.
Choosing the Perfect Water Feature for Your Fairy Garden

Selecting the right aquatic centerpiece transforms your miniature world from pretty to mesmerizing. Whether you want serene stillness or playful motion, options abound. Let’s dive into popular choices that spark joy in small spaces.
The Mallard’s Fairy Pond brings family charm with mama and baby ducks. At 4″ long, it nestles perfectly between mossy rocks. Prefer tranquil vibes? The Little Stone Rock Pond features a lily pad perfect for tiny meditation spots.
Summer fun shines in the 7.5″ swimming hole with a tire float. It holds real water for interactive scenes. For flowing energy, handmade 9-inch rivers use epoxy and silicones to mimic natural currents. Bubbling versions (4-7″) add gushing illusions with resin and glass pebbles.
| Feature | Size | Materials | Theme |
|---|---|---|---|
| Koi Pond | Custom | Rocks, clay | Naturalistic |
| Mallard’s Pond | 4″x3.5″ | Resin, paint | Whimsical |
| Stone Rock Pond | 3″ diameter | Ceramic | Peaceful |
| Tire Float Pond | 7.5″x5″ | Waterproof resin | Playful |
| Bubbling River | 4-7″ | Glass, resin | Dynamic |
Match your theme effortlessly. Stone ponds blend with rustic cottages, while colorful tire floats suit summer scenes. Every choice tells a story—will yours feature frog princes or leaf-boat races?
Adding Water Features to Your Fairy Garden: Tiny Streams and Ponds

Blending liquid elements into your magical setup requires both creativity and precision. Start by sketching your layout to position water features where they’ll shine—near bridges, under arches, or beside tiny fairy cottages. Proper scale keeps everything believable: a pebble-lined stream shouldn’t overwhelm neighboring mushroom houses.
Level surfaces prevent leaning ponds. Use gravel bases for outdoor setups or waterproof trays indoors. “The secret lies in making water elements look discovered, not placed,” advises miniature artist Lila Crane. Tuck moss around edges to hide artificial materials and add aged charm.
| Integration Technique | Materials | Visual Effect |
|---|---|---|
| Edge Softening | Moss, creeping thyme | Natural transition |
| Depth Illusion | Dark pebbles, blue resin | Realistic water |
| Flow Connection | Curved pathways | Guided movement |
| Color Echoing | Matching glass beads | Harmonious palette |
Connect multiple features by echoing shapes. A winding stream might feed a circular pond, while cascading resin “falls” mirror nearby hill slopes. For indoor displays, position features where light catches reflective surfaces—your miniature fairy scene will sparkle day and night.
Troubleshoot proportions by comparing elements to figurines. If your bridge looks like it spans a canyon, resize the stream. Outdoor setups may need drainage holes to handle rain. With these tricks, you’ll create fairy habitats where liquid magic feels utterly real.
Crafting Realistic Miniature Streams with Resin and PVA Glue

Bringing movement to your miniature landscape starts with mastering liquid textures. Thin layers of PVA glue or epoxy resin become your secret weapons, building depth that mimics real flowing water. The magic happens when you balance patience with creativity—each pour sets the stage for shimmering results.
Techniques for Creating Flowing Water Effects
Start with a smooth stream bed shaped from polymer clay. Paint it using earthy browns and mossy greens to mirror natural river bottoms. Apply your first resin layer thinly—thick pours create cloudy patches. Let it cure completely, even if it takes 24 hours. “Rushing this step ruins realism,” warns miniature artist Tara Simmons.
Step-by-Step Process for a Miniature Stream
Once the base layer hardens, add texture. Drag a toothpick through fresh resin to create flowing water ripples. For whitewater effects, dab white acrylic paint where currents collide. Seal everything with clear gloss medium to protect your tiny river from dust.
| Technique | Tools Needed | Effect Created |
|---|---|---|
| Depth Building | PVA glue, epoxy resin | Layered transparency |
| Surface Texturing | Stiff brush, toothpicks | Ripples & currents |
| Color Layering | Acrylic paints | Natural stream bed |
| Bubble Prevention | Heat gun, toothpick | Crystal-clear finish |
Watch for temperature changes—cold rooms slow curing, while heat warps resin. Fix air bubbles by poking them with a needle before layers dry. With these methods, you’ll make miniature waterways that look ready for leaf boats to sail through.
Building Charming Fairy Garden Ponds
Creating a polymer clay pond offers durability and creative freedom. These miniature water features anchor your scene while providing endless customization options. Let’s explore how to craft one that looks lifted from an enchanted forest.
Using Glass Pebbles and Stones to Enhance Ponds
Start by kneading Cernit polymer clay until pliable. Shape it into a 3-inch oval base, folding edges upward to form natural-looking banks. Press small stones along the rim before baking at 140°F for 20 minutes—this ensures structural integrity.
After cooling, seal seams with Mod Podge. “This step prevents resin leaks that ruin realism,” notes miniature artist Elena Marsh. Paint the bottom with layered brown, green, and yellow acrylics to mimic pond sediment. Let dry completely.
| Material | Size | Application | Effect |
|---|---|---|---|
| Glass Pebbles | 1/8″ | Bottom accents | Sunlight sparkle |
| River Stones | 1/4″ | Edge detailing | Natural texture |
| Cernit Clay | 3″ base | Structure | Custom shapes |
| Water Effect | 3mm depth | Surface pour | Liquid realism |
Pour Woodland Scenics Water Effect slowly to avoid bubbles. At 3mm depth, it cures crystal-clear in 24 hours. Scatter glass pebbles along the “shoreline” and place flat stones as stepping points. For indoor displays, position near light sources to maximize shimmer.
Troubleshoot cloudy resin by warming the bottle in water first. If edges look sharp, soften them with moss clusters. Your miniature pond now invites fairies to dip their toes in its glassy perfection.
DIY Waterfall Creations for a Stunning Focal Point
Nothing captivates the eye like the gentle rush of a miniature waterfall. These dynamic elements add motion and drama to your scene, turning quiet corners into showstopping spots. With simple materials and clever techniques, you can craft cascades that look straight from a woodland paradise.
Hot Glue Techniques for Mini Waterfalls
Hot glue becomes liquid magic when shaping tiny waterfalls. Start by squeezing thin strands onto a heat-safe surface like glass or metal. Let it cool slightly, then peel and position vertically to mimic flowing water. For a 7.5-inch pond scene, layer glue over plastic strips to create textured falls between mossy rocks.
Work quickly—hot glue sets fast. Press pebbles into warm glue at the base for natural-looking splashes. Darken crevices with acrylic paint to add depth, making your waterfall appear freshly carved by nature.
Place your creation near bridges or elevated spots to maximize visibility. Pair it with reflective elements like mirrored resin to amplify the illusion of movement. In minutes, you’ll transform ordinary materials into a mesmerizing focal point where fairies might pause to dip their toes.


