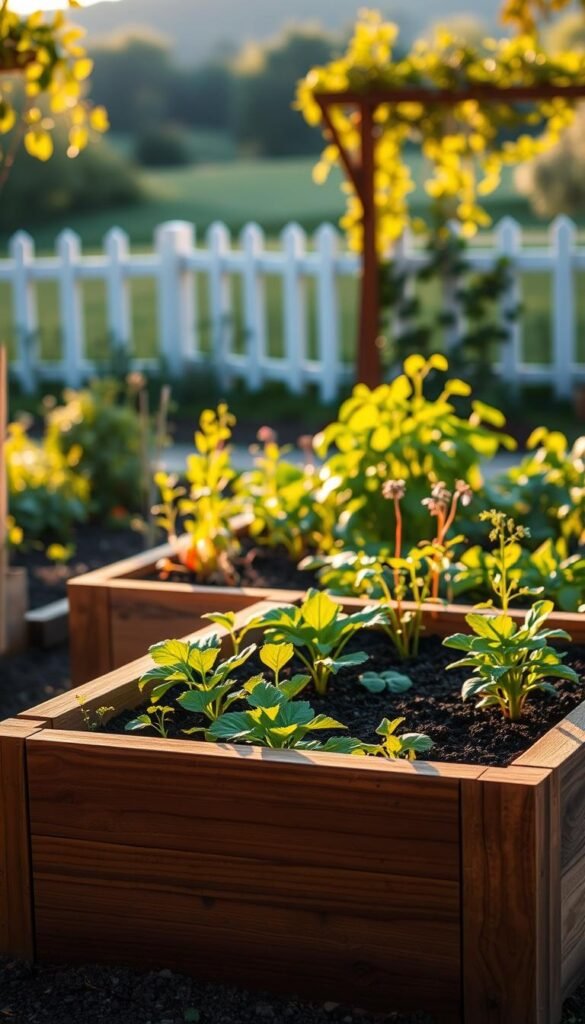
Switching from traditional ground-level plots to elevated growing systems creates a game-changing experience for plant lovers. Many seasoned growers compare this shift to upgrading from a flip phone to a smartphone – suddenly everything becomes simpler, cleaner, and more productive.
You’ll love how these structured planters let you command your soil quality while saying goodbye to stubborn weeds. Better drainage prevents waterlogged roots, and the comfortable height means no more kneeling in dirt. Imagine harvesting tomatoes without sore knees or muddy shoes!
Creating your perfect setup starts with smart planning. We’ll show you how to match your layout to your home’s style while maximizing yields. Whether you prefer modern cedar boxes or rustic repurposed materials, the right choices depend on your climate, budget, and favorite crops.
Keep your plants thriving year after year with our step-by-step guidance covering everything from soil blends to seasonal care. Resources like Gardenary’s Kitchen Garden Revival book and online courses make mastering these techniques easier than ever. Let’s turn your green dreams into reality!
Understanding the Benefits of Raised Garden Beds
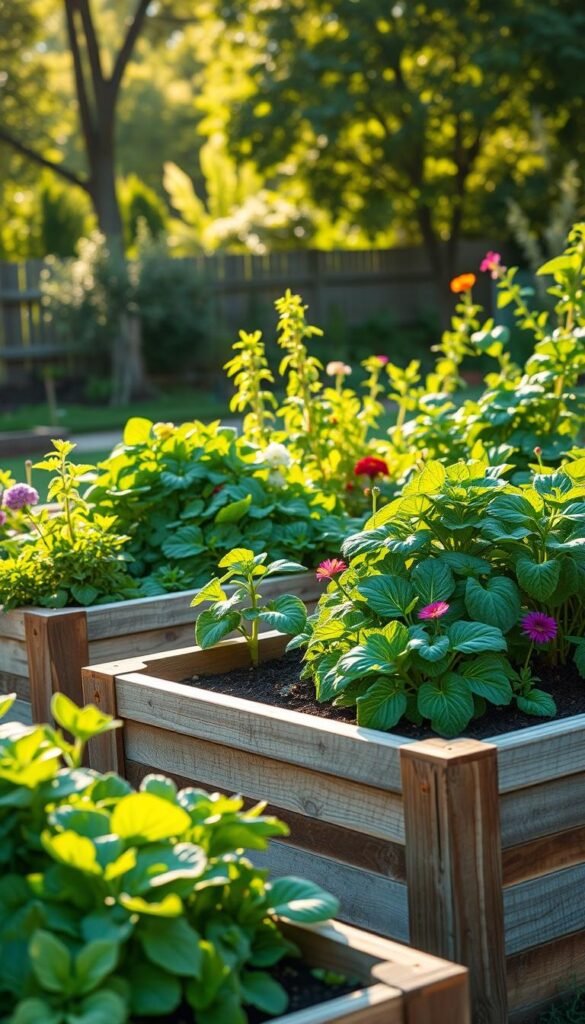
Transitioning to elevated setups unlocks new levels of control and efficiency in plant care. Seasoned growers often describe the shift as swapping a manual typewriter for a laptop – suddenly, every task becomes streamlined. Rooted Garden clients report 62% less physical strain and triple the harvests compared to traditional methods.
Enhancing Your Gardening Experience
Say goodbye to battling compacted earth. Elevated planters let you craft custom soil blends perfect for your crops. Want acidic soil for blueberries or sandy mix for carrots? You’re in charge. This precision leads to stronger roots and fewer nutrient deficiencies.
Your joints will thank you, too. Working at waist height means no more backaches from constant bending. One gardener’s 72-year-old mother harvested kale all season without knee pain after switching systems.
Why Raised Beds Outperform In-Ground Gardens
Ground-level plots struggle with drainage during heavy rains. Elevated setups prevent soggy roots while maintaining ideal moisture levels. Pests like slugs face a mini Mount Everest climb to reach your veggies, giving plants a fighting chance.
| Feature | Raised Beds | In-Ground |
|---|---|---|
| Soil Temperature | Warms 2-3 weeks faster | Slow to heat |
| Weed Control | 75% reduction | Constant battle |
| Harvest Speed | 30% faster | Standard pace |
Building budget-friendly raised bed designs extends your growing calendar naturally. The loose soil structure allows earlier spring planting and protects roots during unexpected frosts. You’ll spend less time weeding and more time enjoying vibrant blooms or juicy tomatoes!
Planning Your Backyard Garden Layout
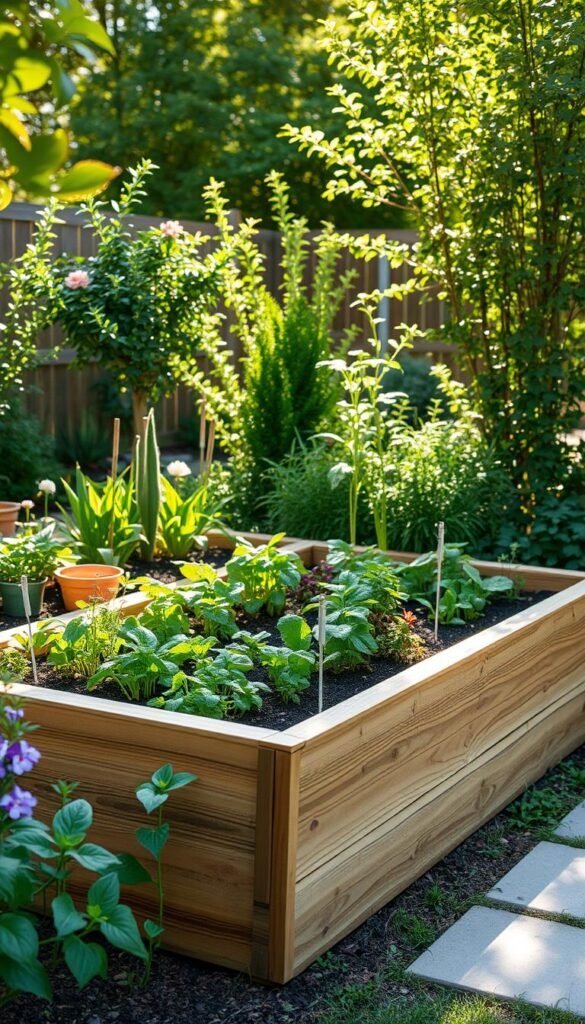
Smart spatial planning unlocks your yard’s full growing potential. Like arranging furniture in a sunlit room, positioning planters strategically creates harmony between function and beauty. Let’s explore how to balance practical needs with aesthetic appeal.
Sunlight Savvy Placement
Track your yard’s light patterns like a sundial. Most veggies need 6-8 hours of direct sun – use free apps like Sun Seeker to map shadows throughout the day. Position beds where morning light hits first, as eastern exposure helps plants dry dew faster, reducing mildew risks.
Keep hoses handy! Place planters within 10 feet of water sources or install drip irrigation. One Colorado gardener boosted yields by 40% simply by moving beds closer to their rain barrel system.
Style Meets Function
Match your planters to your home’s architecture. Modern metal beds complement contemporary spaces, while weathered cedar suits cottage styles. Leave 18-inch pathways between structures for comfortable wheelbarrow access – crushed granite paths prevent muddy shoes during harvests.
“Good design grows with you,” notes landscape architect Maria Costa. Leave room between beds for future expansions, like adding trellises for climbing beans or decorative borders. Your setup should evolve as your green thumb develops!
Backyard Raised Garden Beds: Design, Materials, and Maintenance Tips
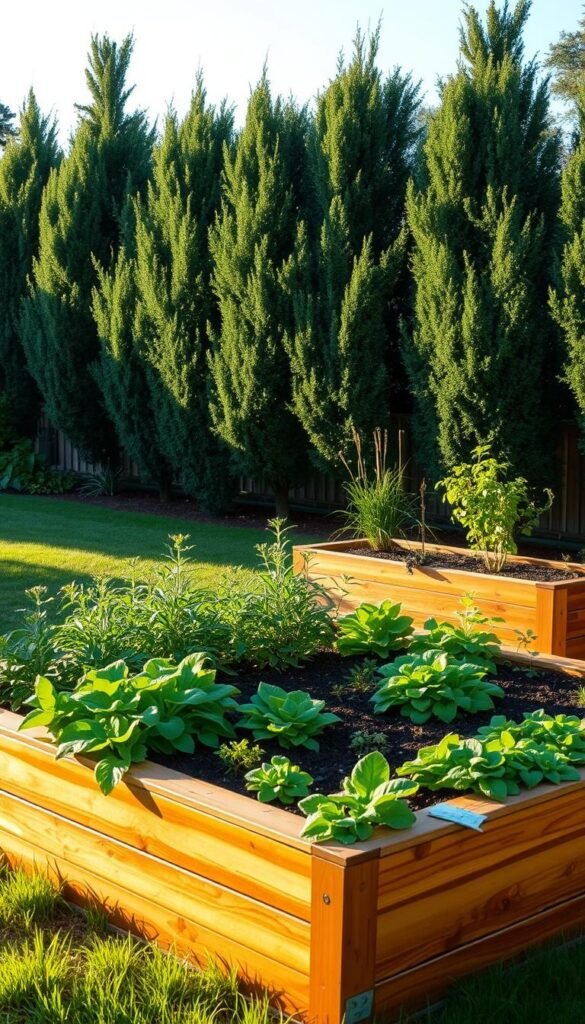
Blending aesthetics with practicality transforms your outdoor space into a thriving oasis. Imagine planters that complement your patio’s style while nurturing bumper crops of heirloom tomatoes. This balance begins with choosing shapes and sizes that suit both your plants’ needs and your visual preferences.
Durable materials matter as much as looks. Rot-resistant cedar lasts years but costs more, while galvanized steel offers modern flair with minimal upkeep. Budget-conscious growers love DIY solutions using repurposed bricks – they’re eco-friendly and wallet-friendly.
Stay ahead of issues with smart care routines. Weekly soil checks prevent nutrient gaps, and seasonal refreshes keep your setup productive. One gardener doubled her basil yield simply by adding compost tea every fortnight.
Customization unlocks possibilities. Curve edges for wheelchair access or build tiered planters for small spaces. As your skills grow, so can your system – add trellises next season or experiment with specialized soil mixes for exotic peppers. Your green space should evolve with your ambitions!
Selecting the Right Materials for Your Garden Bed
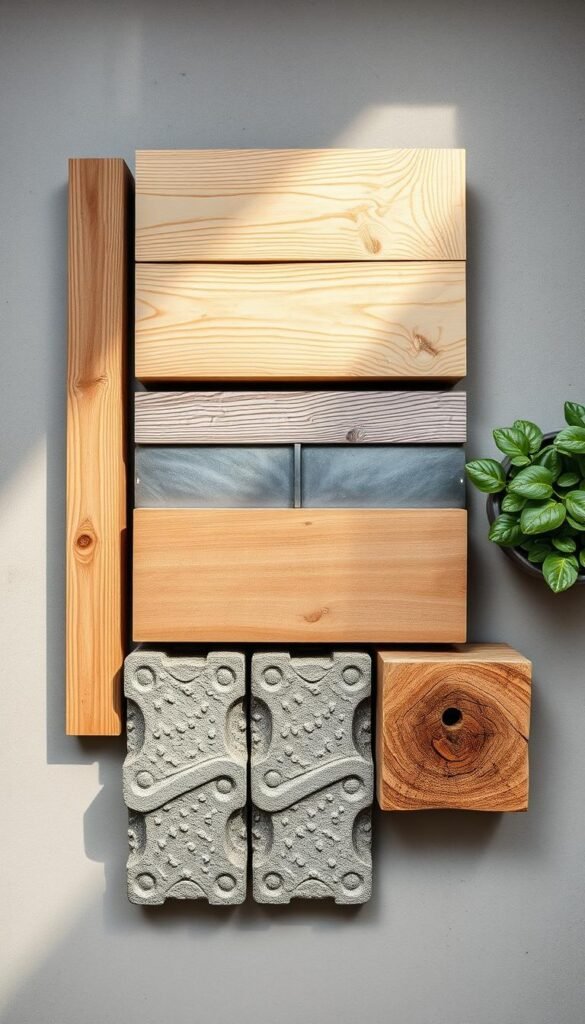
Material selection shapes both the durability and beauty of your growing space. Whether you prioritize longevity, cost-efficiency, or visual appeal, understanding your options ensures your setup thrives season after season.
Exploring Wood Options and Alternatives
Cedar and redwood top the list for natural rot resistance, but their premium price and limited availability might give budget-conscious growers pause. Softwoods like hemlock or pine offer affordable alternatives, though they typically last just 3-5 years in moist soil.
Modern pressure-treated lumber solves durability concerns without breaking the bank. EPA-approved ACQ treatments protect against decay while being food-safe – just line beds with landscape fabric where soil meets wood.
Examining Benefits of Composite, Metal, and Plastic Kits
Prefabricated bed kits simplify installation for time-strapped gardeners. Powder-coated steel versions withstand decades of use while creating farmhouse charm. “Your local climate dictates material choices more than personal taste,” notes urban gardener Liam Chen. “In rainy regions, rot-resistant options save money long-term.”
| Material | Cost | Durability | Maintenance |
|---|---|---|---|
| Cedar | High | 10-15 years | None |
| Composite | Medium | 20+ years | Low |
| Galvanized Metal | Medium | 25+ years | None |
| Plastic | Low | 5-8 years | None |
Colorful plastic kits brighten urban spaces but lack insulation for cold climates. Composite blends mimic wood grain while resisting splinters and warping – perfect for families with playful kids or pets.
Gathering Essential Tools and Equipment
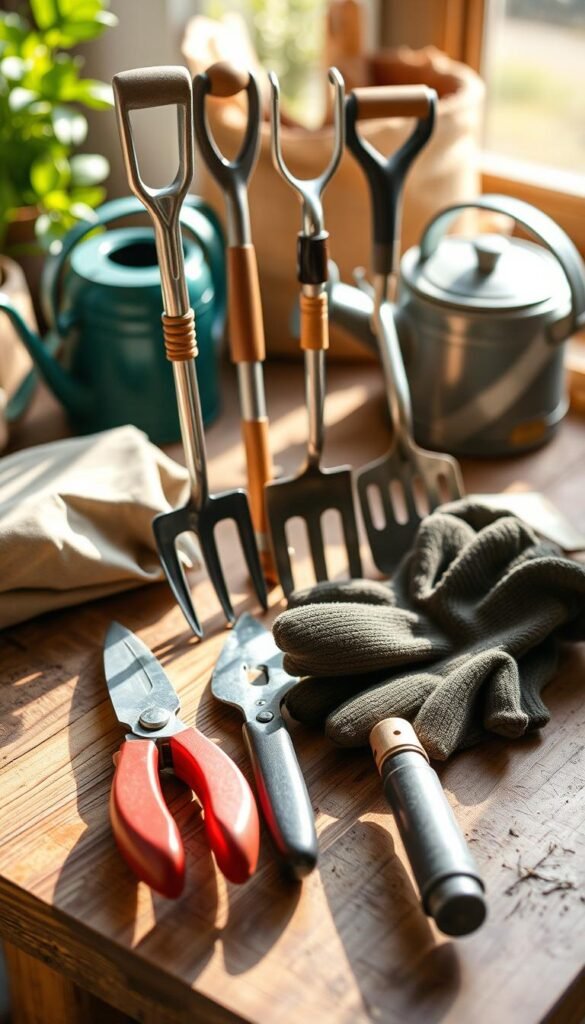
The right gear transforms your building experience from frustrating to flawless. Imagine slicing through lumber like butter and securing joints that stay tight for seasons. Let’s break down what you’ll need to construct sturdy planters efficiently.
Carpentry and Measuring Tools for DIY Projects
Precision starts with sharp blades. A compound miter saw creates clean 90-degree cuts for seamless corners, while a circular saw handles longer boards. Pair these with a rafter square and tape measure – your secret weapons for achieving perfect alignment.
Don’t underestimate the drill/driver’s power. Pre-drilling holes prevents wood splits when driving exterior screws. Need to attach hardware cloth? A staple gun makes quick work of securing barriers against burrowing pests.
| Tool Type | Key Uses | Pro Tips |
|---|---|---|
| Miter Saw | Angle cuts for joints | Use 80-tooth blade for smooth edges |
| Tape Measure | Layout marking | Lock mechanism prevents retraction |
| Drill/Driver | Screw installation | #2 Phillips bit fits most deck screws |
Safety Gear and Protective Equipment
Sawdust never looked good in eyeballs. Wrap those hands in leather work gloves when handling rough lumber. Safety glasses with side shields block flying debris, while a respirator keeps treated wood particles out of your lungs.
Hearing protection matters more than you think. Circular saws hit 110 decibels – that’s louder than a motorcycle revving. Combine ear muffs with a dust mask during extended cutting sessions for full-body defense.
| Gear | Protection | When to Use |
|---|---|---|
| Safety Glasses | Eye safety | Cutting, drilling, stapling |
| Respirator | Lung health | Sanding treated wood |
| Work Gloves | Hand safety | Material handling |
Organize your tools before breaking ground. Lay out shovels, rakes, and hoses near your workspace to minimize trips to the shed. With everything in reach, you’ll build raised structures in half the time!
Step-by-Step Construction Process
Transforming lumber into a thriving plant space requires precision and smart prep work. You’ll create a durable structure that outlasts seasons while giving roots room to stretch. Let’s break down the process from bare ground to ready-to-plant setup.
Preparing the Site and Assembling the Frame
Mark your chosen area using stakes and string. Remove grass within the outline, then loosen the ground with a spading fork. This step improves drainage and helps roots penetrate deeper soil layers.
Cut six 6-foot boards for long walls and six 3-foot 9-inch pieces for ends. Secure corner posts flush with the length of longer walls. Clamp boards tightly before drilling pilot holes – this prevents wood splitting when driving screws.
Installing Hardware Cloth and Protective Liners
Flip your assembled frame upside down. Staple hardware cloth across the bottom to block weeds while letting earthworms through. Use UV-resistant staples every 4 inches for secure attachment.
Line interior walls with heavy-duty plastic if using untreated wood. This barrier protects against moisture rot without chemicals. Leave 2 inches of liner above the soil line to prevent erosion during heavy rains.
Your finished raised bed now stands ready for soil. At 10½ inches height, it accommodates deep-rooted veggies while keeping maintenance manageable. Place it where you’ll enjoy easy access – most crops thrive within 4 feet of walking paths!

