
Every thriving indoor garden starts with one non-negotiable step: preparing your grow space properly between cycles. Neglecting this foundation can lead to stunted growth, unwanted pathogens, and reduced harvest quality. Whether you’re growing leafy greens or delicate herbs, a well-maintained setup ensures your plants get the pure nutrients they deserve.
Regular maintenance involves two distinct processes. Sanitation removes visible debris, while sterilization eliminates microscopic threats. Together, they create a stable environment where roots absorb nutrients efficiently and plants develop robust immune systems.
Choosing the right tools matters. Food-grade disinfectants and non-abrasive scrubbers protect equipment longevity while ensuring safety. Many growers overlook pH-neutral cleaners, which prevent corrosion in pumps and tubing.
This guide walks through proven methods to protect your investment. You’ll discover how to select effective solutions, establish routine checks, and meet industry safety benchmarks. Let’s explore how consistent care translates to vibrant, high-yielding crops.
Key Takeaways
- Prep your setup thoroughly between growth cycles to avoid contamination
- Combine debris removal with microbial control for optimal results
- Use plant-safe products to protect equipment and crops
- Follow industry guidelines for certification compliance
- Implement routine checks for sustained plant vitality
- Balance pH levels when using cleaning agents
Understanding the Importance of a Clean Hydroponic System
Healthy roots need more than nutrients – they require protection from invisible threats. When your setup accumulates debris, it creates a playground for harmful algae and bacteria. These unwelcome guests compete with plants for oxygen and leave behind toxins that weaken root systems.

Contaminated water demonstrates this perfectly. A single piece of decaying plant matter can trigger root rot, cutting nutrient absorption by up to 40%. Regular proper sterilization methods prevent these silent killers from establishing colonies.
Three key benefits emerge when you prioritize purity:
- Stronger immunity: Plants channel energy into growth instead of fighting infections
- Faster uptake: Roots absorb nutrients without biofilm barriers
- Consistent results: Each harvest meets quality expectations
Your grow room’s air quality plays a surprising role too. Dust particles carry fungal spores that thrive in humid conditions. A 2023 agricultural study found that filtered ventilation systems reduce pest infestations by 62% compared to uncontrolled environments.
Monitor reservoirs weekly for pH shifts or cloudy water – early detection prevents major outbreaks. Remember, prevention always costs less than curing diseased crops.
Sanitation vs. Sterilization: Key Concepts Explained
Two fundamental practices ensure your setup remains free from harmful contaminants. Sanitation tackles visible grime – think scrubbing surfaces and scooping out plant debris. Sterilization goes deeper, zapping microscopic invaders that threaten root health.

| Process | Purpose | Common Tools |
|---|---|---|
| Sanitation | Remove organic matter | Brushes, water jets |
| Sterilization | Destroy pathogens | Hydrogen peroxide, bleach |
Hydrogen peroxide shines for its eco-friendly breakdown into water and oxygen. But it loses potency faster than bleach. “Always use food-grade 3% solutions,” advises a USDA-certified grower. “Higher concentrations can damage equipment.”
Bleach offers stronger germ-killing power but requires careful rinsing. Never mix it with hydrogen peroxide – the chemical reaction creates toxic fumes. Always:
- Wear gloves and goggles
- Measure dilutions precisely
- Rinse three times after use
Most microbes help plants thrive. Sterilization targets only the bad actors like pythium fungi. Test cleaning solutions on small equipment areas first. Proper technique keeps your grow space safe without wiping out beneficial bacteria.
Cleaning & Sterilizing Your Hydroponic System: Best Practices
A spotless cultivation environment starts with the right tools and techniques. Gather three essential supplies: food-grade hydrogen peroxide, white vinegar, and unscented bleach. Pair them with soft-bristle brushes, microfiber cloths, and protective gloves for safe handling.

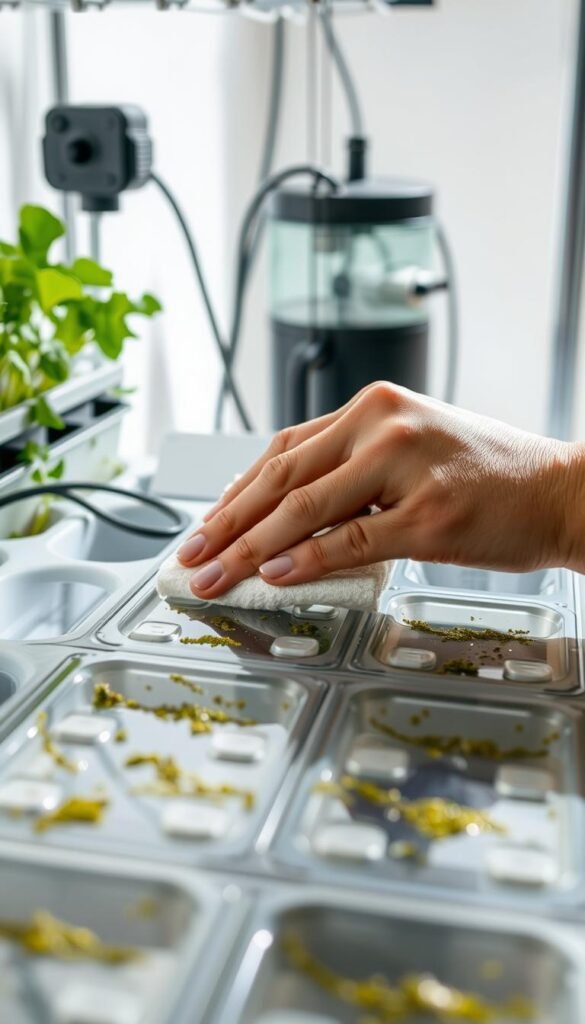
Begin by draining all liquid from your setup. Wipe surfaces with a vinegar-soaked cloth to dissolve mineral buildup. For stubborn residues, use a nylon brush – metal scrapers can scratch protective coatings.
| Solution | Dilution Ratio | Contact Time |
|---|---|---|
| Bleach | 1 part to 9 parts water | 15 minutes |
| Hydrogen Peroxide | 3% undiluted | 30 minutes |
| Vinegar | Full strength | 10 minutes |
Disinfect the reservoir first. Apply your chosen solution to all corners using a spray bottle. Let it sit for the recommended duration before scrubbing. Rinse components three times with fresh water to prevent chemical traces from affecting future crops.
Don’t overlook tubing and filters. Soak them separately in heated peroxide mixtures to break down organic matter. Air-dry all parts completely before reassembly to inhibit microbial growth.
Pro tip: Create a maintenance checklist with dates and solution strengths used. This record helps spot patterns in contamination and fine-tune your approach over time.
Establishing a Routine for Your Hydroponic Grow Room
Consistency transforms good growers into great ones. A structured maintenance plan saves time while shielding your setup from preventable issues. Think of it like brushing your teeth – small, regular efforts prevent major problems down the line.

Start by marking calendar dates for key tasks. “I set phone alerts for reservoir checks every Wednesday and Sunday,” shares an urban lettuce farmer. This approach prevents equipment clogs and keeps filters flowing smoothly. Aim for:
- Daily pH checks
- Weekly water replacements
- Monthly deep cleans
Sync your schedule with growth stages. Replace nutrient solutions after each harvest, and inspect grow mediums during vegetative phases. Always wear gloves when handling solutions – skin oils can disrupt delicate root systems.
| Task | Frequency | Time Needed |
|---|---|---|
| Reservoir scrub | Every 2 weeks | 20 minutes |
| Filter replacement | Monthly | 5 minutes |
| Full system flush | Quarterly | 1 hour |
Smart growers batch tasks. Clean air vents while nutrients mix, or wipe down surfaces between waterings. These micro-actions add up without disrupting plant cycles. Remember – a clean system isn’t just spotless surfaces. It’s about creating predictable conditions where roots thrive.
Track progress in a notebook or app. Over time, you’ll spot patterns – maybe algae forms faster in summer months. Adjust your process accordingly. When routines become habits, you’ll spend less time fixing issues and more time enjoying lush, healthy crops.
Practical Safety Tips and Techniques for Effective Cleaning
Safety first becomes reality when you handle powerful solutions. Always wear gloves, goggles, and a mask to shield yourself from splashes. These barriers stop skin irritation and protect your lungs from fumes.

Dilute bleach properly – 1 tablespoon per gallon of water works for most tasks. Never mix it with hydrogen peroxide or vinegar. This creates toxic gases that harm both you and plants.
| Dos | Don’ts | Tools Needed |
|---|---|---|
| Use food-grade cleaners | Skip protective gear | pH test strips |
| Check filters weekly | Reuse old solutions | Soft-bristle brushes |
| Scrub reservoir bottom | Pour chemicals down drains | Spray bottles |
Clean delicate parts like air stones gently. Soak them in food-grade peroxide instead of scrubbing. Rinse thoroughly to remove all chemicals before reassembling.
Check filters for trapped debris after each cycle. A flashlight helps spot hidden gunk. Store unused solutions in childproof containers away from grow lights.
Dispose of used liquids responsibly. Many communities offer hazardous waste drop-off sites. Proper handling keeps harmful bacteria out of water systems.
Remember: shortcuts with bleach or other cleaners risk your health and crop quality. Take five extra minutes to follow labels – your future harvests will thank you.
Conclusion
Maintaining peak performance in your grow space boils down to smart habits. Combining thorough sanitation with precise sterilization stops pathogens before they sabotage roots. Remember – wiping surfaces removes gunk, while targeted solutions like hydrogen peroxide tackle microscopic threats.
Sticking to a schedule pays dividends. Weekly reservoir checks and monthly deep cleans prevent algae buildup. Use food-grade products to protect delicate roots and equipment. A quick scrub with vinegar breaks down mineral deposits without harsh chemicals.
Safety matters as much as efficiency. Always rinse components three times with fresh water after using bleach solutions. Store cleaning supplies away from nutrients to avoid accidental contamination.
Consistent care leads to healthier plants and bigger harvests. Track maintenance dates in a journal to spot patterns. Address issues early – a spotless setup today means fewer pests tomorrow.
Bookmark this guide for quick reference. With the right balance of vigilance and proper techniques, you’ll create an environment where crops thrive season after season.


