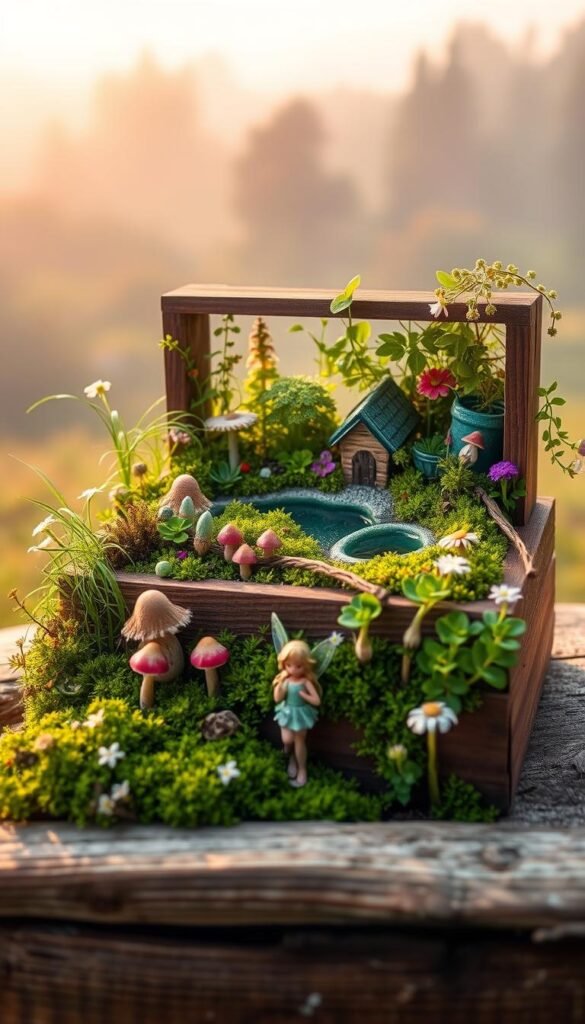
Discover how small-scale creativity can transform ordinary spaces into whimsical escapes. Miniature landscapes in containers let you design charming displays without needing vast outdoor areas. Whether you’re in an apartment or have limited yard space, these creations adapt to your lifestyle while sparking joy.
Using repurposed containers or basic wooden structures helps maintain focus and control costs. You’ll find endless options – old crates, vintage tins, or shallow planters work beautifully. This approach keeps your vision manageable while encouraging experimentation with textures and natural elements.
Seasonal flexibility is another advantage. Move your piece indoors during winter storms or refresh its design as your skills grow. Unlike permanent installations, portable setups let you rotate decorations for holidays or swap plants as they bloom.
We’ll guide you through selecting materials, arranging miniature accessories, and maintaining your tiny ecosystem. Learn to combine mosses, pebbles, and dwarf plants for storybook charm that feels alive. By the end, you’ll have the tools to craft a personalized retreat that invites imagination into everyday spaces.
Getting Started with Your Fairy Garden Box Project
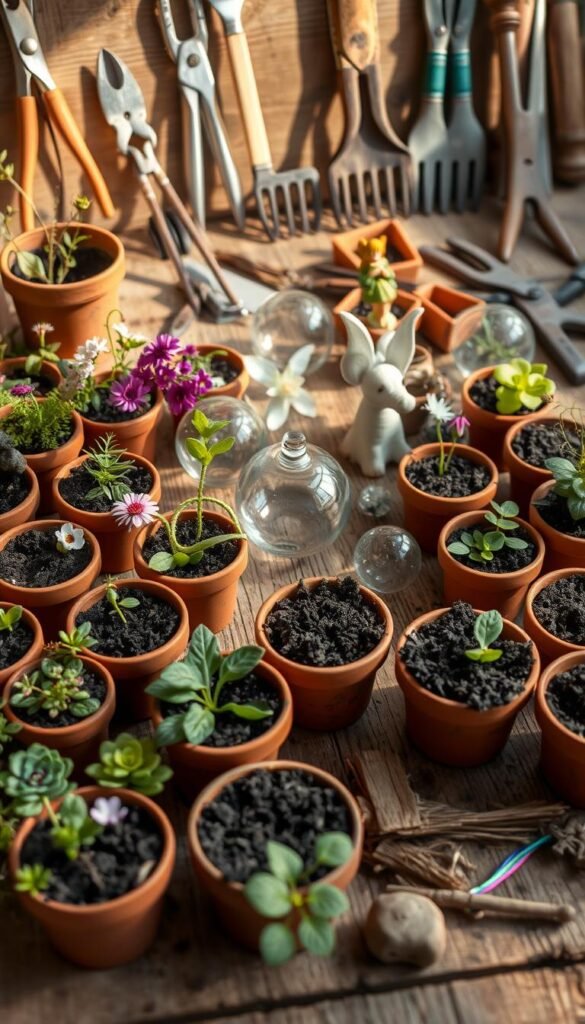
Starting your miniature landscape project requires thoughtful preparation. By focusing on essential supplies and an efficient workspace, you’ll lay the groundwork for a smooth creative journey. This approach lets you concentrate on design details rather than scrambling for missing items mid-project.
Gathering Essential Materials and Tools
Begin by collecting containers like wooden boxes or terracotta pots—these form your garden’s base. Pair them with quick-draining soil and drought-tolerant plants like succulents or mosses for low-maintenance charm. Don’t forget miniature benches, pathways, or tiny signs to inject personality into your scene.
For tools, keep a small trowel handy for planting and waterproof glue to secure delicate accessories. Tweezers help position tiny pebbles or figurines precisely, while soft brushes keep surfaces clean during assembly. Opt for weather-resistant paints and sealants if your creation will live outdoors.
Setting Up Your Creative Workspace
Choose a bright area with ample natural light to work comfortably. Protect tables with old newspapers or a vinyl cloth to catch spills and simplify cleanup. Use compartmentalized storage—like bead organizers or muffin tins—to separate stones, beads, and miniatures before arranging them.
Layer drainage materials first: add gravel at your container’s base, followed by potting mix. This prevents root rot and keeps plants thriving. Keep frequently used items within arm’s reach to maintain momentum as your vision comes to life.
Clever Fairy Garden Box Projects: Simple Builds for Beginners
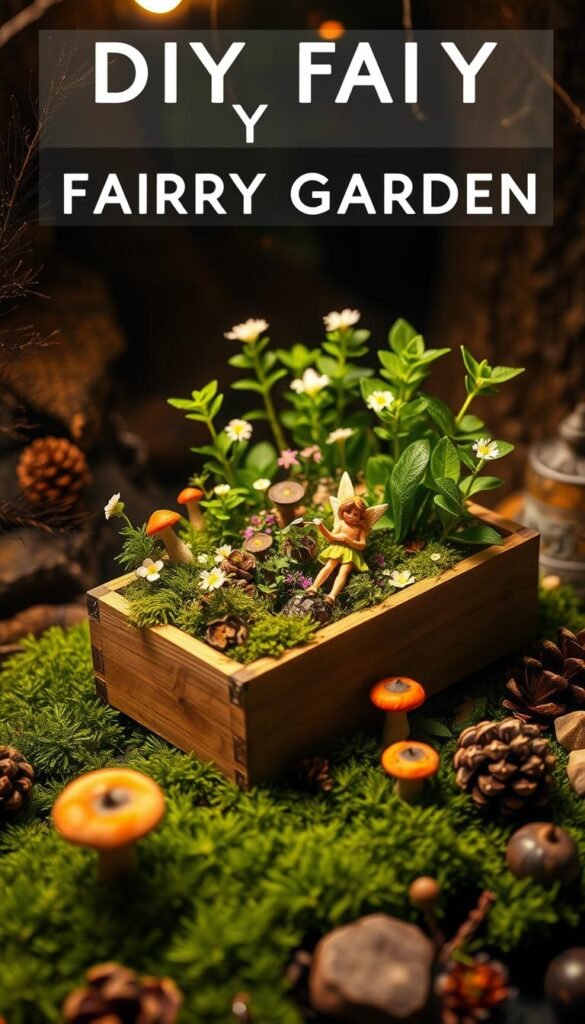
Crafting miniature worlds offers instant creative rewards. These compact designs let you experiment with themes and textures while fitting into any living space. Best part? You don’t need advanced skills to create something enchanting.
An Overview of Simple Builds
Start with terracotta pots – paint them earthy tones and glue moss around the edges for instant rustic appeal. Add tiny doors or pebble pathways to suggest hidden dwellings. Farm scenes shine with repurposed birdhouses: paint red barn accents and surround them with faux livestock fencing.
Want portable charm? Transform wooden pencil boxes into magnetic displays. Line them with preserved sheet moss and attach miniature furniture using neodymium magnets. These stick to fridges or metal surfaces, letting you refresh scenes seasonally.
Benefits of DIY Fairy Gardens
Working with miniatures reduces stress by focusing your mind on tactile details. A 2021 Rutgers University study found that 73% of participants reported lower anxiety levels after 30 minutes of creative small-scale crafting.
You’ll also save money – most materials cost under $10. Swap expensive decor with pinecone trees or pebble stepping stones. As you arrange elements, you’ll naturally develop spatial awareness and color coordination skills.
These projects adapt to any schedule. Spend 20 minutes gluing accessories today, then add plants tomorrow. Unlike large renovations, you can pause and resume without losing momentum. Share the process with kids to teach patience and design basics through play.
Creative Fairy Garden Design Inspirations
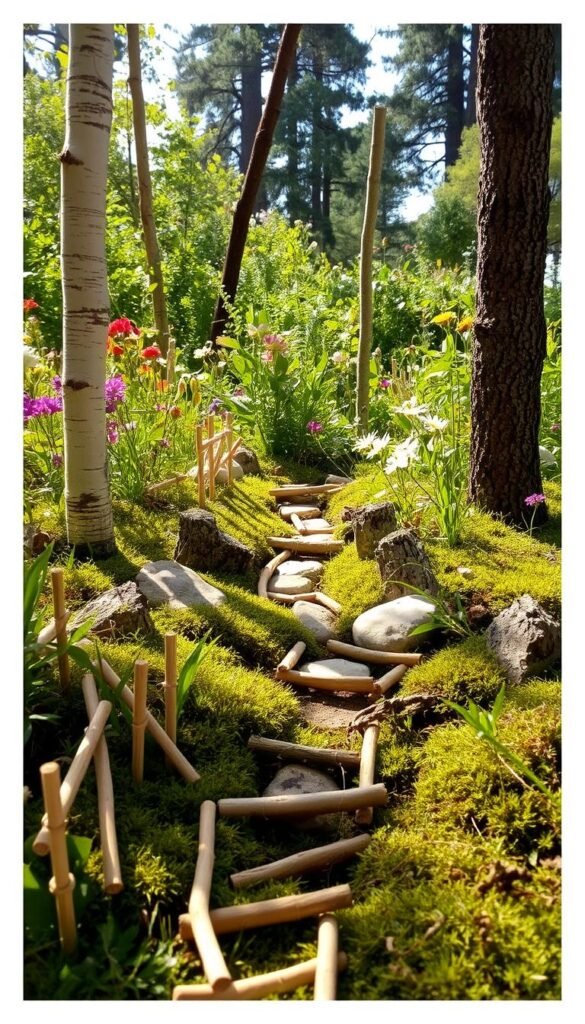
Blend craft-store finds with nature’s offerings to create scenes that feel plucked from a hidden woodland realm. Popsicle sticks and twigs become magical building blocks when paired with imagination. Their versatility lets you design structures that harmonize with living plants and tiny accessories.
Building with Nature’s Toolkit
Start by gluing popsicle sticks into rectangular bases – these form sturdy foundations for cottages or bridges. Wrap them with twigs vertically to mimic log cabins, securing each piece with waterproof adhesive. Foraged bark makes excellent roofing material when layered like shingles.
Spanish moss adds instant age when draped over edges. Press regular moss between gaps to fill spaces naturally. As these elements weather, your creation develops an authentic, lived-in look that store-bought decorations can’t match.
| Material | Best Use | Benefit |
|---|---|---|
| Popsicle Sticks | Walls & Floors | Uniform sizing |
| Twigs | Fences & Bridges | Rustic texture |
| Spanish Moss | Roofs & Landscaping | Weathered appearance |
| Bark | Roof Shingles | Natural layering |
Combine smooth sticks with rough twigs to create visual contrast. This balance makes structures feel intentional yet organic. Scatter acorn caps as fairy bowls or use pebbles for winding pathways.
Collect materials during nature walks – it’s half the fun! Let kids sort pine needles by size for thatched roofs or arrange stones into seating areas. These activities turn ordinary outdoor time into treasure hunts for your next project.
Step-by-Step DIY Tutorials for Your Miniature Garden
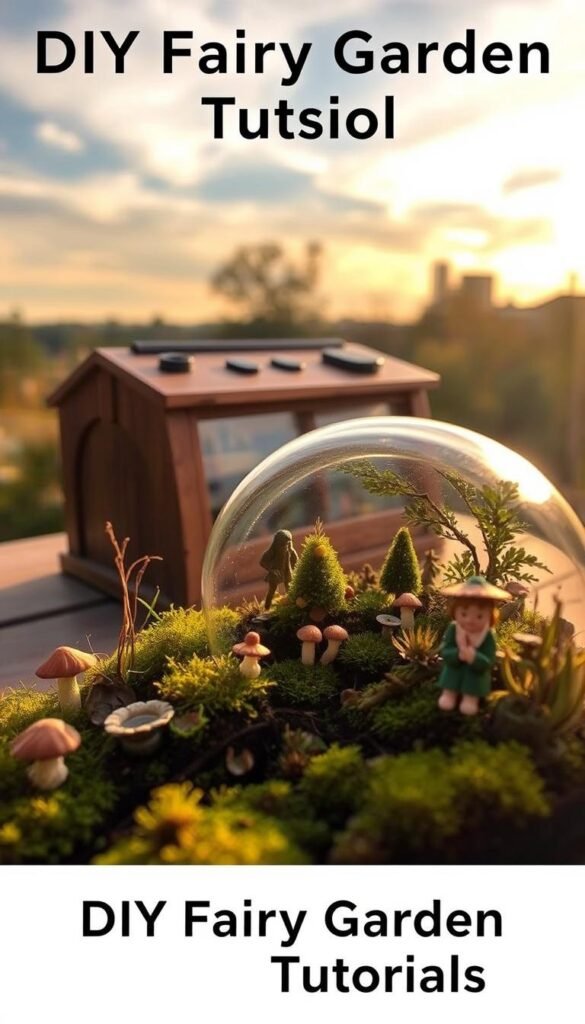
Transform everyday objects into magical landscapes with guided instructions anyone can follow. These walkthroughs simplify intricate designs into bite-sized tasks, letting you build confidence while creating showstopping pieces.
Detailed Project Instructions and Easy-to-Follow Guides
Polymer clay becomes sturdy cottages when molded over soup cans. Bake your creation for waterproof durability – perfect for outdoor displays. Add textured roofs using garlic press “thatch” or carve miniature brick patterns before curing.
Flat stone arrangements mimic ancient cottages when stacked with bark shingles. Let weather naturally age your structure for authentic charm. Pair these houses with pebble walkways and mossy lawns for storybook appeal.
Repurpose wicker baskets by lining them with plastic sheeting. Layer branch slices as stepping stones between drought-tolerant sedums. Live plants thrive in this setup, blending practicality with whimsy.
Mason jars shine as portable ecosystems. Decoupage fairy-themed patterns on the glass, then fill with preserved moss and resin mushrooms. These self-contained worlds make ideal gifts or rotating seasonal accents.
Window boxes become bustling villages when filled with miniature shops. Use popsicle sticks for signage and bottle caps as café tables. Coordinate flowering plants with your color scheme for cohesive charm that evolves through the seasons.
Every tutorial includes time-saving hacks like pre-sealing materials or using household items as molds. Difficulty ratings help you start with quick wins before tackling advanced techniques. You’ll gain skills to customize designs while achieving polished results.
Sustainable & Natural Materials for Your Fairy Garden
Nature provides everything needed to craft enchanting miniature worlds. By choosing earth-friendly components, you create designs that blend seamlessly with outdoor environments while reducing waste. Let’s explore how to source and use elements that benefit both your creation and the planet.
Using Moss, Stones, and Reclaimed Wood
Moss transforms containers into lush meadows. It thrives in shade, stays green year-round, and naturally prevents weeds. Press it between stepping stones or drape it over bark roofs for instant age. “Living carpets” like sheet moss require only occasional misting – perfect for low-maintenance setups.
Stones add structure and texture. Flat river rocks become pathways, while stacked slate pieces mimic ancient ruins. Forage pebbles from local trails (with permission) or reuse broken pottery shards. Silicone sealant helps secure stone houses without harming plants.
Reclaimed wood tells stories through its weathered grooves. Old fence planks become cottage walls, while sanded pallet scraps form bridges. These materials develop silvery patinas over time, making your scene look centuries old.
Eco-Friendly Tips and Material Sourcing
Always ask landowners before collecting fallen branches or pinecones. Focus on fallen items rather than picking live plants. This preserves ecosystems while giving discarded materials new purpose. One gardener shares: “My kids love hunting for acorn caps during hikes – they become fairy bathtubs in our next project!”
Choose native plants like creeping thyme or sedum. They adapt to local weather, needing less water and care. Pair them with foraged twigs to build bird nests or miniature fences that mirror your region’s landscape.
Upcycle household items creatively. Broken teacups become ponds, while wine corks transform into mushroom stools. Every reused object keeps trash out of landfills and adds unique character to your tiny paradise.
Kid-Friendly Projects That Spark Imagination
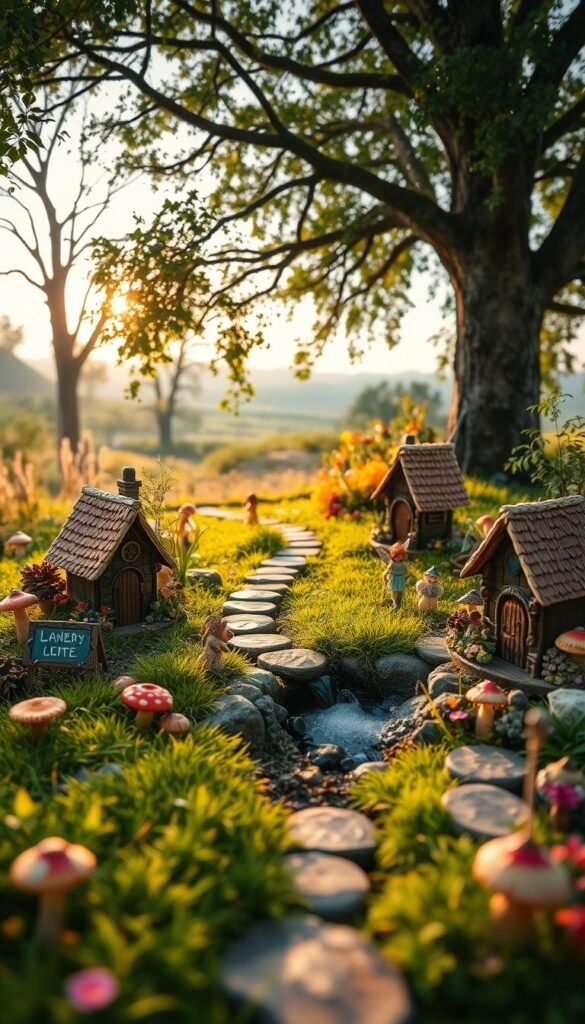
Engaging children in crafting miniature worlds combines play with learning. These activities nurture creativity while teaching practical skills through hands-on fun. Best of all, they transform ordinary afternoons into adventures where pinecones become furniture and pebbles turn into mystical doorways.
Simple Crafts to Engage Young Gardeners
Start with glue-free nature houses. Kids arrange sticks, leaves, and stones into temporary structures that encourage storytelling. One parent notes: “My daughter spends hours inventing fairy names and backstories for her rock village!”
Pebble stacking teaches balance and patience. Use hot glue under adult supervision to create permanent stone cottages. Brightly painted clay pots become mushroom homes that weather storms, letting children see their art thrive outdoors.
Dollar store finds shine when repurposed. Plastic figurines get new life as garden residents, while foam sheets become waterproof roofs. These budget-friendly options prove magic doesn’t require expensive supplies.
Yogurt jars wrapped in felt make cozy nighttime displays. Add battery tea lights to explore basic circuits safely. For mess-free experimentation, try washable markers on mason jars – mistakes wipe away easily, building confidence with every redesign.
Adapting Your Fairy Garden for Indoor and Outdoor Spaces
Your miniature garden can thrive anywhere with smart adjustments for its environment. Whether nestled on a sunny patio or brightening a kitchen windowsill, these adaptable displays bring magic to any setting. By considering light exposure and material durability, you ensure your creation stays vibrant through seasons.
Weatherproofing Your Designs
Protect outdoor setups by swapping hot glue for silicone sealant on structures. This flexible adhesive withstands rain and temperature swings better. Line house roofs with recycled bottle caps or tile scraps to divert water. Solar-powered LED strings add evening charm without wiring hassles.
Creative Layout Ideas for Every Space
Cluster small pots of drought-tolerant succulents around a central feature for easy patio arrangements. Indoors, mix air plants with preserved moss in shallow dishes. Try vertical displays by mounting tiny gardens on reclaimed wood plaques. Rotate flowering annuals seasonally to refresh your look effortlessly.
Use trailing flowers in hanging baskets to frame entryways with living curtains. For shaded corners, focus on mossy textures and mushroom accents. These adaptable strategies let your imagination flourish wherever you plant it.

