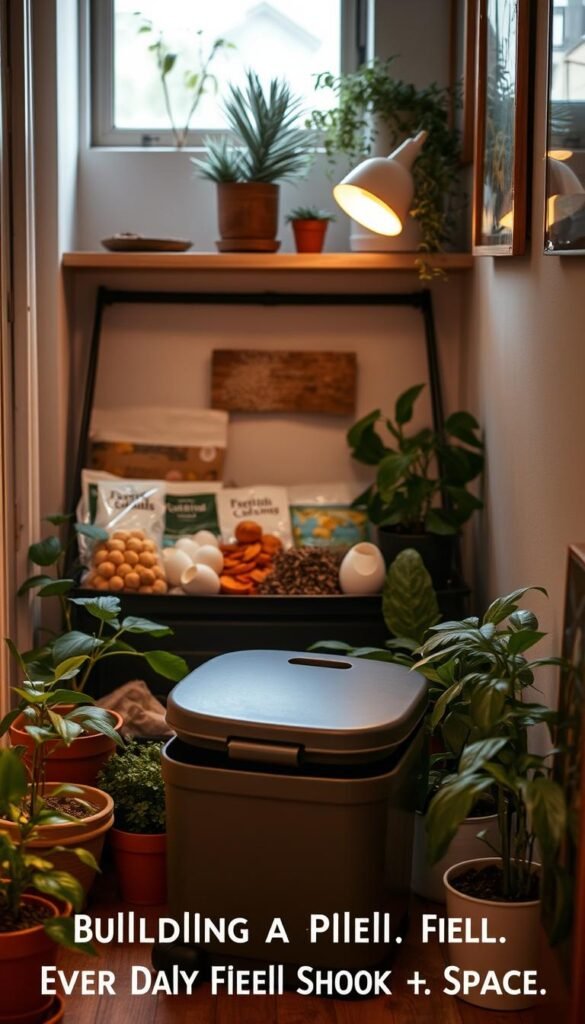
Transform kitchen scraps and yard waste into rich soil gold through composting, without needing a sprawling backyard. You might think organic recycling requires special equipment or acres of land, but that’s far from true.
The magic happens when you mix carbon-rich materials like dried leaves with nitrogen sources such as fruit peels. Add moisture and air, then let nature’s tiny workers break it all down. This method works whether you’re tending plants on a balcony or managing a tiny urban plot.
Whether you’re in an apartment or have a modest patio, creating nutrient-dense material for your garden is simpler than you imagine. Modern solutions—like compact tumblers or odor-free bins—fit neatly in corners or under sinks.
You’ll learn how to balance ingredients, troubleshoot common issues, and harvest “black gold” that supercharges plant growth. No fancy tools or science degrees required—just practical steps tailored to your living situation.
By the end, you’ll see how even a small bin at home can produce enough compost to nourish herbs, flowers, or veggies all season. Let’s turn those coffee grounds and fallen leaves into something extraordinary.
Introduction to Composting and Its Benefits
Every apple core and fallen leaf holds hidden potential. When you recycle organic materials through composting, you create a powerhouse for your garden. This process feeds the living network beneath your feet—microbes, worms, and fungi that convert scraps into plant-ready nutrients.
Healthy soil acts like a sponge. Compost improves its structure, helping it hold 50% more water. Your plants get consistent moisture even during dry spells, reducing watering needs by up to 30%.
| With Compost | Without Compost | Difference |
|---|---|---|
| Rich, crumbly texture | Compact dirt | Better root growth |
| Balanced pH levels | Acidic/alkaline extremes | Healthier plants |
| Active microorganisms | Sterile environment | Natural pest resistance |
This natural recycling way cuts landfill waste while boosting your harvests. Studies show gardens using homemade compost yield 20% more vegetables. You’re not just feeding your tomatoes—you’re building an ecosystem.
Nutrient-rich organic matter acts like a multivitamin for your soil. It releases minerals slowly, preventing fertilizer burn. Your peppers and roses get steady nourishment without chemical spikes.
Understanding the Basics of Composting
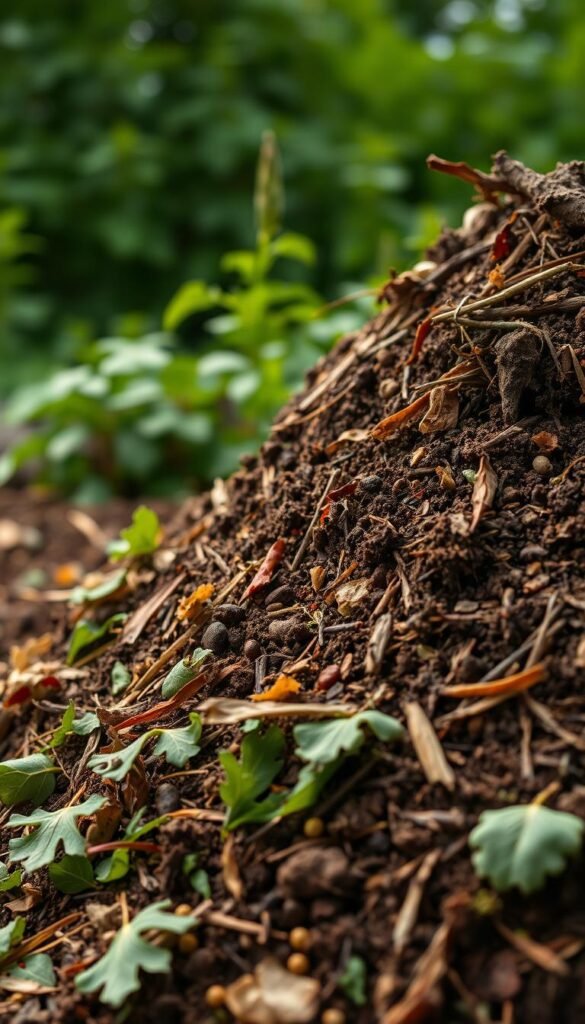
Unlock the secret beneath every banana peel and paper towel with smart decomposition. At its core, this natural recycling method relies on teamwork between everyday waste and invisible helpers.
What Composting Involves
Think of your pile as a microbial buffet. Carbon-rich browns like dried leaves give energy, while nitrogen-packed greens like veggie scraps provide protein. Aim for three parts brown to one part green—like a lasagna layering autumn leaves with coffee grounds.
Moisture and air keep the party going. Your mix should feel like a wrung-out sponge. Turn it weekly to invite oxygen in. When temperatures hit 100-140°F, you’ll know microbes are feasting!
Benefits for Your Garden and the Environment
This living process does double duty. It transforms scraps into soil superheroes that:
- Help earth retain 50% more water
- Release nutrients slowly to plants
- Destroy weed seeds naturally
Every pound kept from landfills cuts methane emissions. Your tomatoes get stronger roots, and the planet gets cleaner air. That’s what happens when banana peels outsmart trash bags!
Step-by-Step Guide to Starting Your Compost Pile
Your journey to rich soil begins with three simple elements: the right materials, smart tools, and a strategic location. Let’s break down how to set up your system efficiently, even in tight quarters.
Gathering Materials and Tools
Start with a 5-gallon bucket for kitchen scraps and a pitchfork for mixing. Wire fencing works better than wooden pallets for airflow—just form it into a circle at least 3 feet wide. A compost thermometer helps track internal heat, showing when microbes are active.
Keep browns like shredded paper handy for layering. “Balance is key,” says urban gardener Mia Torres. “Too many greens? Your pile gets soggy. Too many browns? It stalls.”
Choosing the Perfect Spot in Limited Space
Find level ground near your kitchen but 10 feet from doors. Partial sun keeps the pile warm without drying it out. Avoid low areas where water pools—your materials need drainage to breathe.
Leave walking room around the structure. If using a tumbler, tuck it beside a garage or under stairs. For starting steps, focus on accessibility. You’ll tend it more often if it’s not hidden behind bushes.
Shield from strong winds with a fence or lattice. This prevents lightweight items like dried leaves from becoming neighborhood confetti. Now you’re ready to build nature’s recycling center!
How to Build a Compost Pile Even When You’re Short on Space
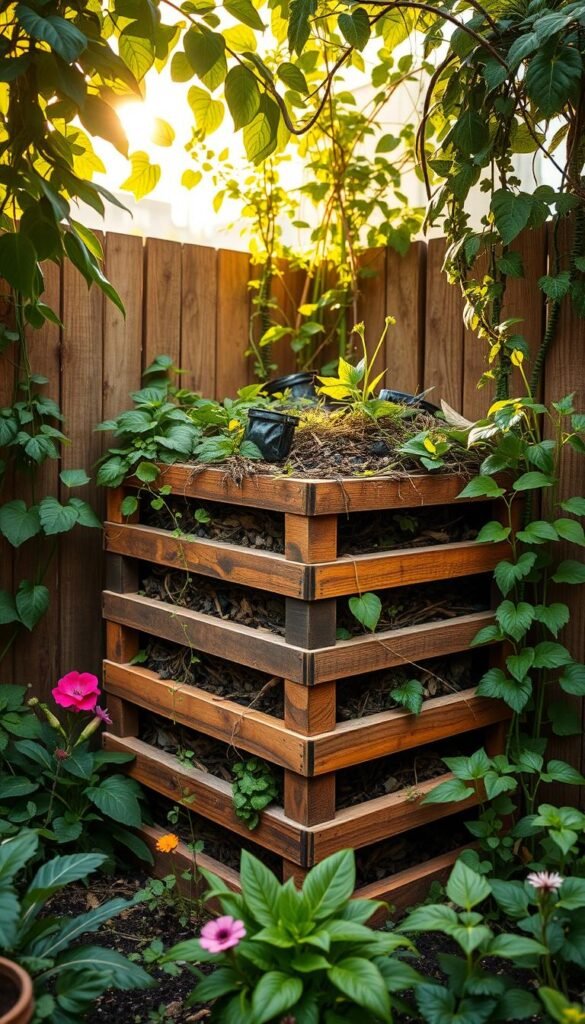
Tight on room? Your organic recycling goals don’t need to shrink. Modern gardeners have cracked the code for transforming scraps into soil boosters without sprawling setups.
Urban spaces thrive with clever systems. Wire-mesh bins outperform wooden pallets by letting air flow freely—critical for decomposition. Need just 3 feet in diameter? That’s smaller than most patio umbrellas!
Innovative Space-Saving Ideas
Check these compact solutions that deliver results:
| Method | Space Needed | Best For |
|---|---|---|
| Tumbler Systems | 4 sq ft | Balconies |
| Bokashi Fermentation | Under-sink area | Apartments |
| Stackable Bins | Vertical footprint | Side yards |
| Worm Towers | 5-gallon bucket | Indoor use |
“Your only limit is creativity,” says sustainability coach Lena Park. “I’ve seen mobile compost carts roll between garden beds and patios.”
Try layering greens and browns in repurposed trash cans or using modular bins that snap together. Rotate tumbler units weekly to speed up the process. Even a corner behind your AC unit can host a mini pile!
These approaches prove small-scale systems work smarter. Your herbs and houseplants will thrive on homemade nutrients—no backyard required.
Proper Layering Techniques for a Healthy Compost Pile
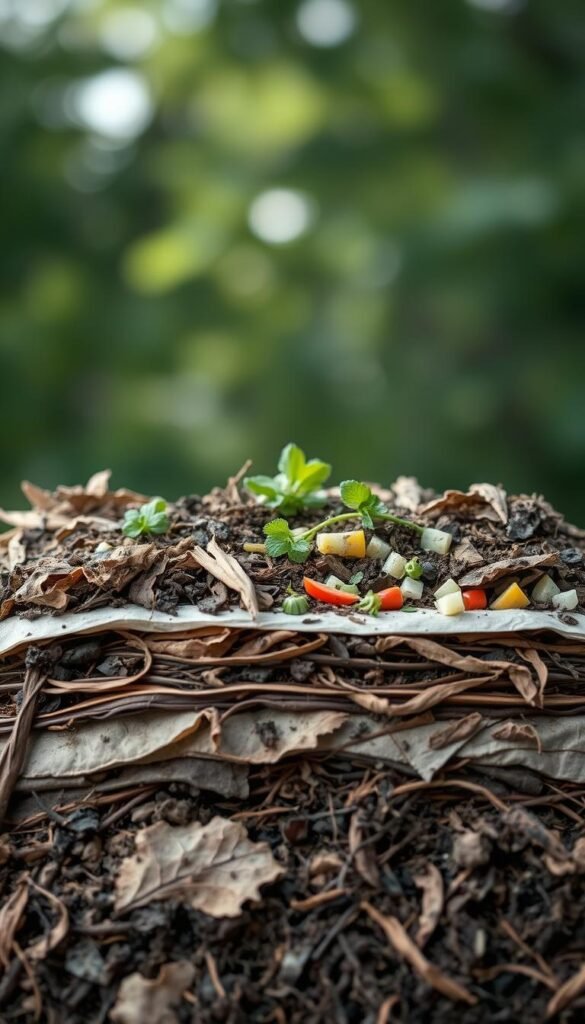
Crafting nutrient-rich organic matter works like a recipe—layer ingredients properly, and nature handles the rest. Think of your setup as a lasagna where every slice feeds hungry microbes. Start with coarse sticks or straw at the bottom for airflow, then alternate between carbon and nitrogen sources.
Balancing Brown and Green Materials
Grab a 5-gallon bucket for measuring. For every scoop of green material like vegetable peels, add two scoops of brown material like shredded leaves. This 2:1 ratio keeps your mix from getting slimy or dry.
Begin with a 4-inch brown layer. Sprinkle water if it’s parched—aim for damp newspaper texture. Dust finished organic matter over it like powdered sugar. This “microbe starter” speeds up decomposition.
Add greens next, chopping large pieces into confetti-sized bits. Smaller scraps break down faster. Repeat layers until your heap stands 3 feet tall. This height traps heat, turning your stack into a microbial hot tub.
Urban gardener Carlos Mendez swears by this method: “Layering is like making a sandwich—too much mayo ruins it. Keep portions balanced, and you’ll get perfect results every time.”
Creating a Free-Standing Pile Without a Bin
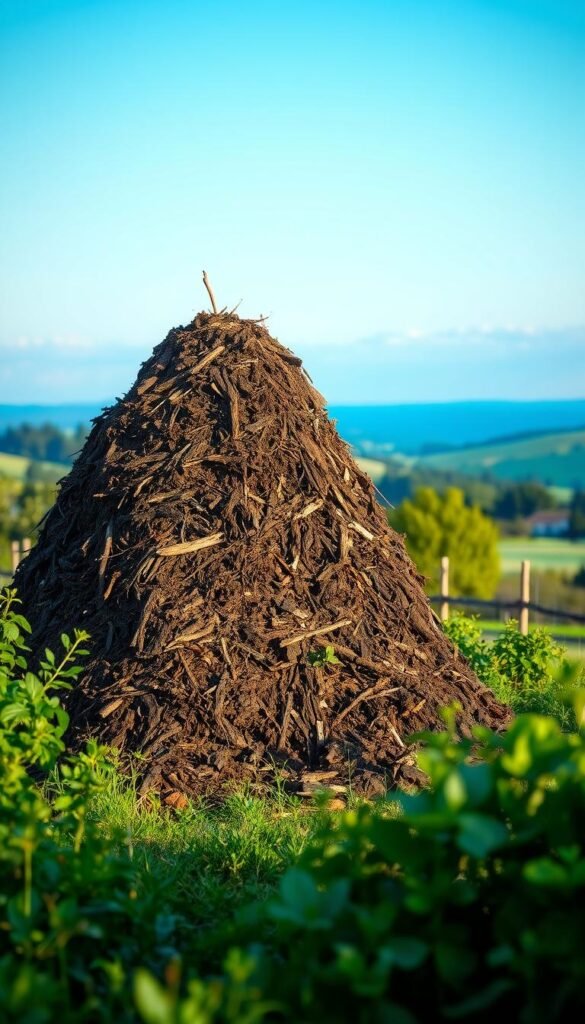
Who says you need fancy bins to recycle kitchen scraps? A simple mound works wonders when space or budget feels tight. Just pick a discreet corner of your yard—behind shrubs or near a shed—and let nature do its thing.
Start by clearing a 3×3 foot area on bare ground. This lets earthworms and microbes move upward, speeding breakdown. Layer grass clippings with shredded newspaper, keeping the heap dome-shaped to shed rainwater naturally.
Free-standing systems shine when you:
- Want zero-cost setup
- Need to expand gradually
- Prefer hands-off maintenance
No walls mean you’ll turn materials weekly to prevent sprawl. “The beauty lies in simplicity,” notes urban farmer Carlos Mendez. “Your pile breathes better without barriers, cooking faster than enclosed bins.”
Position it where you can reach three sides easily. Though invisible from your patio, it’ll quietly transform peels and leaves into dark, crumbly gold. Just remember: chicken wire around the base keeps raccoons from rearranging your masterpiece!
Maintaining the Right Moisture and Temperature
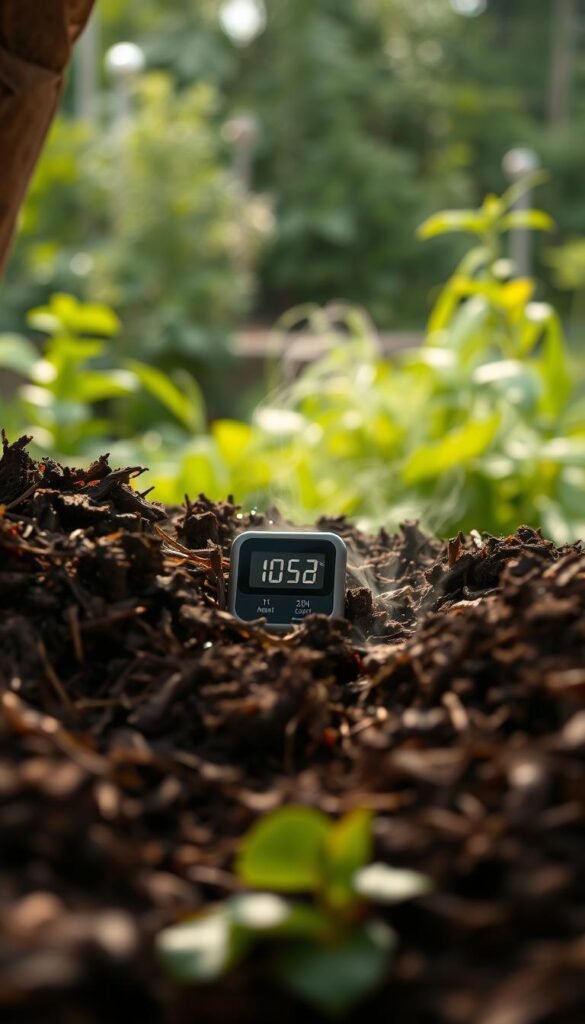
Your compost’s success depends on two invisible factors: microbial sweat and biological fire. Get these elements right, and your organic recycling becomes a self-powered nutrient factory.
Monitoring Moisture Levels and When to Water
The squeeze test never lies. Grab a handful of materials and squeeze firmly—one water drop means perfect hydration. If your palm stays dry, mist layers lightly with a spray bottle. Overwatered? Mix in shredded cardboard like a chef balancing soup.
| Issue | Signs | Quick Fix |
|---|---|---|
| Too Dry | Crumbles like stale bread | Water in layers, mix thoroughly |
| Too Wet | Slimy texture, foul smell | Add sawdust, turn pile |
| Ideal | Damp sponge feel | Maintain 2:1 brown-green ratio |
Using a Compost Thermometer Effectively
Slide the thermometer’s probe into the pile’s heart—like checking a cake’s doneness. 120°F means microbes are feasting! Below 100°F? Add fresh greens. Above 140°F? Turn materials to cool the party.
Watch the magic happen in 3-5 days. Temperatures spike as microorganisms multiply. “That heat wave means your pile’s alive,” says urban farmer Rachel Nguyen. “Turn it when the dial dips below 100°F to keep the feast going.”
Troubleshooting Common Composting Issues
Even the best-laid plans can hit a snag—but don’t let that deter your organic recycling efforts! A smelly setup often signals imbalance. If your heap develops an odor, you’ve likely added too many nitrogen-rich greens or included forbidden items like meat scraps. Mix in shredded paper or dry leaves immediately to restore harmony.
Slow decomposition? Check moisture first. Squeeze a handful—it should feel like a damp sponge, not a soaked one. Turn the materials weekly to boost airflow. If progress stalls, chop scraps smaller or add a shovelful of garden soil to reintroduce microbes.
Watch for unwelcome visitors. Fruit flies mean food waste isn’t buried deep enough. Sprinkle finished compost over fresh layers like natural deodorizer. Persistent issues? Switch to an enclosed tumbler for better control.
Remember: composting isn’t instant. Give nature time to work. Within weeks, your troubleshooting will pay off with crumbly, nutrient-packed results. Keep adjusting ratios, and soon you’ll master this living process!

