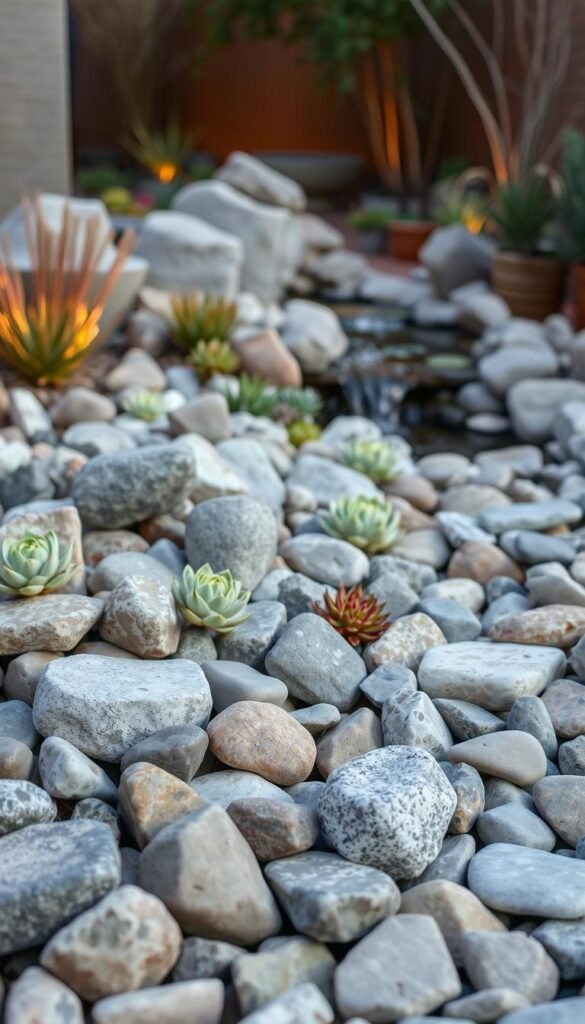
Imagine stepping into your yard to find a peaceful retreat that thrives with minimal effort. A thoughtfully designed rock garden offers exactly that—a blend of natural beauty and practicality. These spaces use stones, drought-resistant plants, and creative layouts to turn challenging areas into eye-catching features. Whether you’re dealing with patchy soil, slopes, or spots where grass refuses to grow, this approach solves common landscaping headaches.
Why are more homeowners choosing rock gardens? For starters, they cut water usage by up to 60% compared to traditional lawns. You’ll also spend less time weeding or mowing. Instead, enjoy year-round texture from alpine succulents, ornamental grasses, and artful stone arrangements. Even better: studies show these features can boost property value by over 14%.
This guide walks you through designing a space that fits your lifestyle. Learn how to select rocks that complement your home’s style, position plants for visual impact, and add personal touches like gravel pathways or bubbling fountains. Ready to create an outdoor sanctuary that looks polished without the fuss? Let’s begin.
Understanding Rock Gardens and Their Charm
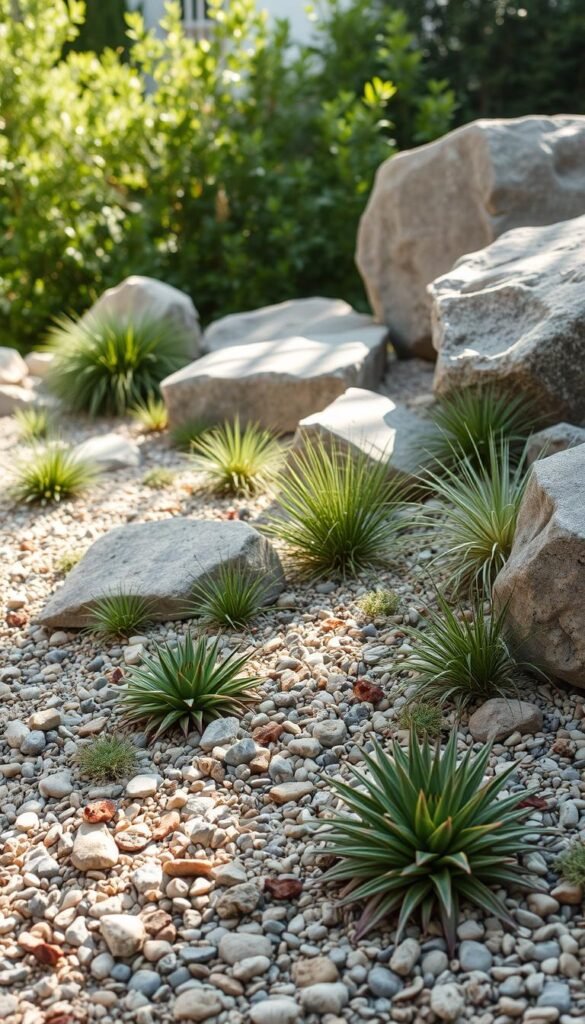
Have you ever admired a landscape where rugged stones meet delicate blooms? Rock gardens bring this striking contrast to your yard through intentional design. These spaces blend natural materials with hardy plants to create landscapes that thrive with little intervention.
What Is a Rock Garden?
Often called alpine gardens or rockeries, these arrangements showcase boulders, stones, and drought-tolerant plants. They mimic rocky mountain slopes or desert outcrops, using elevation changes and strategic placements. You can build them on slopes, flat ground, or awkward corners where grass struggles.
Key Benefits for Your Outdoor Space
Why choose this approach? Let’s break it down:
- Water-wise: Uses up to 60% less water than lawns
- Low upkeep: No mowing, minimal weeding
- Boosts value: Homes with rock gardens sell faster and for 14% more on average
- Adaptable: Works in poor soil, steep areas, or small spaces
Rock gardens also support local wildlife. Birds nest between stones, while pollinators visit alpine flowers. Plus, they stay visually interesting year-round—snow dusted boulders in winter, blooming sedums in summer.
Choosing the Perfect Location and Materials
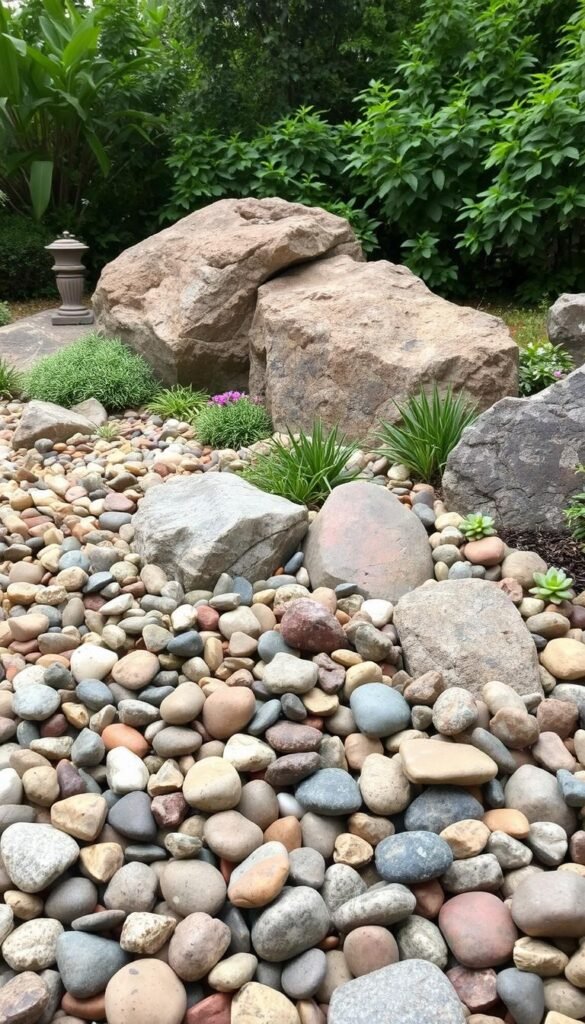
Finding the right spot transforms your yard into a natural masterpiece. Start by observing sunlight patterns and drainage. Most alpine plants thrive in areas with six hours of direct sun daily. Avoid low spots where water pools—this helps prevent root rot.
Evaluate Your Space Like a Pro
Walk your yard during different times of day. Note where shadows fall and how rainwater flows. Sloped areas work well since they drain naturally. Flat spaces need gravel layers or raised beds for proper water movement.
Rocks and Soil: The Foundation
Local stones save money and blend with regional landscapes. Test your soil’s drainage by digging a 12-inch hole and filling it with water. If it drains slower than 1 inch per hour, mix in sand or grit.
| Rock Type | Best Use | Cost per Ton |
|---|---|---|
| Pea Gravel | Plant gaps | $40-$50 |
| Crushed Granite | Pathways | $35-$45 |
| River Rocks | Water features | $100-$150 |
Anchor boulders should be 2-3 feet wide for visual impact. For personalized accents, add smaller stones between plants. Remember: heavier rocks may require equipment rentals—factor this into your budget.
Prepping Your Site Naturally
A strong start ensures your landscape lasts for years. Before placing stones or plants, you’ll need a clean slate. This step prevents weeds and ensures proper drainage—key for healthy growth.
Clearing Existing Vegetation
Begin by removing grass and roots. Shovels work for small areas, while sod cutters save time on larger plots. For eco-friendly results, try the lasagna method:
Layer newspaper over the grass, overlapping sheets to block sunlight. Add 4 inches of soil mixed with compost. Wait 6-8 weeks—the paper decomposes while enriching the garden bed naturally.
Check for hidden roots or debris after clearing. Use a rake to level the area, then test drainage. Dig a 12″ hole, fill with water. If it drains slower than 1 inch/hour, mix in coarse sand.
| Method | Time Required | Cost | Best For |
|---|---|---|---|
| Hand Digging | 4-6 hours | $0 (existing tools) | Small spaces |
| Sod Cutter | 1-2 hours | $60/day rental | Large lawns |
| Lasagna Layering | 6-8 weeks | $30 (materials) | Eco-focused projects |
Pro tip: Mark utility lines before digging. Call 811 for free underground service locating in most U.S. states—saves headaches later!
Designing Your Rock Garden Layout
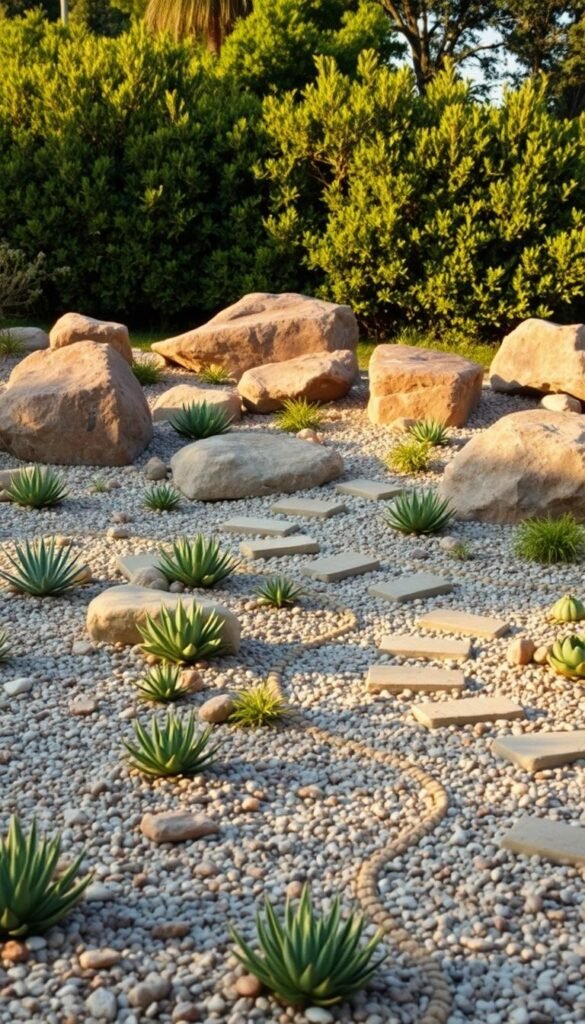
Transform your outdoor space into a living work of art by focusing on intentional arrangement. Start with a flexible blueprint that balances structure and organic flow—this approach helps avoid costly mistakes later.
Sketching Your Garden Plan
Grab graph paper to map existing features like trees or slopes. Outline potential shapes using a garden hose—curved edges often feel more natural than sharp angles. Consider sightlines from windows or seating areas to maximize enjoyment.
Group rocks in odd numbers (3, 5, 7) for natural appeal. Place larger boulders first as anchors, then fill gaps with medium stones. Leave space between clusters for plants to breathe and spread.
Mixing Textures and Colors for Visual Appeal
Combine rough granite with smooth river stones for tactile contrast. Pair silver-toned plants like lamb’s ear with burgundy sedums. Use this simple formula:
- 60% neutral stones (grays, tans)
- 30% accent colors (rusty iron ore, white quartz)
- 10% greenery and blooms
Vary plant heights—low-growing thyme near edges, taller yuccas as backdrops. Remember: textures show best when sunlight hits them sideways. Morning light emphasizes ridges; afternoon shadows deepen crevices.
Tips for Creating a Backyard Rock Garden for Low-Maintenance Elegance
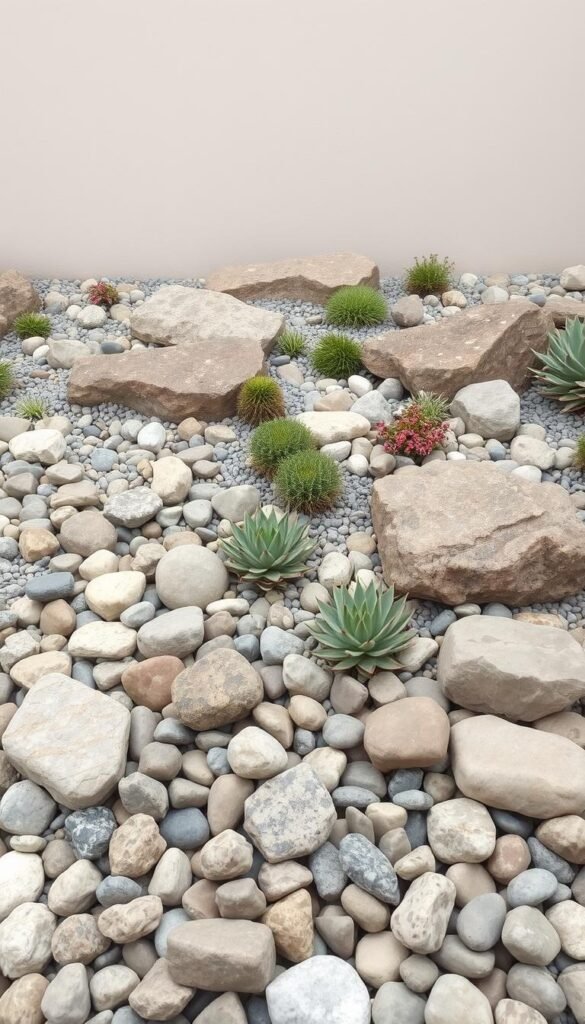
Smart budgeting turns your vision into reality without draining your wallet. Most projects range from $700 to $1,500, with boulders eating up 30-50% of costs. But here’s the good news: strategic planning can stretch every dollar.
Setting a Practical Budget
Start by dividing expenses into essentials and extras. Structural elements like drainage gravel and anchor stones come first. Save decorative pebbles or rare plants for later phases when funds allow.
Local quarries often sell rocks at half the price of retail stores. Check community boards for free materials—one Colorado homeowner scored $800 worth of flagstone through a neighborhood app. Time purchases for fall when garden centers clear inventory.
| Cost-Saving Method | Savings Potential | Effort Level |
|---|---|---|
| Local stone sourcing | 40-60% | Moderate |
| Craigslist/FB Marketplace | Up to 100% | High |
| Bulk material purchases | 15-25% | Low |
| Water district rebates | $1-2 per sq.ft. | Low |
Many states offer rebates for replacing grass with drought-friendly designs. California’s program gives up to $3,000 for qualifying yards. Always measure twice—buying extra gravel adds $50-75 per unwanted ton.
Remember: phased projects prevent overwhelm. Focus on key areas first, then expand yearly as your budget allows. Your patience will grow along with your stone sanctuary.
Integrating Drought-Tolerant and Native Plants
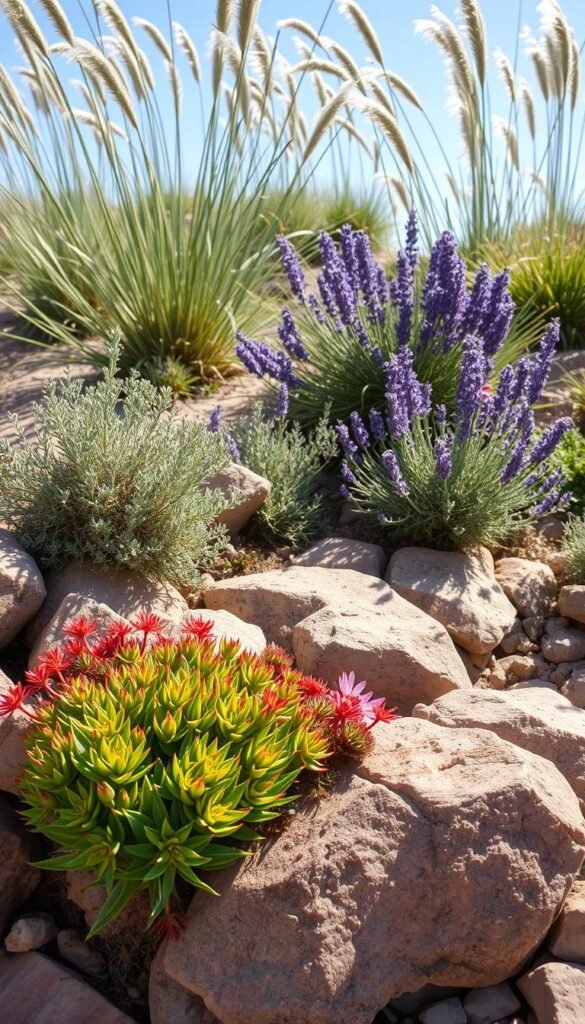
What if your landscape could flourish with minimal watering while supporting local ecosystems? The secret lies in pairing resilient species with smart design. Start by choosing varieties that naturally thrive in your region’s climate—this reduces upkeep and keeps your space vibrant through seasonal changes.
Selecting Rock Garden Plants
Focus on species built for dry conditions. Flowering phlox adds bursts of color, while sedum varieties offer texture with their fleshy leaves. For striking contrasts, try spiky alpine plants like yucca or agave. These choices handle poor soil and infrequent rains effortlessly.
Grouping Plants by Sunlight and Water Needs
Organize your greenery into zones based on their preferences. Sun-loving succulents thrive together on south-facing slopes, while shade-tolerant ferns cluster near boulders. This strategy cuts watering time and prevents overhydration.
| Plant Type | Sunlight Needs | Water Frequency | Max Height |
|---|---|---|---|
| Prickly Pear Cactus | Full sun | Monthly | 18″ |
| Creeping Thyme | Partial shade | Biweekly | 3″ |
| Bayberry Shrub | Full sun | Every 3 weeks | 5′ |
Pair early bloomers like yarrow with fall stars such as goldenrod for year-round interest. As one landscaper notes:
“Grouping compatible species creates self-sustaining microhabitats—nature does half the work for you.”
For more ideas, explorelow-maintenance flowersthat adapt well to rocky environments.
Incorporating Water Features and Decorative Accents
Balance rugged textures with fluid elements to create sensory harmony in your landscape. Water introduces movement and sound, transforming static stone arrangements into living ecosystems. Even small additions like recirculating fountains attract birds while masking neighborhood noise.
Enhancing with Fountains or Small Ponds
Self-contained bubbler fountains work beautifully between boulders—no plumbing required. For ponds, position them where runoff won’t wash debris into the water. Key considerations:
- Solar-powered pumps eliminate wiring hassles
- Shallow designs (under 18″) prevent safety concerns
- Native water plants like horsetail reeds filter naturally
In freeze-prone areas, use removable features or add antifreeze ports. One Colorado gardener shares:
“My tiered fountain becomes a winter sculpture when drained—it’s art in every season.”
Using Edging and Statuary for Focus
Define spaces with materials that echo your home’s architecture. Corten steel strips modernize rustic layouts, while reclaimed bricks suit cottage styles. Place statement pieces strategically:
| Accent Type | Visual Impact | Maintenance |
|---|---|---|
| Stone Buddha | High | None |
| Metal Wind Spinner | Medium | Annual oiling |
| Glazed Ceramic Pot | High | Winter storage |
Path lighting doubles as safety features and drama enhancers. Bury LED strips along stepping stones or spotlight angular boulders after dark. These touches make your space inviting day and night.
Building Layers for a Dynamic Look
Discover how strategic layering transforms ordinary spaces into eye-catching landscapes. By stacking stones in deliberate patterns, you craft depth that draws the eye while boosting structural integrity. This method works whether you’re designing raised beds or sprawling natural displays.
Establishing Rock and Stone Layers
Start with your largest rocks—these become the backbone of your design. Place them around edges for raised layouts or as focal points in open areas. Bury one-third of each stone’s height to mimic natural erosion. Pro tip: Use less attractive pieces here—they’ll hide beneath upper layers.
Creating Depth with Smaller Pebbles
Middle layers introduce texture with fist-sized stones. Save showstopper rocks for this level—their colors and shapes shine when elevated. For circular designs, nest a second ring inside the first using your prettiest specimens. Finish with gravel or crushed granite between plants to unify the look.
Explore rock garden ideas that mix slabs with pebbles for stable, tiered arrangements. Remember: odd numbers of stones feel most organic. Three boulders? Perfect. Five accent rocks? Even better. Your layered masterpiece now invites exploration from every angle.

