
Imagine transforming an ordinary corner of your yard into a living storybook scene. These miniature landscapes blend weathered wood, soft greenery, and playful details to spark joy for all ages. Whether you’re crafting with kids or seeking a creative solo project, this activity lets you connect with nature while designing something truly magical.
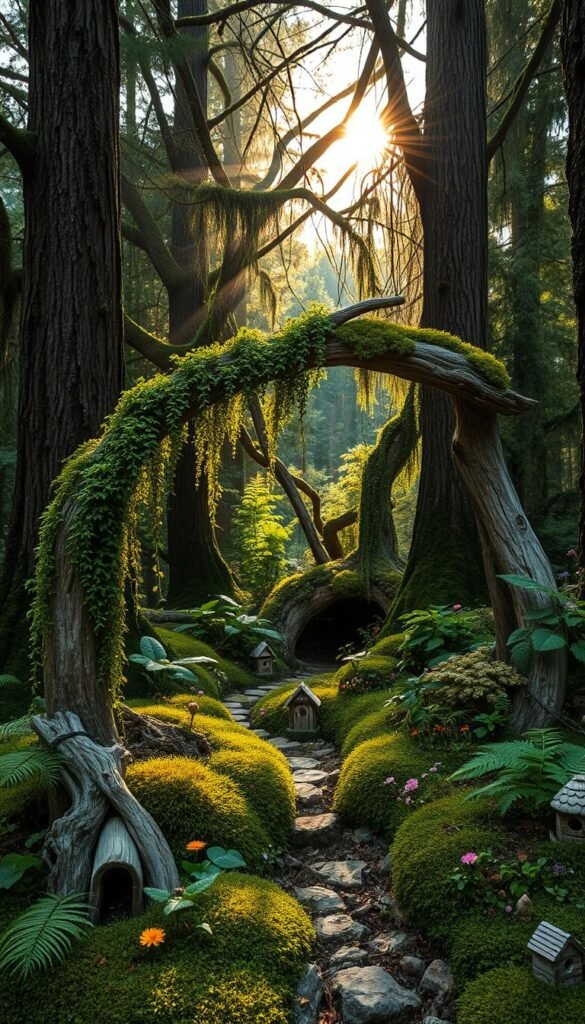
Driftwood’s twisted forms and moss’s velvety texture create an instant enchanted forest vibe. These materials work together naturally, mimicking the look of ancient fairy dwellings. You’ll find endless inspiration in their organic shapes – a gnarled branch becomes a bridge, while moss carpets transform into lush meadows.
For those needing starter ideas, our friends at Backyard Boss share DIY backyard fairy garden ideas using similar natural elements. Their tips pair perfectly with our focus on rustic materials that age beautifully outdoors.
The best part? These gardens evolve over time, growing more character with each season. They require little upkeep beyond occasional misting, letting you focus on the fun parts – adding tiny doors, pebble paths, or whatever your imagination conjures.
Planning Your Whimsical Fairy Garden Adventure

Designing your whimsical retreat requires careful consideration of your space. Start by walking through your yard at different times of day – notice where sunlight dances through trees or where raindrops collect. These observations help identify prime spots for your tiny wonderland.
Mapping Your Natural Canvas
Choose an area with balanced light and shade for both plants and delicate decorations. Sloped ground? Use it for tiered landscapes. Flat surfaces? Perfect for winding pebble paths. Remember: good drainage keeps moss happy, while afternoon shade protects miniature accessories.
Theme Development Made Simple
Will your garden host woodland sprites or seaside nymphs? Browse local nurseries for inspiration – many display themed plants like creeping thyme (ideal for “meadows”) or dwarf ferns. As landscape designer Lila Monroe suggests:
“Let existing trees and rocks guide your story. A twisted root becomes a dragon’s lair, while flat stones form magical stepping stones.”
Involve kids by asking what fairy creatures might need – their answers often spark brilliant ideas. Keep a sketchpad handy to capture visions of tiny bridges between flower beds or mushroom seating areas. This planning phase turns random things into a cohesive enchanted place.
Gathering Natural Materials: Driftwood, Moss, and More

The hunt for materials becomes part of the magic. Nature offers endless free supplies – you just need to know where to look. Let’s explore how to source driftwood, moss, and other treasures that’ll bring your tiny world to life.
Finding the Perfect Driftwood Pieces
Coastal areas and riverbanks are goldmines for weathered wood. Look for smooth, twisted shapes that tell a story – knotted branches become gnarly trees, while flat pieces work as bridges. Always check local regulations before collecting.
Can’t reach the shore? Craft stores sell pre-cleaned options. Choose varied sizes: large chunks anchor structures, while slivers make great fences. Avoid rotting wood – it won’t last outdoors.
Selecting Lush Moss and Complementary Natural Elements
Moss types create different effects. Sheet varieties form velvety lawns, while clumpy species mimic shrubs. Gently collect small patches from shady areas, leaving roots intact for regrowth.
| Moss Type | Best Use | Care Tip |
|---|---|---|
| Cushion | Textured hills | Mist daily |
| Fern | Forest floors | Partial shade |
| Sheet | Open spaces | Keep moist |
Pair with smooth stones for paths and pebbles for decor. Twigs become miniature ladders, while acorn caps make cute bowls. Let each find spark new ideas – that curved stick? Perfect for a fairy swing!
Creating a Rustic Fairy Garden with Driftwood and Mosses

Transform natural treasures into charming structures that blend seamlessly with their surroundings. Start by choosing a sturdy driftwood base with interesting contours – these organic shapes will dictate your design flow and create instant character.
Step-by-Step Assembly and Layout Techniques
Secure your foundation piece in damp soil or a shallow container. For the roof, slice pinecones vertically to create overlapping scales. Attach them using outdoor-safe glue, leaving gaps for natural expansion. Frame door openings with pale twigs against darker wood for contrast.
Build dimension by layering smaller driftwood fragments. Create window ledges with flat stones or shell pieces. Remember: imperfections add charm. A crooked branch makes a perfect wonky chimney!
DIY Tips for a Handmade, Rustic Look
Enhance authenticity with these techniques:
- Rub coffee grounds on new wood to age surfaces
- Use bark strips as shutters
- Press lichen into gaps for “overgrown” effects
Complete your woodland scene with pebble pathways leading to the fairy house. Add miniature accessories like acorn cap birdbaths or twig ladders. These finishing touches bring personality while maintaining that handmade appeal.
Enhancing Your Garden with Miniatures and Whimsical Details

The true charm of your tiny realm lies in the delicate details you add. Small accents transform basic arrangements into thriving fairy neighborhoods bursting with personality. Start by selecting pieces that feel organic to your theme – a woodland scene might host mushroom stools, while coastal designs could feature shell mailboxes.
Incorporating Fairy Figurines and Mini Houses
Choose miniature fairy characters that tell visual stories. Position a gardener tending flowers near your moss beds or place a reading gnome under twig trees. For dwellings, stack smooth stones into cottages or use bark strips as roofing. As you arrange, leave space between elements for that “lived-in” look.
Using Stones, Sticks, and Other Organic Accents
Create winding paths with flat pebbles, varying sizes for natural flow. Turn forked sticks into archways or laddered trellises. For water features, mold tin foil into ponds surrounded by tiny gravel beaches. Add seasonal flair by pressing blooming diy garden art cuttings into mossy hillsides.
Remember: odd numbers of accessories often look most authentic. Cluster three mushroom caps near a doorway or arrange five river rocks as stepping stones. These thoughtful placements make your creation feel inhabited rather than staged.
Your Whimsical Outdoor Haven: Enjoying and Evolving Your Fairy Garden

Your enchanted oasis grows richer with each passing season. What begins as a crafted space becomes a living project, shifting subtly with weather patterns and time. A quick misting of water keeps moss vibrant, while seasonal tweaks refresh its character – swap summer blooms for autumn leaves or add frost-resistant accents.
This magical display doubles as a learning lab for little ones. During National Children’s Gardening Week, kids can track plants’ growth cycles or design new fairy features. These hands-on moments teach responsibility while sparking curiosity about nature’s delicate balance.
Share your creation’s story with visitors – point out how twigs form rustic ladders or how moss cushions tiny seating areas. Many friends will want to replicate the charm in their own yards, inspired by your blend of imagination and natural materials.
Years later, you’ll still find joy in this evolving garden. Driftwood develops silvery patinas, while moss spreads into velvety carpets. Each change adds depth to your outdoor narrative, proving that the best magic grows wild with time.


