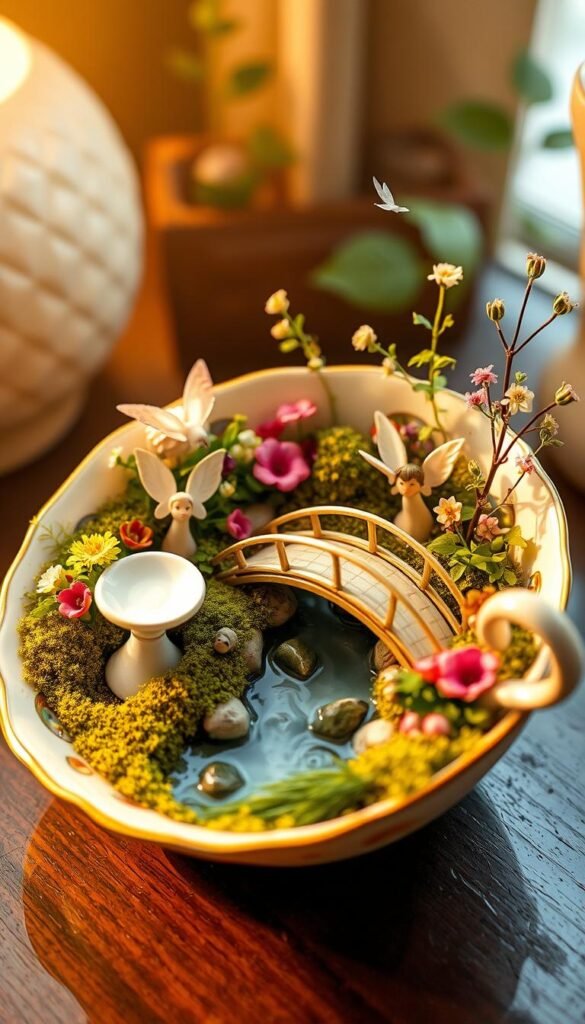
Have you ever wondered what to do with chipped teacups gathering dust in your cupboard? These delicate pieces can become the foundation for imaginative miniature landscapes that spark joy in any room. For years, crafters have turned ordinary dishes into personalized displays filled with tiny mushrooms, blooming roses, and whimsical accessories.
The magic lies in creating removable scenes using styrofoam bases. This clever technique lets you showcase your design while protecting cherished china. As tea cup fairy gardens grow in popularity, more people discover how this craft blends sustainability with storytelling.
Your creation might reflect a favorite book scene or childhood memory. Some crafters even replicate furniture patterns or family heirlooms in miniature form. The best part? You don’t need special skills – just curiosity and a willingness to experiment.
Thrift stores become treasure hunts for unique cups and saucers. Once you start looking, you’ll see potential in every mismatched set. These portable displays let you rotate seasonal themes or move them between rooms for fresh perspectives.
Whether crafting solo or with grandchildren, this project invites everyone to play. Each tiny world becomes a conversation piece that whispers, “What story will you tell next?”
Getting Inspired by the Charm of Teacup Fairy Gardens
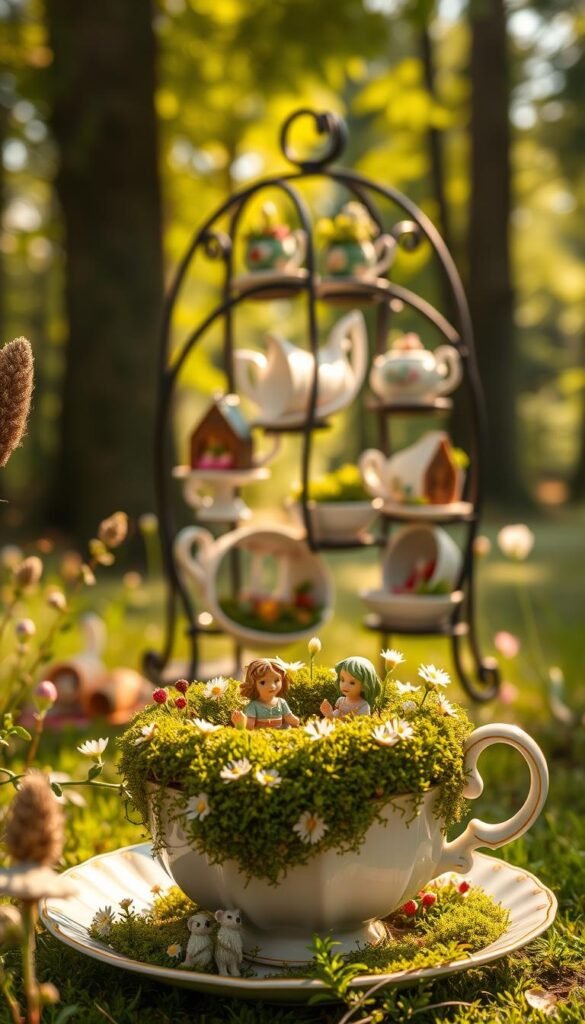
What if your morning coffee cup could hold more than just brew? This craft trend has quietly enchanted creators for over a decade. While many think they’ve stumbled upon a new idea, miniature scenes in dishware have brought joy to homes since the early 2010s.
Discover the Story Behind the Trend
The magic began when crafters started seeing teacups as blank canvases. Instead of copying premade designs, they filled these tiny spaces with personal memories. One artist recreated her grandmother’s rose garden, while another built a mini library honoring his favorite novel.
You might notice something special about these creations. Unlike store-bought fairy gardens, they often hide meaningful details. A chipped saucer becomes a pond where childhood rubber ducks float. Broken necklace pearls transform into stepping stones.
| Aspect | Traditional Approach | Personal Touch |
|---|---|---|
| Inspiration | Generic fairy themes | Family heirlooms or vacations |
| Materials | Purchased miniatures | Repurposed jewelry or fabric |
| Purpose | Decorative display | Memory preservation |
Embracing Whimsy in Everyday Life
Children instinctively find wonder in ordinary things – that’s your secret weapon. Remember how sunlight through a window once felt magical? Channel that perspective when arranging moss “forests” or crafting tiny picnic blankets from fabric scraps.
These pocket-sized worlds offer more than decoration. They become time capsules of happy moments. A seashell from your beach wedding? Pressed flowers from a first date? Every addition tells your unique story.
The best part? There’s no wrong way to create. Your saucer could showcase a camping trip or imagined galaxy. As you arrange each piece, you’re not just building a scene – you’re rediscovering joy in small wonders.
DIY Fairy Garden Ideas with Repurposed Tea Cups and Saucers
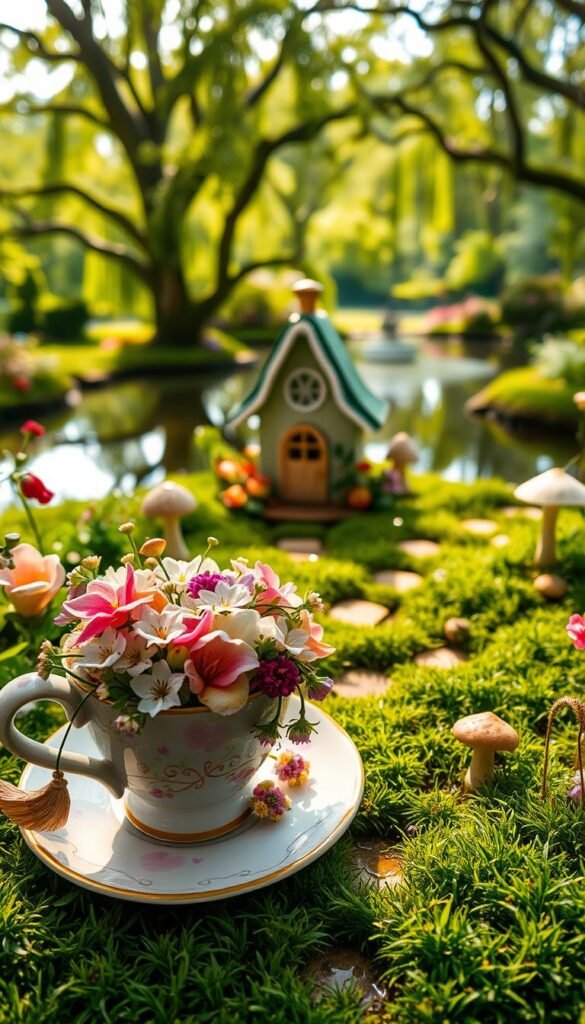
What stories could your favorite heirlooms tell if given a magical makeover? That chipped cup from grandma’s collection holds more potential than you might realize. Let’s explore how to transform sentimental pieces into living narratives through thoughtful theme selection.
Visualizing Your Personal Fairy Tale
Themes act as bridges between objects and memories. A seashell from your honeymoon becomes a beachside throne when paired with tiny nets. Broken watch gears transform into grandfather clock motifs honoring family history.
| Theme Type | Key Elements | Emotional Connection |
|---|---|---|
| Nostalgic | Miniature clocks, pressed flowers | Links to family heritage |
| Fantasy | Playing cards, rhinestone keys | Childhood wonder revival |
| Aspirational | Artist easels, cake displays | Future dreams visualized |
Choosing a Theme That Speaks to You
Ocean lovers might build coastal scenes with fishing net scraps and iridescent shells. Book enthusiasts recreate storybook settings using playing card backdrops. That mismatched saucer? It’s begging to become a painter’s studio with dollhouse brushes.
Consider what makes your heart skip – maybe it’s golden-striped chairs recalling your first apartment. Or perhaps miniature cakes symbolizing life’s sweet moments. Each choice becomes a conversation starter about what matters most to you.
These pocket-sized creations make thoughtful gifts that keep giving. Imagine surprising a friend with a fairy garden teacup capturing their beach wedding details. You’re not just sharing a craft – you’re preserving memories in porcelain.
Gathering Materials and Tools for Your Mini Garden
Every great miniature landscape begins with the right foundation. You’ll want materials that balance function and charm while fitting your cup’s unique proportions. Let’s explore how to curate elements that bring both practicality and personality to your creation.
Essential Supplies and Craft Essentials
Start with a well-draining potting mix made for succulents – regular garden soil holds too much moisture. Small stones or pebbles form your drainage layer while adding visual texture. For plants, try slow-growing varieties like hens-and-chicks or moss that thrive in tight spaces.
| Traditional Materials | Thrift Store Alternatives |
|---|---|
| Store-bought miniatures | Broken jewelry pieces |
| Plastic decorations | Vintage buttons or keys |
| Pre-made soil blends | Local nursery custom mixes |
Wooden craft sticks become benches, while twigs transform into rustic fences. Keep a hot glue gun handy for securing delicate elements. Precision tools like X-acto knives help resize materials to your cup’s dimensions without awkward overhangs.
Sourcing Vintage Tea Cups and Saucers
Thrift stores offer the best treasure hunts for unique pieces. Look for cups with interesting patterns or saucers that create stable bases. Pro tip: Chipped or mismatched sets often cost less but work perfectly for permanent projects.
Estate sales sometimes yield heirloom-quality china if you want special pieces. For drainage holes, use a diamond-tipped drill bit on thicker ceramics. Remember – thrifted finds let you experiment freely without worrying about damaging precious family china.
Preparing Your Teacup and Garden Base
The secret to a lasting miniature scene lies in how you set up its foundation. Proper preparation protects both your plants and keepsakes while letting creativity flourish. Let’s transform your cup into a living artwork that adapts to your space.
Cleaning and Draining: Setting Up the Cup
Begin by washing your cup with warm soapy water. Remove stubborn stains using baking soda paste. Dry thoroughly – moisture here causes problems later.
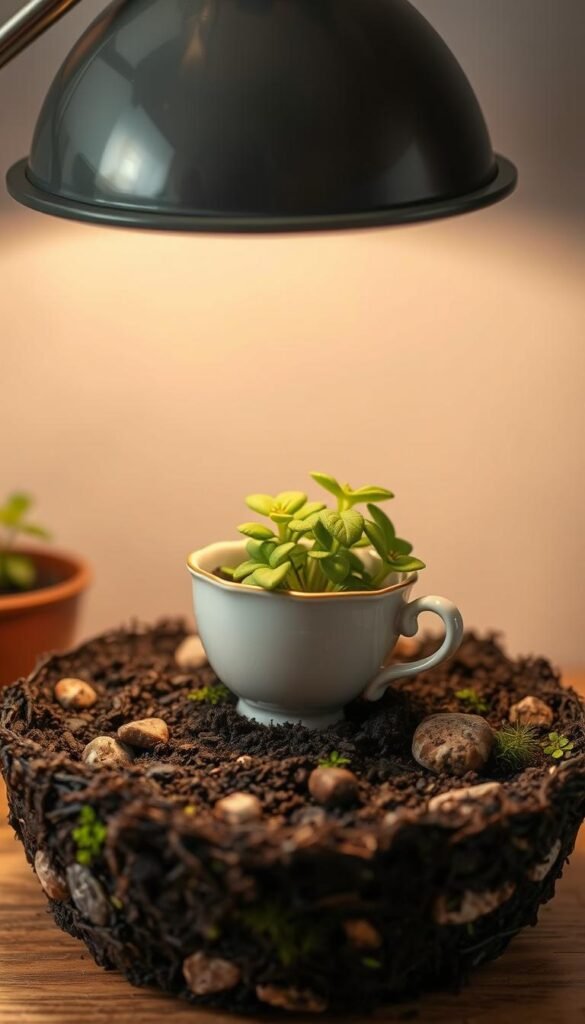
The styrofoam ball technique changes everything. Cut a foam sphere in half and flip it upside down. This creates a snug base that lifts out easily, protecting heirloom china from scratches.
- Use gravel or pebbles in the bottom third for drainage if not using foam
- Drill holes only in less sentimental cups with a diamond bit
- Swap seasonal displays by making multiple foam bases
This setup lets you move your creation from coffee table to windowsill without spilling soil. The removable core keeps roots healthy while preserving your cup’s interior. Your garden becomes a living decoration that thrives wherever you place it.
| Method | Best For | Flexibility |
|---|---|---|
| Foam Insert | Valuable china | Full scene removal |
| Drilled Holes | Everyday cups | Permanent planting |
Choose your approach based on the cup’s sentimental value. Either way, you’ll create a charming display that brings nature into your room. Now your base is ready for magic-making!
Step-by-Step Guide to Building Your Fairy Garden
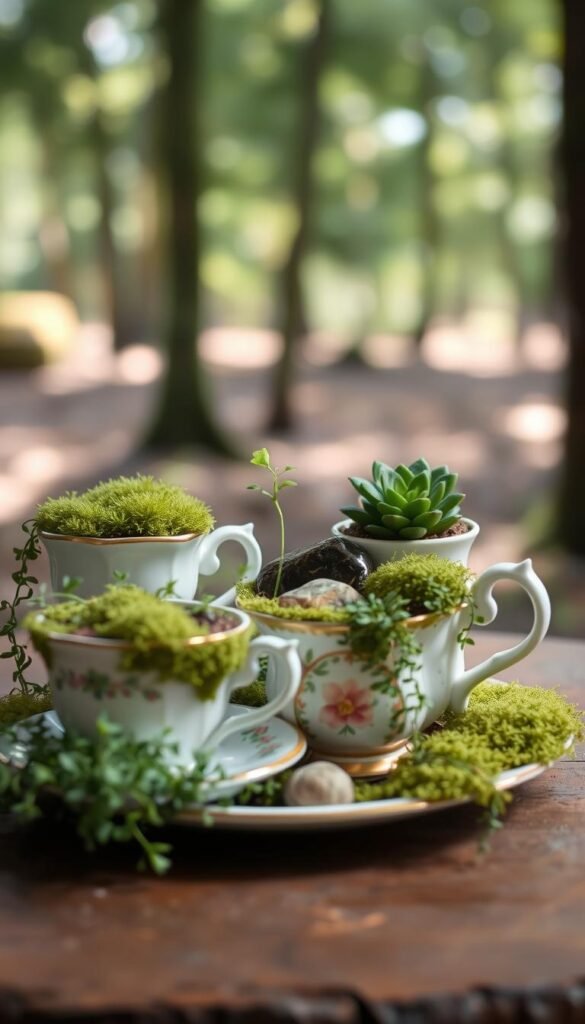
Let’s roll up our sleeves and bring your miniature vision to life. This hands-on process combines practical gardening skills with artistic flair, transforming simple materials into a living display.
Building the Foundation: Rocks and Soil Essentials
Start by filling your cup’s bottom third with pea gravel or aquarium stones. This layer prevents root rot by letting excess water escape. Use your pinky finger to measure – stones should reach your first knuckle when pressed down.
Top with cactus mix soil, leaving 1 cm space at the rim. Gently tap the cup’s sides to settle the soil without compacting it. You want air pockets for healthy roots but no gaps where plants might wobble.
| Material | Purpose | Pro Tip |
|---|---|---|
| Pea gravel | Drainage layer | Use colorful stones for hidden visual interest |
| Cactus soil | Plant growth medium | Mix in perlite for better aeration |
Planting Techniques for Lasting Beauty
Create planting holes using a chopstick – depth matters more than width. For Elephant Bush varieties, aim for 2 cm deep pockets. Hold plants by their leaves (not stems) when positioning roots in the soil.
Space greenery like you’re setting a tiny dinner table. Leave 1 cm between plants and the cup’s edge for growth room. Rotate your creation as you work to check balance from all angles.
Finish with decorative stones or moss around your succulents. These touches hide bare soil while letting you water efficiently. Your living artwork now breathes new life into forgotten tableware!
Adding Whimsical Elements and Personal Touches
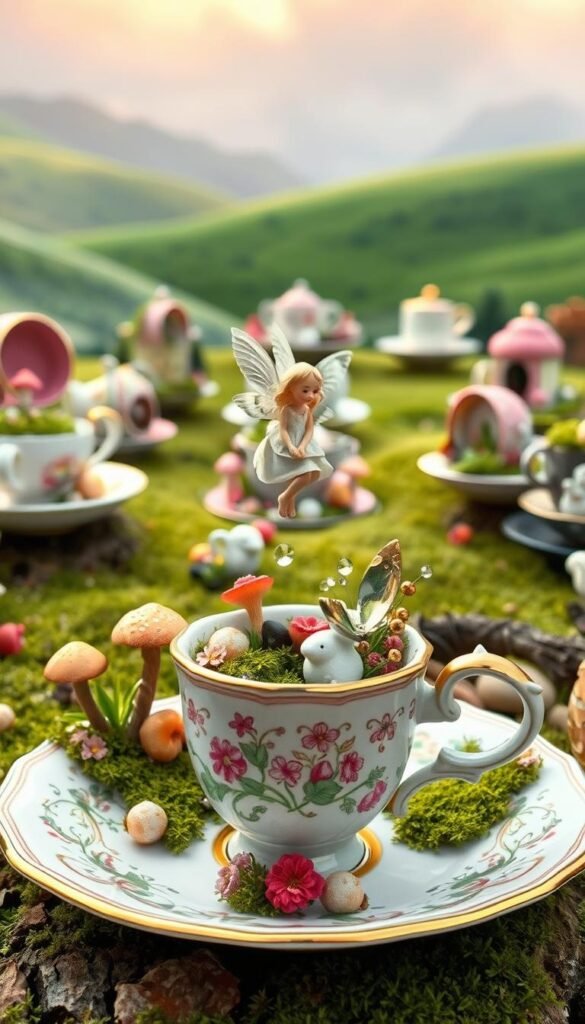
Your miniature masterpiece deserves finishing touches that spark joy and curiosity. These final flourishes transform ordinary scenes into portals of imagination where every glance reveals new surprises.
Painting, Decorating, and Accessorizing
Turn wooden dollhouse chairs into regal thrones using metallic paint pens. Add striped patterns to match your favorite throw pillows. For a vintage vibe, press lace onto wet paint to create textured finishes.
| Element Type | Creative Approach | Emotional Impact |
|---|---|---|
| Lighting | Dangling earring crystals as chandeliers | Connects to family memories |
| Textures | Crushed velvet scraps as rugs | Evokes childhood comfort |
| Nature | Clay mushrooms with glitter caps | Brings outdoor magic indoors |
Transform playing cards into tiny murals using mod podge. Position them along the cup’s inner curve to create depth. “The best scenes make people lean closer,” says a seasoned crafter. “Hidden details reward curiosity.”
Use rhinestone buttons as magical door handles or cake toppers. Cluster three small stones near the back edge to suggest a hidden pathway. These subtle placements guide the eye through your miniature world.
Balance is key. Leave one side slightly open – maybe a mossy clearing with a single acorn chair. This negative space lets viewers imagine what lies beyond the cup’s rim.
Expert Tips and Tricks for a Thriving Fairy Garden
Ever thought your favorite teacup could become a living storybook? With simple care strategies and playful details, your miniature world stays vibrant year-round. Let’s explore how to keep it thriving while adding surprises that delight both kids and adults.
Maintenance Made Magical
Water sparingly – just 2-3 times monthly with an eyedropper. Overwatering drowns roots in these petite spaces. Color-changing stones offer visual cues: blue when moist, white when dry. Rotate your creation weekly so plants grow evenly toward light sources.
Swap seasonal accents like autumn leaves or holiday trinkets. For lasting health, trim overgrown succulents with nail scissors. A toothbrush dusts tiny furniture, keeping your scene camera-ready.
Movement and Mystery
Attach lightweight windmill blades to jewelry wires. They spin gently near open windows. Hide working drawers in bark-covered boxes – perfect for storing pebble “cookies” or folded wish notes.
Try sensitive plants like Mimosa pudica near pathways. Their shy leaves fold when touched, teaching kids about nature’s wonders. Pair these with colorful container gardening techniques for extra visual pop.
Your teacup creation becomes more than decor – it’s a dynamic showcase of imagination. Every glance reveals new secrets, ensuring your tiny world never loses its charm.

