
Transform any corner of your home or yard into a whimsical escape with miniature landscapes that spark joy. Whether you’re crafting a cozy nook for relaxation or a playful space for imagination, tiny details make all the difference. Let’s explore how to bring magic to life through thoughtful design and creative touches.
Start by choosing pieces that tell a story, like miniature furniture or hand-painted stones. These elements work together to create scenes that feel alive. For inspiration, try DIY projects using upcycled materials, such as vintage containers or mosaic tiles, to add personality.
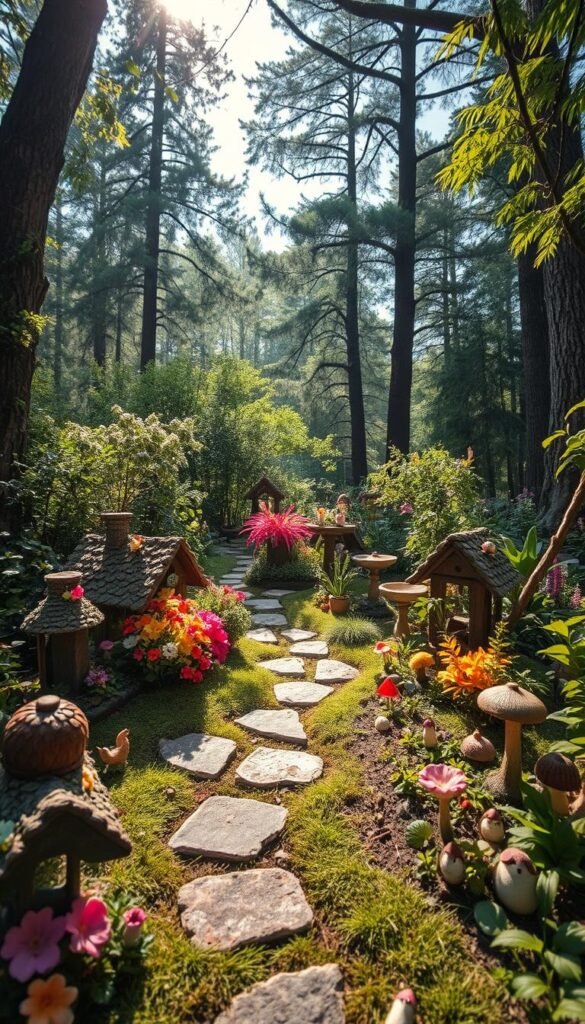
Mix textures like soft moss and smooth pebbles to add depth. Pathways made of broken tiles or tiny bridges can guide the eye through your creation. Experiment with themes—think rustic cottages or sparkling palaces—to match your style.
With the right balance of size and texture, your miniature world becomes a captivating focal point. It’s not just a hobby—it’s a way to share wonder with everyone who sees it.
Foundations of Your Whimsical Fairy Garden

Building a magical miniature world starts with smart groundwork. Your container and location choices shape the entire project, while proper soil setup keeps plants thriving. Let’s break down these essentials to create a lasting display.
Choosing the Perfect Container and Location
Pick any vessel that sparks joy—a vintage bowl, woven basket, or classic clay pot. Outdoor spaces near a tree or garden edge add natural charm. For durability, use weather-resistant planters with drainage holes. Indoor setups benefit from trays to protect your home surfaces.
Preparing a Garden Base with Soil and Drainage
Fill containers with fresh potting soil—it’s lighter and nutrient-rich compared to regular dirt. If planting directly in your yard, clear debris and loosen the earth first. Stack terra cotta pots at different heights for visual drama. This layered approach creates depth in small space designs.
Remember: Good drainage prevents soggy roots. Add pebbles at the bottom of pots if holes are too large. Your foundation work ensures every tiny detail shines later!
DIY Projects and Creative Accessories for Fairy Gardens

Unleash your creativity by making miniature structures that add personality to your whimsical space. These hands-on projects let you design custom elements while saving money and reducing waste.
Crafting Miniature Fairy Houses and Cottages
Start with basic supplies like cardboard and glue to build cozy dwellings. Birdhouses work perfectly as ready-made structures—just add natural touches. Press leaves into walls or layer bark shingles for rustic roofs. Polymer clay becomes magical when shaped into tiny chairs or mushroom stools. Let pieces dry overnight before painting them to match your theme.
Using Recycled Materials for Unique Decor
Turn broken flowerpots into tiered landscapes by stacking their pieces creatively. Buttons become patio tables, while thimbles double as miniature planters. For coastal charm, arrange seashells as pathways or bathing pools. Check out these adorable ideas using everyday items like bottle caps and wire.
Old picture frames make excellent garden borders when filled with moss. Wrap twine around glass jars to create lanterns that hold tea lights. The best part? Your project evolves as you discover new materials—each addition tells its own story.
Enchanting Fairy Garden Decor: Themed Props and Tiny Accents

Your miniature landscape gains character through carefully curated details. Whether crafting a hidden woodland retreat or a bustling village, every choice adds layers of storytelling magic.
Designing with Tiny Accents and Handpicked Pieces
Turn popsicle sticks into arched doorways that welcome visitors. Glue them to bark panels for rustic charm. Personalize scenes with fairy figurines sipping tea from seashell bowls—upside-down scallop shells work perfectly!
Attach silk flowers to fairy houses using waterproof glue. Let vines drape over roofs for that lived-in look. Craft stores like Hobby Lobby offer miniature lanterns and benches that complete your theme.
Gathering Inspiration from Social Media and Craft Communities
Pinterest boards overflow with room inspo for tiny libraries or mushroom markets. Instagram creators share clever hacks—like framing seed packet art with twigs. One crafter notes: “Plant tag pictures become gallery walls when hung with fishing line.”
Join Facebook groups where members swap ideas for repurposing items. A wine cork becomes a tree stump table. Thrift store finds get new life as quirky pieces in your whimsical world.
Budget-Friendly Fairy Garden Ideas for Every Space

Crafting a magical miniature world doesn’t require big spending—just smart shopping and creative thinking. Whether you’re designing a windowsill scene or a backyard oasis, affordable options let you build charm without compromising quality.
Exploring Dollar Store and Hobby Lobby Finds
Dollar Tree’s $1.25 aisle offers miniature cottages, tiny tools, and solar lights that rival pricier brands. Pair these with Hobby Lobby’s 40% off weekly deals on premium moss or resin figurines. This combo balances cost and durability.
| Item | Dollar Tree Price | Hobby Lobby Price |
|---|---|---|
| Miniature House | $1.25 | $6.99 |
| Decorative Stones | $1.25 | $3.50 |
| Potting Soil (8oz) | $5.00 | $7.99 |
Creative Repurposing of Everyday Items
Turn teacup saucers into ponds or glue wine corks into stepping stones. One crafter shares: “Old keys become garden gates when glued to popsicle sticks—it’s all about seeing potential in ordinary things.”
Combine these hacks with Dollar Tree’s seasonal inventory updates. Check their garden section monthly for new arrivals like mini birdbaths or painted pebbles. Your garden ideas stay fresh without draining your wallet.
With a $20 budget, you might like starting small and expanding over time. Add one new piece weekly to keep the project exciting. Remember—the best designs grow alongside your creativity!
Incorporating Nature: Plants, Moss, and Miniature Landscapes

Bringing natural elements into your miniature scenes creates harmony between fantasy and reality. Thoughtful plant choices and textured accents transform your creation into a living ecosystem. Let’s explore how to balance scale and practicality while maintaining wonder.
Selecting the Right Small Plants and Flowers
Choose plants that stay petite, like peperomia or dwarf Mondo grass. These grow slowly and fit miniature landscapes without overwhelming them. Cluster taller varieties like weeping fig at the back, letting shorter blooms like violas shine up front.
| Plant | Mature Height | Light Needs |
|---|---|---|
| Miniature Roses | 4-6 inches | Full Sun |
| Dwarf Ferns | 3-5 inches | Partial Shade |
| Clubmoss | 2-3 inches | Low Light |
Group plants with similar water needs—succulents thrive together, while violets prefer moist soil. This simplifies care and keeps your gardening routine efficient. For color bursts, add lavender or pansies that bloom through seasons.
Using Moss, Pebbles, and Natural Accents for Texture
Press sheet moss into soil for instant “lawns” or tear it into clumps for hills. Combine with gravel chips to craft winding paths between rocks. One designer suggests: “Glue tiny seashells onto pebbles to make fairy-sized stepping stones.”
Mix materials like glass chips and bark for visual contrast. Create depth by stacking flat stones into cliffs or arranging polished river rocks as ponds. These techniques align with design principles for cohesive outdoor spaces.
Refresh moss weekly with a spray bottle to maintain vibrant green hues. Rotate decorative elements seasonally—add fallen leaves in autumn or pinecones in winter. Your gardens will feel alive year-round!
Tips for Adding Light and Magic to Your Fairy Garden
Lighting transforms your miniature world from charming to truly magical. Combine soft glows with water elements to craft an inviting atmosphere that sparks wonder day and night. Let’s explore how these features elevate your design while keeping maintenance simple.
Enhancing Ambiance with Solar and Fairy Lights
Twinkling solar lights add practical magic without cords. Nestle them along pathways or hang battery-operated strands in nearby trees. For kid-friendly setups, choose LED tea lights—they’re safe and reusable. Pro tip: Wrap copper wire around glass jars to make DIY lanterns that cast dreamy patterns.
Creating Water Features and Reflective Accents
Blue glass stones mimic sparkling streams when arranged in winding ways. Border them with pebbles and add a miniature bench for fairies to relax. Mirror fragments placed under clear resin create instant “ponds” that catch sunlight. Involve kids by letting them arrange seashells as playful stepping stones.
These tips ensure your space feels alive at every glance. With thoughtful lighting and water details, your creation becomes a beacon of imagination—day or night.


