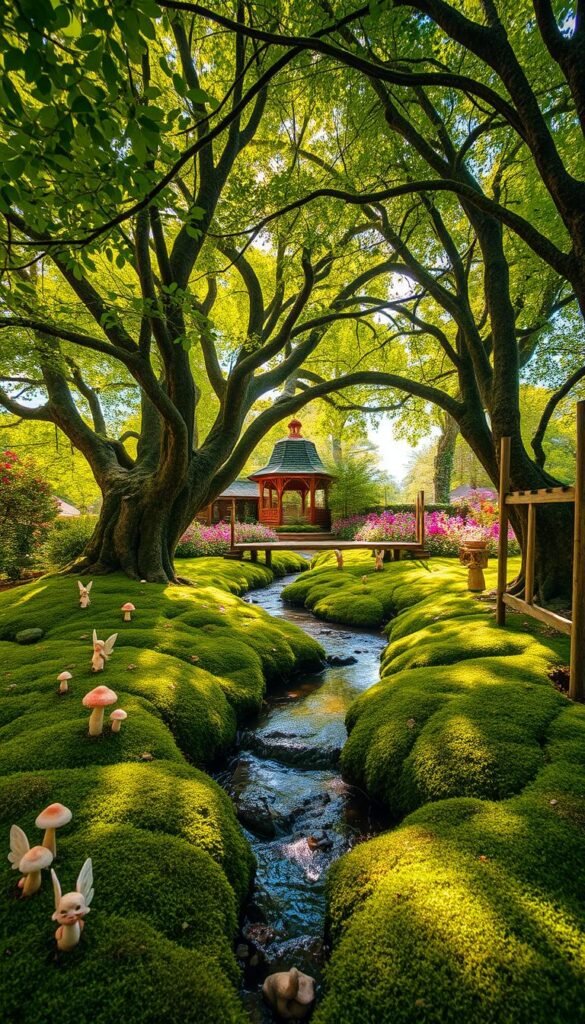
Transforming the base of a mature tree into a miniature wonderland offers endless opportunities to blend artistry with nature. Whether you’re working with an oak, maple, or flowering specimen, this space becomes a magical focal point that sparks curiosity in any yard. Start by observing your tree’s unique character – does it have twisted roots perfect for tiny pathways, or dappled shade ideal for shade-loving plants?
Successful designs balance imagination with practicality. As shown in this creative outdoor project guide, using local stones, weathered wood, and drought-resistant greenery ensures your creation thrives through seasonal changes. Moss-lined clearings and fern clusters create depth, while miniature accessories add playful surprises at eye level.
Even small touches make big impacts. Solar-powered lanterns nestled in branches cast ethereal glows at dusk, extending your enjoyment into evening hours. For families, this project doubles as a hands-on learning experience – explore nature-based activities that teach children about ecosystems while crafting fairy-sized habitats.
Remember, the best designs feel discovered rather than manufactured. Let existing roots guide your layout and allow plants to grow slightly wild. This approach creates an authentic sanctuary that honors your tree’s natural beauty while inviting storytelling and daydreams.
Introducing Your Whimsical Fairy Garden Journey
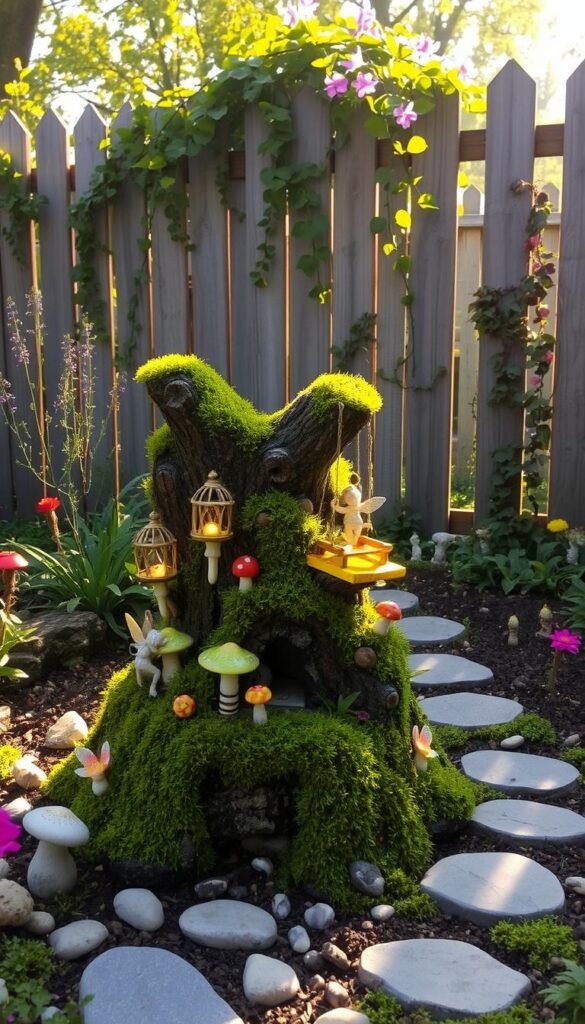
Your backyard holds secret spots waiting to become enchanted landscapes through simple DIY projects. Whether you’re crafting with pebbles or repurposing old teacups, these creations turn ordinary spaces into portals of wonder where every detail tells a story.
Discovering the Magic in Your Backyard
Look closely at that gnarled tree root or shaded patch of soil – they’re perfect foundations for tiny worlds. Moss becomes velvet carpets, while acorn caps transform into charming bowls. These natural treasures let you build environments that feel authentically magical, not manufactured.
Embracing DIY Creativity for Outdoor Spaces
This isn’t about perfection – it’s about playful experimentation. Try arranging stones into winding paths or crafting miniature garden art from recycled materials. Families especially love how these projects blend learning with laughter, as kids design habitats for imaginary creatures.
What makes these creations special? They evolve with your growing skills and seasonal changes. A rainy day might add new mushroom decorations, while autumn leaves create golden pathways. Your space becomes a living canvas that rewards curiosity and celebrates nature’s surprises.
Selecting the Perfect Tree and Natural Setting
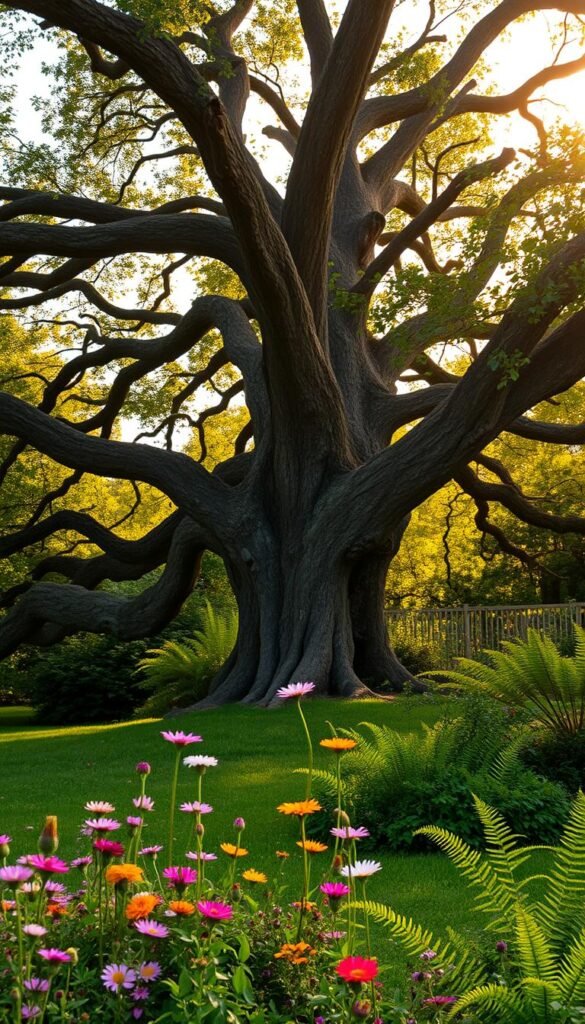
Your journey begins with thoughtful observation. The right foundation turns ordinary landscapes into living art that evolves with the seasons. Let’s explore how to match nature’s gifts with creative vision.
Assessing Your Tree’s Condition and Location
Start by gently examining the trunk and roots. Look for cracks, rot, or pest activity that might weaken the structure. A healthy specimen supports decorations without stress. Check if branches allow easy access for arranging tiny details.
Consider foot traffic patterns in your yard. Will visitors see the display from pathways? Ensure enough clearance around the base for maintenance while preserving that hidden treasure feel. Stumps 2-3 feet tall work best – tall enough for visibility but low for safe interaction.
Enhancing Your Garden’s Natural Aesthetics
Study sunlight patterns through the canopy. Morning rays suit delicate flowers, while shade-loving plants thrive under dense foliage. Use existing moss or ivy as free texture enhancers.
Seasonal changes matter too. Maple trees offer fiery fall backdrops, while evergreens provide winter interest. Blend your creation with the surrounding area using local stones and native grasses. As one landscaper notes: “The most magical spaces feel discovered, not built.”
For inspiration on harmonizing decor with nature, explore our guide to elevating outdoor spaces. Remember – great designs balance accessibility with mystery, inviting curiosity at every glance.
Planning & Gathering Materials for Your DIY Fairy Garden
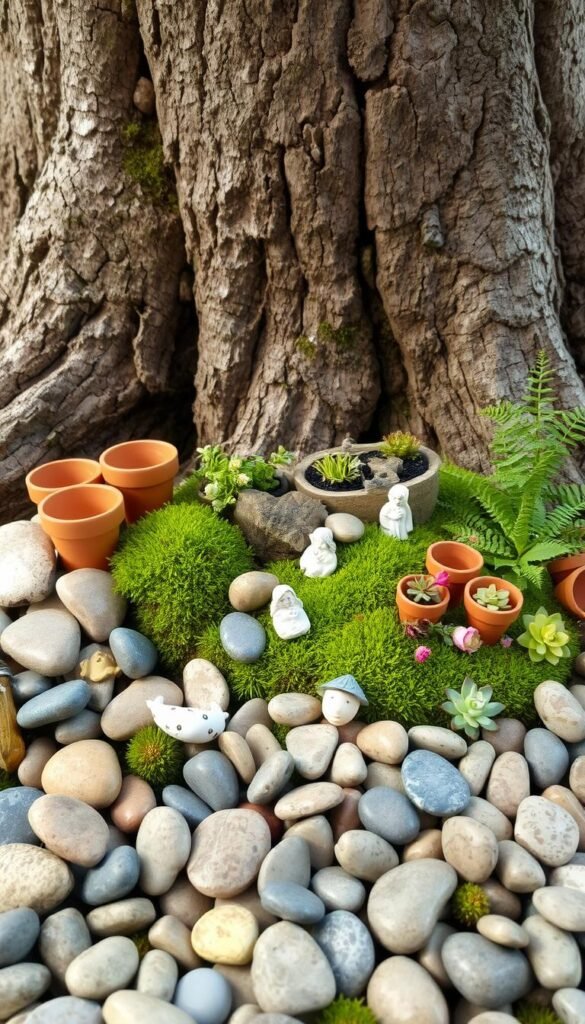
Smart planning transforms ordinary materials into extraordinary miniature worlds. Begin by creating a checklist that balances functional tools with whimsical accents. This approach ensures you’ll have everything needed to bring your vision to life without last-minute scrambles.
Essential Tools and Natural Materials
Start with durable scrap wood like cedar or plywood – these withstand weather while being easy to shape. A basic toolkit (saw, sandpaper, wood glue) helps craft tiny structures. Pro tip: Use 80-grit sandpaper first for rough edges, then switch to 120-grit for smooth finishes.
Natural elements elevate authenticity. Moss acts as living carpet, while pebbles form winding paths. Solar lights add twilight magic without wiring hassles. As one crafter notes: “Weatherproof paint protects houses better than regular acrylic.”
Budget-Friendly Sourcing Tips for Fairy Elements
Dollar stores surprise with mini items – think tea light holders as mushroom caps or jewelry charms as lanterns. Check craft store clearance aisles for discounted windows and doors. Got everything? Organize supplies in labeled bins for easy access during creative bursts.
Repurpose household items creatively. Old spoons become bridges, while cracked planters transform into cottages. A DIY enthusiast shares: “I built three houses using scrap wood from garage sales – total cost? Under $10.” Remember, imperfections add character to your project.
Fairy Garden Around a Tree: Ideas for Incorporating Natural Elements
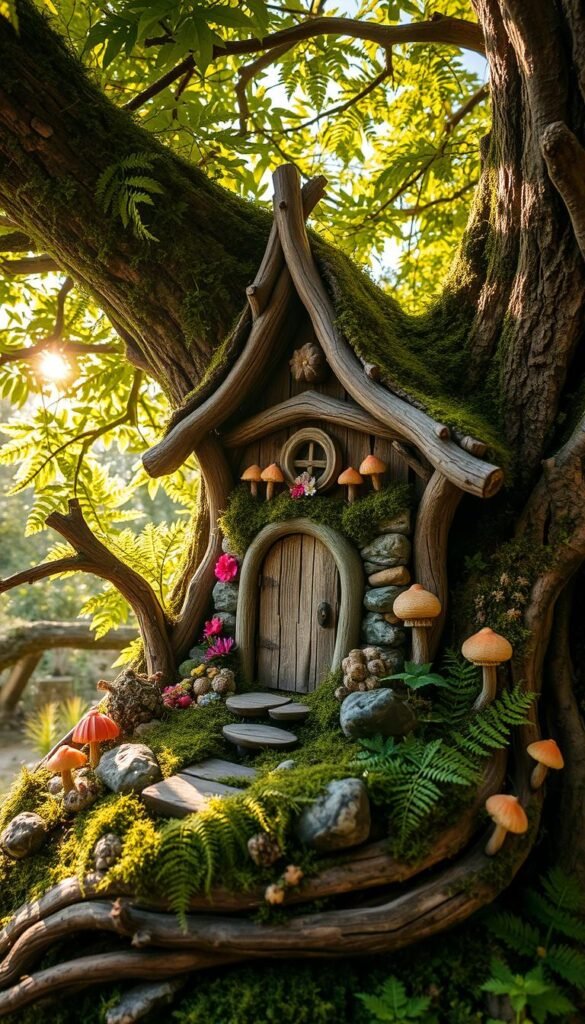
Crafting an enchanting space beneath your tree starts with nature’s toolkit. Blend bark textures, fallen branches, and seasonal blooms to build organic charm that feels both intentional and wild. Let’s explore how to elevate your design with playful accents that whisper magic into every corner.
Integrating Whimsical Additions Like Fairy Lights and Miniature Houses
Moss becomes living wallpaper when pressed against curved bark. Use small stones to outline winding trails leading to hidden treasures. Twigs? They’re instant fences or ladders when secured with waterproof glue. For coastal vibes, nestle seashells among roots like forgotten mermaid gifts.
Solar-powered strings add sparkle without cords. Drape them along lower branches or weave through shrubs. As dusk falls, watch your creation come alive with a magical evening glow. Mini cottages should mirror your tree’s personality – rustic wood for oaks, painted hues for flowering species.
Rotate accessories with the seasons. Spring might feature cherry blossom petals as roof shingles, while autumn showcases acorn-cap lanterns. One gardener shares: “My maple’s roots now host a mushroom library – each cap holds tiny books made from birch bark.” Balance is key. Let 60% of your materials come from the earth, reserving 40% for crafted surprises that spark joy.
Step-by-Step DIY Setup and Decoration Tips
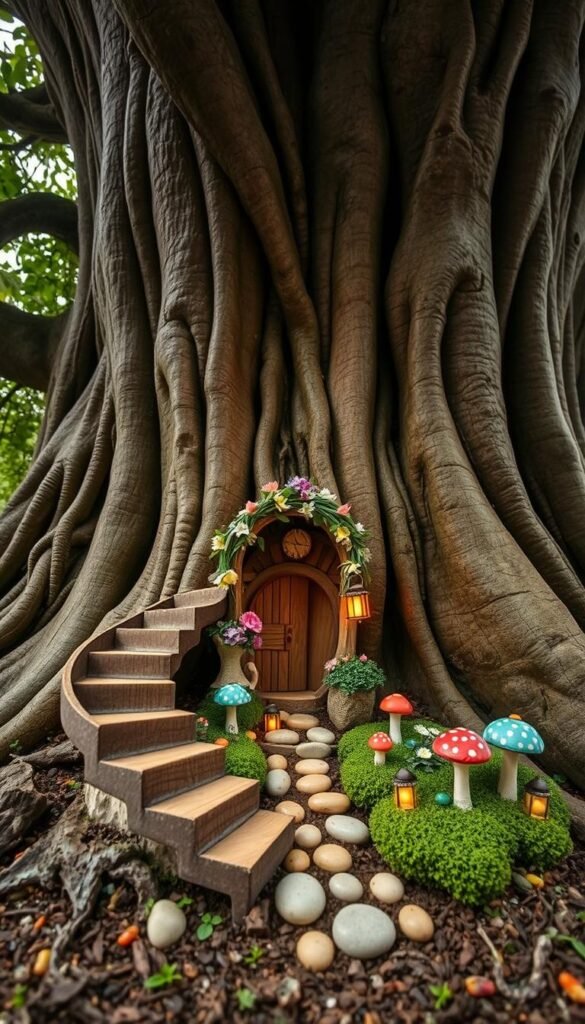
Building your miniature masterpiece requires equal parts preparation and playfulness. Let’s transform that ordinary trunk into a captivating tiny home while protecting your tree’s health.
Preparing Your Tree and Garden Space for Transformation
Start by clearing debris with a soft brush – fallen leaves hide potential rot spots. Use 80-grit sandpaper to smooth rough bark, then switch to 120-grit for polished edges. Pro tip: Check for sap leaks before attaching decorations to avoid sticky messes.
Mark window placements with chalk, leaving 4-6 inches between openings for structural integrity. A craft knife works better than saws for delicate carving. One DIYer shares: “I traced cookie cutters onto the bark for perfect heart-shaped windows.”
Creative Decorating Techniques to Spark Imagination
Mix exterior-grade paints with water (1:1 ratio) for translucent washes that let wood grain shine. Use twigs as shutters and acorn tops as door knockers. Layer moss around the base to hide uneven edges naturally.
- Hot-glue pebbles as stepping stones leading to hidden “fairy mailboxes”
- Press tiny ferns into damp soil near the entrance
- Dangle miniature wind chimes from lower branches
Rotate seasonal accents monthly – pinecone tiles for winter, flower petal awnings for spring. Remember, your house should evolve like the tree itself, telling stories through subtle changes.
Illuminating Your Fairy Garden with Natural and Solar Lighting
As twilight falls, your enchanted space deserves to shine. Strategic illumination turns daytime wonders into nighttime spectacles, blending practicality with whimsy. The right balance of brightness creates depth while preserving that secret woodland vibe visitors adore.
Choosing the Right Fairy Lights for a Magical Glow
Opt for warm white mini LEDs to mimic firefly charm. Waterproof strands wrap easily around trunks or tuck under mossy ledges. For subtle accents, try single solar lights shaped like mushrooms or flowers – they store daytime energy to cast soft glows after dark.
Installing Solar-Powered Accents for Nighttime Charm
Position panels where they’ll soak up full sun exposure – south-facing spots work best. Use a 1/8-inch drill bit to create discreet holes for embedding tiny bulbs in stumps. Highlight your house features by aiming lights at arched doorways or glittery window trim.
Rotate fixtures seasonally: icy blue tones for winter, golden hues for autumn harvest themes. Remember, less is often more. A few well-placed lights create mystery, inviting viewers to lean closer and discover hidden details.

