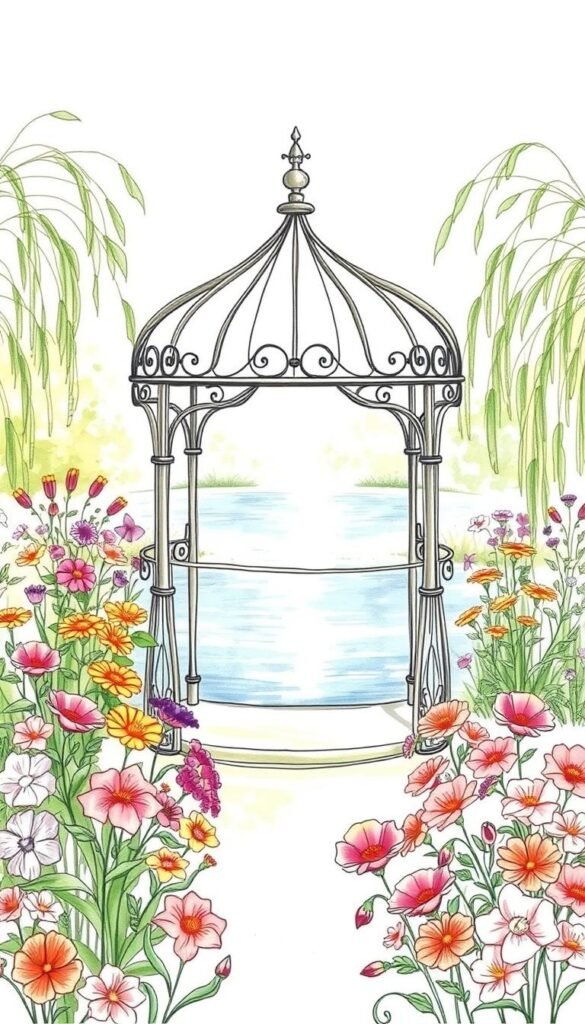
Transforming your outdoor space ideas into tangible results begins where all great projects start – with a visual plan. Whether you prefer the tactile feel of pencil on grid paper or the convenience of digital platforms, capturing your vision helps create cohesive layouts that thrive in real-world conditions.
Many landscape professionals begin with quick hand-drawn concepts during spare moments. These initial sketches focus on plant groupings as textured shapes rather than botanical details, allowing you to experiment with balance and flow. A free landscape design app can then refine these concepts into precise plans while calculating sun exposure and spacing needs.
Your creative process gains momentum when you treat plants as design elements with specific roles. Tall grasses might frame a seating area, while flowering perennials could provide seasonal color accents. This approach works equally well for personal yards and community green spaces where shared aesthetics matter.
The magic happens when combining spontaneous sketching with digital precision. Rough drafts evolve into actionable blueprints showing exact plant placements and growth patterns. This hybrid method saves time, reduces costly mistakes, and lets you share concepts easily with collaborators or plant suppliers.
Understanding the Basics of Garden Sketching
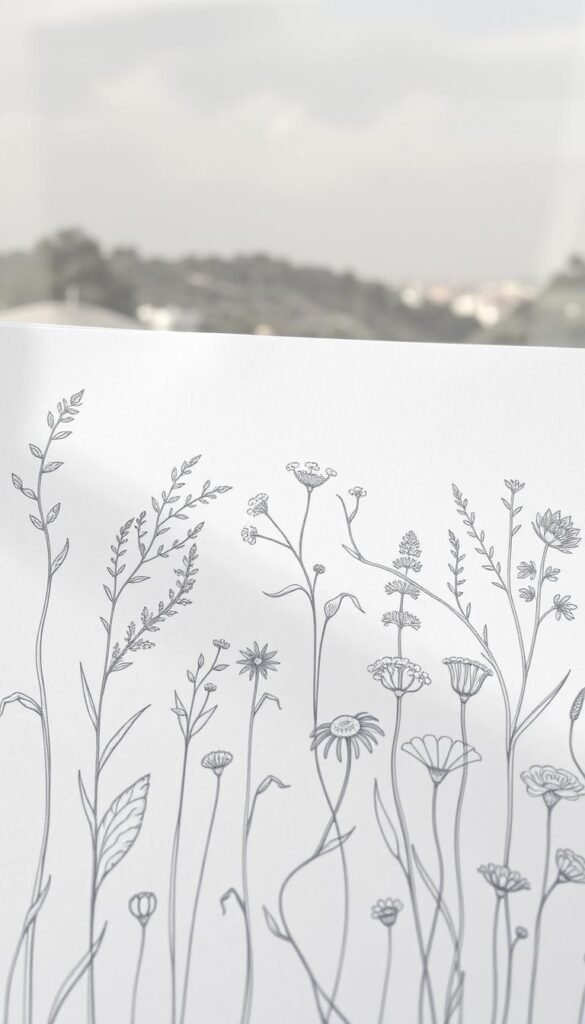
Mastering plant arrangement begins with seeing beyond individual species. Instead of botanical names, focus on how textures and silhouettes interact. This approach helps you build balanced layouts that feel intentional, even if you’re just starting out.
Why Simple Drawings Can Work Wonders
Quick sketches force you to prioritize spatial relationships over perfection. Use circles for shrubs, wavy lines for grasses, and triangles for evergreens. These basic visual shortcuts let you test ideas faster than digital tools sometimes allow.
Your rough drafts reveal which combinations create harmony. A rounded hosta beside spiky irises? Sketch it first. This method works especially well when planning colorful container gardening arrangements where space is limited.
Exploring the Visual Language of Plant Shapes and Textures
Think of foliage as your design alphabet. Bold elephant ears shout “look here,” while feathery ferns whisper “soft transition.” Practice sketching these contrasts to develop your style.
Notice how professionals group plants by their roles: anchors, fillers, and accents. Tall grasses frame spaces, while creeping thyme connects gaps. Your sketches become a cheat sheet for real-world planting decisions.
Exploring Online Tools for Garden Design

Modern outdoor spaces come alive when digital innovation meets creative vision. Today’s design tools blend artistic freedom with scientific precision, letting you experiment freely while avoiding costly trial-and-error planting.
Top Digital Platforms for Visualizing Your Space
AI-driven platforms turn smartphone snapshots into interactive 3D models. Upload a photo of your yard, and watch as the software suggests plant combinations that thrive in your specific conditions. Some landscape design software even adjusts recommendations based on seasonal sunlight patterns.
Real-time visualization lets you swap pavers for gravel or test flowering shrubs against evergreen hedges instantly. These tools often include growth simulators showing how your choices will mature over five years – perfect for avoiding overcrowded beds.
Leveraging AI and AR for Real-Time Planning
Augmented reality transforms your phone into a magic lens. Point your camera at empty soil, and digital hydrangeas appear at true-to-life scale. Rotate 360 degrees to see how climbing roses would frame your patio from every angle.
Smart platforms analyze local frost dates and rainfall to suggest low-maintenance plants. One user shared: “The app recommended native grasses I’d never considered – now they’re the star of my yard.” Cloud storage keeps projects synced across devices, making collaboration with landscapers effortless.
Flower Garden Sketch to Reality: Planning with Simple Drawings or Online Tools
Turning casual doodles into thriving green spaces requires bridging creative vision with practical execution. This transformation happens through strategic layering – both in your sketches and final layouts.
Step-by-Step Process to Convert Sketches Into Garden Plans
Begin with side-view drawings that map plant heights like a theater stage set. Use stacked ovals for shrubs and vertical lines for ornamental grasses. This elevation perspective helps visualize how foliage layers interact at different levels.
Once your vertical arrangement feels balanced, switch to overhead views. Here’s where spacing matters most:
| Step | Sketch Focus | Plan Details |
|---|---|---|
| 1. Initial Layout | Plant height tiers | Mature spread calculations |
| 2. Sun Mapping | Light/shade patterns | Species-specific placement |
| 3. Final Touches | Seasonal bloom notes | Maintenance reminders |
Mark sunny zones with yellow highlights and shadow areas with blue strokes. These visual cues prevent placing sun-loving marigolds under dense tree canopies. Digital tools excel here – many apps automatically flag mismatched plant-light pairings.
Pro tip: “Sketch multiple versions on tracing paper overlays to test different arrangements without starting over.” This low-tech method remains popular among experts for rapid iteration before committing to final plans.
Essential Garden Design Considerations

Crafting a thriving outdoor space starts with smart choices about what grows where. Sun patterns and soil conditions shape your plant selection more than personal preferences ever should. Get this foundation right, and your green investments will pay off for years.
Key Elements in Plant Selection and Arrangement
Your first move? Map sunlight like a detective. Track how shadows move across your space through the day. Full-sun lovers like Echinacea ‘Merlot’ demand 6+ hours of direct light, while Carex grasses handle mixed conditions gracefully.
Hardiness zones act as your plant passport. A zone 5 shrub won’t survive Minnesota winters, no matter how pretty its blooms. Pair this knowledge with water needs – drought-tolerant sedums shouldn’t share beds with thirsty hydrangeas.
| Plant Example | Zones | Exposure | Key Features |
|---|---|---|---|
| Carex testacea | 7-10 | Full sun to part shade | Copper-toned grass, low water |
| Echinacea ‘Merlot’ | 4-9 | Full sun/reflected heat | Burgundy blooms, drought-resistant |
| Heuchera ‘Palace Purple’ | 4-9 | Morning sun only | Year-round foliage interest |
Leave elbow room for growth. That cute 12″ shrub becomes a 3′ wide mound in two seasons. Smart spacing prevents overcrowding and reduces disease risks.
Repeat performers earn their keep. Choose 2-3 anchor plants that shine in multiple seasons. Underplant them with seasonal bloomers that come and go. This approach creates rhythm without monotony.
Integrating Color, Texture, and Form in Your Garden

Your outdoor space becomes a living canvas when you master the interplay of hues, surfaces, and silhouettes. Thoughtful combinations transform random plantings into intentional compositions that captivate year-round.
Creating Visual Harmony Through Color Theory
Professional landscapers treat foliage as permanent artwork and blooms as seasonal accents. The coppery tones of Carex testacea grass create subtle warmth, while bold yellow varieties might clash with neighboring plants. Leaves work harder than flowers – their colors and shapes define your space’s character through all seasons.
Try this approach: choose three main hues and repeat them across beds. Warm reds and oranges pop against cool blues and purples. Neutral greens and silvers act as visual breathers. One designer notes: “A limited palette feels curated, not chaotic – like a well-edited wardrobe for your yard.”
| Color Scheme | Plant Examples | Visual Effect |
|---|---|---|
| Analogous (3 adjacent colors) | Heuchera ‘Peach Flambe’, Sedum ‘Autumn Joy’, Coreopsis | Calming, seamless transitions |
| Complementary (opposite colors) | Purple Salvia + Yellow Black-Eyed Susan | High contrast drama |
| Monochromatic (single hue variations) | Hostas + Japanese Forest Grass | Sophisticated simplicity |
Texture pairings add depth without color overload. Pair feathery Maiden Grass with bold Hosta leaves, or smooth river rocks with crinkled Coral Bark Maple. Vertical elements like Allium spikes break up low mounds, guiding the eye through your design.
Remember: contrast creates interest, repetition builds rhythm. Group spiky Yucca with flowing Catmint, then echo those shapes elsewhere. This technique works equally well in small urban plots and sprawling country estates.
How to Choose the Right Tools for Your Garden Sketch

Selecting the right instruments for visualizing your outdoor space comes down to balancing spontaneity with precision. Physical and digital methods each shine in different phases of the design process, offering unique advantages that adapt to your creative rhythm.
Traditional vs. Digital: Finding Your Flow
Graphite on paper remains unmatched for lightning-fast brainstorming. A pocket notebook lets you capture ideas anywhere – no charging cables or loading screens. Many designers swear by this method: “My best layouts start as coffee-stained doodles during morning commutes.”
| Method | Best For | Limitations |
|---|---|---|
| Pencil & Paper | Quick concept exploration | Hard to edit/share |
| Tablet Apps | Precise measurements | Learning curve |
| 3D Software | Realistic presentations | Subscription costs |
Digital tools excel when you need to test plant spacing or share concepts with contractors. Apps like Procreate offer familiar drawing experiences with layers and undo buttons, while specialized platforms provide climate-specific plant databases.
Your workflow benefits most when combining both approaches. Sketch sun patterns by hand first, then scan them into design software for exact measurements. This hybrid method saves time while keeping your creative spark alive.
Choose based on your project’s needs: rough concepts thrive on paper, while detailed planning demands digital precision. Keep a sketchbook for spontaneous ideas and a tablet for refining top contenders. Your best results often come from letting each tool do what it does best.
Creating Detailed Planting Plans and Layouts
Bringing your landscape vision to life requires merging creativity with precision. Start by mapping existing features like trees and pathways using garden planning apps that analyze sunlight patterns and soil conditions. These digital helpers suggest companion plants and optimal spacing, turning rough ideas into thriving ecosystems.
Tips for Effective Bed Layouts and Plant Positioning
Always begin with a scaled drawing of your bed. Mark utilities and permanent structures first – these anchors dictate where plants can flourish. Layer heights strategically, placing taller specimens behind shorter ones while leaving room for mature spreads. Consider viewing angles from windows and seating areas to showcase showstopping combinations.
Smart apps like Garden Plan Pro simplify spacing calculations. They automatically adjust for growth patterns, preventing overcrowding before you dig. One landscaper shares: “Digital tools cut my revision time in half while improving client satisfaction.”
Balancing Hardscape and Softscape Elements
Permanent features shape your entire layout. Sketch patios and walkways first, then design planting beds around them. Aim for a 60/40 ratio between greenery and built structures – this balance feels inviting without appearing cluttered.
Leave accessible paths for maintenance between beds. Gravel strips or stepping stones protect plants while letting you tend them easily. Remember: functional spaces outlast fleeting trends, so prioritize timeless arrangements over temporary fads.

