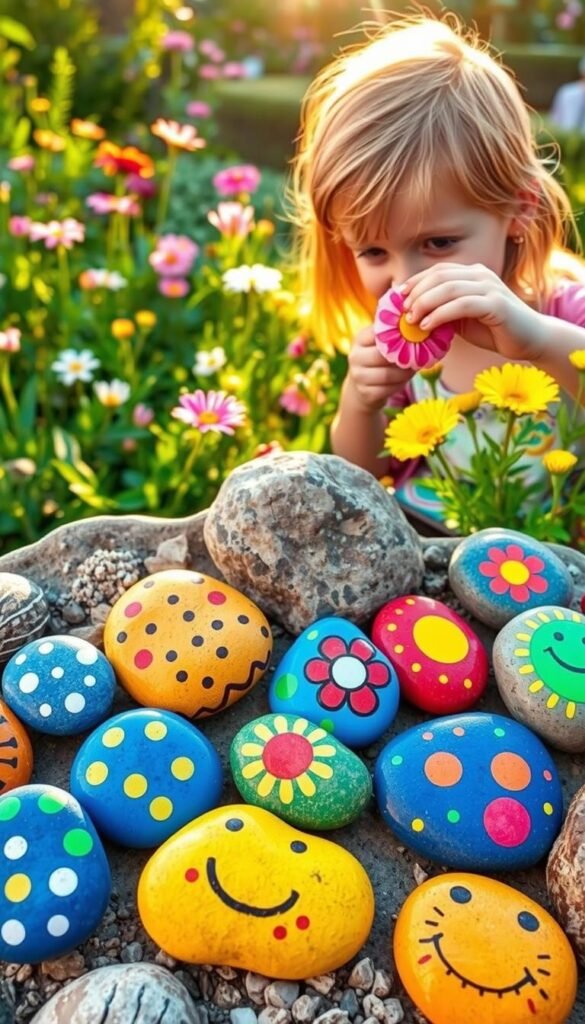
Discover engaging ways to spark your child’s imagination while connecting with nature. Simple activities like decorating smooth stones or arranging colorful plant materials offer endless opportunities for sensory exploration. These projects turn ordinary outdoor finds into special keepsakes that celebrate your family’s creativity.
Working with natural elements helps young learners develop coordination through gripping brushes and arranging small objects. As they experiment with patterns and colors, children gain confidence in expressing their unique ideas. Best of all, you’ll find most materials during neighborhood walks – no special supplies needed!
Looking for inspiration? Our friends at HopeFilled Homestead share fun garden projects that adapt perfectly for tiny helpers. From personalized markers to sprouting creations, each activity teaches about growth cycles and seasonal changes through hands-on play.
This guide covers safe, age-appropriate techniques and creative variations to keep little artists entertained for hours. You’ll learn how to choose non-toxic materials, create simple designs, and preserve those precious masterpieces. Let’s nurture both creativity and love for the outdoors through these memorable bonding experiences!
Getting Started with Outdoor Garden Crafts
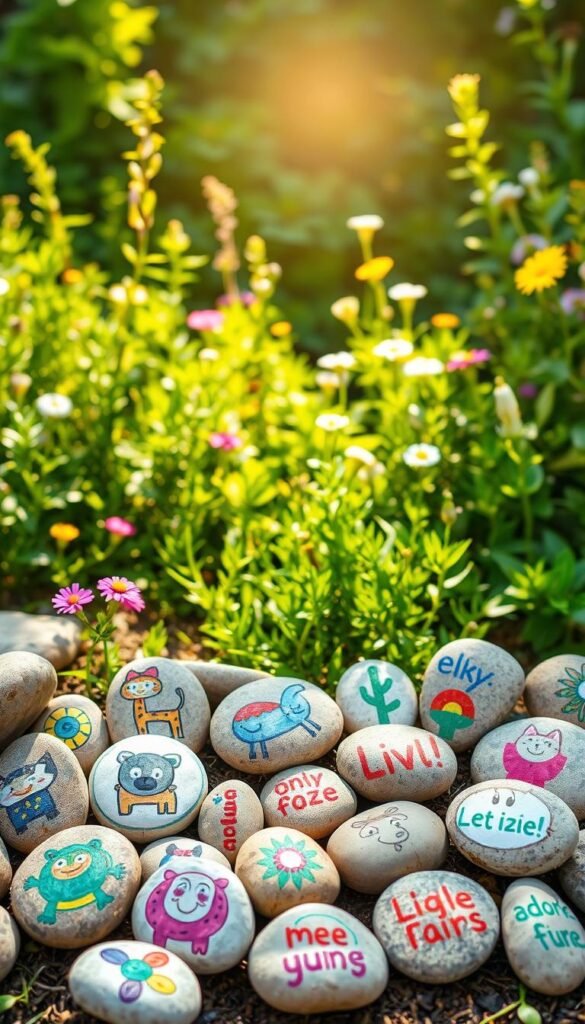
Let’s explore the basics for setting up creative sessions that keep young minds engaged. Begin by gathering smooth stones, washable acrylics, and chunky markers designed for small hands. A plastic bin with compartments works wonders for organizing supplies while keeping everything within reach.
Essential Materials and Tools
Your toolkit should include:
- Non-toxic paints labeled ASTM D-4236 safe
- Short-handled brushes with wide grips
- Permanent markers in bold colors
- Disposable tablecloths for easy cleanup
Set up a shaded work area using a folding table or picnic blanket. Keep damp cloths nearby for quick wipe-ups. Water-based sealants protect finished pieces without harsh fumes.
Safety Tips for Little Crafters
Always choose products marked “AP Certified Non-Toxic”. Work in open-air spaces when using sealers, and supervise marker use closely. Dress children in old shirts or smocks to avoid staining favorite outfits.
Store materials in labeled containers after each session. This habit teaches responsibility while keeping supplies ready for spontaneous inspiration. Rotate color choices weekly to maintain excitement about new painting ideas.
Finding the Perfect Rocks and Seeds
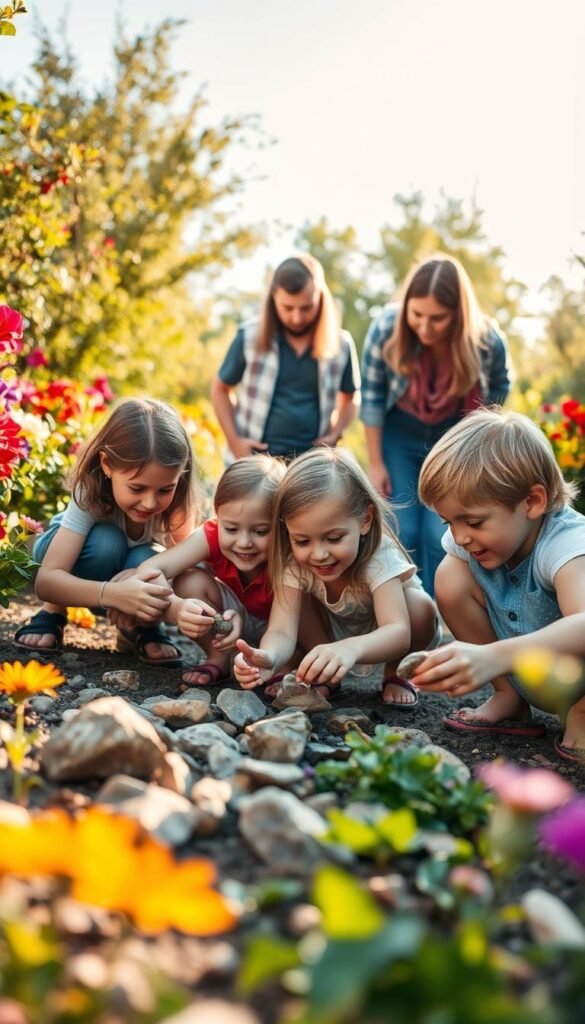
Turn outdoor adventures into treasure hunts that fuel creativity. Whether gathering materials or planning future plants, these activities blend exploration with hands-on learning.
Sourcing Rocks on Nature Walks
Look for palm-sized stones during walks near streams or parks. Smooth surfaces work best for little artists – test them by rubbing your thumb across. Avoid jagged edges that might scratch tiny hands.
No nearby trails? Many hardware stores sell flat landscaping stones. Let your child pick their favorites from the display. This builds excitement before painting begins.
Selecting Kid-Friendly Seeds
Sunflower and pea seeds become instant favorites. Their large size makes them easy to grip. Fast-growing varieties like radishes keep attention spans engaged.
Visit plant nurseries together and compare colorful seed packets. Ask questions like “Should we grow purple carrots or rainbow chard?” This turns shopping into a playful decision-making game.
Create a special storage box for collected stones. Use egg cartons or muffin tins for sorting by color and shape. Little helpers love organizing their treasures before creating masterpieces.
Choosing Eco-Friendly Paint and Craft Supplies
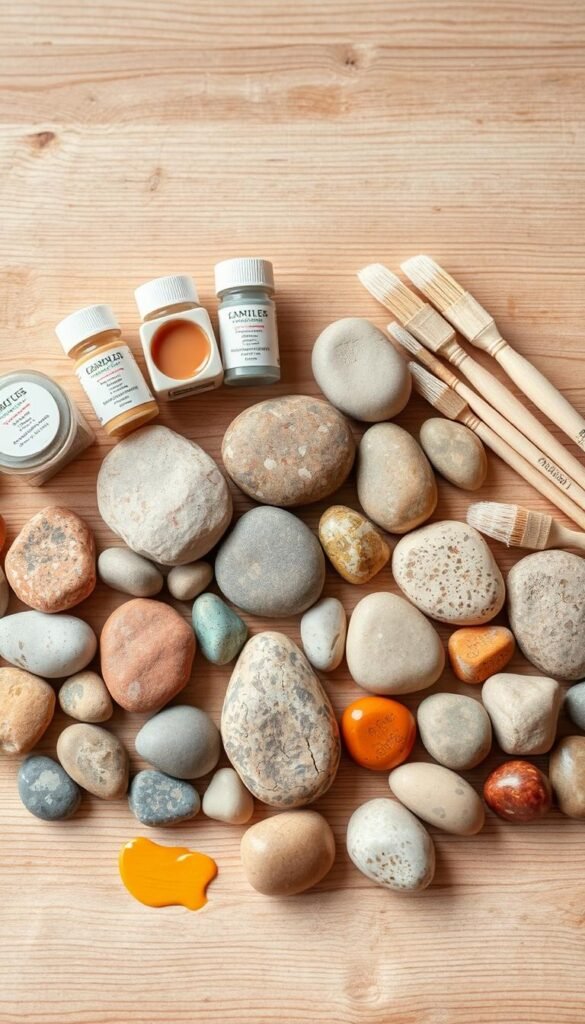
Selecting the right materials makes all the difference in creating safe, vibrant rock designs. Whether using brushes or markers, focus on products that balance creativity with environmental care. This choice impacts both your child’s experience and the planet.
Acrylics vs. Markers: Which Works Best?
Thick acrylic paint delivers bold coverage that sticks to stone surfaces. Its creamy texture hides rough patches, letting little artists create detailed patterns. Primary colors plus black and white teach color theory through hands-on mixing – squeeze out dollops and watch curious fingers blend new shades.
Permanent markers shine for precise details. Their slim barrels fit small hands better than bulky brushes. No drips or spills mean less cleanup stress. Look for plant-based ink options labeled “AP Certified” to ensure safety.
| Feature | Acrylic Paint | Permanent Markers |
|---|---|---|
| Best For | Large areas & color mixing | Fine lines & details |
| Drying Time | 10-15 minutes | Instant |
| Cleanup | Soap + water | Alcohol wipes |
Test both options on spare stones before big projects. Many families alternate between materials based on the day’s craft goals. Pair these supplies with colorful flower projects for a full outdoor creative session.
Choose water-based sealants to protect finished pieces. They’re gentler on skin and the environment than solvent-based alternatives. Always work in ventilated areas when sealing designs.
Creative Painting Techniques for Tiny Hands
Unlock new possibilities with methods designed for developing motor skills and artistic confidence. Start by dipping thumbs into washable paint to create colorful dots on smooth stones. These fingerprint patterns transform into ladybugs, caterpillars, or abstract designs when paired with marker details.
Finger Painting With Stencils
When freehand designs feel tricky, plastic stencils save the day. Press a flower-shaped template onto your rock and let little ones smear paint inside the cutouts. This method creates crisp shapes while allowing messy fun. Cookie cutters work great for seasonal ideas like hearts or stars.
Pro tip: Use contrasting colors for stencil outlines. A dark base coat makes bright petals pop! Keep baby wipes nearby for quick template cleanups between colors.
Simple Brush Techniques for Beginners
Short-handled brushes with fat grips help toddlers master basic strokes. Demonstrate dabbing motions to create textured clouds or grass. Try dipping brush tips in multiple hues for instant rainbow effects.
For quick wins:
- Paint solid backgrounds first
- Add dots or stripes with cotton swabs
- Use metallic paints for magical accents
Remember, every masterpiece tells a story. Celebrate squiggly lines and unexpected color mixes – these “happy accidents” often become favorite creations!
Exploring Seed Art in Your Garden Projects
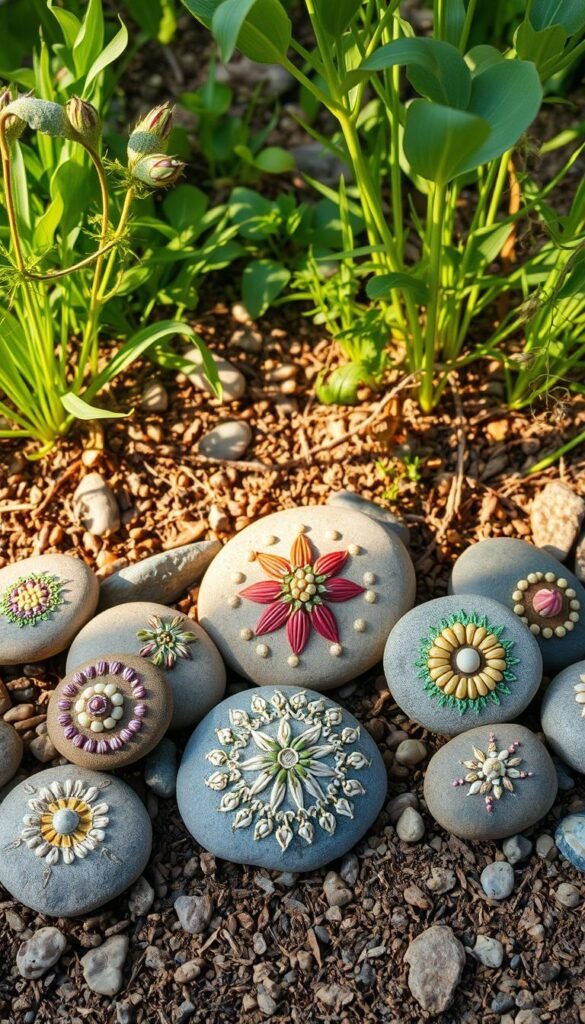
Transform ordinary stones into living storybooks that grow alongside your plants. Pressing seeds onto painted surfaces creates textured art pieces doubling as educational tools. You’ll love watching tiny hands arrange sunflower seeds into flower shapes or spell bean letters to label veggies.
Start by painting smooth rocks with non-toxic acrylics. Once dry, apply school glue in simple outlines. Let your child press seeds onto the sticky lines – pumpkin seeds make excellent sunflower petals, while lentils form perfect dots. These creations become instant garden markers when placed near seedlings.
Seasonal ideas keep the fun fresh year-round:
- Spring: Create carrot-shaped markers with orange paint and parsley seeds
- Summer: Design watermelon slice rocks using black sesame “seeds”
- Fall: Craft pumpkin decorations with actual squash seeds
Preserve these treasures with clear water-based sealant. Apply thin layers to keep seeds visible while protecting them from rain. As plants sprout, use the markers to teach watering routines and growth stages. “This radish rock shows leaves first,” becomes a hands-on botany lesson.
Mix different seed sizes for tactile mosaics on large stones. Contrast dark coffee beans with pale quinoa for striking patterns. These textured projects help kids recognize plant varieties while sparking conversations about nutrition and ecosystems.
Interactive Games and Crafting: Tic Tac Toe and More
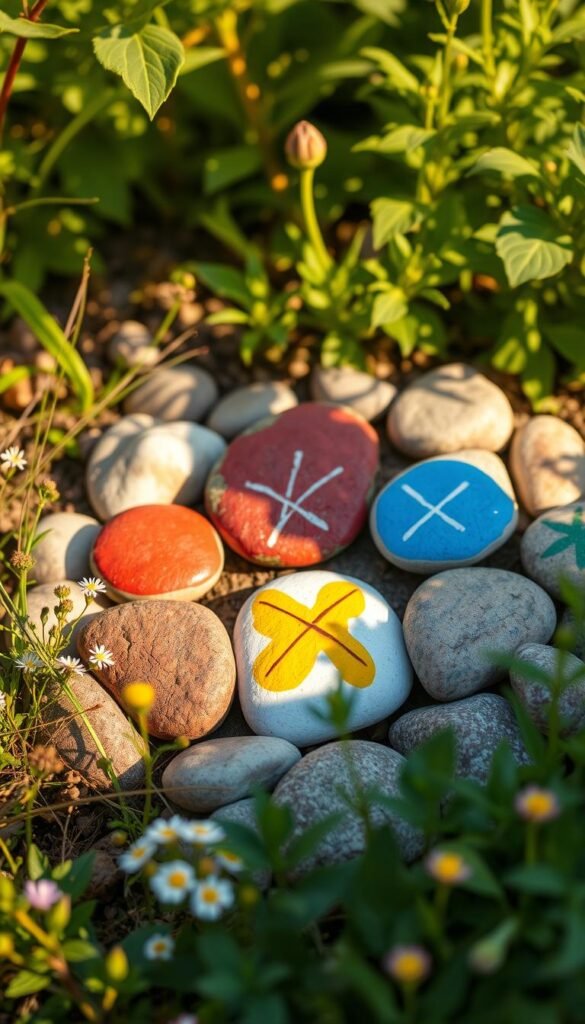
Turn playtime into art time by merging classic games with creative rock painting ideas. Transform ordinary stones into portable game pieces that spark imagination and friendly competition. These activities let you combine artistic expression with problem-solving challenges.
Building Game Sets That Grow With Kids
Start with a simple tic tac toe set using nine flat stones. Paint five with cheerful ladybugs and four with daisy shapes for spring-themed battles. For superhero fans, create Spiderman and Venom pieces using bold red-and-black patterns. Angry Birds fans will love crafting pig-faced stones to battle feathered opponents.
Follow these steps for success:
- Choose smooth stones sized for little hands
- Paint base colors using non-toxic acrylics
- Add details with permanent markers once dry
- Seal with water-based protectant
Mix game types to keep things fresh:
| Theme | Design Idea | Skill Focus |
|---|---|---|
| Animal Friends | Bees vs Butterflies | Pattern recognition |
| Shape Match | Hearts vs Stars | Color sorting |
| Storybook | Dragons vs Knights | Narrative thinking |
Store pieces in drawstring bags for park adventures or rainy-day fun. Rotate themes monthly to match seasons or holidays. These activities build decision-making skills while keeping screens at bay – perfect for family picnics or playdates!
DIY Garden Decorations Using Painted Rocks
Transform ordinary stones into practical yet charming additions to your outdoor space. These colorful creations serve triple duty: brightening flower beds, keeping little hands busy, and creating heartfelt gifts grandparents will treasure.
Crafting Unique Garden Markers
Start with flat stones about the size of your palm. Paint backgrounds using washable acrylics in solid colors – try lime green for herbs or sunshine yellow for squash. Once dry, add plant names with bold permanent markers. For pre-readers, draw simple shapes like tomatoes on vines or carrot tops.
Make designs weatherproof with two thin coats of water-based sealant. Let kids sprinkle glitter between layers for magical sparkle that withstands rain. Pro tip: Use UV-resistant spray to prevent sun fading.
Themed collections add playful flair:
- Fairy village toadstools with red caps and white dots
- Animal track stones showing paw prints near wildlife-friendly plants
- Rainbow borders using color-sorted stones along pathways
“The basil marker my daughter painted now sits proudly in Nana’s kitchen window herb garden – it’s our favorite shared project!”
Involve young creators in deciding where each piece belongs. Let them arrange temporary “exhibits” before final placement. This ownership builds confidence and connection to nature.
Pair functional markers with decorative pieces for visual harmony. Cluster painted ladybugs near flowers or line walkways with alternating patterns. These personal touches spark conversations about plant care and creative expression during family gatherings.
Infusing Art into Daily Gardening Tasks
Sprinkle creativity into every gardening chore to transform routine tasks into joyful learning moments. When sprouts emerge, invite little helpers to water “their” plants marked with custom-painted stones. A rainbow-coded system works wonders – blue rocks for herbs, yellow for veggies – letting kids track growth while practicing color recognition.
Creative Ways to Involve Toddlers in Planting
Turn weeding into a texture hunt by challenging children to find leaves that match painted patterns on nearby stones. “Let’s spot three prickly weeds like your cactus rock!” This approach blends observation skills with artistic elements. For harvesting, create art-based checklists: stamp ripe tomatoes on paper using cut fruit dipped in washable paint.
Design reward systems using decorated stones as achievement tokens. Every completed watering session earns a sparkly pebble to add to their collection jar. Celebrate milestones by arranging these treasures into temporary mandalas near flower beds. Pair these preschool gardening lessons with seasonal art projects for continuous engagement.
Document plant progress through collaborative murals. Each week, trace leaves onto craft paper using crayon rubbings. Compare sizes as greens expand, creating a living growth chart. For spacing lessons, place painted stones at proper intervals – red markers for carrots, purple for eggplants – turning garden layout into a colorful puzzle.
“Our stone markers make my grandson race outside each morning – he’s convinced his painted ladybug helps the beans grow faster!”
Keep sessions short by tying activities to natural breaks. After five minutes of watering, switch to decorating a new rock for tomorrow’s task. This rhythm maintains enthusiasm while reinforcing responsibility through creative expression.
Tips for a Successful Crafting Day Outdoors
Smart preparation turns messy fun into lasting memories. Check the forecast and plan morning sessions to avoid midday heat. A pop-up canopy creates instant shade for delicate painting work while protecting little arms from sunburn.
Weather Considerations and Quick Setups
Always let rocks dry overnight before adding sealant. Water-based protectors work best outdoors – spray two light coats for maximum color protection. Store finished pieces in a cardboard egg carton during transport to prevent smudging.
Pack supplies in a rolling cart for fast deployment. Use silicone muffin liners to hold paint dollops and prevent spills. Lay down an old shower curtain for instant cleanup – just shake it out when done!
For sudden weather changes, keep a “rainy day rescue kit” handy. Include quick-dry markers and pre-sealed stones for indoor finishing touches. Rotate activity stations every 20 minutes to match toddler attention spans.
Remember: The goal isn’t perfection, but joyful time spent together. Those slightly lopsided ladybug rocks? They’ll become cherished reminders of sunny afternoons filled with laughter and discovery.

