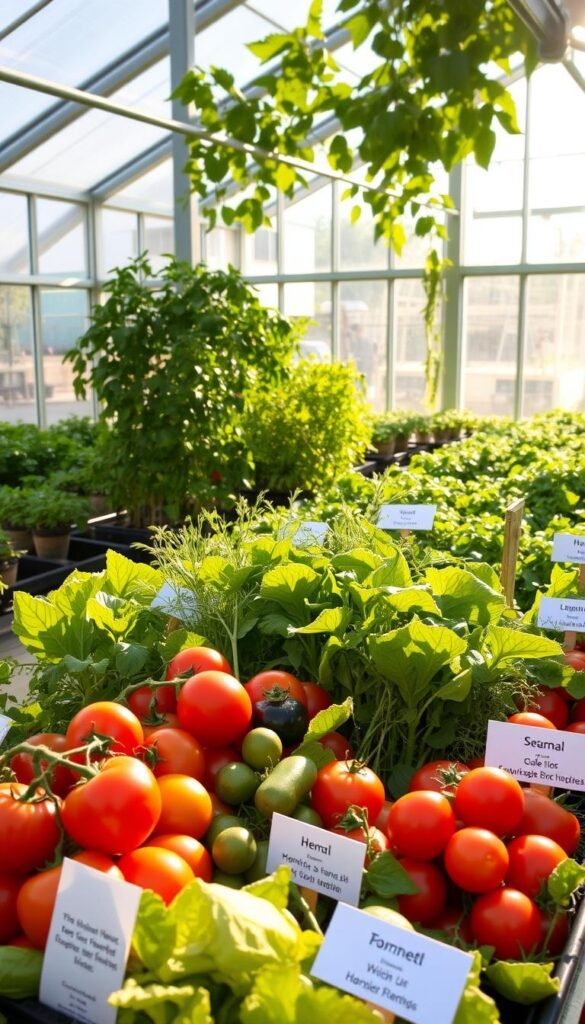
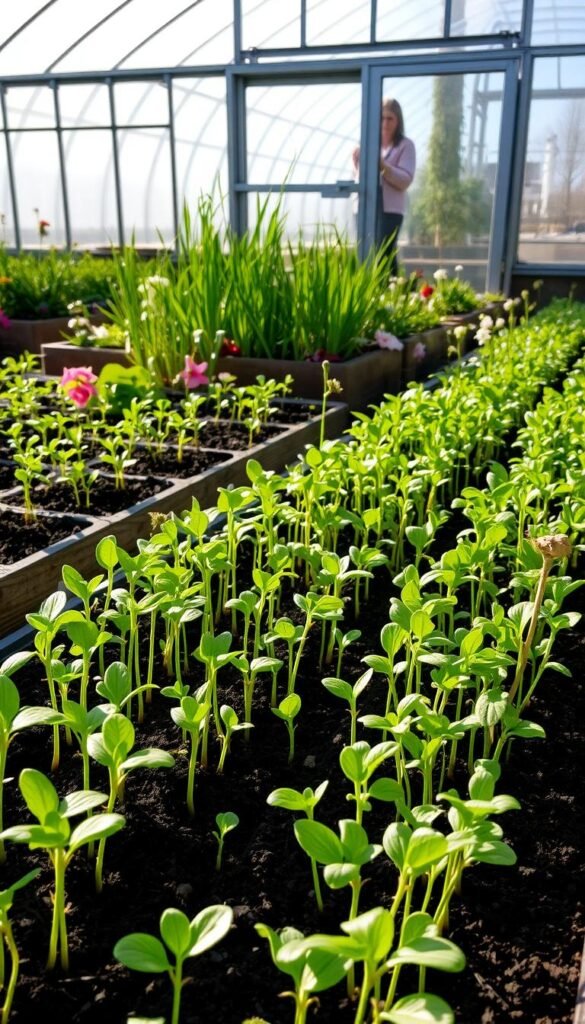
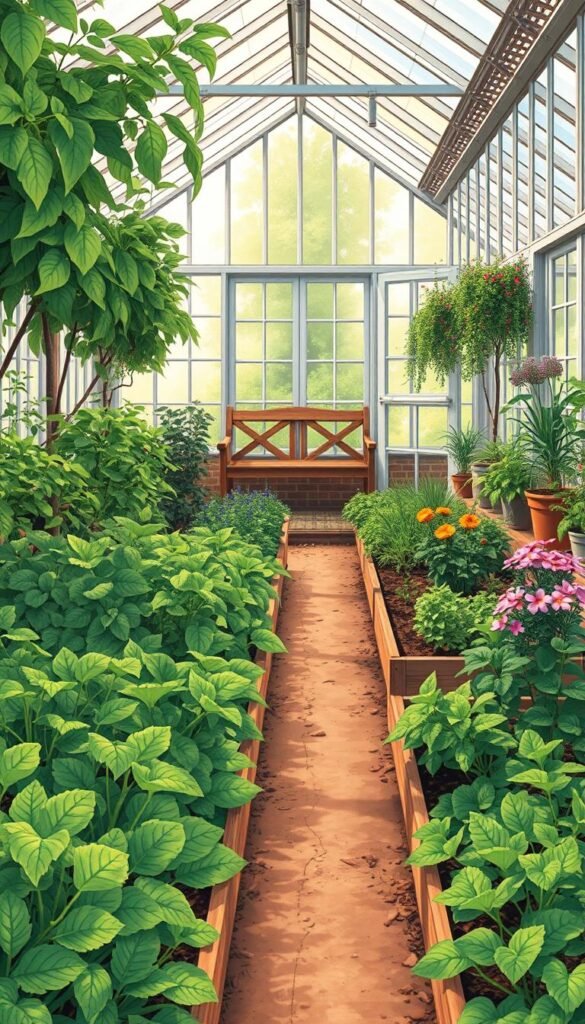
Imagine harvesting crisp vegetables in December or nurturing seedlings during frosty mornings. A well-designed growing space makes this possible by creating stable conditions for your plants, no matter what’s happening outside. Whether you’re new to protected cultivation or refining your skills, this guide unlocks strategies to maximize productivity across all seasons.
These structures do more than shield crops from storms and pests. They let you adjust temperatures, manage humidity, and optimize light exposure – critical factors for consistent growth. By rotating crops and testing soil between planting cycles (as detailed in this seasonal square foot gardening resource), you’ll maintain nutrient-rich beds that support back-to-back harvests.
From spring preparation to winter insulation, each phase demands tailored care. You’ll learn how to balance ventilation during summer heatwaves and use thermal mass to retain warmth on chilly nights. Expert-recommended techniques help prevent common setbacks, ensuring your efforts yield flavorful results year-round.
Ready to transform how you grow? Let’s explore practical steps to create a thriving ecosystem that flourishes in every weather pattern.
Preparing Your Greenhouse for Each Season

Seasonal shifts demand different care routines to keep your growing space productive. A proactive approach ensures healthy plants and bountiful crops, whether you’re shaking off winter’s chill or bracing for frost.
Spring Revival and Debris Cleanup
Start by clearing leftover winter mulch and dead plant matter. This prevents pests and diseases while making room for new growth. Check walls and vents for cracks – even small gaps can disrupt the inside greenhouse climate. Test your soil pH now; balanced levels help herbs and veggies thrive.
Winter Protection and Maintenance
Before cold sets in, wrap delicate seedlings in frost cloth and add thermal curtains. Inspect glass panels for chips, and replace worn seals to retain heat. Apply straw mulch around root zones to buffer against freezing temperature swings.
| Task | Spring | Winter |
|---|---|---|
| Debris Removal | Clear old leaves and roots | Trim dead branches |
| Structural Check | Repair ventilation systems | Reinforce loose frames |
| Soil Prep | Add compost & adjust pH | Cover beds with mulch |
Track daily sunlight patterns using a simple app. Rotate pots every few days so all sides get equal exposure. These tweaks save time and boost yields across seasons.
Greenhouse Gardening All Year Round: Tips for Every Season

The secret to a thriving garden lies in seasonal crop choices. Matching plants to your local weather patterns and daylight shifts keeps harvests steady. Let’s explore how to pair the right crops with each season’s unique conditions.
Choosing the Right Crops for Each Season
Cooler months favor hardy vegetables like kale and spinach, which tolerate lower temperatures. When days lengthen in summer, switch to heat-loving tomatoes or peppers. Compact varieties, such as those in this small-space planting guide, work well for limited areas.
Leafy greens often thrive with less sunlight, while fruiting plants need 8+ hours of direct light. Use a printable schedule to track sowing dates based on your zone’s frost calendar.
Monitoring Temperature and Day-Length
Install a digital thermometer to track highs and lows. Most crops grow best between 65°F–75°F. Too cold? Roots stall; too hot? Leaves wilt. Pair these readings with sunlight sensors to adjust shade cloths or grow lights.
| Season | Ideal Crops | Key Conditions |
|---|---|---|
| Cool | Broccoli, Carrots | 50°F–70°F, 6h light |
| Warm | Cucumbers, Basil | 70°F–85°F, 10h light |
Notice how days shorten after summer solstice? Start fall planting 12 weeks before frost. Regular checks help you stay ahead of weather surprises, ensuring every season delivers fresh flavors.
Spring and Early Summer Planting Strategies

Timing is everything when the first hints of warmth arrive. Starting your vegetables indoors during early spring gives them a head start before outdoor conditions stabilize. This approach lets you control light, moisture, and warmth – perfect for tender seedlings.
Starting Seeds and Transplants Indoors
Begin with shallow trays filled with nutrient-rich soil. Sow lettuce and carrots 6-8 weeks before your last frost date. Cover seeds lightly, mist gently, and place near a sunny window. Use grow lights if natural light is scarce.
Check soil moisture daily – damp, not soggy. Thin sprouts once they develop true leaves. For heat-loving crops like tomatoes and peppers, wait until nights stay above 50°F before sprouting.
Transitioning Indoor Plants to Outdoor Spaces
When summer approaches, harden off seedlings gradually. Move trays to your protected growing area for 2 hours daily, increasing exposure over 7 days. This prevents shock from direct sun or wind.
Transplant cucumbers and leafy greens first – they adapt quickly. Keep frost cloth handy for unexpected chills. Stagger planting times every 10 days to extend your harvest window.
| Stage | Indoor Care | Outdoor Prep |
|---|---|---|
| Seedlings | 18h light, 70°F | Partial shade |
| Transplants | Reduce watering | Add row covers |
Watch for steady 60°F soil temps before moving nightshades. With smart early spring starts and careful timing, you’ll enjoy plump peppers and juicy tomatoes weeks ahead of schedule!
Controlling Climate Challenges Throughout the Year

Mastering your growing environment means staying one step ahead of nature’s curveballs. Extreme weather can test even the sturdiest structures, but smart adjustments keep your plants thriving. Whether battling summer’s scorching afternoons or winter’s icy grip, proactive strategies maintain the delicate balance your crops need.
When Temperatures Soar: Cooling Tactics That Work
High heat stresses plants, causing wilted leaves and stunted growth. Install shade cloths that block 30-50% of sunlight during peak hours. Pair this with auto-venting kits that open roof windows once indoor temps hit 80°F. Water deeply in early morning to help roots handle midday stress.
Strategic fan placement boosts air circulation. Position them near vents to push hot air out while pulling cooler breezes in. Avoid watering foliage in summer evenings – damp leaves invite mold in humid conditions.
Defending Against the Deep Freeze
Frost creeps in silently, but you can fight back. Wrap vulnerable seedlings in horticultural fleece and line walkways with water barrels. These absorb daytime warmth, releasing it slowly at night. Apply straw mulch around perennial roots for extra insulation.
Move potted herbs closer to the structure’s center during cold snaps. Temporary bubble wrap on north-facing walls cuts heat loss by 25%. Check seals monthly – even tiny gaps let precious warmth escape.
| Challenge | Solution | Tools |
|---|---|---|
| Summer Overheating | Auto-vents + Shade Cloth | Thermometer, Timer |
| Winter Frost | Thermal Mass + Insulation | Fleece, Bubble Wrap |
Track conditions with a wireless hygrometer. Ideal ranges? 40-60% humidity and 65-75°F for steady growth. Small tweaks make big differences – your greenhouse becomes a fortress against extremes.
Optimizing Soil, Watering, and Nutrient Management

Healthy plants start with what’s beneath your feet. Nourishing your soil and mastering moisture control are game-changers for robust growth. When you get these elements right, your crops thrive—even when outdoor conditions aren’t ideal.
Selecting Quality Soil and Compost
Test your bed’s pH every season—most veggies prefer 6.0 to 7.0. Mix in composted manure or leaf mold to boost organic matter. This feeds beneficial microbes and improves drainage. For herbs like basil, add sand for faster drying.
Implementing Efficient Irrigation Techniques
Watering smarter saves time and energy. Drip systems deliver moisture directly to roots, reducing evaporation. Pair them with timers to maintain consistent schedules. Early morning is best—it prevents fungal issues and aligns with plant uptake cycles.
| Crop Type | Nutrient Needs | Adjustment Tips |
|---|---|---|
| Leafy Greens | High nitrogen | Add blood meal monthly |
| Fruiting Plants | Balanced NPK | Use slow-release pellets |
Check soil moisture with a finger test: damp 1 inch down means wait. Over-watering drowns roots; under-watering stresses plants. Refresh compost every 8 weeks to maintain health and support back-to-back harvests.
Leveraging Greenhouse Technology and Accessories

Innovative gadgets and smart designs can elevate your growing space beyond basic protection. Modern tools let you fine-tune climate conditions, boost energy efficiency, and create tailored environments for delicate plants like kale. Whether you’re expanding your setup or upgrading an existing area, the right tech stack makes all the difference.
Selecting the Ideal Structure
Durable materials matter most. Polycarbonate panels offer better insulation than glass, keeping temperature stable during frosts or heatwaves. Look for reinforced frames that withstand heavy snow loads if you’re in colder zones. For smaller spaces, energy-efficient structures with vertical growing racks maximize every square foot.
Utilizing Supplemental Lighting and Ventilation Tools
Auto-venting kits open roof windows when indoor heat rises, preventing wilted crops. Pair them with full-spectrum LED grow lights to extend “sunlight” hours for kale and herbs during cloudy days. Oscillating fans improve air circulation, reducing mold risks in humid zones.
| Tool | Function | Best For |
|---|---|---|
| Auto-Vents | Regulate heat | Tomatoes, Peppers |
| LED Grow Lights | Boost growth | Kale, Spinach |
| Humidity Domes | Protect seedlings | Tender Transplants |
Monitor your inside greenhouse conditions with wireless sensors. They send alerts if temperature dips or humidity spikes, letting you act fast. With the right guide and gear, you’ll turn challenges into thriving harvests.
Wrapping Up Your Year-Round Greenhouse Success
With each season’s rhythm, your protected space becomes a reliable source of fresh food. Winter prep lays the groundwork – insulating walls and selecting cold-hardy vegetables like spinach. Fall calls for clearing debris and shielding plants from early frost, ensuring roots stay protected as days shorten.
Consistent care pays off across years. Regular soil tests and compost top-ups maintain nutrient-rich beds for vigorous crops. Adjust vents and shade cloths as temperatures shift, balancing warmth retention with summer cooling needs.
Celebrate winter harvests by picking leafy greens before midday sun softens their texture. Store mature vegetables in breathable containers to prevent rot. Reflect on what thrived each season – these insights shape next year’s planting strategy.
Your efforts transform challenges into bounty. Whether battling icy drafts or nurturing tender shoots, every adjustment strengthens your garden’s resilience. Keep this guide handy – it’s your roadmap to turning frosty mornings into plates of homegrown goodness.


