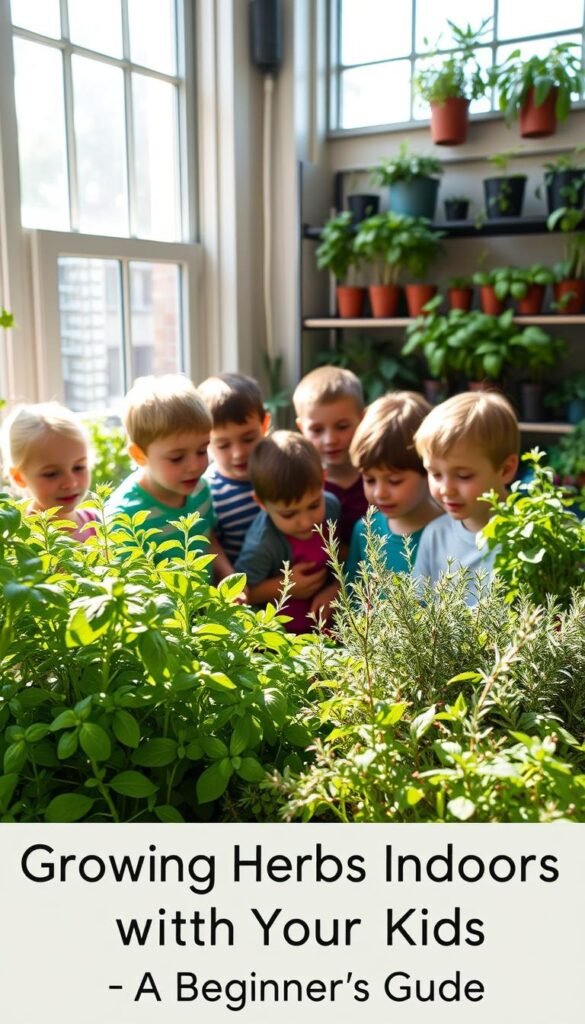
Want a hands-on activity that blends learning, fresh flavors, and quality time? Creating a small green space inside your home offers endless rewards. Whether you’re in a cozy apartment or a suburban house, nurturing plants alongside children teaches patience, responsibility, and the magic of nature—all while adding life to your kitchen or windowsill.
This guide is designed for families new to plant care. You don’t need fancy tools or a green thumb—just sunlight, basic supplies, and curiosity. Spaces like countertops, sunny corners, or even a windowsill work perfectly for compact gardens. Best of all, it’s a project everyone can enjoy together.
Why involve kids? Studies show gardening boosts creativity and reduces screen time. Watching seeds sprout or snipping fresh basil for pizza night creates lasting memories. Plus, you’ll get flavor-packed ingredients right at your fingertips.
We’ve combined expert tips on light requirements, soil choices, and watering routines to simplify your journey. Ready to turn your home into a vibrant classroom? Let’s dig in!
Planning Your Indoor Herb Garden
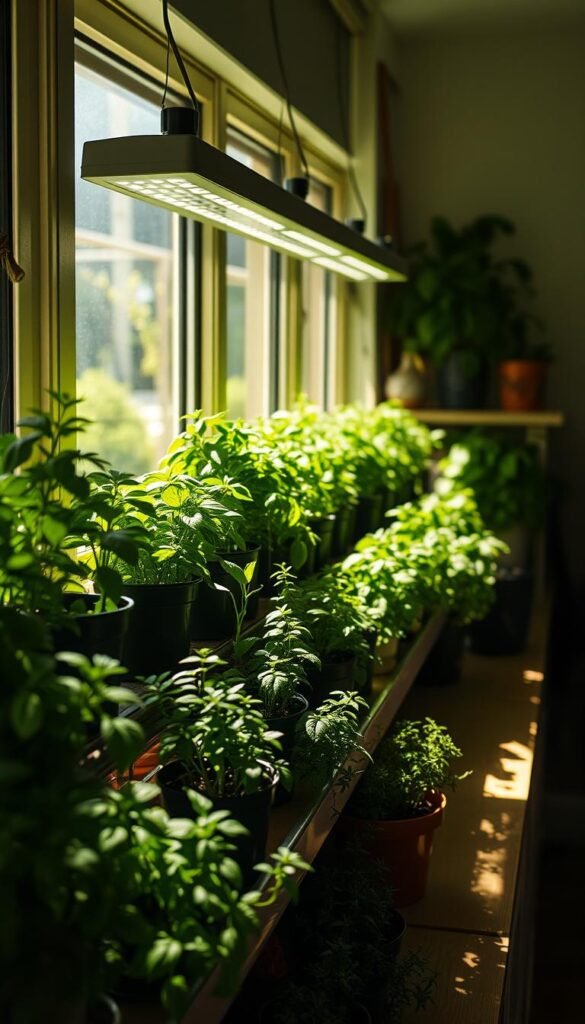
Picking the perfect spot for your plants starts with understanding your home’s light patterns. Window direction plays a big role in how much sun your herbs receive daily. South- or west-facing windows offer full sun—ideal for varieties like rosemary and basil. If your space lacks these, don’t worry! North- or east-facing windows provide softer, indirect light, which works well for mint or parsley.
Sunlight by Window Direction
Here’s a quick guide to match herbs with your windows:
| Window Direction | Light Type | Best For Herbs Like… |
|---|---|---|
| South | Full sun (6+ hours) | Basil, Thyme, Oregano |
| West | Bright afternoon light | Rosemary, Sage |
| North | Low/indirect light | Mint, Parsley |
| East | Gentle morning sun | Chives, Cilantro |
Balancing Space and Light
Small apartments? Use windowsills or hanging planters to save space. If natural light is limited, consider compact grow lights. They’re affordable and fit neatly above countertop gardens. Measure your area before choosing pots—overcrowding blocks airflow and light.
Herbs in shade need less water than sun-loving types. Rotate pots weekly so all sides get even exposure. With smart planning, even a tiny corner can become a thriving garden!
Growing Herbs Indoors with Your Kids: A Beginner’s Guide
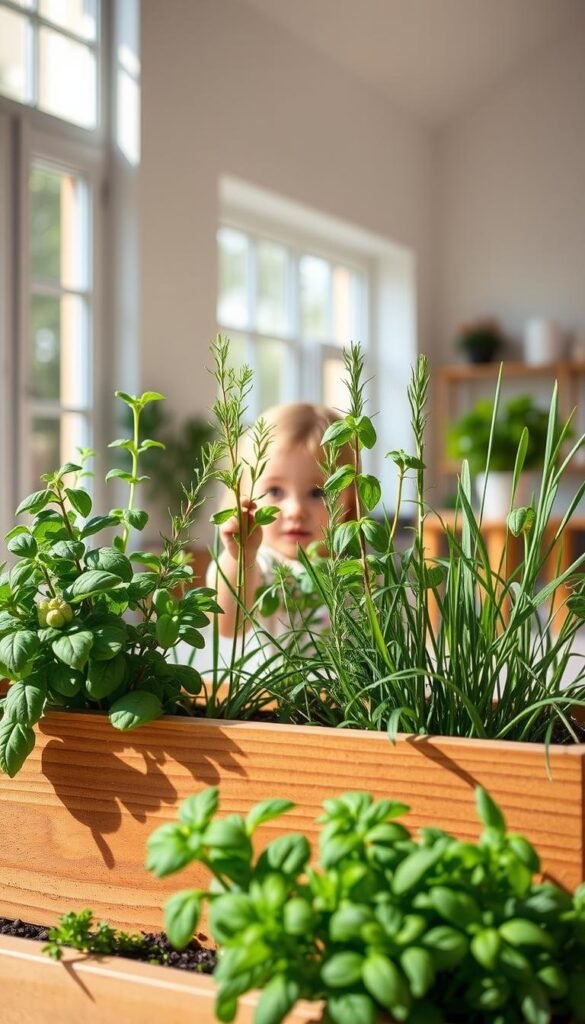
Turning your home into a mini garden is simpler than you think. With just a few pots, sunlight, and everyday curiosity, you can spark a love for nature in your little ones. Many plants adapt well to indoor conditions, offering endless opportunities to explore textures, scents, and flavors together.
Why start this project? It’s a hands-on way to teach responsibility while adding fresh ingredients to meals. Even cramped spaces work—think countertops or shelves near windows. For year-round freshness, check out this guide to growing herbs indoors, packed with tips for urban homes.
Kids love watching progress. Sprouting seeds or spotting new leaves becomes a daily adventure. Choose easy-grow varieties like basil or mint, which bounce back from minor mistakes. Keep routines simple: water when soil feels dry, rotate pots weekly, and celebrate each harvest.
Experts recommend starting small. Focus on 2-3 plants first to avoid overwhelm. Use clear jars for rooting cuttings—it’s a fun science lesson! With patience, your green corner will flourish, turning pizza nights or salads into proud family achievements.
Selecting Kid-Friendly Herbs for Your Garden
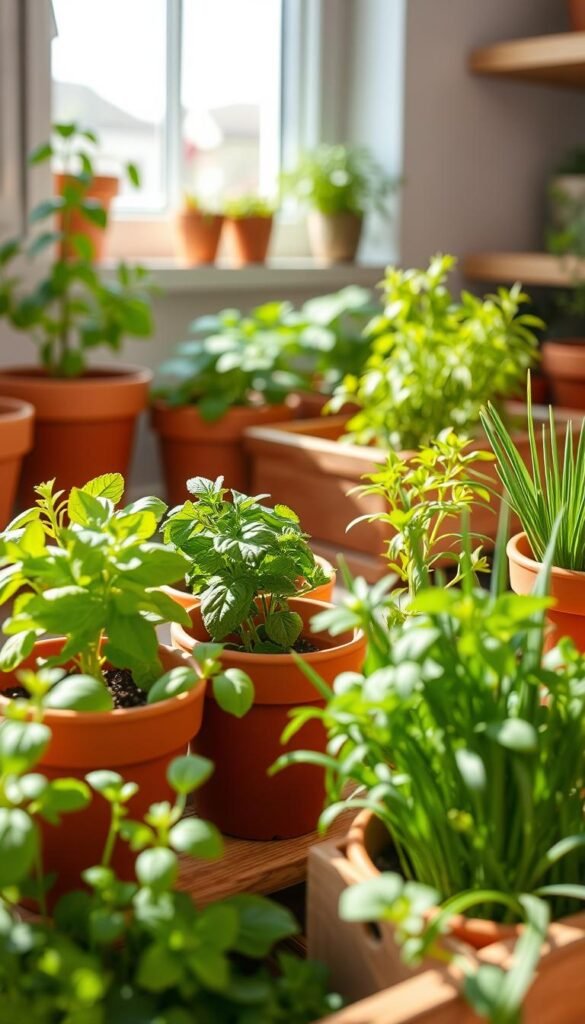
Choosing the right plants makes all the difference in creating a lively, engaging space. Focus on varieties that grow quickly, smell delightful, and survive occasional overwatering. These traits keep young gardeners excited while ensuring success in your herb garden.
Herbs That Thrive in Family Kitchens
Basil and mint top the list for their versatility and resilience. Their bold flavors transform pizzas, smoothies, or teas—perfect for instant recipe upgrades. Thyme works wonders too, requiring minimal care and thriving in sunny spots. All three are non-toxic, making them safe for curious little hands.
Place pots near prep areas for quick access. Kids love plucking leaves during cooking! Mint’s rapid growth offers constant harvesting opportunities, while basil’s large seeds are easy for small fingers to plant.
Fun and Easy-to-Grow Varieties
Prioritize sensory appeal. Lemon balm releases citrusy scents when touched, and chives sprout playful purple flowers. These interactive features turn care routines into discovery sessions.
| Herb | Growth Speed | Kid-Friendly Perks |
|---|---|---|
| Mint | Fast | Spreads quickly, tolerates shade |
| Basil | Moderate | Large leaves for easy harvesting |
| Thyme | Slow | Drought-resistant, fragrant |
Sturdy stems matter. Opt for thyme over delicate parsley—it withstands enthusiastic watering. Rotate plants weekly to prevent legginess, and let kids name each pot to build ownership. Happy growing!
Understanding Light and Temperature Needs for Herbs
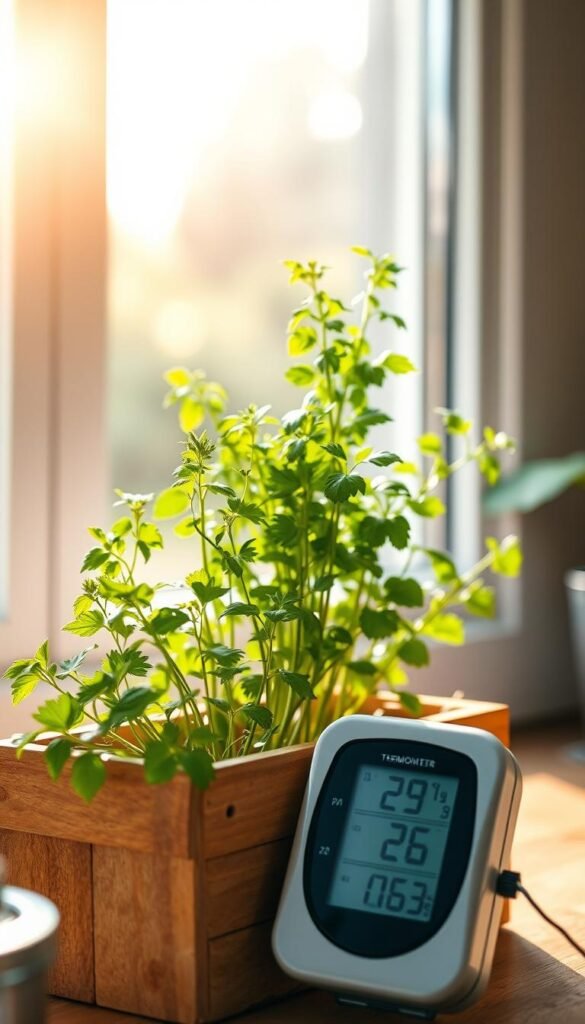
Bright light fuels your herbs’ growth—but getting it right takes strategy. Most varieties thrive with 4-6 hours of direct sun daily. South-facing windows deliver plenty of natural rays, while east-facing spots offer gentler morning light. If your space lacks ideal conditions, don’t stress! LED grow lights fill gaps without heating up rooms.
Maximizing Sunlight and Artificial Lighting
Rotate pots weekly to ensure even exposure. Pale leaves or stretched stems signal your plants crave more light. During winter’s shorter days, set timers for 12-14 hours of full-spectrum bulbs. These mimic natural sunlight, keeping flavors vibrant.
Compact LED panels work wonders above countertop gardens. Position them 6-12 inches above foliage for best results. For herbs like basil or oregano, combine window sun with 2-3 hours of supplemental lighting. This combo ensures plenty of energy for robust growth.
Struggling with dim corners? Try low-light champions like mint or parsley. Pair them with reflective surfaces (think white trays) to bounce rays. For more tips on optimal setups, explore our guide on the top vegetables and herbs for hydroponics.
Remember: Consistency matters. Sudden shifts in light or temperature stress plants. Keep thermostats between 65-75°F, and avoid placing pots near drafty windows. With smart adjustments, your herbs grow lush year-round!
Essential Tools and Materials for Indoor Herb Gardening
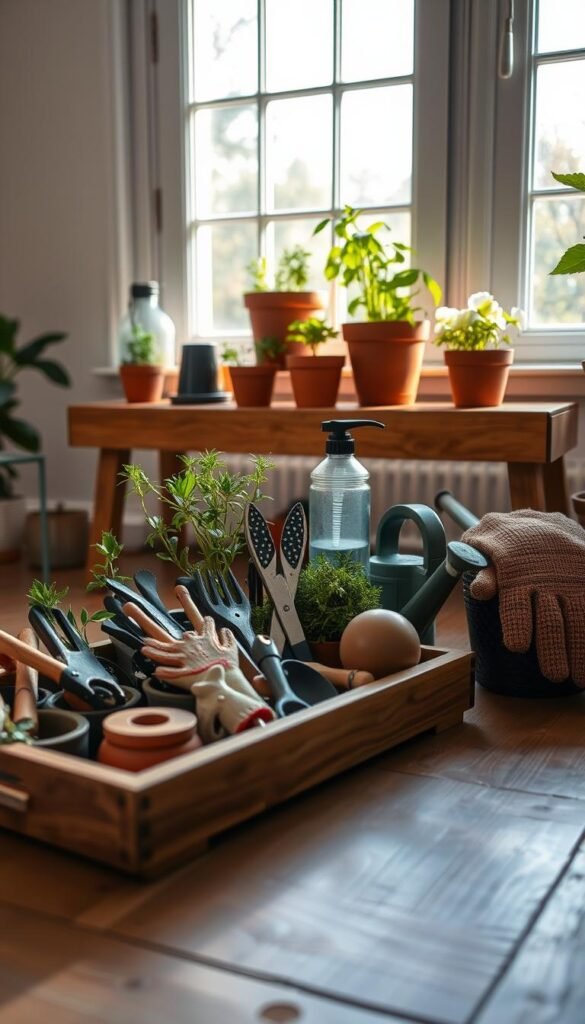
Equipping your space with the right gear sets your plants up for success. Simple, functional tools help prevent common issues like root rot while making maintenance stress-free. Let’s explore the must-haves for a thriving setup.
Choosing Containers That Breathe
Always pick a pot with drainage holes—they’re non-negotiable. Excess water escapes through these openings, protecting roots from drowning. Terra cotta pots work great because they absorb moisture, while plastic options retain it longer. Match container size to your herb’s mature roots—basil needs 8-inch depth, while thyme thrives in 6 inches.
Avoid decorative pots without holes. If you love a design, use it as a cachepot. Place your main pot inside and empty standing water after each watering. This hack keeps décor intact while ensuring healthy airflow.
Soil and Lighting Essentials
Quality soil makes all the difference. Look for mixes labeled “well-draining”—they often contain perlite or sand. Never reuse garden dirt indoors—it compacts easily and may harbor pests. For seedlings, choose starter blends with extra nutrients.
Grow lights bridge gaps in natural sunlight. Full-spectrum LEDs mimic daylight without overheating leaves. Position them 12 inches above plants for 12-14 hours daily. Pair these with timers to automate your herb’s light cycle.
- Must-have items: pots with drainage, organic potting mix, adjustable grow lights
- Nice-to-haves: moisture meter, mini trowel, spray bottle for misting
Investing in proper tools simplifies transplanting and daily care. With the right foundation, your green corner stays lush for years!
Starting with Seeds or Seedlings: A How-To Approach
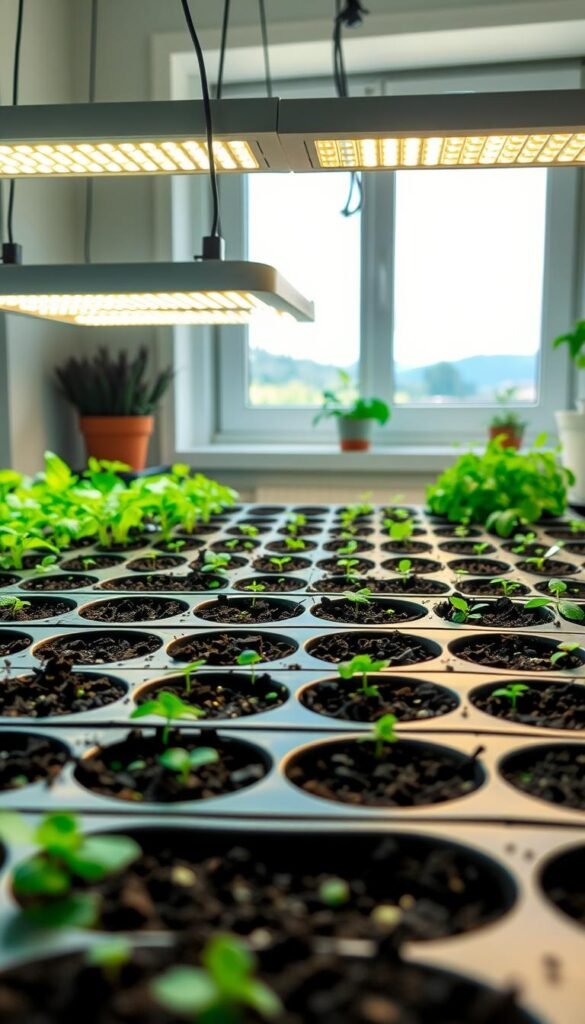
Ever wondered whether seeds or seedlings are better for your kitchen garden? Both options have perks. Seeds offer cost-effective variety, while store-bought plants give instant greenery. Let’s break down the best path for your space and schedule.
Seed Starting Tips for Beginners
Starting from scratch? Choose quick-sprouting varieties like basil or chives. Fill small trays with moist seed-starting mix—never regular soil. Press seeds gently into the surface (most need light to germinate) and cover loosely with plastic wrap.
Place trays near a sunny window or under grow lights. Mist daily to keep the mix damp. Thin sprouts once they grow two leaves to prevent overcrowding. Pro tip: Label pots with paint sticks—kids love decorating them!
Transitioning from Nursery Pots to Containers
Ready to upgrade store-bought plants? Water them thoroughly first to ease root removal. Gently squeeze the nursery pot’s sides, then tilt to slide the root ball out. Tease apart tangled roots before placing in a larger container.
Fill gaps with fresh potting mix, pressing lightly to eliminate air pockets. Keep transplants in indirect light for 3-4 days to reduce shock. Gradually reintroduce them to brighter spots once they perk up.
- Seed benefits: Cheaper, wider variety, teaches growth cycles
- Seedling perks: Faster harvests, lower failure risk
Struggling with slow growth? Check seed packets for expiration dates—old ones lose viability. Pair new plantings with full-spectrum lights to mimic outdoor conditions. With patience, your green projects will thrive!
Creating a Kid-Friendly Herb Garden Routine
What if daily plant care could transform from chores into joyful family moments? Building a consistent gardening routine teaches kids about nature’s rhythms while fitting seamlessly into your schedule. Start small—even five minutes each morning creates habits that stick.
Turn Tasks Into Teamwork
Assign age-appropriate roles. Younger children can mist leaves with spray bottles, while older ones measure soil moisture using simple probes. Make watering interactive—use colorful markers on sticks to show daily levels. This visual cue helps kids grasp when plants truly need hydration.
Set a specific time for garden check-ins, like after breakfast or before homework. Create a rotating “plant guardian” role where each child leads weekly care. They’ll love the responsibility of checking for droopy leaves or ripe herbs ready for pizza night.
Boost engagement with creative projects:
- Paint stone markers with herb names
- Chart growth milestones on a wall calendar
- Host monthly “taste tests” of fresh cuttings
These activities turn routine care into shared adventures. Over time, children gain gardening experience and confidence in nurturing life. Plus, working side-by-side strengthens bonds—your home becomes a space where patience and teamwork blossom naturally.
Watering, Drainage, and Soil Best Practices
Healthy plants start below the surface. Getting water, drainage, and soil right prevents limp leaves and keeps roots thriving. Let’s explore simple ways to create a strong foundation for your green companions.
Spotting Trouble Before It Spreads
Overwatered plants often look thirsty—wilting with yellow leaves. Check the soil: if it’s soggy days after watering, ease up. Lift pots to feel their weight—heavy containers signal excess moisture. Herbs prefer to dry slightly between drinks.
Drainage holes are non-negotiable. Pair them with saucers to catch runoff, but empty these after 30 minutes. If your pot lacks holes, repot into one that does. A layer of pebbles at the bottom boosts airflow, preventing root rot.
Choose soil mixes labeled for herbs or succulents. These blend perlite or sand for quick drainage. Avoid dense garden dirt—it suffocates roots indoors. For extra protection, add a handful of coarse sand to standard potting mix.
Adjust watering to your home’s conditions. Sunny windows dry soil faster than shady spots. In dry climates, check plants every 2-3 days. Humid areas? Wait until the top inch feels crumbly. For more insights, avoid common mistakes in container gardening with smart prep.
Rescue waterlogged plants by trimming dark, mushy roots. Repot in fresh soil and reduce watering frequency. With patience, most herbs bounce back stronger!
Indoor Herb Gardening Troubleshooting and Tips
Are your plants looking a bit off lately? Don’t panic—small adjustments often fix common issues. Let’s decode what your green friends might need and how to keep them thriving year-round.
Spotting Light and Temperature Stress
Leggy stems or pale leaves? These are classic signs your plants aren’t getting enough light. Herbs stretch toward light sources when desperate, creating weak, spindly growth. Rotate pots weekly and trim tall stems to encourage bushier shapes.
Discolored foliage tells its own story. Yellow leaves often mean overwatering, while brown edges suggest dry air or temperature swings. Keep thermometers near your garden to track conditions—most herbs prefer 65-75°F days and slightly cooler nights.
| Symptom | Likely Cause | Quick Fix |
|---|---|---|
| Leggy stems | Insufficient light | Move closer to window or add grow light |
| Yellow leaves | Overwatering | Let soil dry completely before next drink |
| Wilting | Temperature shock | Relocate away from vents or drafty areas |
Seasonal shifts require flexibility. Shorter winter days? Extend light exposure with timers on grow lamps. Summer heatwaves? Shield plants with sheer curtains during peak afternoon sun. A little observation goes a long way in maintaining happy, productive plants.
Remember: Consistency is key. Sudden changes stress herbs more than gradual adjustments. Check your setup weekly—touch soil, inspect leaves, and note growth patterns. With these tips, you’ll gain the experience to tackle challenges confidently!
Maximizing Flavor with Pruning and Harvesting Techniques
Did you know snipping herbs the right way boosts their taste? Regular trimming keeps plants bushy and packed with aromatic leaves. When you harvest often, you signal the plant to grow fuller instead of becoming leggy. Aim to cut just above leaf nodes—this encourages new branches to sprout below.
Timing matters. Pick leaves in the morning after dew dries—their essential oils peak then. For cooking, snip what you need right before meal prep. Fresh basil on pizza or mint in lemonade adds bright flavors to food. Always leave at least ⅓ of the plant intact to avoid stress.
| Herb | Best Time to Harvest | Pruning Tip |
|---|---|---|
| Basil | Before flowering | Pinch tops to delay bolting |
| Mint | Morning | Cut stems 1″ above soil |
| Thyme | Midday | Trim woody stems lightly |
Prevent bolting (early flowering) by removing flower buds. This keeps herb energy focused on leaf production. Store extra cuttings in water on the counter—they’ll stay fresh for days. Add them to soups, salads, or infused oils for instant food upgrades.
Teach kids to identify mature leaves ready for picking. Show them how gentle cuts help the plant thrive. With smart pruning, your windowsill garden becomes a flavor powerhouse!
Adjusting for Seasonal Changes and Indoor Temperatures
Seasons shape your plants’ needs more than you might think. Indoor temperatures and light shifts affect growth cycles, requiring smart adjustments to keep herbs thriving. Just like outdoor gardening, timing matters—especially when moving plants between spaces.
Check your zone and local last frost dates before transitioning herbs outdoors. This prevents cold shock for tender varieties. In spring, wait until nighttime temps stay above 50°F—even cold-hardy chives appreciate gradual changes.
Summer heat demands vigilance. Close blinds during peak afternoon sun to prevent leaf scorch. Use fans to circulate air and mimic natural breezes. For Mediterranean herbs like rosemary, place pots on pebble-filled trays with water to boost humidity.
- Winter care: Move plants away from drafty windows at night
- Monitor heating vents—dry air stresses leafy greens
- Extend daylight with grow lights during shorter months
Recreate ideal conditions by observing nature. Cooler fall nights? Let indoor temps dip slightly to trigger dormancy for some perennials. Track changes with a simple thermometer—consistency prevents stress.
Remember: Your home isn’t static. Adjust watering and light as seasons shift, just like outdoor gardening requires. With careful time management and tweaks, your green corner stays lively year-round!
Incorporating Fresh Herbs into Family Meals
Transforming everyday meals into vibrant culinary adventures starts with your windowsill harvest. Freshly picked leaves add bold flavors to simple dishes while teaching kids about farm-to-table concepts. Let’s explore tasty ways to showcase your homegrown treasures.
Culinary Uses and Snack Ideas for Kids
Turn basic snacks into flavor explosions. Sprinkle chives over popcorn or mix chopped mint into yogurt dips. For salads, toss whole basil leaves with strawberries and feta—sweet, savory, and colorful. Let children create “herb confetti” by tearing soft leaves like parsley over soups or scrambled eggs.
Herb-infused drinks make hydration fun. Steep rosemary sprigs in lemonade or freeze thyme into ice cubes for sparkling water. These tricks introduce new tastes without overwhelming picky eaters.
Simple Recipes to Enjoy Your Harvest
| Herb | Recipe Idea | Kid-Friendly Twist |
|---|---|---|
| Basil | Mini Margherita Pizzas | Let kids arrange leaves like edible confetti |
| Mint | Watermelon-Feta Bites | Skewer cubes with mint for sweet/salty balance |
| Thyme | Honey-Roasted Carrots | Sprinkle leaves before roasting for crispy edges |
Preserve extras for off-seasons. Freeze basil in olive oil cubes or dry rosemary in paper bags. Kids love crushing brittle leaves into spice jars—it’s science and meal prep combined!
By weaving herbs into meals, you nurture adventurous palates. Every sprinkle or stir becomes a chance to celebrate your green teamwork.
Wrapping Up Your Indoor Herb Adventure
Your indoor green space has blossomed into more than just plants—it’s a living classroom bursting with flavor and discovery. By choosing the right pots, balancing sunlight, and involving little hands in daily care, you’ve built a thriving garden that grows alongside your family.
Remember: healthy roots start with smart basics. Drainage holes prevent soggy soil, while regular rotations ensure even light exposure. As seasons shift, adjust watering routines and supplement natural rays with affordable grow lights. These small tweaks keep your herb garden vibrant year-round.
Don’t stop at basil and mint! Experiment with new varieties like lemongrass or lavender to spark curiosity. Turn harvests into pizza toppings, infused oils, or homemade teas—every recipe becomes a chance to celebrate your teamwork.
Most importantly, enjoy the journey. Those daily check-ins and tiny triumphs—sprouting seeds, first cuttings—nurture patience and pride. Your home now holds a fragrant reminder of what grows when you cultivate joy together. Keep exploring, tasting, and growing. The adventure’s just beginning!

