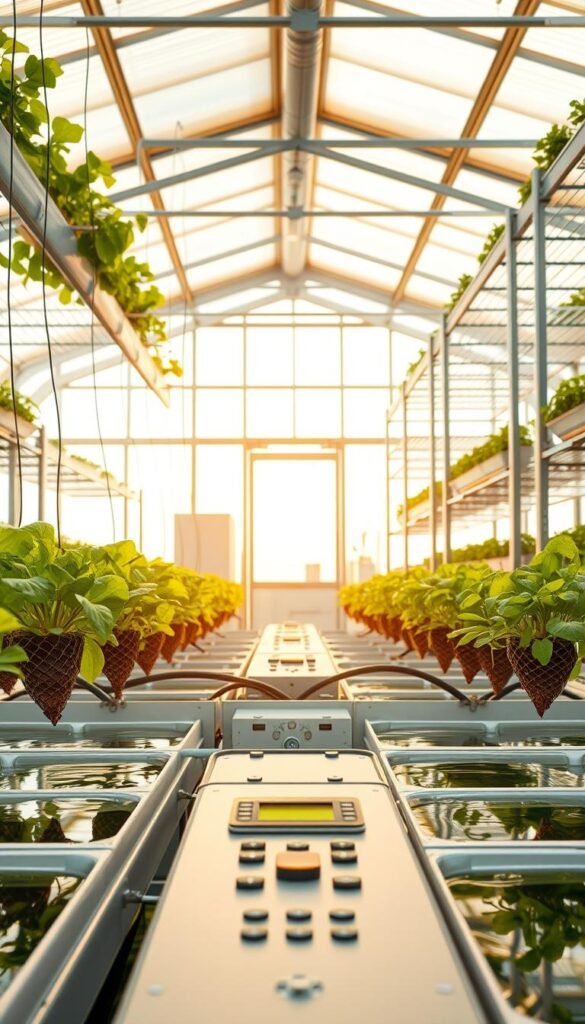
Gardening without soil might sound like science fiction, but hydroponic systems are revolutionizing how we grow plants. Imagine nurturing your favorite greens with precise nutrient delivery and zero weeding. Whether you’re a seasoned gardener or a curious beginner, this method opens doors to faster growth and healthier harvests.
Traditional gardens rely on soil to anchor roots and store nutrients. Hydroponics replaces dirt with water-based solutions, giving plants direct access to what they need. This means less wasted space and fewer resources. Your crops grow up to 50% faster, and yields often double compared to soil-based methods.
Why make the switch? Hydroponic systems use up to 90% less water than conventional gardening. They’re perfect for urban spaces, balconies, or even indoor setups. Plus, you’ll avoid soil-borne pests and diseases that can harm your plants.
Ready to dive in? This guide walks you through the essentials, from choosing the right setup to maintaining your new garden. Let’s explore how you can harness the power of water and technology to grow thriving plants year-round.
Introduction to Hydroponic Gardening
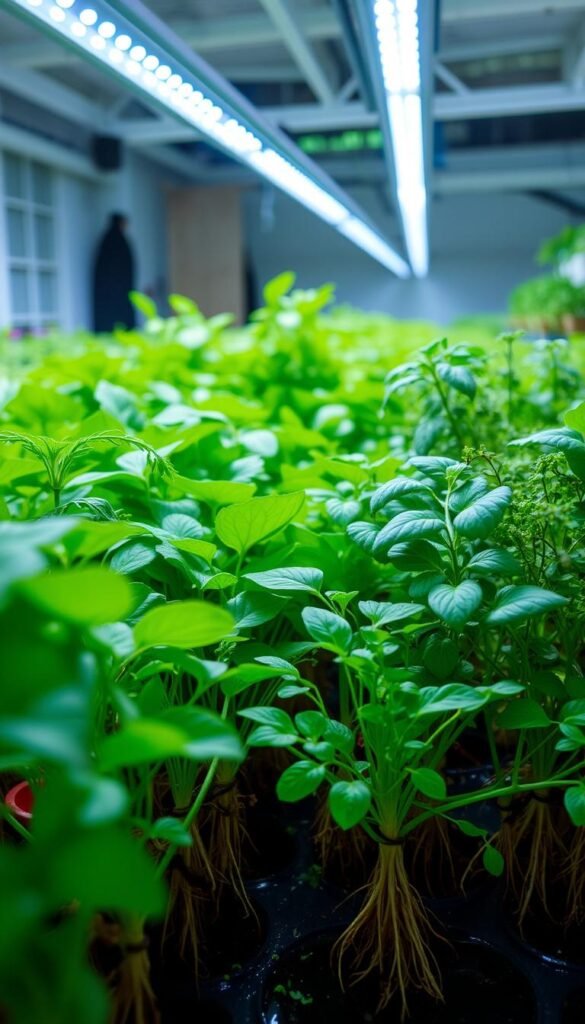
Forget everything you know about traditional gardening—hydroponics flips the script by letting plants thrive in water. Instead of relying on dirt, this method feeds plant roots directly with oxygen-rich solutions packed with essential minerals. Urban growers and apartment dwellers love it because you can grow fresh herbs or juicy tomatoes right on your countertop.
Benefits of Growing Without Soil
Hydroponic systems give you total control over your garden’s environment. No more guessing about soil quality or battling weeds. Your greens get exactly what they need:
- Faster growth rates (up to 30% quicker than soil-based methods)
- Year-round harvests, even in small spaces
- Reduced risk of pests that hide in dirt
Why Consider a Hydroponic Approach?
Imagine growing crisp lettuce without wasting gallons of water. Hydroponics uses 90% less water than traditional gardening because it recirculates every drop. Roots absorb nutrients more efficiently, leading to bigger yields in tighter areas. Plus, you’ll skip messy soil cleanup—perfect for kitchens or balconies.
New to this? Don’t sweat it. Most systems are beginner-friendly, with pre-mixed nutrient solutions and simple setups. Whether you’re nurturing herbs or strawberries, hydroponics turns any corner into a productive green space.
Understanding the Basics of Hydroponics
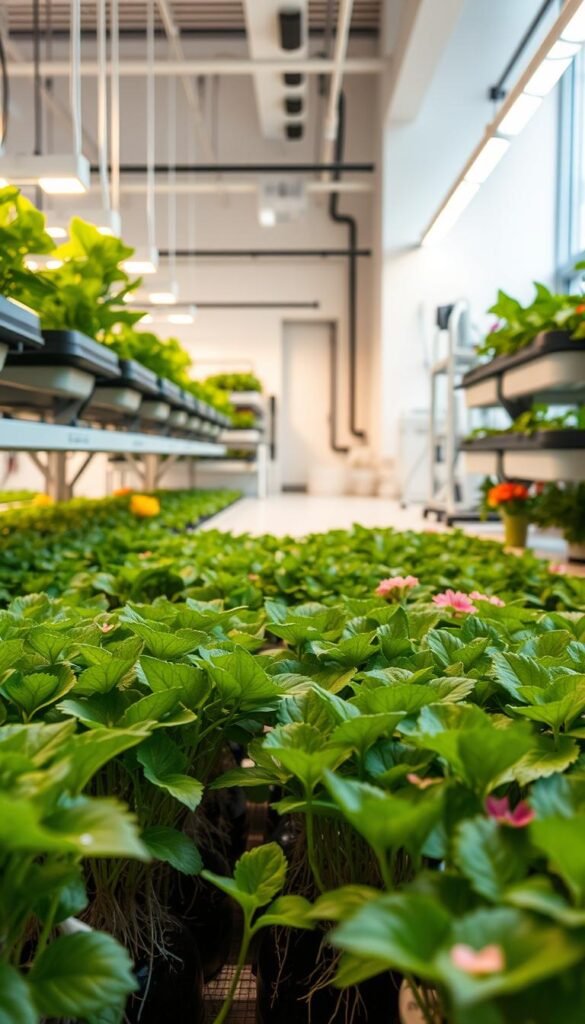
What if your plants could eat like Olympic athletes? Hydroponics makes this possible by delivering nutrients straight to their roots. Unlike soil gardening, every drop of water works smarter—not harder—to fuel explosive growth.
How Hydroponic Systems Work
These setups act like personalized chefs for your plants. Roots soak in oxygen-rich water mixed with minerals, skipping the soil middleman. A growing medium—like clay pellets or rockwool—supports roots while letting them drink freely.
Direct access to nutrients means growth happens at warp speed. Systems recirculate water, cutting waste by up to 90%. No dirt also means fewer pests crashing the party.
Different Types of Hydroponic Setups
Choose your adventure with these popular designs:
- Water Culture: Roots dangle directly in nutrient-rich water (great for lettuce)
- Deep Water Culture: Adds air pumps for better oxygenation
- Nutrient Film Technique: Slopes let water flow past roots continuously
For tech lovers, aeroponics mists roots with nutrients—no medium required. Beginners often start with budget-friendly DIY setups before upgrading.
Each method shares one superpower: turning water into a growth accelerator. Your plants get exactly what they need, exactly when they need it.
Assessing Your Soil-Based Garden for Conversion
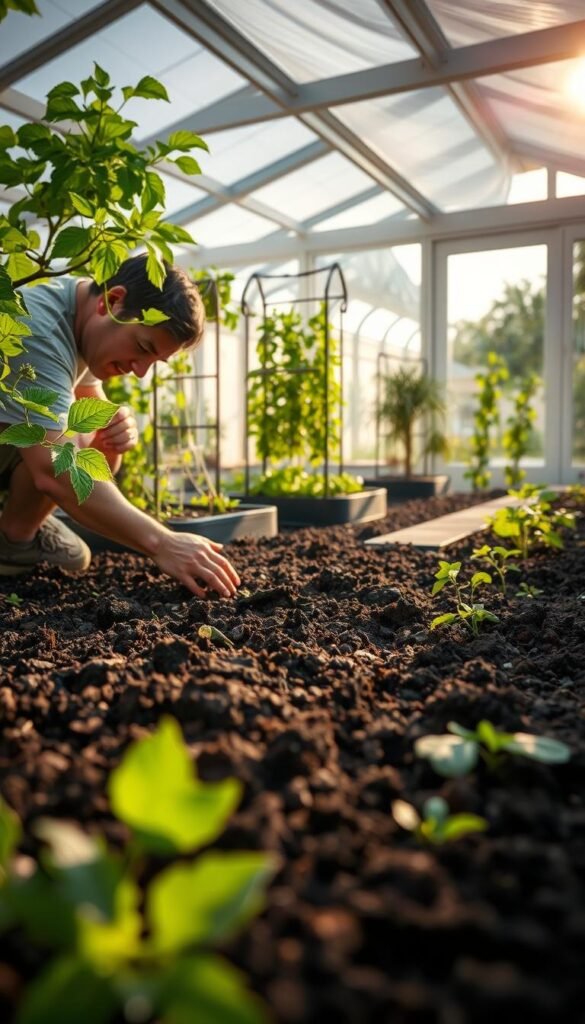
Your journey to hydroponics starts with a clear-eyed look at your current garden. Think of this as a treasure hunt—you’re searching for clues about space, light, and which plants will thrive in their new water-based home. Let’s turn your soil setup into a launchpad for innovation.
Evaluating Your Current Garden Setup
Start by measuring your available space. Hydroponic systems work in tight areas, but you’ll need room for a reservoir and growing medium. Check sunlight patterns—most plants still need 6-8 hours of light daily. If your soil garden struggles with drainage or pests, those issues vanish in hydroponics!
Next, test your soil’s pH and nutrient levels. This tells you what adjustments your nutrient solution might need later. Observe how much water your plants currently use. Hydroponics recirculates it, so you’ll need a smaller reservoir than you’d expect.
Selecting Plants Suitable for Transition
Not all plants handle change equally. Focus on varieties with sturdy plant roots that adapt well to water culture. Leafy greens like kale and herbs like basil are hydroponic superstars. Avoid root vegetables initially—they prefer soil.
- Fast growers: Lettuce, spinach, mint
- Moderate difficulty: Tomatoes, peppers
- Skip for now: Carrots, potatoes
Once you’ve picked your plants, check out these hydroponic garden maintenance tips to keep them thriving. Your system will reward you with lush growth—no dirt required!
How to Convert a Soil-Based Garden to a Hydroponic System
Transitioning your plants from soil to water might feel like teaching fish to climb trees—but with the right steps, they’ll thrive! Let’s walk through the process of moving your garden into its new hydroponic home while keeping stress levels low (for both you and your greens).
Step-by-Step Transition Process
Start by gently removing plants from soil. Soak the roots in lukewarm water to loosen dirt, then rinse carefully until they’re clean. Trim any damaged roots—healthy ones look white and firm.
- Prepare your hydroponic setup with clay pellets or rockwool as a growing medium
- Mix nutrient solution at half-strength for the first week
- Place plants into the system, ensuring roots touch the water nutrients
Keep lights dimmer than usual for 3-4 days. This helps plants adjust to life without soil. Gradually increase light intensity as new root growth appears.
Precautions to Ensure a Smooth Change
Avoid shocking your plants hydroponic systems can’t handle. Test these factors daily during the first two weeks:
| Factor | Soil Range | Hydroponic Target |
|---|---|---|
| pH Level | 6.0-7.0 | 5.5-6.5 |
| Nutrient Strength | Variable | 500-700 ppm |
| Light Exposure | 6-8 hours | 10-12 hours (LED recommended) |
If leaves droop, temporarily mist them with water. For deeper issues, check out this hydroponic gardening basics guide. Remember: patience beats perfection when adapting to deep water environments!
Selecting and Setting Up Your Hydroponic Equipment
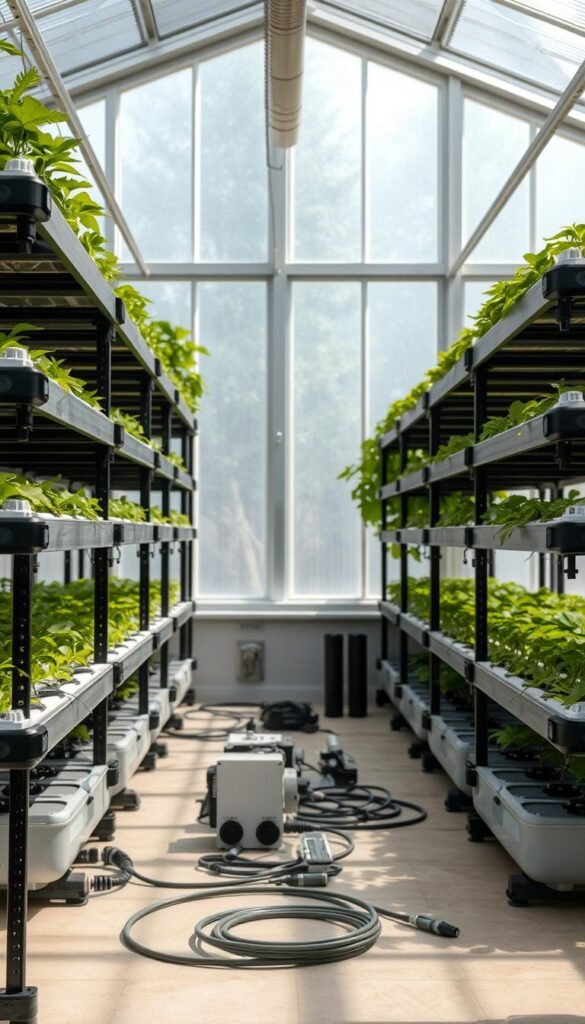
Building your hydroponic system is like assembling a plant supercharger—every component works together to turbocharge growth. Let’s break down the gear that turns water and nutrients into lush greenery.
Essential Tools and Materials
Start with these must-haves for any setup:
- Air pumps & stones – Oxygenate your nutrient solution for happy plant roots
- Net pots – Hold plants securely in your growing medium
- LED grow lights – Mimic sunlight for 12-16 hours daily
- Food-grade reservoir – Stores and circulates water
Clay pebbles or coconut coir make excellent starter mediums. They anchor roots while letting nutrient solution flow freely.
Choosing the Right Nutrient Solution
Not all plant food works for hydroponic systems. Look for formulas labeled “complete” with these elements:
| Plant Type | Key Nutrients | pH Range |
|---|---|---|
| Leafy Greens | High Nitrogen | 5.5-6.0 |
| Fruiting Plants | Extra Potassium | 6.0-6.5 |
Mix solutions according to package instructions. Test strength weekly using a TDS meter—most plants thrive between 500-800 ppm.
Position lights 6-12 inches above crops. Rotate plants every few days for even exposure. With the right hydroponic tools, you’ll see roots explode with growth in days!
Preparing a Nutrient-Rich Growing Environment

Think of your hydroponic reservoir as a plant’s favorite smoothie bar—every ingredient must be perfectly balanced for optimal growth. Lettuce and other fast-growing crops thrive when their nutrient solution hits the sweet spot between chemistry and consistency. Let’s mix up the ideal recipe for success.
Balancing pH Levels and Water Quality
Start by testing your water’s pH with a digital meter or test strips. Most plants prefer slightly acidic conditions—aim for 5.8 to 6.2. If levels creep too high, add pH-down solution (like phosphoric acid). Too low? A dash of pH-up neutralizes acidity.
Next, mix your nutrient concentrate into the reservoir. Follow package instructions, but start at ¾ strength to avoid shocking plants. Check Total Dissolved Solids (TDS) weekly—500-700 ppm works for leafy greens. Adjust concentrations as crops mature.
Maximize space efficiency by grouping plants with similar needs. Lettuce shares happily with herbs like basil, but keep fruiting plants separate. Rotate reservoir water every 7-10 days to prevent algae or salt buildup.
Stuck with murky water or odd pH swings? This troubleshooting guide tackles common hydroponic issues. Remember: clean water and steady levels are the backbone of your system. Nail this method, and you’ll see roots dance with joy!
Best Practices for Transplanting from Soil to Hydroponics
Ever tried moving houses without packing your stuff? That’s how plants feel when switching from soil to water. A gentle approach keeps roots happy and prevents setbacks. Let’s explore how to make this relocation stress-free.
Root Washing and Acclimation Techniques
Start by soaking your plant’s root ball in room-temperature water. Gently massage away soil until roots look like clean, white threads. Use a soft spray nozzle—rough handling damages delicate root hairs.
After washing:
- Trim brown or mushy roots with sterilized scissors
- Soak in diluted hydrogen peroxide (1:10 ratio) to kill diseases
- Place in a reservoir with half-strength nutrients for 48 hours
Minimizing Plant Shock During the Transition
Your tomatoes and herbs need time to adjust. Gradually reduce their light exposure by 30% during the first week. Keep the environment stable—aim for 70°F and 60% humidity in your growing space.
| Factor | Soil Phase | Hydroponic Phase |
|---|---|---|
| Watering | Daily | Continuous flow |
| Nutrients | Slow-release | Direct absorption |
| Root Support | Natural soil | Clay pellets/rockwool |
Monitor levels daily—pH should stay between 5.5-6.5. If leaves wilt, mist them with water from your reservoir. Within 10 days, new white roots will signal successful adaptation. Your home setup now hosts thriving growing plants!
Optimizing Your Hydroponic System for Maximum Growth
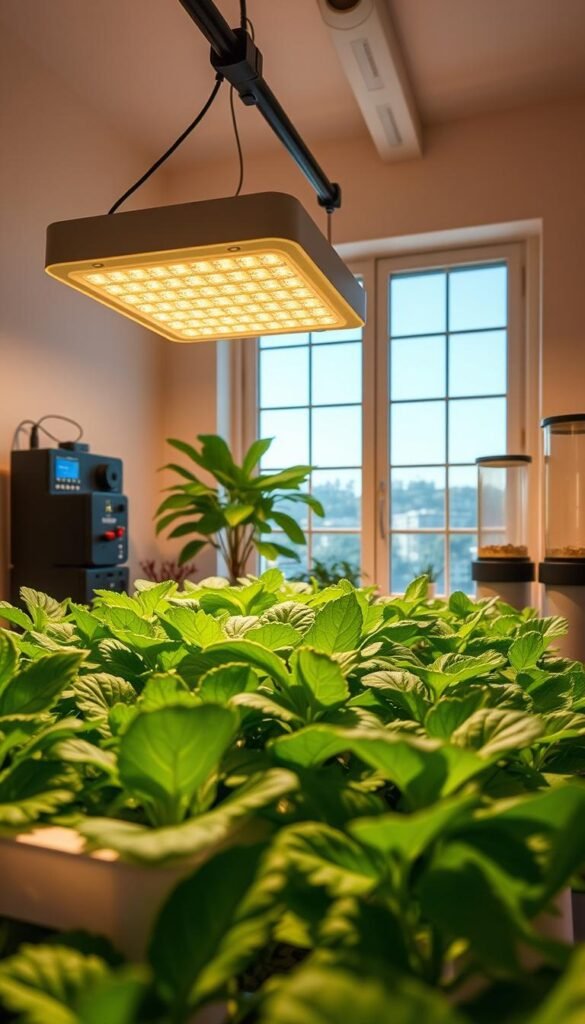
Unlocking your hydroponic garden’s full potential is like fine-tuning a musical instrument—every adjustment harmonizes growth. Dialing in lighting, airflow, and nutrient balance transforms your home setup into a powerhouse for lush, vibrant plants. Let’s explore the methods and equipment that turn “good enough” into “exceptional.”
Managing Lighting, Temperature, and Airflow
Light acts as your plants’ personal trainer. High-intensity discharge (HID) lamps like metal halide or high-pressure sodium work best for fruiting crops like tomatoes. Position lights 12-18 inches above plants and maintain 14-16 hours of daily exposure. Use timers to automate cycles—consistency is key!
Keep temperatures between 68-75°F for leafy greens and 70-80°F for flowering plants. Oscillating fans improve air circulation, preventing mold while strengthening stems. Avoid direct drafts on water surfaces to minimize evaporation.
Maintaining Nutrient and pH Balance
Your nutrient solution needs weekly checkups. Test pH with digital meters every 2-3 days, adjusting to these ranges:
| Plant Stage | Ideal pH | Key Nutrients |
|---|---|---|
| Seedling | 5.5-5.8 | Higher phosphorus |
| Vegetative | 5.8-6.2 | Nitrogen-focused |
| Fruiting | 6.0-6.5 | Extra potassium |
Swap solutions every 7-10 days to prevent salt buildup. Clay pebbles or coco coir media help stabilize pH better than rockwool. Remember: happy roots mean explosive growth!
Wrapping Up Your Hydroponic Journey
Your hydroponic adventure transforms ordinary gardening into a precision science. By mastering nutrient solutions and optimizing light exposure, you’ve unlocked faster growth and cleaner harvests. Remember: consistent pH levels (5.5-6.5) and weekly reservoir checks keep roots thriving in their water culture environment.
Leafy greens like lettuce flourish in nutrient film technique setups, while tomatoes demand deeper reservoirs. Whether using clay pellets or coco coir as a growing medium, your plants now access nutrients directly—no soil required. This method slashes water use by 90% and eliminates soil-borne diseases.
Keep experimenting! Adjust equipment heights for better airflow or tweak nutrient ratios during fruiting stages. For troubleshooting tips, revisit our guides on hydroponic system maintenance. Your home garden isn’t just surviving—it’s thriving in ways soil never allowed.
Ready to expand? Try adding deep water setups for herbs or vertical towers for compact spaces. Share your successes, learn from challenges, and watch your plants reward you with vibrant, year-round yields. The future of gardening is here—and it’s rooted in innovation.

