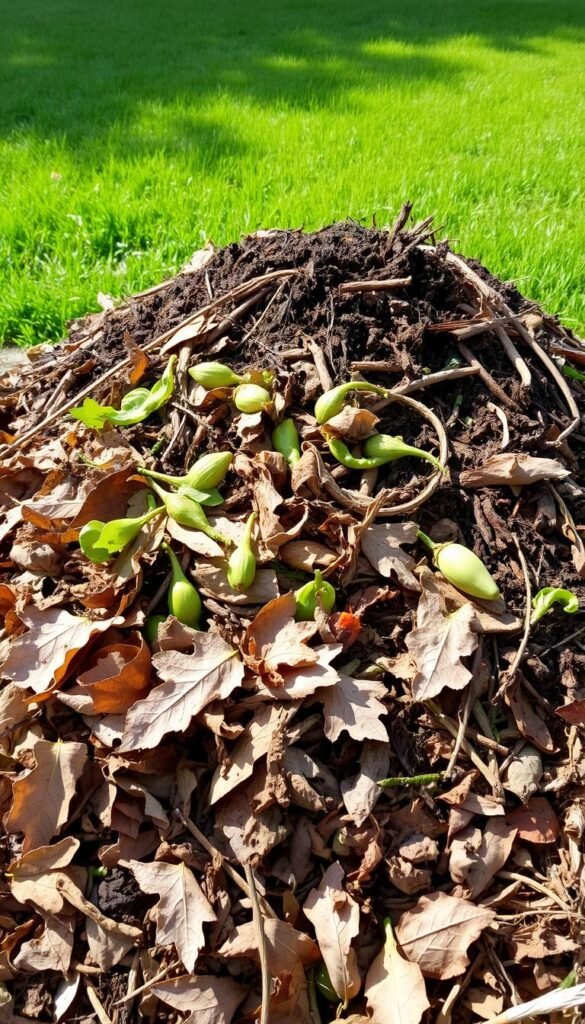
Ever tossed banana peels or coffee grounds in the trash? Those scraps could transform your garden. Recycling organic waste into nutrient-rich humus is simpler than you think—no fancy tools required.
Marty Baldwin, a seasoned horticulturist, confirms: “Decomposition happens naturally with just air, moisture, and the right mix of materials.” Forget smelly piles or complicated systems. A balanced 3:1 ratio of dried leaves to veggie scraps kickstarts the process.
This guide walks you through setting up a productive composting system in any space. Whether you choose a compact bin or open-air heap, you’ll reduce landfill waste while feeding your plants. Best part? It works in all seasons across U.S. climates.
Ready to turn kitchen leftovers into black gold? Let’s explore the effortless path to richer soil and healthier plants.
Why Composting Is a Game-Changer for Your Garden
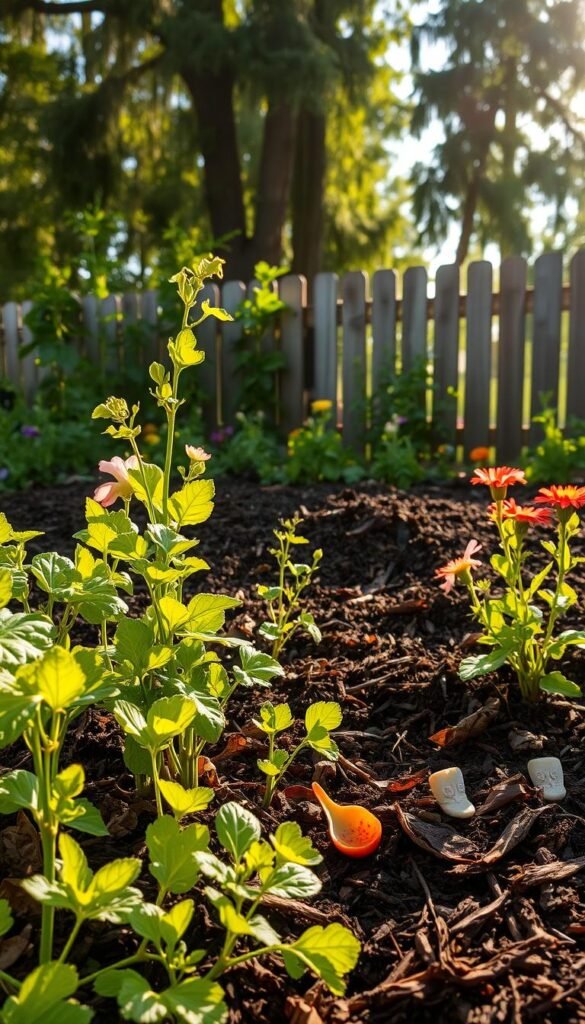
Every kitchen generates waste that holds hidden value for your plants. Composting transforms scraps into a powerhouse resource, enriching soil and slashing landfill contributions. The benefits stretch far beyond your backyard—here’s why.
The Environmental and Soil Benefits
Compost improves soil structure by 30%, according to EPA data. This means better water retention and fewer droughts for your garden. Organic materials break down into humus, creating a thriving ecosystem for roots.
Landfills emit methane—a greenhouse gas 25x worse than CO2. Diverting food waste to compost cuts these emissions dramatically. Even urban gardens see yield increases of up to 40% with regular compost use.
| Feature | Compost | Synthetic Fertilizers |
|---|---|---|
| Nitrogen Content | Slow-release, balanced | High, but short-lived |
| Soil Health | Improves long-term | Can degrade microbes |
| Environmental Impact | Reduces waste | Often petroleum-based |
How Compost Reduces Household Waste
The average U.S. home tosses 24% of its trash as food scraps. Composting repurposes this waste into nutrients, shrinking garbage bags and landfill demand. Vermicomposting takes it further—worm castings offer 5x more nutrients than typical soil.
USDA programs now promote composting to rebuild topsoil nationwide. Whether you’re in a city apartment or a suburban yard, your waste can fuel healthier plants naturally.
Understanding the Basics of Composting
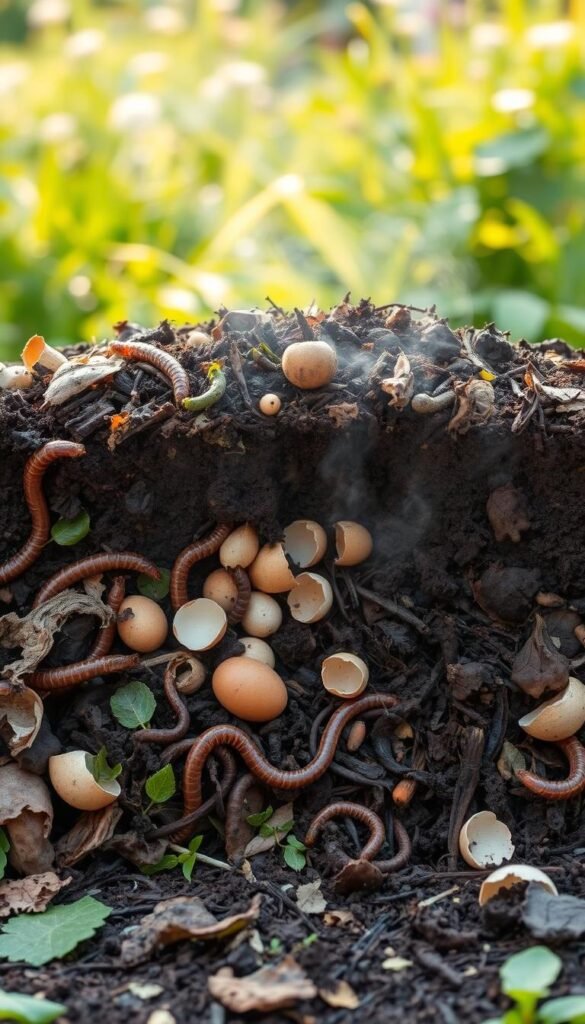
Nature’s recycling system turns yesterday’s scraps into tomorrow’s plant food. Compost is simply decomposed organic matter, rich in nutrients like nitrogen (2–3%), phosphorus (1%), and potassium (2%). It’s the result of a delicate dance between carbon-rich “browns” (leaves, paper) and nitrogen-packed “greens” (veggie scraps, grass).
What Is Compost (and How Does It Work)?
Think of compost as a bustling city for microbes. Bacteria and fungi break down materials, while actinomycetes—the same microbes that create soil’s earthy scent—finish the job. For optimal results, maintain 40–60% moisture and temperatures between 130–150°F.
The Science Behind Decomposition
Oxygen is key. Aerobic processes (with air) are faster and odor-free, while anaerobic methods (without air) can smell. NASA’s research on closed ecosystems proves compost’s viability even in space—microbes thrive everywhere!
| Factor | Ideal Conditions | Microbe Activity |
|---|---|---|
| Temperature | 130–150°F | Peaks at 140°F (bacteria dominate) |
| Moisture | 40–60% | Below 40% slows fungi; above 60% drowns oxygen |
| pH Level | 6.0–8.0 | Acidic soils favor fungi; neutral suits bacteria |
For gardeners exploring no-dig beds with compost, this nutrient-rich layer mimics forest floors, retaining water and boosting plant health naturally.
How to Start a Compost Pile: Choosing Your Method
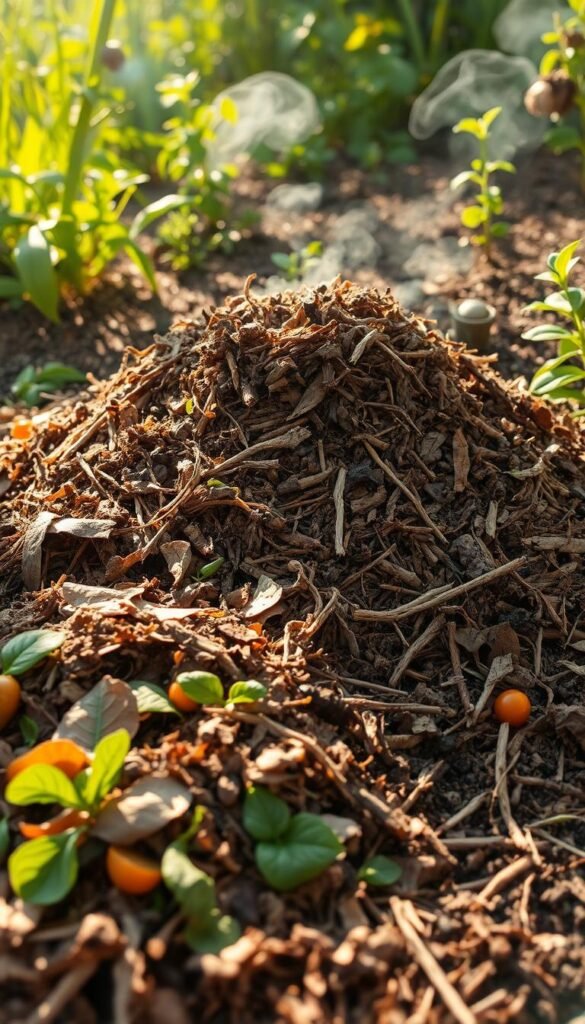
Composting isn’t one-size-fits-all—your lifestyle dictates the best approach. Whether you’re a busy urbanite or a hands-on gardener, one of these three methods will fit your materials, space, and time.
Cold Composting: The Set-and-Forget Approach
Ideal for low-effort gardeners, cold composting takes 6–12 months. Simply pile yard waste like leaves and twigs, then let nature handle the process. No turning required—just occasional watering.
Best for:
- Busy homeowners with ample outdoor space
- Those prioritizing simplicity over speed
Hot Composting: Fast and Efficient
For quicker results, hot composting needs a 3’x3’x3′ pile and four key elements: nitrogen (greens), carbon (browns), air, and water. Temperatures reach 130–150°F, breaking down materials in weeks.
USDA recommends turning every 3–5 days for optimal decomposition.
Vermicomposting: Using Worms
Red wigglers thrive indoors, processing ½ lb of scraps daily. A 1-lb worm colony handles 3.5 lbs of waste weekly—perfect for apartments. Use a layered bin with bedding and food scraps.
| Method | Timeframe | Space Needed | Cost |
|---|---|---|---|
| Cold | 6–12 months | Backyard corner | $0 (DIY) |
| Hot | 4–8 weeks | 3’x3′ area | $20–$100 |
| Vermicomposting | 3–4 months | Small bin | $50–$300 |
Pro tip: Match your method to your climate. Hot composting excels in summer, while vermicomposting works year-round indoors.
Essential Materials for Your Compost Pile
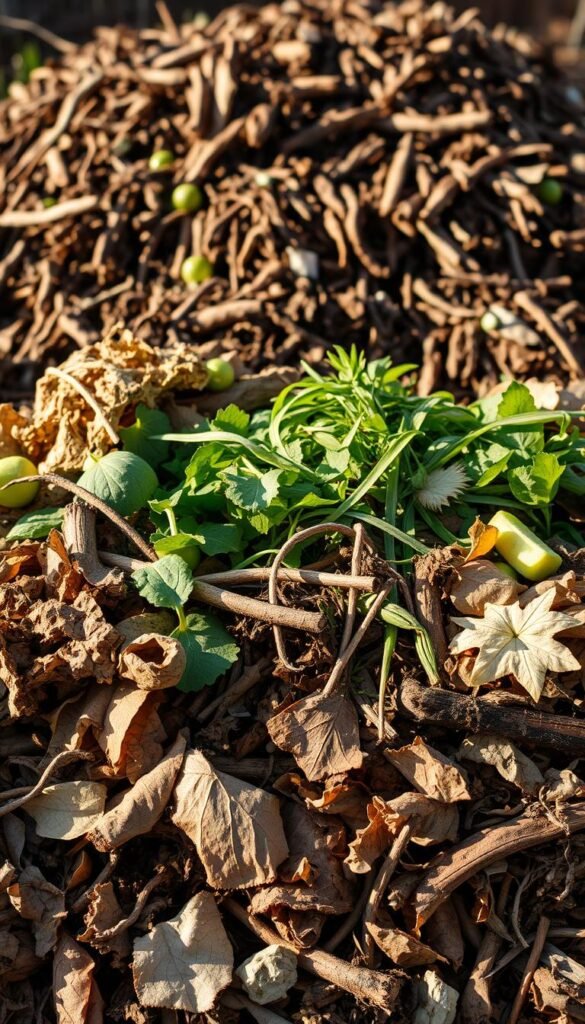
Your compost pile thrives on a strategic mix of everyday waste items. The right balance of nitrogen-rich greens and carbon-packed browns speeds up decomposition. Aim for a 25–30:1 carbon-to-nitrogen ratio—like nature’s recipe for fertile soil.
Green Materials: Nitrogen-Rich Additions
These items fuel microbial activity with high nitrogen content. Layer them thinly (2″) between browns to avoid clumping.
- Vegetable peels and food scraps (apple cores, lettuce)
- Coffee grounds (20:1 ratio—great for acidity-loving plants)
- Fresh grass clippings (2.4% nitrogen; avoid herbicide-treated lawns)
- Cotton burrs (5.3% nitrogen—a specialty booster)
Brown Materials: Carbon-Packed Essentials
Carbon sources provide energy for decomposers. Use 6″ layers to maintain airflow.
- Dry leaves (shredded; 60:1 ratio)
- Shredded newspaper (175:1—soak briefly to speed breakdown)
- Paper towel rolls (urban alternative to straw)
- Peanut shells (35:1—crush for faster processing)
Pro tip: Freeze kitchen scraps in a sealed container to prevent odors before adding to your pile. For small spaces, try indoor vermicomposting with red wigglers.
Warning: Avoid walnut leaves—they contain juglone, a natural toxin that harms plants. Always test moisture by squeezing a handful; it should feel like a damp sponge, not dripping wet.
What Not to Compost: Avoiding Common Mistakes
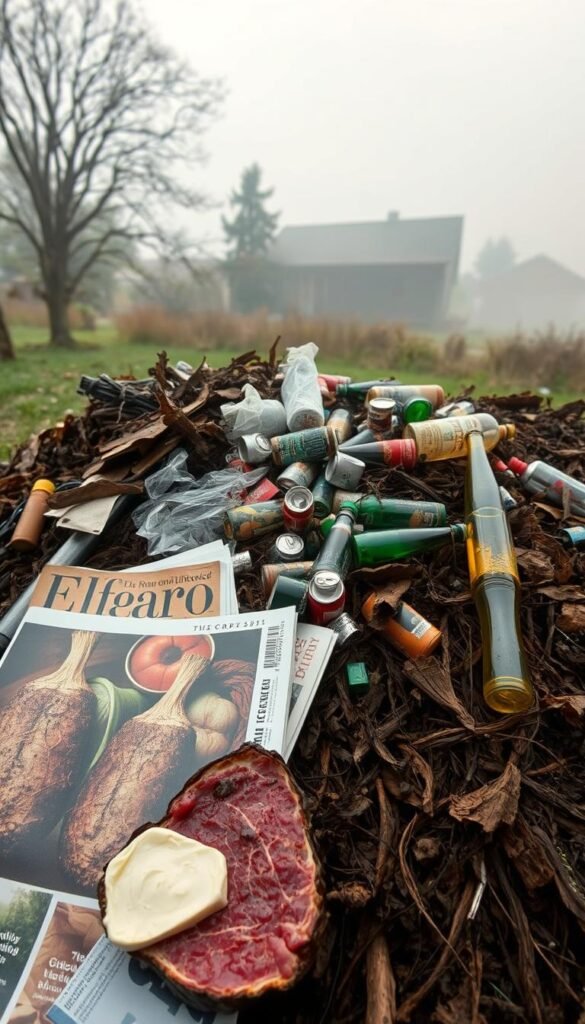
Not all organic waste is created equal—some items spell trouble for compost piles. Tossing the wrong materials can attract pests, create foul odors, or even introduce toxins. Here’s how to keep your heap healthy and efficient.
Items That Attract Pests or Create Odors
Meat and fish scraps boost Salmonella risk by 400%, according to USDA studies. Rodents and raccoons love these protein-rich additions. Similarly, dairy products like cheese or yogurt cause pH imbalances and rot quickly.
Pet waste is another absolute no. Cat litter or dog feces may contain toxoplasmosis parasites. Even “green” paper products like glossy receipts often have BPA coatings.
Chemicals and Non-Organic Materials to Exclude
Pressure-treated wood contains arsenic, while coal ash leaches heavy metals. BPI-certified compostable bags are safe, but many “eco-friendly” labels are greenwashing. Check municipal guidelines—some cities ban citrus peels or weeds.
| Banned Item | Risk | Alternative Disposal |
|---|---|---|
| Meat/fish scraps | Pests, pathogens | Municipal organics bin |
| Dairy products | Odors, rodents | Bokashi fermentation |
| Treated wood | Arsenic contamination | Landfill (sealed) |
Pro tip: Freeze smelly scraps until trash day, or explore local composting programs for tricky items. A little caution keeps your pile—and plants—thriving.
Setting Up Your Compost Bin or Pile
Location matters just as much as ingredients when building a compost system. A sunny spot with good drainage speeds decomposition, while poor placement leads to soggy piles or sluggish breakdown. Whether you’re using a compost bin or open heap, these steps ensure success.
Finding the Perfect Location
Sun exposure is critical. Aim for 4–6 hours of sunlight daily to maintain ideal temperatures (130–150°F). In wet climates, elevate the pile on a 6″ gravel base to prevent waterlogging. Avoid low spots where runoff collects.
For urban settings, check HOA rules—some require enclosed bins. Anchor freestanding bins in windy areas with stakes or bricks. Disabled gardeners might prefer waist-high tumblers for easier access.
DIY vs. Store-Bought Compost Bins
DIY Bins cost under $5 using pallets and hardware cloth. Line them with cardboard to retain moisture. Cedar lasts 10–15 years, while plastic degrades in 5–7. Perfect for budget-friendly gardening.
Commercial Bins like the $189 Earth Machine offer convenience. Tumblers speed up decomposition but need frequent turning. Stationary bins suit passive composters.
| Type | Cost | Lifespan | Best For |
|---|---|---|---|
| DIY Pallet Bin | $5–$20 | 10+ years (cedar) | Large yards, hands-on gardeners |
| Plastic Tumbler | $80–$200 | 5–7 years | Small spaces, quick results |
| Stationary Bin | $50–$150 | 7–10 years | Low-maintenance setups |
Pro tip: A 3 cubic feet bin suits most households. Layer materials like shredded leaves and veggie scraps, and monitor water levels—damp, not dripping.
Building Your Compost Layers Like a Pro
Layering is the secret sauce for fast, odor-free composting. Just like baking a cake, the right ratio and technique make all the difference. A well-built pile breaks down quicker and stays pest-free.
The Ideal Brown-to-Green Ratio
Microbes thrive on a 3:1 mix of browns to greens by volume. This balance gives them energy (carbon) and protein (nitrogen) to work efficiently. Twigs at the base boost airflow by 70%, preventing soggy bottoms.
| Material Type | Examples | Ideal Thickness |
|---|---|---|
| Browns (Carbon) | Shredded leaves, cardboard | 6″ layers |
| Greens (Nitrogen) | Veggie scraps, coffee grounds | 2″ layers |
How to Layer for Optimal Decomposition
Try the lasagna method—alternate wet and dry materials like pasta sheets. NASA astronauts use similar layering in space habitats to recycle waste efficiently.
- Aerate smartly: Insert PVC pipes vertically as chimneys
- Size matters: Chop materials to 2″ pieces for faster breakdown
- Urban hack: Use corrugated cardboard instead of straw
In winter, insulate with straw bales. For continuous feeding, add scraps weekly rather than in bulk. Your compost will reward you with rich, crumbly humus in record time.
Maintaining Your Compost Pile
Your compost needs regular care just like your favorite houseplant. A little attention ensures rich, crumbly humus instead of a smelly mess. Focus on airflow and moisture—the twin engines of decomposition.
How Often to Turn the Pile
Turn pile every 3–7 days for fast results. Frequent aeration feeds oxygen to bacteria, keeping temperatures steady. Use a pitchfork for open heaps or a compost crank for enclosed bins.
Watch the clock: Turning takes just 10 minutes but cuts decomposition time in half. In winter, reduce frequency to every 2 weeks—microbes slow down in cold weather.
| Tool | Best For | Cost |
|---|---|---|
| Pitchfork | Large piles, open bins | $25–$50 |
| Compost Crank | Tumblers, small spaces | $15–$30 |
Balancing Moisture and Aeration
Check water levels weekly. Squeeze a handful—it should feel like a damp sponge. Too dry? Add water or fresh greens. Too wet? Mix in shredded newspaper.
Boost airflow with these tricks:
- Insert PVC pipes vertically as “air chimneys”
- Layer twigs at the base to prevent compaction
- Cover with burlap in heavy rain to avoid sogginess
Pro tip: A $15 moisture meter removes guesswork. Ideal range: 40–60%. For urban balconies, use a covered bin to control humidity.
Troubleshooting Common Composting Problems
Even the best compost systems hit snags occasionally. Don’t worry—most issues have simple fixes. With a few adjustments, your pile will bounce back stronger.
Fixing a Smelly or Soggy Pile
Bad odors mean your compost needs more air. Turn the materials immediately and add dry leaves or shredded cardboard. This absorbs excess moisture and restores balance.
For persistent sogginess:
- Layer twigs at the base for drainage
- Cover with a tarp during heavy rain
- Mix in wood chips to boost airflow
| Problem | Solution | Timeframe |
|---|---|---|
| Ammonia smell | Add carbon (browns) | 2–3 days |
| Rotten egg odor | Turn pile, add straw | 1 week |
| Mold growth | Reduce greens, mix well | 3–5 days |
Reviving a Slow or Inactive Compost
If your process stalls, check the temperature. Below 55°F? Microbes go dormant. Insulate with straw bales or relocate to a sunnier spot.
Quick revival tips:
- Add nitrogen-rich coffee grounds
- Chop materials into smaller pieces
- Use a compost activator ($15–$25)
For fire ants, sprinkle diatomaceous earth. Frozen piles? Thaw gradually and restart the heat cycle with fresh greens. Most issues clear up within 2–3 weeks with proper care.
How to Speed Up the Composting Process
Want black gold faster? These pro tricks cut composting time in half. By optimizing your process, you’ll harvest nutrient-rich humus in weeks, not months.
Shredding for Lightning-Fast Breakdown
Smaller pieces decompose 50% quicker. Chop materials like leaves or cardboard into 2″ bits. Tools matter:
- Leaf mulchers ($60–$150): Ideal for yards with heavy foliage
- Chipper-shredders ($200+): Handles branches up to 3″ thick
- Urban hack: Run a lawn mower over piled leaves
Activators and Boosters: Nature’s Turbochargers
Jumpstart microbial activity with these power-ups:
| Type | Option | Effect |
|---|---|---|
| Natural | Coffee grounds, comfrey tea | Heats pile in 24–48 hours |
| Commercial | Jobe’s Organics Compost Starter | Contains 4 bacterial strains |
For solar-powered speed, use a black bin to trap heat. University studies show temps spike 20°F higher than open piles.
Knowing When Your Compost Is Ready
Dark, rich humus signals your organic waste has fully transformed. Mature compost crumbles like chocolate cake and smells earthy—no traces of ammonia or rotting food. This gold-standard material balances pH (6–8.5) and teems with beneficial microbes.
Signs of Fully Decomposed Compost
Squeeze a handful—it should hold shape briefly then break apart. The bag test confirms readiness: seal a sample for 24 hours. If it smells sour, wait longer.
Top quality indicators include:
- Temperature: Matches ambient air (microbes have finished working)
- Texture: Sieves easily through ½” mesh screening
- Color: Uniform dark brown, like espresso grounds
| Test | Pass Criteria | Science Behind It |
|---|---|---|
| Germination trial | 90%+ sprout rate | Proves phytotoxins are gone |
| Earthworm check | Worms thrive when added | Confirms safe biology |
The Curing Process (Why Patience Pays Off)
Letting compost rest 2–4 weeks after maturity boosts benefits. Curing reduces pathogens by 99% (USDA data) and stabilizes nutrients. Store cured compost in breathable jute sacks—plastic traps harmful gases.
For best results when you use compost:
- Mix 1 part compost to 3 parts native soil for beds
- Apply ¼” layer as top dressing for lawns
- Winter tip: Cover unfinished piles with straw to retain heat
Commercial growers should consider lab analysis for nitrogen content. Home gardeners can trust their senses—when it looks, feels, and smells like forest soil, it’s time to celebrate your recycling success!
Creative Ways to Use Your Finished Compost
Your compost is a powerhouse for any garden. Mix it with vermiculite (1:3 ratio) for a nutrient-rich seed starter. Plants sprout stronger, with roots diving deep into the fertile blend.
Revitalize lawns with a ¼” topdressing. Studies show this reduces watering needs by 40%. For houseplants, brew compost tea monthly—it boosts growth by 20-35%.
Struggling with erosion? Spread compost on slopes to stabilize soil. Mushroom growers love it as a substrate, while winter gardens thrive under its protective mulch.
Share the wealth! Donate extra compost to school gardens or community projects. Every scoop enriches soil, feeds plants, and closes the loop on waste.

