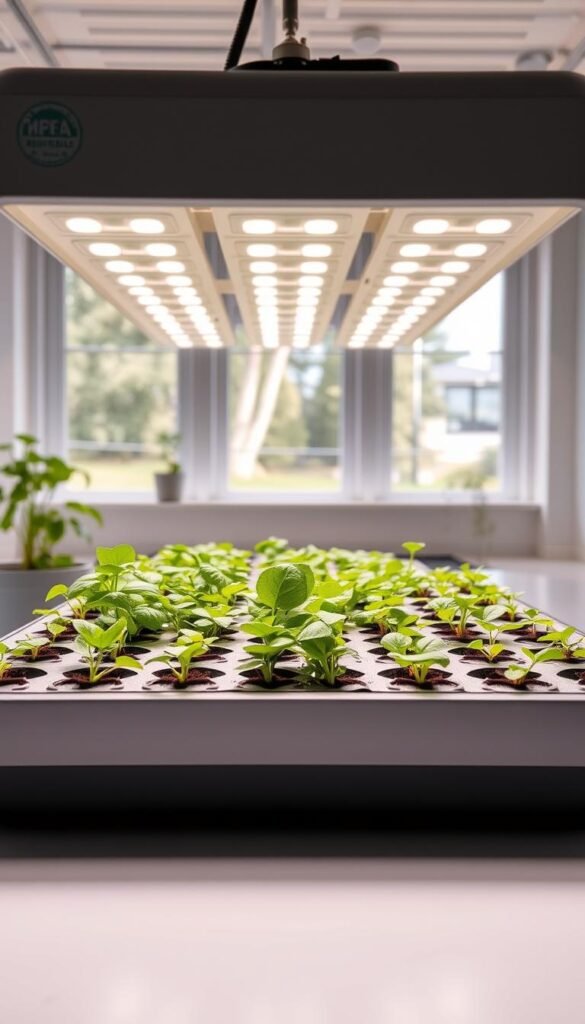
Imagine nurturing fresh herbs or crisp vegetables without digging in dirt. This innovative approach lets you grow plants using nutrient-rich solutions instead of traditional soil. Whether you’re in a small apartment or have limited outdoor space, this method adapts to modern lifestyles while conserving resources.
These systems deliver precise amounts of water and minerals directly to plant roots. This creates faster growth rates and higher yields compared to conventional gardening. You’ll also use up to 90% less water since the closed-loop design prevents waste.
Start with simple components like reservoirs, pumps, and grow lights. Many setups fit neatly on countertops or vertical shelves. Urban growers love how compact designs maximize space while producing restaurant-quality greens year-round.
Key Takeaways
- Soil-free cultivation uses water-based nutrient solutions
- Requires 90% less water than traditional methods
- Compact systems work in urban spaces and small homes
- Delivers faster harvests with controlled environments
- Easy to start with pre-built kits or DIY setups
Introduction to Hydroponic Gardening
Think of a gardening method that skips the dirt and delivers nutrients straight to roots. This soil-free approach uses water-based solutions packed with minerals, letting plants focus energy on growth instead of searching for food. Unlike traditional setups, you control every variable—light, pH levels, and nutrient mix—for healthier, faster results.
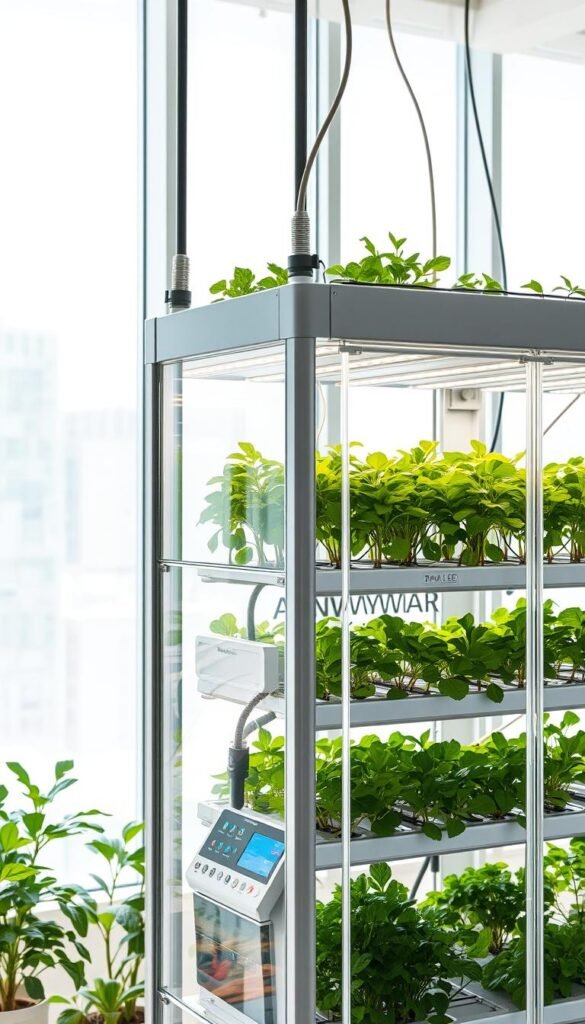
Overview and Purpose of Hydroponics
Hydroponics replaces soil with frameworks like floating rafts or vertical towers. These systems pump oxygen-rich solutions to roots, preventing overwatering and disease. Ideal for urban spaces, they let you grow herbs, leafy greens, or even strawberries on a balcony or kitchen counter.
“Soil is just a middleman. Plants thrive when nutrients come directly to them.”
Why Choose Hydroponics?
Three reasons make this method stand out:
- Speed: Plants mature 30-50% faster with constant access to nutrients
- Efficiency: Recirculating water cuts usage by 90% compared to dirt gardens
- Space-smart: Compact designs like NFT channels or aeroponic towers fit anywhere
New growers love how easy starter kits simplify the process. Whether you pick a passive Kratky jar or an active ebb-and-flow system, you’ll harvest crisp greens in weeks—not months.
Understanding Hydroponic Gardening: The Basics
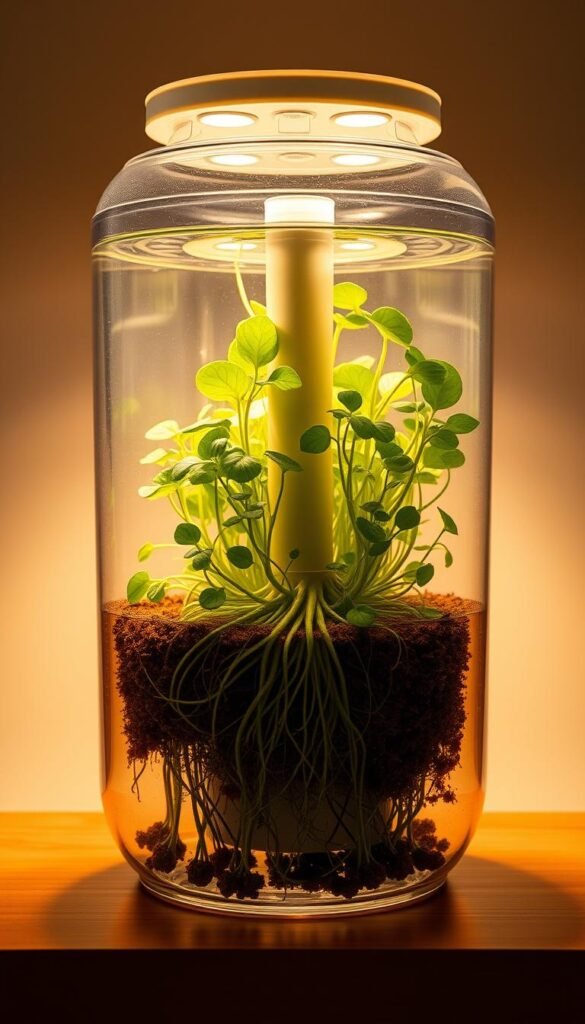
Picture roots thriving in water instead of dirt. This method skips soil entirely, using a nutrient-rich solution to feed plants directly. A reservoir holds the liquid mix, allowing roots to absorb minerals faster than traditional methods.
What Is Hydroponic Gardening?
It’s a soil-free approach where plants grow in water-based systems. The reservoir stores oxygenated water mixed with essential minerals. You control what your plants eat, eliminating guesswork from soil quality.
Key Benefits Over Traditional Soil Gardening
Why choose this method? Three reasons stand out:
- Precision: Adjust nutrient levels instantly for healthier growth
- Speed: Plants mature 25% faster on average
- Space: Vertical setups fit patios or kitchens
| Factor | Soil Gardening | Hydroponic Systems |
|---|---|---|
| Water Use | High (evaporation/runoff) | 90% less (closed-loop) |
| Growth Rate | Standard | 30-50% faster |
| Space Needed | Large plots | Compact designs |
Maintaining your reservoir ensures consistent results. Test pH weekly and refresh the nutrient solution every 2-3 weeks. This prevents salt buildup and keeps roots happy.
“Soil acts like a filter—hydroponics cuts out the middleman.”
Key Components of a Hydroponic System
Your setup’s success starts with choosing the right tools. Three elements work together: containers to hold plants, materials to support roots, and balanced solutions to fuel growth. Let’s break down how each piece contributes to a thriving garden.
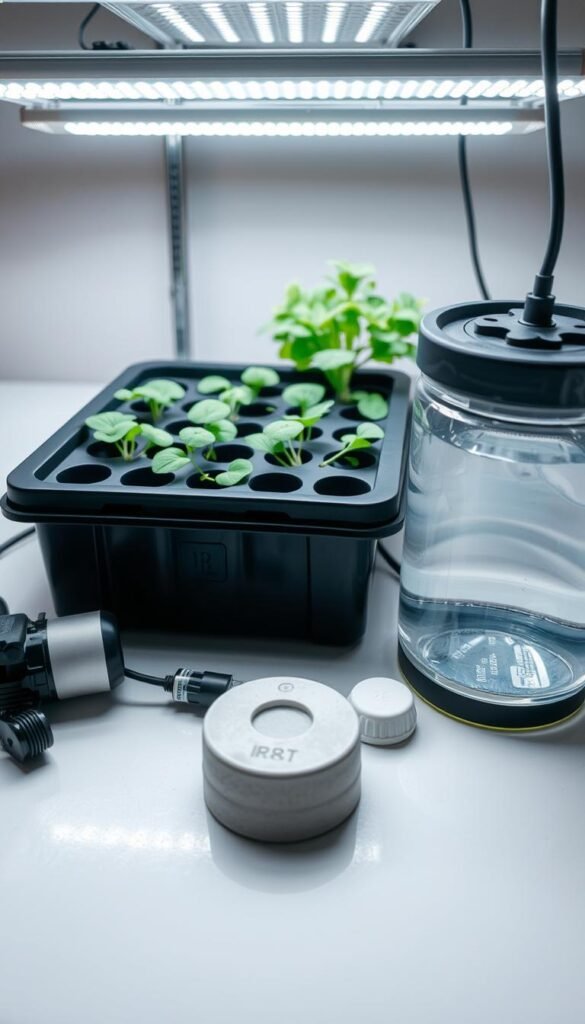
Containers, Net Pots, and Supports
Containers act as your plant’s home. Net pots with slots let roots access nutrient-rich water while keeping stems upright. Floating platforms or vertical towers provide stability, especially for heavy fruiting plants like tomatoes.
Choose container sizes based on your crop’s mature size. Leafy greens need 2-3 inches of space, while deep-rooted herbs require 6-inch pots. Proper spacing ensures each plant gets enough light and oxygen.
Substrates, Nutrients, and pH Balance
Substrates like clay pebbles or coconut coir replace soil as a medium. They anchor roots and help distribute moisture evenly. Rockwool cubes are popular for seedlings because they retain water without drowning delicate roots.
| Substrate | Best For | pH Stability | Oxygen Retention |
|---|---|---|---|
| Hydroton | Mature plants | Neutral | High |
| Rockwool | Seed starting | Alkaline | Medium |
| Perlite | Mixing with others | Neutral | Very High |
Nutrient solutions feed your plants directly. Test pH weekly—5.5-6.5 is ideal for most crops. Too acidic? Add potassium bicarbonate. Too alkaline? A few drops of phosphoric acid balances it out.
“Root health depends on three factors: nutrients, oxygen, and stability. Get these right, and your garden thrives.”
Exploring Different Hydroponic Systems
What if your plants could grow while floating in water? This section breaks down four popular hydroponic system types that make soil-free cultivation accessible. Each design suits specific needs, from low-maintenance setups to high-yield commercial models.
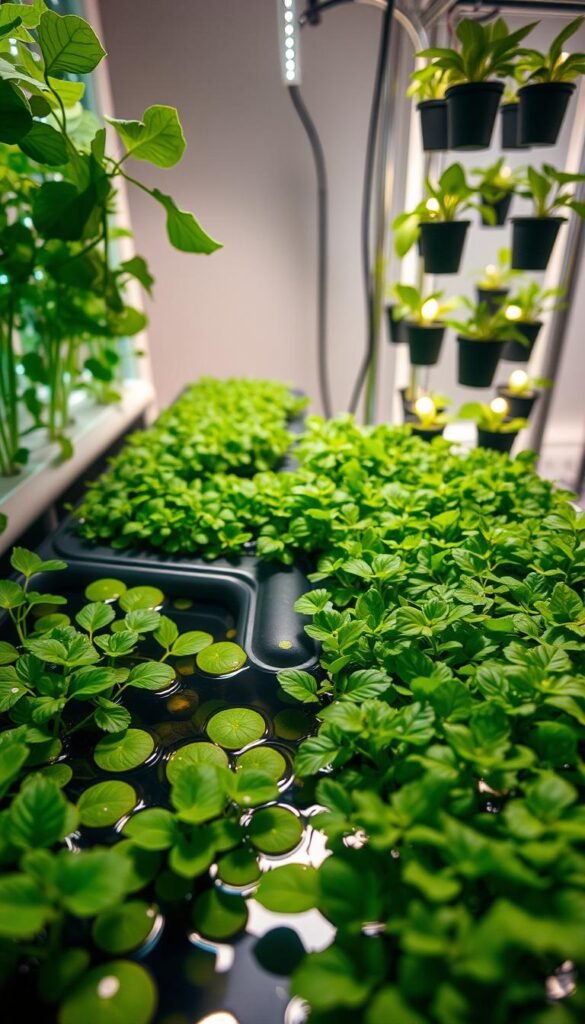
Deep Water Culture and Kratky Method
Deep Water Culture (DWC) suspends roots in oxygen-rich nutrient solutions. Air stones bubble through the water, delivering constant nourishment. It’s perfect for fast-growing greens like lettuce—you’ll often see harvests in 3-4 weeks.
The Kratky method takes simplicity further. No pumps or electricity needed. Plants sit in a static solution that lowers as they drink. Ideal for herbs like basil, this passive type requires minimal time investment after setup.
Nutrient Film Technique and Drip Systems
Nutrient Film Technique (NFT) uses shallow channels to flow mineral solutions past roots. The thin film provides constant feeding without drowning plants. Compact vertical designs work well for strawberries and small fruiting crops.
Drip systems offer precision. Timers control how often growing medium like coconut coir receives nutrient-rich water. Customizable flow rates help manage larger plants like peppers. You’ll use 30% less solution compared to flood-and-drain methods.
| System | Best For | Maintenance Time | Medium Used |
|---|---|---|---|
| DWC | Leafy greens | Low | None |
| Kratky | Herbs | Very Low | Clay pebbles |
| NFT | Strawberries | Medium | Net cups |
| Drip | Peppers/Tomatoes | High | Coco coir |
“Choose systems matching your crop’s needs—don’t grow basil in a tomato setup.”
Your growing medium choice impacts root health. Lightweight options like perlite suit frequent watering cycles, while rockwool holds moisture for drier systems. Test different combinations to find what saves time while boosting yields.
How to Choose the Right Hydroponic System for You
Ready to ditch the guesswork? Picking a setup starts with two questions: How much room do you have? and What’s your budget? A windowsill herb garden needs different gear than a basement tomato farm. Let’s simplify your options.
Space and Budget Considerations
Deep water culture systems win for small spaces. These setups let plant roots dangle directly in oxygenated solutions. No pumps needed—just a container and air stone. Perfect for beginners with limited counter space.
Compare costs upfront:
| System Type | Startup Cost | Footprint |
|---|---|---|
| Deep Water | $50-$100 | 2 sq ft |
| Nutrient Film | $150+ | 4-6 sq ft |
| Drip Irrigation | $200+ | 8-10 sq ft |
Want to grow without soil on a tight budget? Try the Kratky method. Mason jars and net pots cost under $20. Roots absorb nutrients as water levels drop—zero electricity required.
“Start small. A single deep water culture bucket can grow enough basil for weekly pesto.”
Complex systems like aeroponics boost yields but demand more monitoring. If you’re testing the waters, stick with water culture designs. They’re forgiving and teach the basics of pH balancing and root care.
Step-by-Step Setup Guide for Your Hydroponic Garden
Ready to transform your space into a thriving green oasis? Whether building from scratch or using a kit, these steps will help you create a system where plants without soil flourish. Let’s dive into the essentials for success.
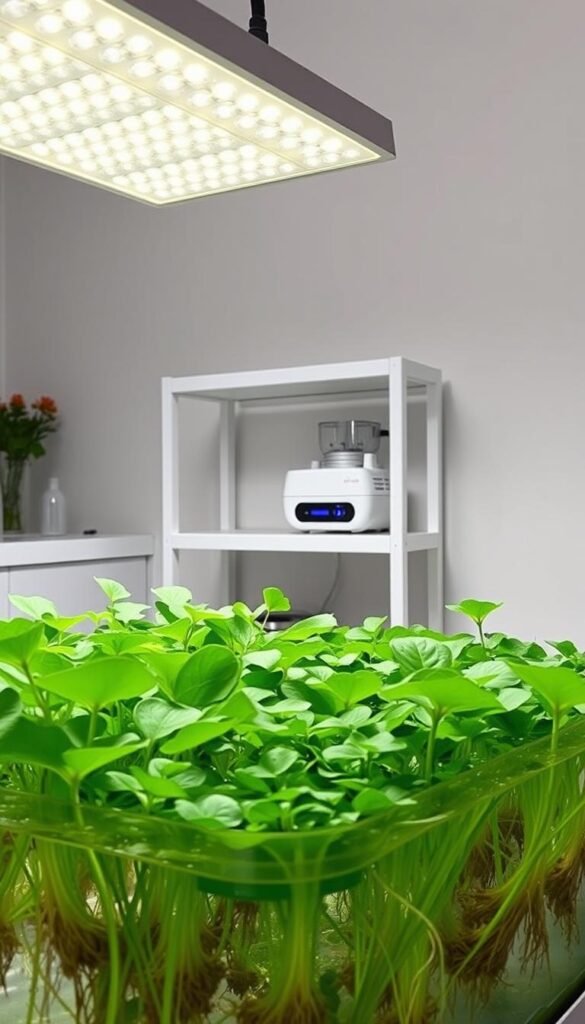
Planning Your DIY or Ready-Made System
First, decide between DIY or pre-built options. Kits simplify setup with pre-cut parts and instructions, while DIY projects offer customization. Consider these factors:
- Space: Measure your area—countertop systems need 2 sq ft, while vertical towers require 4 sq ft
- Crops: Leafy greens thrive in shallow setups; fruiting plants need deeper root space
- Budget: Starter kits cost $50-$150; DIY builds can be cheaper using food-grade buckets
Position net pots carefully. Place them 4-6 inches apart to let roots spread without tangling. Fill pots with clay pebbles or coconut husk chips—these substrates stabilize plants while allowing nutrients to flow freely.
| Project Type | Cost | Time | Best For |
|---|---|---|---|
| DIY | $30-$80 | 2-3 hours | Tinkerers |
| Kit | $90-$200 | 45 minutes | First-timers |
Mix your solution precisely. Follow package instructions for nutrient ratios—overfeeding burns delicate roots. Test pH levels daily for the first week using strips or a digital meter. Aim for 5.8-6.3 to optimize mineral absorption.
“Measure twice, mix once. Precision prevents plant stress and wasted resources.”
Check water levels every 2-3 days. Top off reservoirs with pH-balanced water as needed, and refresh the nutrient blend completely every 14 days. Your plants will reward you with vigorous growth and vibrant leaves.
Hydroponic Gardening for Beginners: Everything You Need to Know
Growing vibrant plants indoors becomes straightforward when you focus on three pillars: proper light exposure, healthy root development, and consistent nutrient delivery. These elements work together to create optimal conditions for growth—no matter the season.
Light acts as your garden’s engine. Full-spectrum LED bulbs mimic sunlight, giving plants 12-16 hours of daily energy. Position lights 6-12 inches above foliage to prevent stretching or burning. Rotate pots weekly for even exposure.
Root health determines overall success. Oxygen-rich systems prevent rot while letting roots absorb minerals efficiently. Check water temperature weekly—65-70°F keeps roots active without stress.
| Factor | Traditional Methods | Modern Solutions |
|---|---|---|
| Light Control | Weather-dependent | 24/7 adjustable LEDs |
| Root Oxygen | Limited by soil density | Direct aeration via air stones |
| Nutrient Flow | Uneven distribution | Precise drip schedules |
| Harvest Frequency | Seasonal | Year-round yields |
Maintain steady nutrient flow by cleaning pumps monthly. This prevents clogs and ensures minerals reach every plant. Pair this with weekly pH checks (5.5-6.5 range) for maximum absorption.
With these practices, you’ll enjoy fresh greens every year, even in limited spaces. Compact vertical setups let you grow basil, lettuce, and cherry tomatoes simultaneously. Start small, refine your approach, and watch your indoor oasis thrive.
“Consistency beats complexity—master the basics before expanding.”
Managing Light, Water, and Nutrients in Your Garden
Your plants’ performance hinges on three factors: light, water, and nutrients. When balanced correctly, these elements create a thriving environment that boosts growth and prevents common issues. Let’s explore how to fine-tune each component for year-round success.
Optimizing Grow Lights and Schedules
Lights act as your garden’s sun. Full-spectrum LEDs or fluorescent bulbs work best for most crops. Position them 6-12 inches above foliage to mimic natural sunlight without burning leaves. Use timers to maintain 14-16 hours of daily exposure for leafy greens and 12-14 hours for fruiting plants.
Rotate plants weekly to ensure even light distribution. Taller crops like tomatoes may need adjustable fixtures to prevent shading. Check bulb intensity every 3 months—dimming reduces efficiency over time.
| Light Type | Best For | Energy Use | Lifespan |
|---|---|---|---|
| LED | All stages | Low | 50,000 hours |
| Fluorescent | Seedlings | Medium | 10,000 hours |
Maintaining Nutrient and Water Quality
Test your water’s pH and nutrient levels weekly. Aim for 5.8-6.3 pH to ensure minerals stay available. Use a TDS meter to monitor concentration—1,000-1,400 ppm suits most leafy greens, while fruiting plants thrive at 1,800-2,400 ppm.
Refresh solutions every 2 weeks to prevent salt buildup. Add air stones to reservoirs for better oxygen flow. This simple step keeps roots healthy in deep water culture systems.
“Think of nutrients as a recipe—measure carefully, adjust often, and taste-test through plant feedback.”
Adjust your setup as plants grow. Raise lights to accommodate height increases. Trim roots in recirculating systems to maintain steady water flow. With these tweaks, you’ll manage your garden in a way that maximizes both yield and plant health.
Troubleshooting Common Hydroponic Challenges
Even the best setups hit snags. Spotting issues early keeps your plants thriving. Look for discolored leaves, slow growth, or slimy roots—these clues help you act fast.
Identifying and Correcting Nutrient Imbalances
Yellow leaves often scream nitrogen deficiency. Purple stems? That’s phosphorus begging for attention. Test your solution weekly—adjust ratios using a trusted method like the 3-part nutrient system.
For leafy herbs, keep EC levels between 1.2-1.8 mS/cm. Fruiting plants need 2.0-2.5 mS/cm. Flush systems every 14 days to prevent salt buildup. This simple step protects yields from crashing.
Managing Pests, Algae, and Root Rot
Fungus gnats love damp setups. Sprinkle perlite on top of grow media—it dries faster than clay pebbles. For algae, block light exposure with opaque covers or aluminum foil.
- Natural pest control: Neem oil sprays (1 tbsp/gal) every 5 days
- Root rot fix: Trim brown roots, add 3% hydrogen peroxide (1 tsp/gal)
| Issue | Signs | Solution |
|---|---|---|
| Nutrient Burn | Crispy leaf tips | Dilute solution by 50% |
| Algae Growth | Green slime | Reduce light, add covers |
| Root Rot | Brown, mushy roots | Increase aeration |
“Catch problems at the first curled leaf—your plants whisper before they scream.”
Preventative care beats emergencies. Sterilize tools monthly and keep reservoirs clean. With these tweaks, your herbs will bounce back stronger, boosting both health and yields.
Maximizing Your Hydroponic Yield and Plant Health
Transform your setup’s efficiency through optimized plant placement and climate management. These strategies help you grow more in less space while avoiding common problems like overcrowding or nutrient competition. Let’s explore how to fine-tune your system for thriving plants without soil.
Techniques for Efficient Plant Spacing
Give roots room to breathe without wasting vertical or horizontal space. In deep water culture setups, position net pots 6-8 inches apart for leafy greens. Use staggered rows or vertical towers to double your planting density.
- Rotate plants weekly for even light exposure
- Trim outer leaves first to reduce shading
- Use trellises for vining crops like cucumbers
Smaller herbs like basil thrive at 4-inch spacing, while tomatoes need 12-18 inches. Match distances to your nutrient solution flow rate—tight layouts require faster circulation.
Enhancing Growth with Environmental Controls
Dial in three factors for explosive growth:
- Temperature: Keep water at 68°F using aquarium heaters
- Humidity: Maintain 40-60% with dehumidifiers or misters
- Light: Adjust LED intensity based on growth stage
| Factor | Ideal Range | Tool |
|---|---|---|
| Air Temp | 70-75°F | Digital thermostat |
| CO2 Levels | 800-1200 ppm | Exhaust fans |
| Light Duration | 14-16 hours | Programmable timer |
For deep water culture systems, add ice packs during heat waves. Pair this with weekly nutrient solution changes to prevent stagnation. Deep water culture systems particularly benefit from these tweaks, yielding up to 30% more than passive setups.
“Your garden’s microclimate matters more than the calendar—control it, and seasons become irrelevant.”
Monitor roots in plants without soil weekly. White, fuzzy roots signal health; brown tips suggest problems with oxygen or pH. Adjust your nutrient solution strength as plants mature—seedlings need half the concentration of fruiting crops.
Conclusion
Embark on your soil-free journey with confidence. These systems let you cultivate leafy greens and herbs year-round, even in tight spaces. By controlling nutrients and light, you’ll see faster growth and bigger harvests than traditional methods.
Remember the essentials: balance your solution’s pH, monitor grow lights, and refresh water regularly. Start small—a countertop setup with basil or lettuce teaches core skills without overwhelm. Expand to vertical towers or fruiting crops once you’ve mastered the basics.
Adapt techniques to your space and budget. Use reflective surfaces to boost light efficiency or repurpose containers for DIY projects. Every tweak brings you closer to a thriving, sustainable hydroponic garden.
Now’s the time to experiment. Track progress, celebrate first harvests, and share successes. With patience and these strategies, you’ll transform any corner into a lush, productive oasis.

