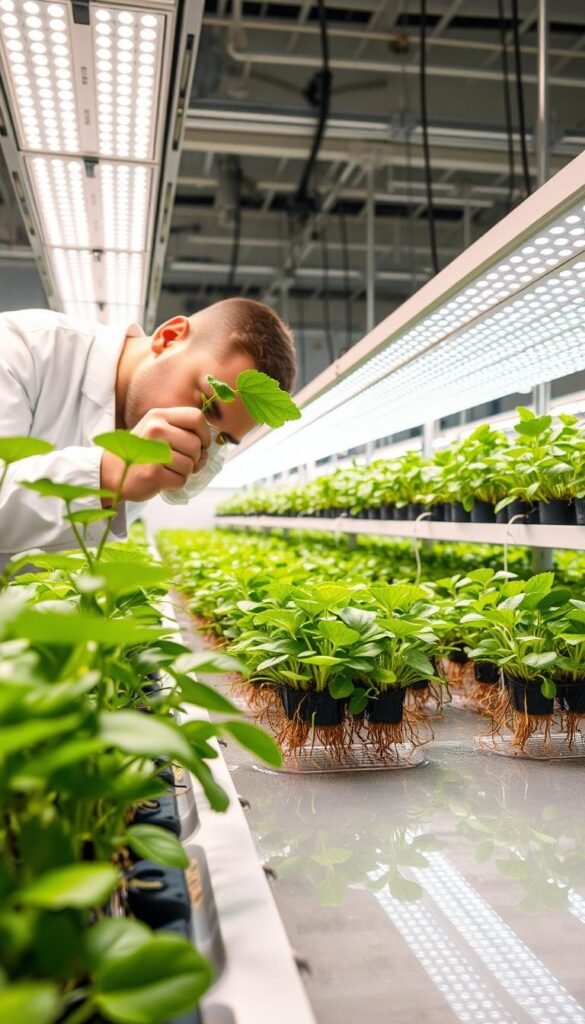
Welcome to the rewarding world of growing plants without soil! Whether you’re new to this method or looking to refine your skills, a well-kept setup ensures your greens stay vibrant. Think of your arrangement as a living ecosystem—it needs care to work smoothly.
Why focus on upkeep? Clean equipment prevents clogs and harmful bacteria. Balanced nutrients mean faster, stronger growth—no guesswork required. Experts agree: consistent checks help avoid surprises, letting you enjoy fresh herbs or crisp veggies year-round.
This approach isn’t just efficient; it’s smart. You’ll use up to 90% less water than traditional methods while seeing results quicker. Our quick reference guide breaks down everything from pH levels to reservoir cleaning. We’ll show you how to spot issues early and keep things running smoothly.
Key Takeaways
- Clean equipment prevents disease and maximizes plant potential
- Balanced nutrients boost growth rates and crop quality
- Water-efficient methods support sustainable growing
- Regular checks extend your system’s lifespan
- Simple routines prevent major repairs later
Understanding Your Hydroponic System
Growing greens without dirt might sound futuristic, but it’s simpler than you think! Let’s break down what makes these setups tick and why they’re gaining fans nationwide.
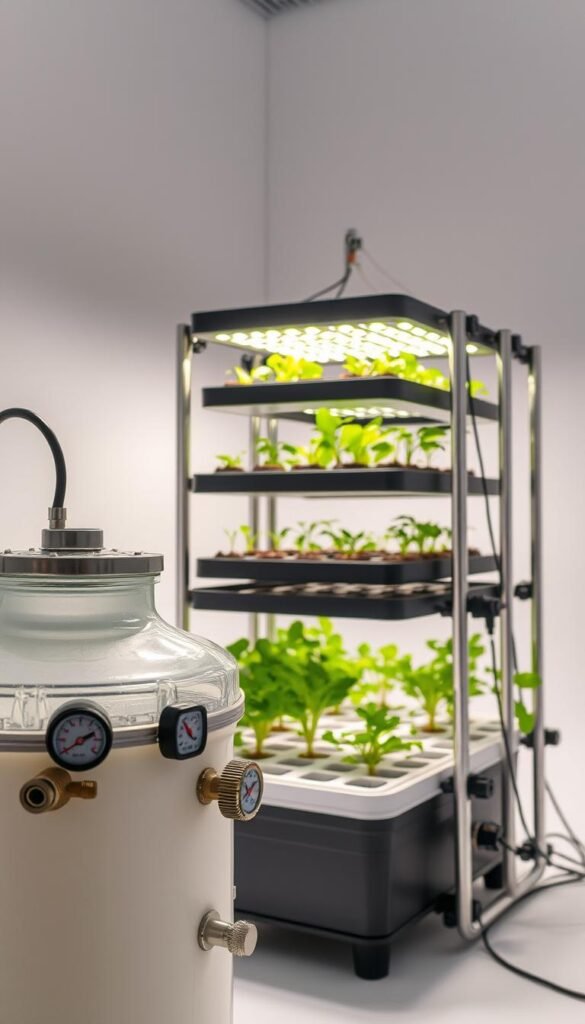
Benefits of Soilless Gardening
No soil means fewer pests invading your crops. You’ll dodge common issues like root rot while giving greens precise nutrient solutions tailored to their needs. Urban growers in apartments love this method—it’s space-efficient and avoids messy dirt spills.
Clean water acts as the lifeblood here. Since roots soak directly in oxygen-rich water, they absorb minerals faster. This translates to juicier tomatoes and crisp basil in half the time of traditional growing!
Basic Components of Your Hydroponic Setup
Every setup needs three essentials:
- A reservoir to hold your water-nutrient mix
- A pump to circulate the solution
- Tubing to deliver it to plant roots
Quality matters most. Cheap pumps clog, while unbalanced nutrients cause yellow leaves. Test your solution weekly—plants will thank you with vibrant growth.
Modern systems let you tweak variables like pH with smartphone apps. It’s like having a lab at your fingertips, ensuring your greens get exactly what they need to flourish.
Hydroponic Gardening System Maintenance: Tips for Healthy Plants
Regular care transforms your garden into a thriving oasis. Start by testing your solution every 2-3 days—this simple habit helps catch imbalances before they affect your greens. Nutrient levels shift as plants absorb minerals, so adjust your mix based on growth stages.
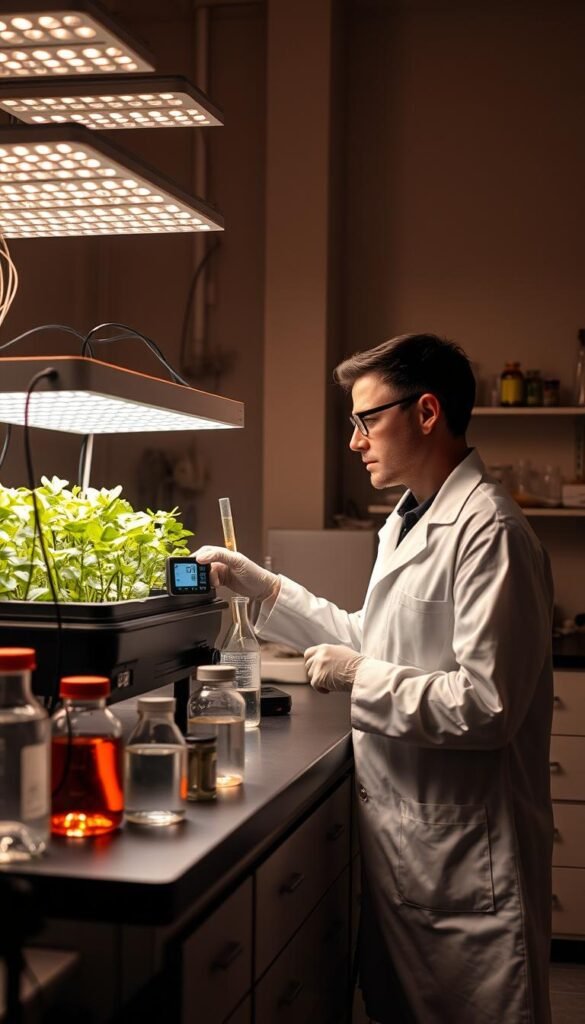
Commercial growers like BrightFarms use automated trackers, but you can achieve similar results with basic tools. One urban farmer doubled her basil yield by tweaking pH just 0.5 points during flowering. “Small changes create big differences,” she notes.
Follow these core practices:
- Replace 25% of your reservoir weekly to prevent salt buildup
- Use color-coded charts to track pH and EC trends
- Inspect roots monthly for discoloration or sliminess
Your arrangement works best when all parts collaborate smoothly. Clean pumps push solutions effectively, while balanced feeds let crops focus energy on leaf and fruit production. Remember: healthy roots mean happy plants!
Stick to a schedule, but stay flexible. Leafy greens need different care than fruiting varieties. With consistent attention, you’ll see lusher growth and tastier harvests all year.
Weekly Maintenance Tasks for Optimal Growth
Keeping your setup in top shape requires a solid weekly routine. Think of it like brushing your teeth—consistent care prevents bigger issues down the line. Start every Monday with these three essentials to maintain peak performance.
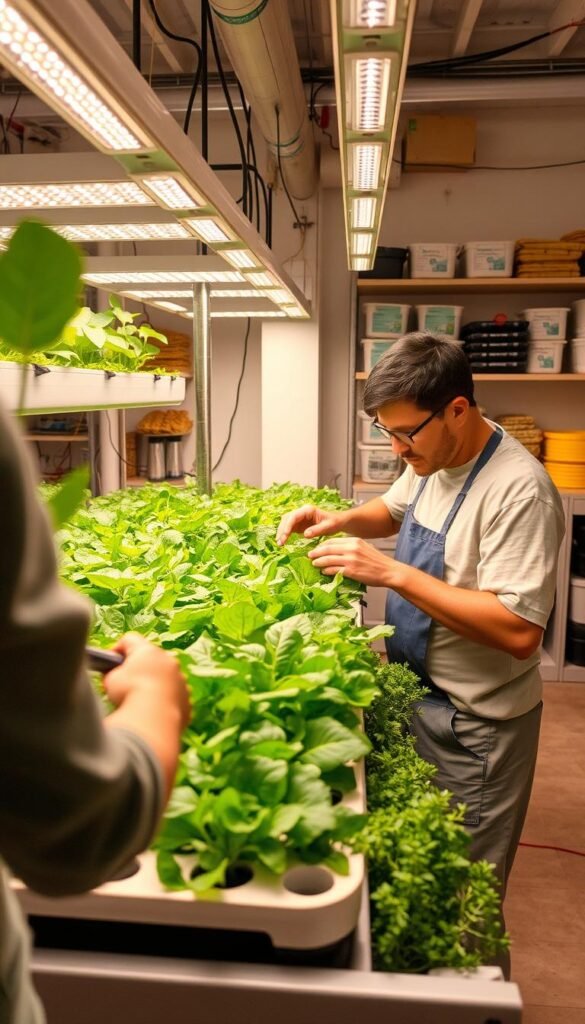
Checking Water, EC, and pH Levels
Test your water quality first. Use a TDS meter to measure electrical conductivity (EC)—ideal ranges vary between 1.2-2.4 mS/cm depending on plant type. pH strips should show 5.5-6.5 for most greens. Pro tip: Track results in a notebook to spot trends.
“I caught a pH spike early by testing every Wednesday—saved my entire basil crop!”
Topping Up Nutrient Solutions
As plants drink, nutrient concentrations change. Add fresh solution when levels drop 25%. Always mix nutrients in clean water before pouring into the reservoir. For stubborn algae, add 3% hydrogen peroxide (1 tsp per gallon)—it breaks down safely without harsh chemicals.
| Task | Tools Needed | Frequency |
|---|---|---|
| EC/pH Check | TDS Meter, Test Strips | Every 3 Days |
| Reservoir Clean | Sponge, Hydrogen Peroxide | Weekly |
| Nutrient Top-Up | Measuring Cup, pH Down | As Needed |
Rotate plants slightly each week to ensure even light exposure. Wipe down grow trays with diluted hydrogen peroxide to prevent biofilm buildup. Remember: Your reservoir is the heart of the operation—keep it clean, and your greens will reward you with vigorous growth.
Monthly Maintenance Practices
Your setup thrives when you give it some monthly TLC. Think of this as a reset button—removing gunk and checking parts ensures everything works the way it should. One grower in Chicago saw 30% faster growth after adopting these routines!
Deep Cleaning Your Reservoir
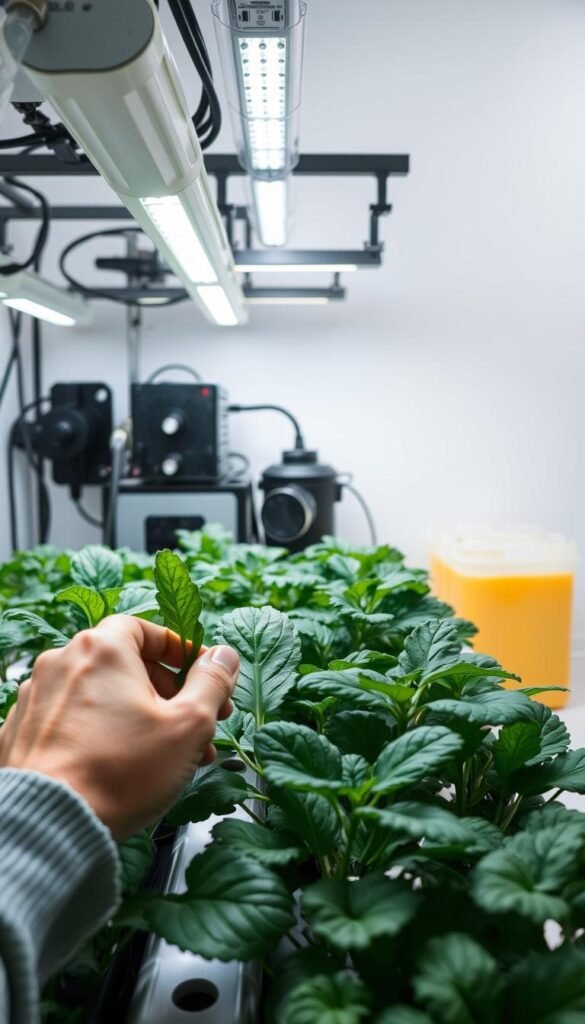
Start by emptying the tank completely. Scrub every corner with a soft brush—pay attention to slimy spots where algae leaves its mark. Mix 1 cup of white vinegar per gallon of water for a natural cleaner that won’t harm plants.
Rinse three times to remove residue. Let parts air-dry before refilling. This method removes 95% of mineral buildup, according to Urban Leaf’s 2023 study. Avoid harsh chemicals—they linger and throw nutrient amounts out of range.
Water Pump and Equipment Care
Inspect tubing for discoloration or cracks—replace any worn parts immediately. Soak pumps in a hydrogen peroxide solution (3% strength) for 15 minutes to dissolve organic matter. Check flow rates match your system’s requirements.
“Monthly cleanings cut my repair costs by half. A little effort goes a long way!”
Track maintenance dates on a calendar. Use test strips to verify cleaning solution pH stays in the safe range (5.5-6.5). Wipe down grow trays with microfiber cloths—they trap dust without leaving fibers behind.
Stick to these steps, and you’ll notice healthier roots and brighter leaves. Consistency is key—your plants reward thorough care with explosive growth!
Seasonal and End-of-Cycle Maintenance
Transitioning between growing cycles gives your setup a fresh start. This deep refresh removes hidden threats while setting the stage for robust new growth. Think of it as hitting the reset button for peak performance.
System Sterilization and Disinfection
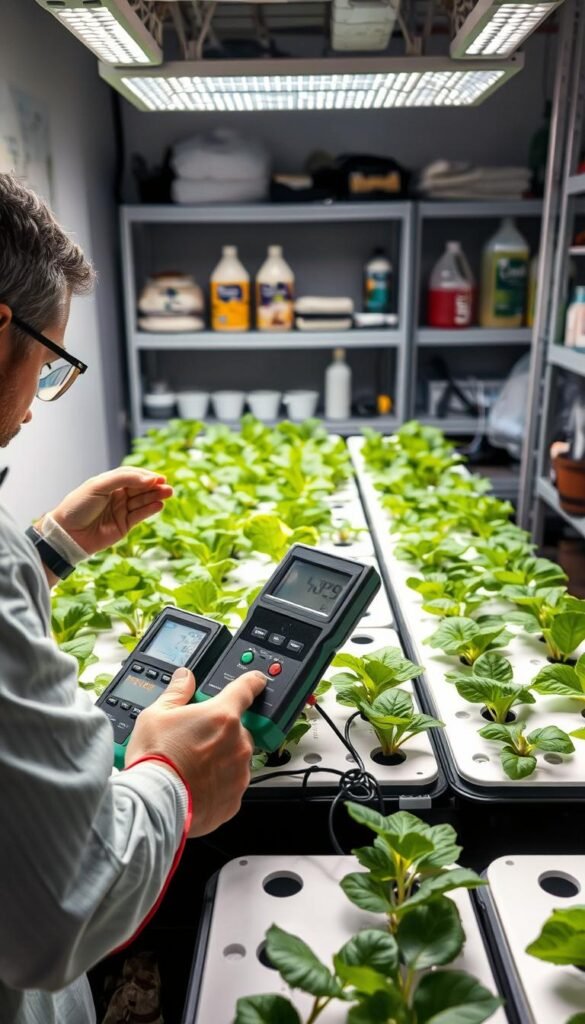
Begin by emptying all components. Scrub each part with a mix of 3% hydrogen peroxide and water—this solution kills pathogens without harsh residues. Rinse thoroughly to prevent chemical buildup.
Follow this three-step process:
- Disassemble pumps and tubing completely
- Soak parts in peroxide solution for 20 minutes
- Air-dry before reassembly
Commercial growers like Gotham Greens use similar methods between crop rotations. One technician notes: “Sterilization doubled our equipment life by preventing corrosion from organic acids.”
Prepping Your System for New Plants
After sterilization, inspect for wear. Replace cracked tubing or clogged air stones—these small fixes prevent big issues later. Test water flow rates to ensure even distribution.
Create a pre-planting checklist:
- Verify pH stability for 24 hours
- Add starter nutrients at half strength
- Check light timers match crop needs
These tips help avoid transplant shock. Remember: Your setup’s readiness determines how quickly new roots establish themselves. A clean slate means faster growth and happier plants!
Using Natural Cleaners and Safe Chemicals
Clean doesn’t have to mean harsh chemicals—nature offers powerful solutions! Gentle cleaners protect your plants while keeping equipment spotless. Let’s explore two champion options that work wonders under different conditions.
Hydrogen Peroxide vs. Vinegar Cleaning Techniques
Hydrogen peroxide (3% strength) shines against algae and bacteria. Mix 1 teaspoon per gallon of water for weekly wipe-downs. It breaks down into oxygen and water, leaving no harmful traces. Perfect for urgent cleanups!
White vinegar tackles mineral deposits like a pro. Use a 1:4 ratio with water for scrubbing pumps and trays. One urban grower shared: “Vinegar removed stubborn calcium stains my commercial cleaner couldn’t touch—without damaging roots!”
| Cleaner | Best For | Mix Ratio |
|---|---|---|
| Hydrogen Peroxide | Algae/Bacteria | 1 tsp/gal |
| White Vinegar | Mineral Buildup | 1:4 with water |
Methods to Avoid Harmful Chemicals
Skip bleach and ammonia—they linger and harm root systems. Instead:
- Rinse surfaces thoroughly after cleaning
- Use soft brushes to prevent scratches
- Test cleaners on small areas first
Make sure to check pH levels after cleaning. Some solutions temporarily alter water chemistry. A Florida grower reported: “Switching to natural cleaners reduced plant stress—my yields jumped 20% in one cycle!”
Plan your cleaning schedule around growth stages. Delicate seedlings need milder solutions than mature plants. Always make sure your weekly routine matches your setup’s specific conditions. With smart choices, you’ll maintain spotless equipment and thriving greens!
Monitoring Nutrient and Water Levels
Want your greens to thrive? Consistent checks of your setup’s vital signs make all the difference. Like checking a car’s oil, tracking nutrient and water metrics ensures smooth operation. Weekly monitoring reveals patterns—catch a pH dip early, and you’ll avoid stunted plant growth.
Tracking EC and pH Adjustments
Electrical conductivity (EC) meters show nutrient strength. Test every 3 days—leafy greens prefer 1.2-1.8 mS/cm, while fruiting crops need 2.0-2.4 mS/cm. Pair this with pH tests using drops or digital pens. One Arizona grower boosted yields 40% by adjusting these levels every weeks during growth spurts.
Follow this quick-reference chart for common crops:
| Crop Type | Ideal pH | EC Range |
|---|---|---|
| Lettuce | 5.5-6.0 | 1.2-1.6 |
| Tomatoes | 5.8-6.3 | 2.0-2.4 |
| Basil | 5.5-6.5 | 1.4-1.8 |
“We log data daily—it’s like taking your plants’ pulse. Small tweaks prevent big headaches.”
Healthy roots depend on balanced chemistry. Salty buildups from ignored EC levels can burn delicate root systems. Flush reservoirs monthly using pH-adjusted water to reset conditions. Track changes in a notebook or app—trends help predict your greens’ needs before issues arise.
Consistency matters most. Those who test every weeks report 30% fewer crop losses. Your efforts now mean lusher leaves and juicier fruits later!
Troubleshooting Common Hydroponic Issues
Even the best setups face challenges—spotting issues early keeps your greens thriving. Look for visual cues like unusual leaf colors or slow development. Quick action prevents small problems from becoming crop disasters.
Identifying Signs of Nutrient Imbalance
Yellow leaves often scream nitrogen deficiency. Purple stems? That’s frequently a phosphorus shortage. Check roots weekly—browning or sliminess signals oxygen deprivation or bacterial growth.
Light plays tricks too. Stretching stems mean plants crave more brightness. Use a lux meter to confirm intensity matches crop needs. One Colorado grower saved her kale by boosting lighting from 12 to 16 hours daily.
| Symptom | Possible Cause | Quick Fix |
|---|---|---|
| Leaf Curling | Calcium Deficiency | Add Cal-Mag (5ml/gal) |
| Slow Growth | Low EC Levels | Increase nutrients 20% |
| Algae Growth | Excess Light Exposure | Cover reservoirs |
Adjusting Solutions to Enhance Plant Health
When leaves pale, try flushing roots with pH-balanced water for 24 hours. Then reintroduce nutrients at half strength. Rotate plants daily if using natural light—uneven exposure causes lopsided growth.
Got leggy basil? Lower lights to 6 inches above foliage. For root issues, add air stones to boost oxygen. A Texas gardener revived wilted mint by adjusting both lighting schedules and nutrient mixes simultaneously.
“Catching purple leaves early let me adjust phosphorus before losing a single plant.”
Document every change. Track how adjustments affect growth over 3-5 days. This helps create your personal troubleshooting playbook for future seasons.
Conclusion
Your thriving indoor oasis starts with consistent care—and the payoff is worth every minute. By sticking to simple routines, you’ll create an environment where greens flourish faster than traditional methods allow. Remember: avoiding soil means fewer pests, but it requires sharp attention to water chemistry and root health.
Skip harsh products like bleach. Natural cleaners protect your plants while keeping equipment spotless. Time invested in weekly EC checks and monthly deep cleans pays off with crisp herbs and juicy veggies ready for your next meal.
Track progress over weeks using color-coded charts or apps. Adjust feeding schedules as crops mature—leafy greens need different care than fruiting varieties. One urban gardener harvested 3x more basil by tweaking light exposure during growth spurts!
Stay curious. Test new nutrient mixes if growth slows, and rotate plants for even light distribution. With these habits, you’ll master the art of soilless cultivation while enjoying fresh food year-round. Happy growing!

