
Imagine plucking crisp lettuce or vibrant herbs from your living space any day of the year. Growing plants inside lets you enjoy fresh flavors even when snow blankets the ground outside. No backyard? No problem. With basic tools like affordable LED lights and containers, you can cultivate a thriving edible oasis in your apartment or kitchen corner.
This approach to nurturing greens offers more than convenience. You’ll know exactly what goes into your food, skip pesticide worries, and reduce grocery trips. Even beginners can succeed—start with forgiving crops like spinach or radishes that grow well under artificial light.
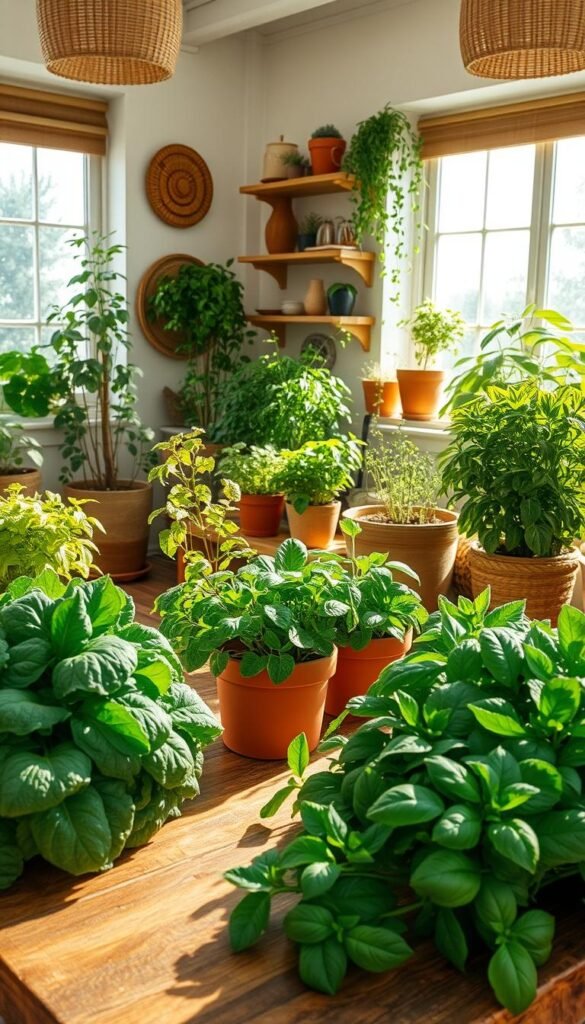
Small spaces work perfectly for this hobby. A single shelf or windowsill becomes a productive zone for leafy veggies and compact tomato varieties. Beyond fresh meals, you’ll gain a relaxing green retreat that boosts air quality during gray winter months.
Ready to transform unused corners into lush, edible displays? This guide breaks down the essentials, from selecting sturdy seeds to optimizing light cycles. You’ll learn how simple setups can yield impressive harvests, turning your home into a personal produce section.
Indoor Garden 101: Getting Started with Year-Round Homegrown Greens

Fresh salads don’t need to vanish when temperatures drop. With a simple setup, you can snip peppery arugula or tender kale while frost paints your windowpanes. Best part? You decide when to start—no waiting for spring thaw.
| Plant | Days to Harvest | Light Needs | Space per Plant |
|---|---|---|---|
| Spinach | 28-40 | Medium | 4-6 inches |
| Kale | 50-60 | High | 8-12 inches |
| Arugula | 21-35 | Low | 3-4 inches |
“Winter becomes exciting when you’re nurturing life indoors,” notes urban gardener Mia Torres. Her kitchen counter yields weekly microgreen harvests despite Chicago’s subzero winters.
Choose seeds labeled for container growth. Many modern varieties adapt beautifully to artificial light. A south-facing window works too—just rotate pots daily for even growth.
Small containers let you experiment. Try butterhead lettuce in repurposed salad clamshells or basil in mason jars. Success comes faster when you:
- Use quality potting mix
- Water when soil feels dry
- Trim outer leaves first
Your cozy nook becomes a productivity hub. Watch seedlings emerge in days, transforming gray afternoons into green adventures. Soon, you’ll garnish meals with homegrown flavor—rain or shine.
Choosing the Perfect Location and Lighting for Your Indoor Garden

Your plants’ performance depends on smart placement and smart lighting choices. South-facing windows work great for leafy greens needing 4-6 hours of sun. But winter’s weak rays often leave plants craving more energy.
Natural Sunlight vs. Grow Lights
Sunlight costs nothing and covers all color spectrums. Yet grow lights guarantee consistency—no cloudy day disappointments. LED panels let you adjust intensity for different growth stages.
| Light Type | Best For | Daily Hours | Distance |
|---|---|---|---|
| Window Light | Herbs & Lettuce | 6-8 | Direct |
| LED Grow Lights | Fruiting Plants | 12-16 | 6-12″ |
| Fluorescent | Seedlings | 14-18 | 4-6″ |
Crafting Stable Conditions
Keep temperatures between 65-75°F for most edibles. Avoid spots near radiators or drafty doors. A small fan on a timer improves air movement—cuts mold risk and strengthens stems.
Tomatoes and peppers thrive under intense lights hung 8 inches above leaves. Leafy greens manage with less. Rotate pots weekly for even exposure. Your setup evolves as you learn what each plant loves!
Essential Tools and Supplies for a Successful Indoor Garden

The right equipment transforms empty spaces into productive growing zones. Quality tools prevent common frustrations and help plants thrive from sprout to harvest. Let’s explore what you’ll need to create ideal conditions for your edible oasis.
Seed Starting Kits and Soil Mixes
Begin with fresh soil designed for containers. Bagged potting mix avoids pests found in outdoor dirt. Look for blends with perlite or coconut coir—these keep roots oxygenated while retaining moisture.
| Starter Kit Feature | Benefit | Best For |
|---|---|---|
| Cell Trays | Organized sprouting | Leafy greens |
| Humidity Domes | Faster germination | Herbs |
| Heat Mats | Warmer roots | Peppers |
Pre-moistened seed pellets simplify planting. Drop seeds into the center, cover lightly with mix, and watch life emerge. Kits often include labels to track varieties—key when testing multiple crops.
Selecting the Right Pots and Trays
Match container size to plant needs. Shallow 6-inch pots suit spinach, while deeper 12-inch ones accommodate carrots. Plastic options are budget-friendly and retain water better than porous clay.
| Container Type | Depth | Drainage Tips |
|---|---|---|
| Plastic Pots | 6-12″ | Add pebble layer |
| Fabric Bags | 8-18″ | Use drip trays |
| Recycled Containers | Varies | Drill holes |
Pair pots with saucers or decorative trays to protect surfaces. A narrow-spout watering can delivers precise hydration without overwatering. Start small—even yogurt cups work for microgreens!
Techniques for Growing Lush Salad Greens Indoors

Transform your kitchen into a vibrant salad bar with smarter sprouting methods. Soil-based growing unlocks richer flavors and simpler maintenance compared to jar techniques. Let’s explore how these approaches differ and why one might become your new favorite.
Soil Sprouts vs Jar Grown Sprouts
Soil sprouts save time while boosting taste. Unlike jar methods requiring hull removal, soil-grown varieties shed seed casings naturally. They thrive with minimal care—no watering needed for the first 96 hours after planting.
| Feature | Soil Sprouts | Jar Sprouts |
|---|---|---|
| Harvest Time | 7 days | 5-7 days |
| Maintenance | Water 1x daily after Day 4 | Rinse 2-3x daily |
| Flavor Profile | Nutty, complex | Mild, sometimes bitter |
| Nutrient Source | Soil & compost | Seed reserves only |
Boosting Plant Nutrition
Enrich your soil mix with compost and kelp meal for continuous nutrient access. Roots absorb minerals throughout growth, creating greens packed with vitamins. Try these tips:
- Mix 1 tbsp sea kelp per gallon of soil
- Use shallow trays for faster root development
- Harvest when first true leaves appear
“My kids actually fight over who gets more sunflower sprouts now,” laughs urban gardener Elena Martinez. Her window-grown varieties add crunch to weekly salads while providing 3x the vitamin C of store-bought mixes.
Exploring Varieties: From Microgreens to Hearty Vegetables

Your culinary adventures get a flavor boost when you explore different edible plants. Whether you crave zesty garnishes or hearty additions to meals, there’s a variety for every skill level and space constraint.
Quick Crops vs Long-Term Producers
Microgreens deliver instant gratification. These nutrient-packed sprouts reach harvest in just 10 days—perfect for topping pizzas or blending into smoothies. Try sunflower or radish varieties for peppery crunch.
| Plant Type | Harvest Time | Light Needs | Notes |
|---|---|---|---|
| Microgreens | 7-14 days | Medium | 30x more vitamins than mature plants |
| Leafy Greens | 4-6 weeks | Medium-High | Harvest outer leaves first |
| Herbs | Ongoing | High | Prune regularly |
| Fruiting Vegetables | 60-90 days | Very High | Needs 70°F minimum |
Cool-tolerant options like kale and arugula handle indoor conditions well. “My ‘Sweet Million’ cherry tomatoes thrive under LED lights,” shares Colorado gardener Liam Chen. “They produce clusters for months with proper feeding.”
Herbs transform meals year-round. Basil and oregano grow lush in containers, while mint spreads rapidly—keep it solo to avoid takeover. For bold projects, compact tomato and pepper varieties reward patience with sun-warmed flavors.
Start simple: lettuce mixes and pea shoots build confidence. As skills grow, experiment with dwarf carrots or strawberries. Every harvest celebrates your expanding green thumb!
Maintaining Your Indoor Garden: Watering, Fertilizing, and Air Flow
Healthy plants need more than light and soil—they thrive when you nail the basics of care. Think of water, nutrients, and airflow as your green allies. Get these right, and you’ll see faster growth with fewer headaches.
Smart Hydration and Feeding Tips
New seeds demand damp soil to sprout. Cover trays with plastic wrap for the first few days to lock in moisture. Once leaves appear, let the topsoil dry slightly between drinks. Push your finger an inch deep—if it feels dry, it’s time to water.
Liquid fertilizers work best for potted plants. Start with half the recommended dose to avoid shocking tender roots. If leaves yellow or growth stalls, adjust your mix. Hard water? Switch to distilled to prevent salt buildup.
Don’t forget moving air! A small fan on low strengthens stems and stops mold. Rotate pots weekly so all sides get equal light. With these simple habits, your edible oasis stays lush day after day.


