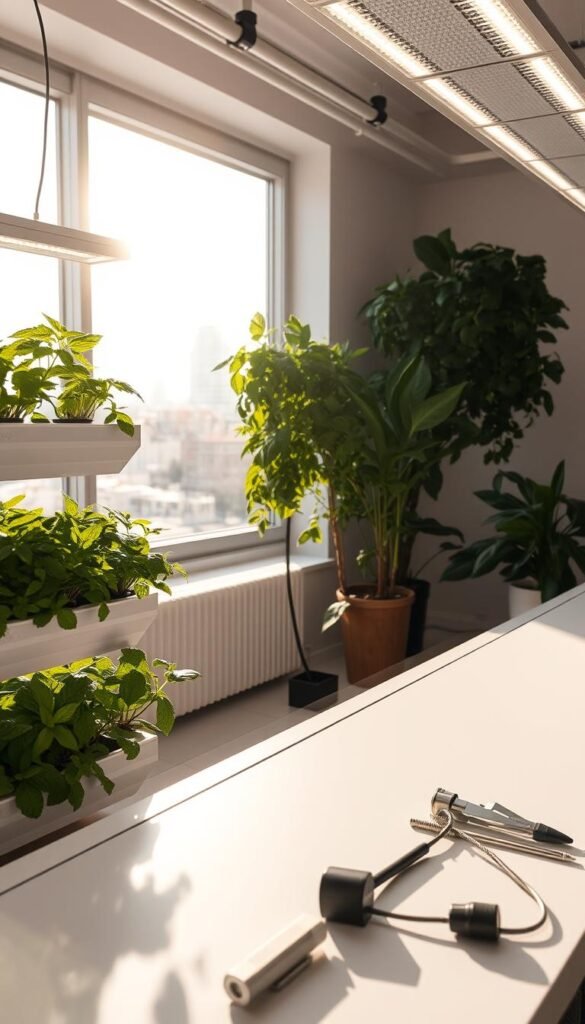
Imagine plucking fresh herbs from your countertop, even in January. No soil, no outdoor space—just vibrant flavors at your fingertips. Modern setups let you grow aromatic favorites like basil and mint effortlessly, turning your kitchen into a sustainable oasis.
These systems use water-based solutions and LED grow lights to mimic natural conditions. You’ll see faster growth compared to traditional gardens—some leafy greens mature twice as quickly. Best of all, you avoid pests and messy dirt while maintaining precise control over nutrients.
Curious which varieties thrive indoors? Our guide to the top vegetables and herbs for a successful hydroponic highlights low-maintenance options. From peppermint’s refreshing zing to basil’s sweet aroma, you’ll discover how to balance pH levels and light cycles for optimal results.
Whether you’re a cooking enthusiast or eco-conscious gardener, this method blends convenience with creativity. Start small, experiment with flavors, and soon you’ll enjoy homegrown ingredients no matter the season.
Introduction to Indoor Herb Hydroponics
Transform your kitchen into a year-round source of fresh flavors with water-based gardening. Unlike traditional methods, these setups let you nurture plants without soil—just balanced nutrients and controlled conditions. You’ll harvest aromatic leaves faster while avoiding outdoor challenges like unpredictable weather or pests.
Benefits of Growing Fresh Herbs Indoors
Imagine snipping vibrant leaves minutes before cooking. Soil-free systems deliver 30% faster growth for basil and parsley compared to outdoor beds. You control every detail—light cycles, pH levels, and nutrient mixes—to maximize flavor and yield. No weeds, no dirt, and no seasonal limits mean fresh garnishes even in winter.
Overview of Hydroponic Gardening Methods
Popular techniques like deep water culture and nutrient film technique keep roots submerged or misted. LED lamps replace sunlight, letting you grow in small spaces like countertops. Start with seeds or cuttings, monitor water quality weekly, and watch plants thrive. Compact systems fit apartments while larger setups supply enough oregano or thyme for weekly meals.
Understanding the Basics of Hydroponic Systems
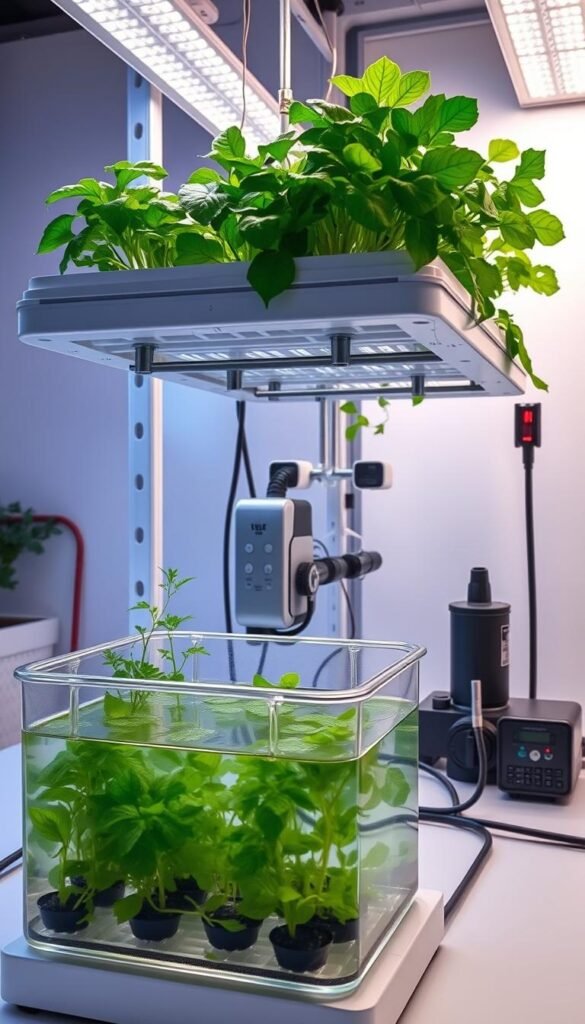
Ever wondered how plants thrive without a speck of dirt? Hydroponic gardens replace soil with a nutrient-rich water solution, delivering food directly to roots. This method skips the guesswork of traditional gardening, letting you control growth factors like pH balance and oxygen levels precisely.
How Hydroponics Differs from Soil Gardening
In soil, roots search for nutrients—a process that slows growth. Hydroponic systems bathe roots in a tailored solution, accelerating seed germination by up to 25%. Plants like parsley and chives develop stronger root networks since they’re not competing for resources.
Light plays a bigger role here than in outdoor gardens. LED setups mimic ideal sunlight hours, ensuring consistent energy for leafy greens. You’ll adjust timers to match each plant’s needs—no waiting for sunrise.
Maintenance is simpler too. Forget weeding or watering schedules. Just check the water’s nutrient levels weekly and prune as needed. For detailed upkeep strategies, explore our guide on hydroponic system maintenance.
Whether growing vegetables or aromatic herbs, this approach saves time and space. Your indoor garden becomes a predictable, high-yield partner—no messy dirt required.
The Advantages of an Indoor Herb Garden
Picture adding crisp, fragrant leaves to your meals every day—no grocery runs needed. A well-designed herb garden in your living space offers more than convenience. It transforms unused corners into lively green zones that purify air and lift moods naturally.
These systems do double duty. They supply fresh herbs for cooking while filtering toxins like formaldehyde from your home. Studies show certain leafy greens can reduce airborne pollutants by up to 20% within hours.
| Benefits | Traditional Gardens | Indoor Systems |
|---|---|---|
| Year-Round Growth | Seasonal limits | Harvest anytime |
| Space Efficiency | Requires yards | Fits on countertops |
| Air Quality Boost | No direct impact | Removes pollutants |
Good air circulation keeps plants healthy. A small fan near your setup prevents mold and strengthens stems. Try pairing feathery dill with woody thyme—their contrasting textures thrive together.
Chives add onion-like zest to dishes, while lemon thyme brightens sauces. With consistent care, these flavors stay bold for years. Start today, and soon you’ll clip aromatic sprigs even during snowstorms.
Choosing the Right Herbs for Your Indoor Garden
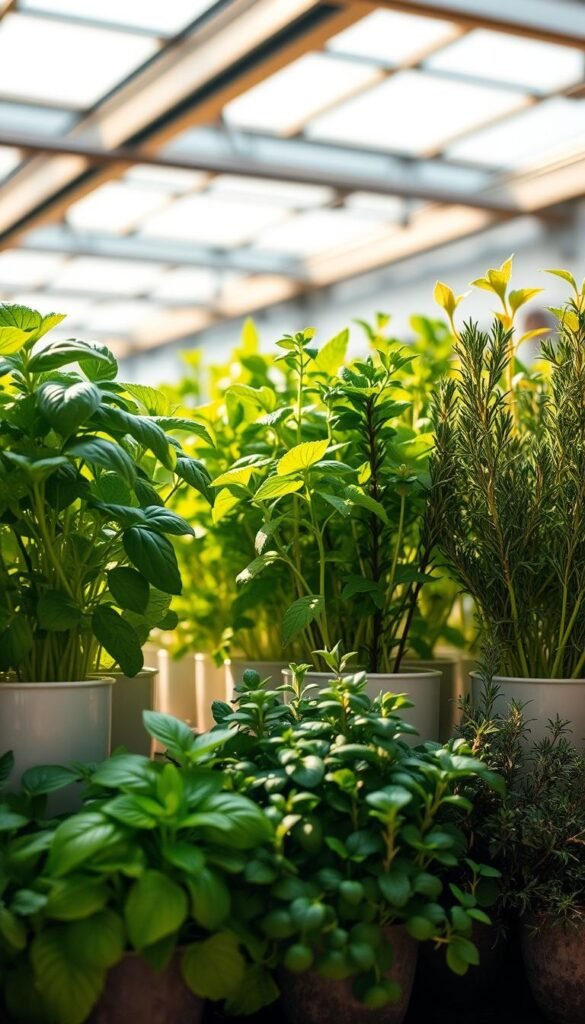
Curious which leafy greens flourish best in water-based setups? Start with varieties that adapt quickly to controlled environments. Two crowd-pleasers stand out for their versatility and fast growth cycles.
Mint and Its Unique Characteristics
This vigorous grower spreads rapidly in hydroponic systems. Its trailing roots thrive in deep water culture setups. You’ll notice peppermint develops stronger flavors under blue-spectrum LED lights compared to soil-grown counterparts.
Use cuttings instead of seeds for faster results. Prune weekly to prevent overcrowding—mint can overshadow slower-growing neighbors like parsley. Maintain slightly cooler water temperatures (65-70°F) for optimal oil production.
Basil: Essential for Culinary Delights
No kitchen garden feels complete without this aromatic staple. Sweet basil varieties mature 25% faster in nutrient-rich solutions than in dirt. For continuous harvests:
- Pinch off flower buds to prolong leaf growth
- Rotate plants under lights every 3 days
- Keep pH between 5.5-6.5 for best nutrient uptake
Start with seeds if you enjoy observing germination stages. Transplants work better when you need quick yields for sauces or pesto. Pair basil with oregano—they share similar light and feeding needs.
Pro tip: Label your seedlings clearly. Many herb varieties look identical in early growth phases. A simple tag system prevents mix-ups during harvesting.
Essential Equipment for Your Hydroponic Setup
Building a thriving water-based garden starts with smart gear choices. The right tools turn small spaces into lush green zones bursting with flavor. Let’s explore the core components that’ll make your setup efficient and productive.
Using LED Grow Lights Effectively
Full-spectrum LEDs mimic sunlight, encouraging bushy growth in compact areas. Adjustable timers let you customize light cycles—14 hours daily works for most leafy greens. Position lamps 12-18 inches above plants to prevent scorching.
| LED Type | Best For | Energy Use |
|---|---|---|
| Blue-Dominant | Leafy Greens | Low |
| Red-Dominant | Flowering Herbs | Medium |
| Full Spectrum | Mixed Gardens | High |
Some models feature vacation modes, pausing growth during trips. Pair lights with reflective surfaces to boost efficiency in tight corners.
Selecting Containers and Nutrient Solutions
Opt for BPA-free plastic or glass reservoirs with drainage holes. Shallow trays suit seedlings, while deeper bins support mature roots. Nutrient mixes should match your plants’ growth phase—higher nitrogen for leafy stages, balanced formulas later.
Check water levels twice weekly. Digital meters simplify pH tracking, ensuring your solution stays between 5.5-6.5. Stackable vertical planters maximize vertical space, letting you grow 3x more in the same footprint.
Pro tip: Label reservoirs with planting dates. This helps track growth patterns and adjust feeding schedules over time.
Step-by-Step Setup of Your Indoor Herb Hydroponics System
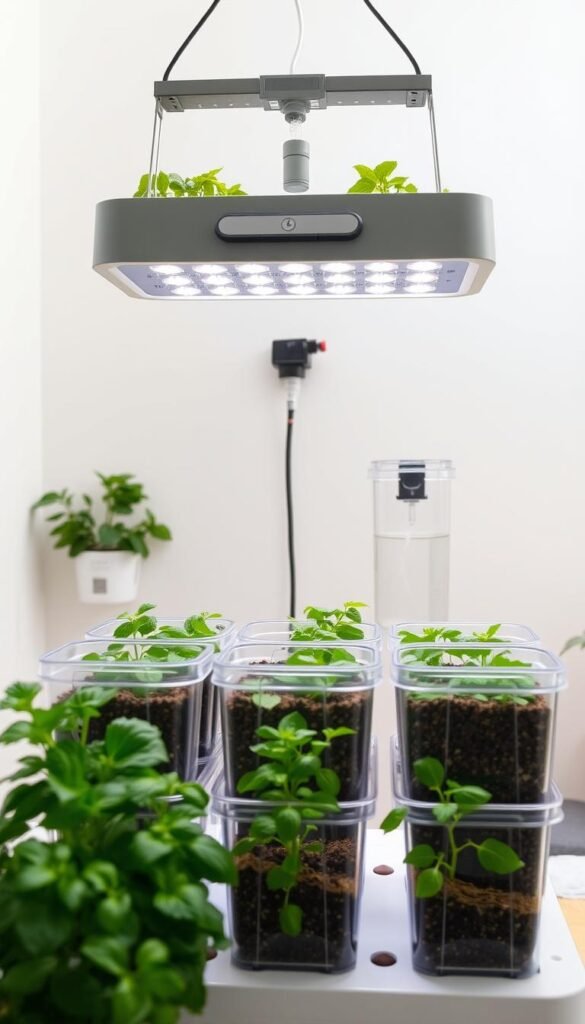
Ready to kickstart your own lush greenery at home? Follow these practical steps to assemble a thriving water-based garden. You’ll need just 30 minutes and basic tools to create a self-sustaining ecosystem for culinary favorites.
Preparing Your System for Planting
Begin by sanitizing your containers with a vinegar solution—this prevents algae buildup. Position grow lights 14 inches above empty trays, setting timers for 14-hour cycles. Fill reservoirs with pH-balanced water (5.8-6.3) mixed with vegetative-stage nutrients.
| Step | Tool | Time Needed |
|---|---|---|
| Clean Trays | White Vinegar | 5 Minutes |
| Mix Nutrients | Digital pH Meter | 3 Minutes |
| Arange Lights | Adjustable Hangers | 7 Minutes |
Place starter cubes in net pots, gently pressing seeds ¼ inch deep. Space basil and parsley 6 inches apart—their roots spread wider than thyme or oregano. Mist daily until sprouts appear, keeping humidity above 60%.
Germination and Early Growth Tips
Once seedlings emerge, reduce misting and check water levels every 48 hours. Rotate trays under lights to prevent leaning. Use this comparison to choose growing mediums:
| Medium Type | Best For | Drainage Speed |
|---|---|---|
| Coco Coir | Leafy Varieties | Moderate |
| Clay Pebbles | Woody Stems | Fast |
| Rockwool | Seed Starting | Slow |
Trim weaker sprouts to focus energy on dominant plants. If leaves yellow, increase magnesium in your solution. Within 10 days, you’ll see sturdy stems ready for regular feeding schedules.
Managing Light, Temperature, and Air Circulation
Creating the perfect environment for your plants starts with three key factors: light exposure, stable temperatures, and airflow. These elements work together to boost growth while preventing common issues like mold or leggy stems.
Establishing Optimal Conditions
Balance natural and artificial light for 12-16 hours daily. Place sun-loving herbs like rosemary near south-facing windows, but supplement with LEDs for consistent intensity. Use timers to automate cycles—plants thrive on routine.
| Light Source | Best Use | Daily Duration |
|---|---|---|
| LED Panels | Leafy Greens | 14 Hours |
| Fluorescent | Seedlings | 16 Hours |
| Natural Sunlight | Established Plants | 6-8 Hours |
Rotate pots weekly so all sides receive equal light. A small oscillating fan improves air movement, strengthening stems and reducing humidity spikes. Keep temperatures between 65-75°F—most herbs stall outside this range.
Check water temperature too. Roots prefer 68-72°F. Use a floating thermometer and adjust room conditions as needed. Pair these strategies with weekly pH checks to maintain nutrient absorption.
Space plants 6-8 inches apart. This prevents overcrowding and ensures each gets adequate light. For vertical setups, position taller varieties like lemongrass at the back to avoid shading smaller companions.
Monitoring Water and Nutrient Levels
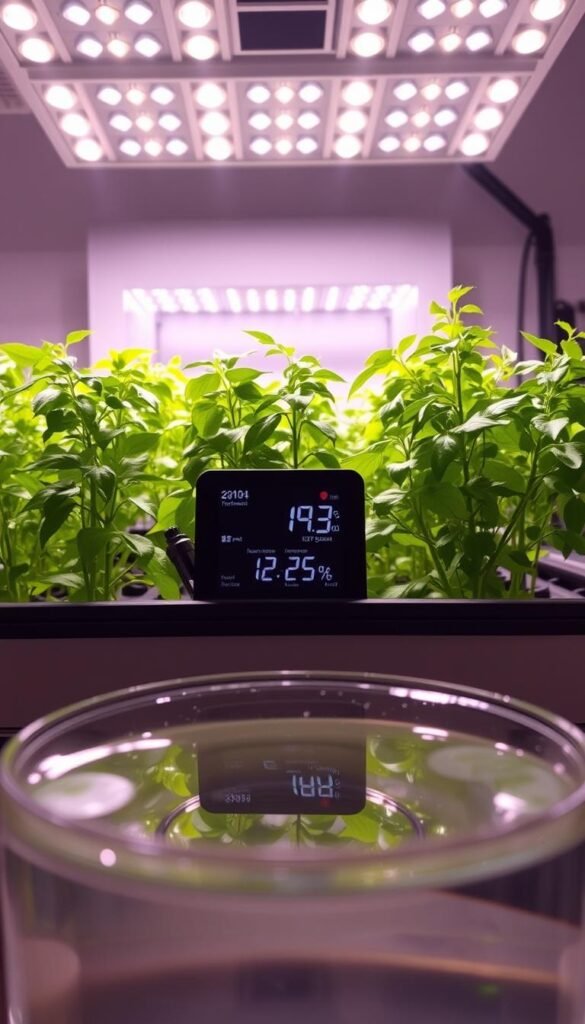
Keeping your plants thriving starts with mastering their liquid diet. Water quality directly impacts flavor intensity and leaf production. Test reservoirs every 3 days with an EC meter to measure nutrient strength—aim for 1.2-2.4 mS/cm for most leafy varieties.
Spot imbalances early. Yellowing leaves often signal low nitrogen, while brown tips suggest salt buildup. Flush systems monthly with pH-adjusted water to prevent mineral deposits. Use this quick-reference chart:
| Growth Stage | pH Range | EC Range |
|---|---|---|
| Seedlings | 5.5-5.8 | 0.8-1.2 |
| Vegetative | 5.8-6.2 | 1.5-2.0 |
| Mature | 6.0-6.5 | 1.0-1.8 |
Adjust solutions as plants grow. Young roots need weaker mixes to avoid burn. Increase potassium when flowering begins for aromatic herbs like lavender. Digital timers help maintain consistent watering cycles—overhydration drowns roots faster than underwatering.
Track consumption patterns. A thriving garden drinks 10-20% more weekly. Refill tanks before they drop below 30% capacity. Pair observations with seasonal changes—plants often need fewer nutrients in winter.
Quick fixes save crops. If leaves curl downward, dilute your solution by 25%. Stunted growth? Check water temperature—68°F is ideal for most varieties. With these strategies, you’ll create a self-regulating ecosystem that rivals soil-based yields.
Troubleshooting Common Indoor Herb Challenges
Even the most carefully tended gardens hit snags—but quick fixes keep your plants thriving. Spotting issues early prevents small problems from becoming crop-ending disasters. Let’s tackle two frequent hurdles and restore your green oasis.
Dealing with Pests and Fungal Issues
Tiny invaders like aphids or spider mites love tender leaves. Isolate affected plants immediately to protect others. Wipe leaves with diluted neem oil—it disrupts pests’ life cycles without harming your harvest.
| Problem | Signs | Solution |
|---|---|---|
| Whiteflies | Sticky residue on leaves | Yellow sticky traps |
| Powdery Mildew | White fuzzy patches | Baking soda spray |
| Root Rot | Brown, mushy roots | Trim roots, add oxygen |
Boost air circulation with a small fan to deter mold. Avoid overwatering—soggy roots invite trouble. For persistent cases, apply organic insecticidal soap every 5 days until clear.
Adjusting Light and Water Schedules
Leggy stems or pale leaves? Your light might be too weak or distant. Move LEDs 4-6 inches closer and extend daily exposure by 2 hours. Track changes with this guide:
| Symptom | Light Fix | Water Fix |
|---|---|---|
| Drooping | Reduce intensity | Check pH balance |
| Slow Growth | Increase duration | Raise nutrients |
| Leaf Scorch | Diffuse brightness | Flush system |
Modify one variable at a time. If leaves perk up after adjusting your timer, maintain that cycle for 7 days before further tweaks. Healthy gardens reward patience and observation.
Indoor Herb Hydroponics: Mint, Basil & More All Year Long
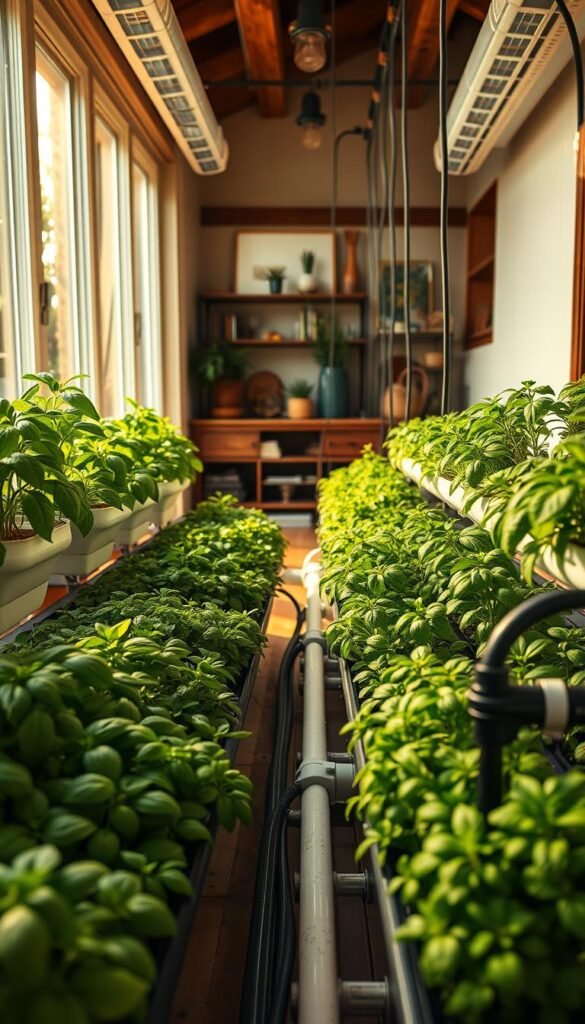
Your kitchen counter could become a flavor powerhouse, delivering fresh herbs even when snow blankets the ground. Modern setups remove seasonal limits, letting you clip aromatic leaves whenever recipes demand them. No need to replant or wait for spring—consistent yields become your new normal.
| Feature | Soil Gardening | Hydroponic Systems |
|---|---|---|
| Harvest Frequency | 3-4 months | Every 6 weeks |
| Space Required | 5 sq ft | 1.5 sq ft |
| Maintenance Time | Weekly | Biweekly |
Popular varieties like peppermint and Genovese basil thrive in these setups. Their roots absorb nutrients faster, producing 50% more leaves than dirt-grown counterparts. You’ll notice deeper flavors too—essential for standout pesto or mojitos.
Maintaining your green haven is simpler than you think. Automated lights and pH sensors handle most tasks. Just refill water reservoirs and prune occasionally. Soon, you’ll share sprigs with neighbors while your windowsill stays lush through every season.
Ready to transform how you cook? Start small, experiment boldly, and watch your meals bloom with homegrown zest.
Harvesting and Utilizing Fresh Herbs in Your Kitchen
When’s the perfect moment to snip those fragrant leaves? Clip stems just before they flower—this is when herbs pack the most flavor. Use sharp scissors to avoid crushing delicate stems, and always leave at least ⅓ of the plant intact for regrowth.
Morning harvests yield the best taste. Oils that give basil its punch or mint its zing peak after dew evaporates. Rinse leaves gently and pat dry if using immediately. For drying, bundle stems and hang them in a dark, airy spot for 1-2 weeks.
| Herb | Best Harvest Time | Storage Method |
|---|---|---|
| Basil | Pre-flower stage | Freeze in olive oil |
| Mint | Morning dew dried | Dry whole leaves |
| Parsley | 6-8 weeks after planting | Refrigerate in damp towel |
Add freshly chopped leaves to pasta sauces, salads, or infused waters. Dried varieties work wonders in soups and rubs. One thriving garden can supply enough oregano for weekly pizzas or thyme for roasted veggies.
Pro tip: Crush a leaf between your fingers before picking. If the aroma makes your mouth water, it’s ready. Your plants will reward careful timing with bold, complex flavors that elevate every dish.
Expanding Your Indoor Hydroponic System
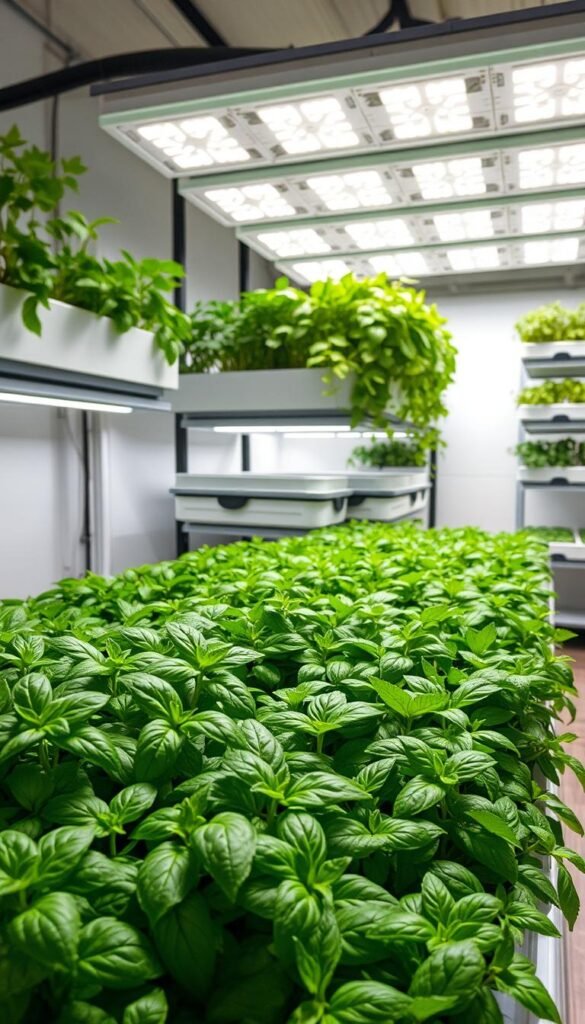
Ready to grow beyond your current setup? Expanding lets you experiment with diverse flavors while maximizing yields. Start by assessing light availability and nutrient capacity—these determine how many new plants your system can support.
Introducing New Herb Varieties
Add one species at a time to monitor compatibility. Leafy options like cilantro thrive alongside existing parsley if given similar light cycles. Check root structures—deep-rooted varieties need separate reservoirs from shallow growers.
| Herb | Light Needs | Nutrient Strength |
|---|---|---|
| Cilantro | Medium | 1.2 EC |
| Chives | Low | 0.9 EC |
| Oregano | High | 1.5 EC |
Soak seeds overnight to speed germination. For cuttings, trim lower leaves and place stems in cloning gel. Keep pH between 5.8-6.0 during transitions. Rotate trays daily for even light distribution.
Scaling Up Your Growing Space
Vertical stacking doubles capacity without floor space. Use tiered shelves with adjustable LED bars. Modular systems let you connect additional units as your herb garden grows.
| Setup Type | Plants Supported | Space Required |
|---|---|---|
| Wall Panel | 12-15 | 2 sq ft |
| Tower System | 20-25 | 3 sq ft |
| Tabletop Expansion | 8-10 | 1.5 sq ft |
Balance nutrient solutions weekly in larger reservoirs. Add air stones to boost oxygen levels. Label each section to track growth rates and adjust feeding schedules. Soon, you’ll harvest enough for meals and sharing!
Comparing Soil-Based and Hydroponic Indoor Herb Gardening
Ever debated which method fuels faster herb growth? Let’s break down how traditional soil stacks up against water-based systems. Both approaches let you grow flavorful plants, but their methods differ wildly.
Soil gardening relies on natural nutrients and organic matter. You water plants when the top inch feels dry. But roots must search for food, slowing growth. Hydroponic setups deliver nutrients directly through water, cutting search time. This means 35% faster leaf production for basil and parsley.
| Factor | Soil | Hydroponic |
|---|---|---|
| Water Use | High (evaporation) | Low (recycled) |
| Space Needed | Wide pots | Compact trays |
| Growth Speed | Standard | 2x faster |
| Pest Risk | Moderate | Low |
Want precise control? Hydroponics wins. Adjust pH and nutrients with a meter—no guessing games. Soil mixes vary, making consistency tricky. Plus, water systems reuse 90% of their supply, saving resources.
Starting from seeds? Both methods work, but hydroponics skips messy dirt. Just pop seedlings into clay pebbles. Lights matter too—LEDs boost growth in both setups, but hydroponic gardens need fewer hours due to efficient nutrient uptake.
Ultimately, your choice depends on lifestyle. Love hands-on care? Soil’s tactile nature might appeal. Prefer tech-driven results? Go water-based. Either way, fresh flavors await your kitchen.
Reviews and Insights on Top Indoor Herb Garden Systems
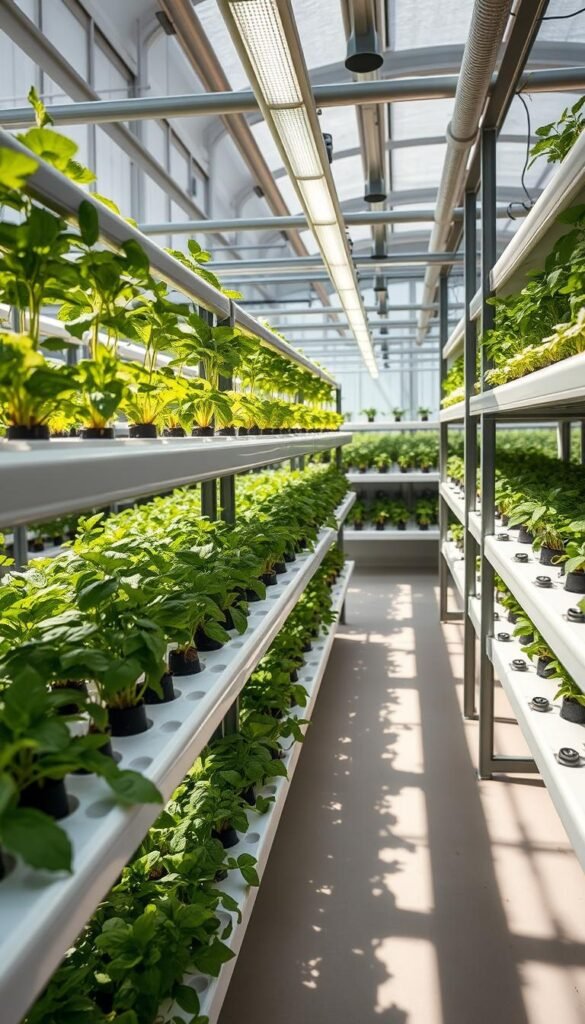
Choosing the perfect setup for your leafy greens doesn’t have to feel overwhelming. After testing popular models like the AeroGarden Harvest Elite and iDoo Hydroponics Growing System, clear differences emerge in usability and results. Let’s simplify your decision with real-world insights.
The AeroGarden shines for beginners. Its automated grow lights and reminders take the guesswork out of care. You’ll see basil sprouts in 10-14 days, with minimal adjustments needed. However, replacement nutrient pods cost more over time compared to DIY solutions.
| Feature | AeroGarden | iDoo System |
|---|---|---|
| Plant Capacity | 6 pods | 12 pods |
| Noise Level | Silent | Quiet pump |
| Customization | Limited | Adjustable cycles |
iDoo’s larger tank suits those wanting to grow diverse herbs simultaneously. Its modular design lets you mix thyme, parsley, and cilantro without overcrowding. Advanced gardeners appreciate the manual control over water cycles—though new users might find it complex initially.
Key considerations when selecting:
- Space: Compact units fit windowsills, while towers need 2-3 sq ft
- Maintenance: Self-cleaning modes save time vs. manual flushing
- Cost: Entry-level systems start under $100; commercial-grade exceeds $300
For small kitchens, prioritize whisper-quiet operation. If you’re growing multiple varieties, opt for expandable setups. Testers found systems with interchangeable pods simplified rotating crops. Your ideal match balances current needs with room to grow.
Maintaining Your Indoor Herb Garden for Longevity
Keep your green haven thriving with simple, consistent care. Regular checks and minor tweaks prevent bigger issues down the line. Focus on three pillars: plant health, system efficiency, and environmental balance.
Implementing Routine Maintenance Practices
Check water quality every 3-4 days using a digital meter. Clear roots of debris to prevent clogs—healthy ones look white and firm. Replace nutrient solutions every 14 days to avoid salt buildup.
| Task | Frequency | Tools Needed |
|---|---|---|
| Root Inspection | Weekly | Flashlight, tweezers |
| Light Cleaning | Biweekly | Microfiber cloth |
| Full System Flush | Monthly | pH-balanced water |
Rotate plants under lights to ensure even growth. Wipe leaves gently to maximize photosynthesis. A small fan nearby strengthens stems and prevents mold.
Seasonal Adjustments and Upkeep
Shorter winter days? Extend light cycles by 1-2 hours. In summer, monitor room temps closely—above 75°F stresses most herbs. Adjust feeding schedules as growth rates change.
| Season | Key Focus | Action Steps |
|---|---|---|
| Spring | New Growth | Increase nitrogen levels |
| Summer | Heat Control | Add ice packs to reservoir |
| Fall/Winter | Light Management | Use timer extensions |
Trim back leggy stems in cooler months to encourage bushier growth. Always sterilize tools between uses to protect your plants.
Wrapping Up Your Indoor Herb Growth Journey
Your journey from setup to harvest is complete—now savor the flavors of success. Growing plants without soil might’ve seemed daunting at first, but with the right tools, you’ve unlocked a sustainable way to spice up meals. Those leafy greens thriving under LEDs prove how simple it is to balance nature and technology.
Remember: light cycles and water quality make or break your garden. Keep timers consistent and test nutrients weekly. Roots flourish when their environment stays stable. If issues arise, adjust one variable at a time—patience often solves more than drastic changes.
Thinking bigger? Add new varieties gradually. Match their needs to your existing setup’s capacity. Vertical planters or modular systems let you grow diverse flavors without clutter. Share extras with friends—they’ll marvel at your fresh supply.
You’ve got this. Every snip of basil or mint marks progress. Start small, refine your approach, and watch your space transform into a vibrant hub of flavor. The rewards? Crisp garnishes, aromatic teas, and the pride of nurturing life—any day of the year.

