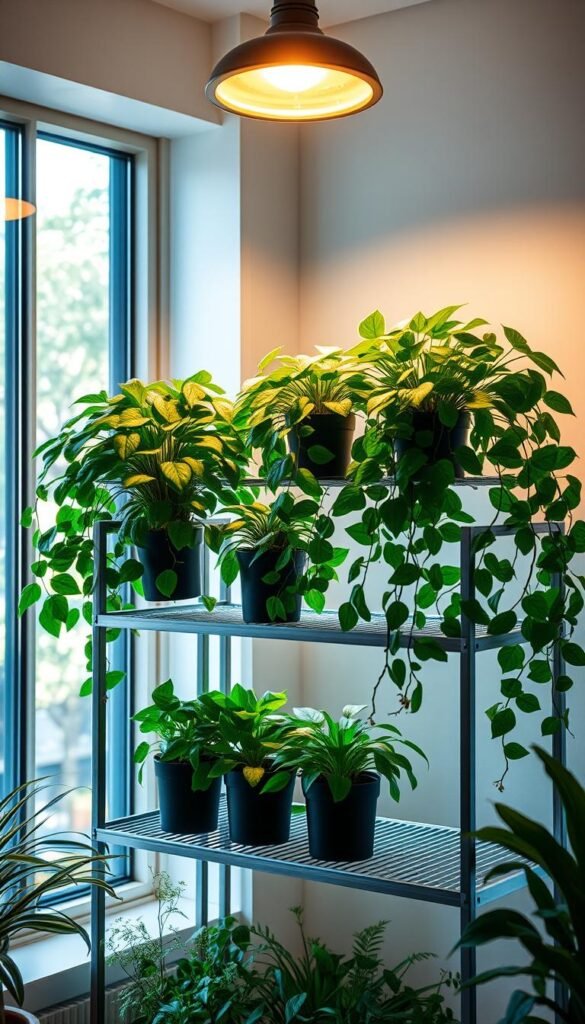
Ever wondered why your herbs or veggies don’t thrive like they do outdoors? The secret lies in mimicking natural sunlight. Specialized bulbs designed for plant growth provide the exact wavelengths your greens crave, especially in setups without soil. Let’s explore how these tools work and why they’re game-changers.
These energy-efficient solutions focus on the 400–700nm range, which fuels photosynthesis. Unlike old-school options, they produce less heat while delivering intense brightness. This means you can place them closer to leaves without risking damage—perfect for compact spaces.
In this guide, you’ll learn how to choose the right spectrum for each growth stage, from seedlings to harvest. We’ll also share pro tips for positioning fixtures and maintaining them year-round. Whether you’re growing basil on your countertop or tomatoes in a dedicated room, smart lighting makes all the difference.
Key Takeaways
- Tailored wavelengths between 400–700nm maximize plant energy absorption
- Cooler operation allows safer proximity to foliage compared to traditional bulbs
- Adjustable spectrums support different growth phases for healthier yields
- Proper placement prevents light burn while ensuring full canopy coverage
- Regular maintenance extends fixture lifespan and performance consistency
Understanding the Basics of LED Grow Lights
Why do some setups produce lush greenery while others struggle? The answer often lies in choosing tools that act like sunlight translators. Modern horticultural systems rely on specialized illumination to fuel biological processes efficiently.
What Are LED Grow Lights?
These devices use semiconductor chips to emit precise light wavelengths. Unlike standard bulbs, they’re engineered to power photosynthesis by targeting the 400–700nm range. This exact match for chlorophyll absorption means faster, healthier development for your greens.
Core Principles Behind Their Design
Manufacturers layer multiple diodes with protective coatings to withstand humidity and heat. Advanced models combine blue (450nm) and red (660nm) spectrums, which drive root formation and leaf expansion. Regular household LEDs lack this fine-tuning—they prioritize brightness over biological needs.
Here’s what sets them apart:
- Semiconductor materials ensure energy-efficient wavelength control
- Water-resistant housings protect electronics in moist environments
- Adjustable ratios support seedlings, flowering phases, and everything between
By mimicking natural light cycles, these systems help you avoid leggy stems or pale leaves. They’re not just bulbs—they’re growth accelerators tailored for living things.
How LED Grow Lights Drive Photosynthesis
What separates thriving indoor gardens from struggling ones often comes down to light science. Your greens need more than just brightness—they require specific conditions to transform photons into fuel. Let’s break down the two critical factors that make or break this process.
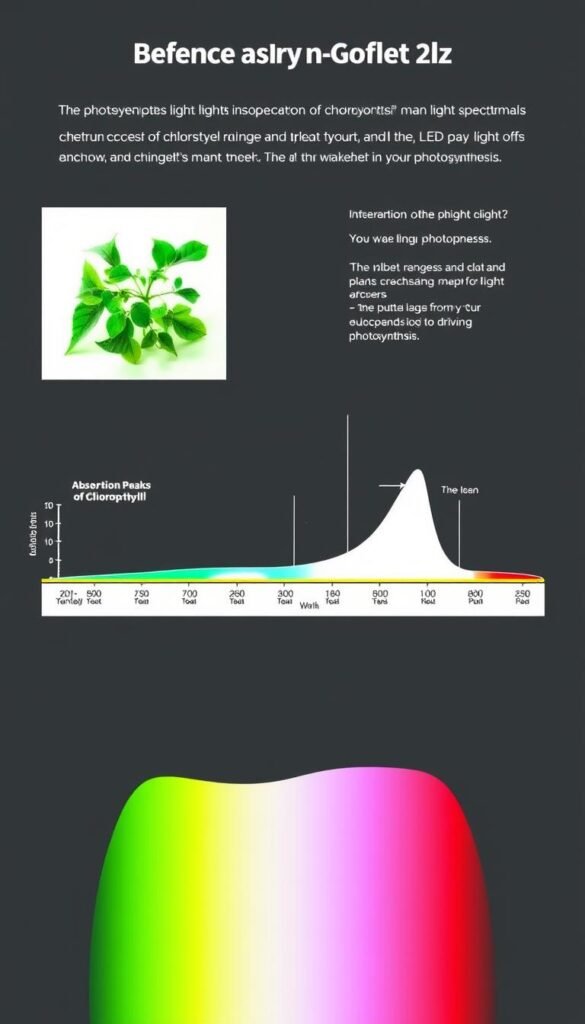
The Role of Light Intensity and PAR
Photosynthesis kicks into high gear when your setup delivers enough energy. PAR (Photosynthetically Active Radiation) measures usable light between 400–700nm—the exact range plants absorb. Think of it as their dietary requirement for photons.
Higher intensity means faster growth, but balance is key. Too much can scorch leaves, while too little leads to weak stems. Quality systems let you adjust output based on your crop’s stage, ensuring they get just what they need.
Spectrum Impact on Plant Growth
Not all wavelengths work the same. Blue light (450nm) promotes bushy, compact growth during vegetative phases. Red light (660nm) triggers flowering and fruiting. Modern fixtures mix these spectrums like a chef perfecting a recipe.
Your leafy friends use specific colors to power different processes. By matching the light source to their needs, you’re essentially giving them a customized energy drink. The result? Faster development, richer colors, and heartier yields.
Differences Between Regular LEDs and LED Grow Lights
Not all light sources are created equal when it comes to nurturing plants. While standard bulbs brighten your home, specialized horticultural diodes are built to power biological processes. Let’s uncover what sets these systems apart.
High Light Intensity Requirements
Your greens demand intense photons to fuel growth—far beyond what desk lamps provide. Grow-focused diodes emit 3–5 times more PAR (Photosynthetically Active Radiation) than basic models. This energy surge mimics midday sun exposure, triggering robust leaf development and flowering.
Advanced packaging like COB (Chip-on-Board) clusters multiple diodes into tight arrays. Compared to scattered SMD (Surface-Mounted Device) setups, this design concentrates brightness while managing thermal output. The result? Less wasted energy and cooler operation.
Humidity Resistance and Protective Coatings
Moist environments challenge electronics. Standard LEDs lack the silicone seals and acrylic coatings that shield grow fixtures from condensation and splashes. These barriers prevent corrosion, ensuring stable performance in greenhouses or hydroponic tents.
Durable housings also channel heat away from sensitive components. Pair this with waterproof connectors, and you’ve got a system that thrives where ordinary bulbs would fail within months.
By addressing both intensity and environmental demands, specialized diodes deliver consistent results season after season. They’re not just brighter—they’re smarter, tougher, and tuned for life science.
Components and Packaging of LED Grow Lights
Ever thought about what’s inside those sleek fixtures that power your garden? The secret to their performance lies in clever engineering. Advanced packaging and optics work together to turn electricity into the exact wavelengths your greens need. Let’s unpack how these parts shape your setup’s success.

COB vs. Surface Mounted Devices (SMD)
These two packaging styles tackle brightness differently. COB (Chip-on-Board) clusters multiple diodes into a single module, creating intense beams perfect for flowering stages. SMD (Surface-Mounted Device) arrays spread diodes across the fixture, offering wider coverage for leafy greens.
| Feature | COB | SMD |
|---|---|---|
| Light Output | Concentrated hotspot | Even spread |
| Energy Efficiency | Higher per watt | Better heat management |
| Best For | Flowering/fruiting | Seedlings & herbs |
Primary and Secondary Lenses and Optics
Think of lenses as traffic directors for photons. Primary lenses sit directly over diodes, protecting them from dust and moisture. Secondary optics—like reflectors or diffusers—shape the light beam to match your canopy’s size.
Well-designed optics reduce wasted energy by up to 30%. They ensure each wavelength reaches your plants’ leaves instead of bouncing off walls. This precision means faster growth and fewer burnt tips.
By combining smart packaging with focused optics, modern systems give you full control over light distribution. Your greens get exactly what they need—nothing more, nothing less.
Tuning the Light Spectrum for Optimal Plant Growth
Why do some seedlings stretch while others stay compact? The answer often hides in the rainbow of colors your greens absorb. Just like humans need varied nutrients, plants thrive on specific light wavelengths during different life stages.
Blue Light: The Growth Accelerator
Think of blue light (450nm) as a gym coach for young plants. It encourages tight spacing between leaves and sturdy stems during vegetative growth. This wavelength tells your greens to focus on building structure rather than stretching upward.
Red Light: The Bloom Trigger
When flowering begins, red light (660nm) takes center stage. It signals plants to produce buds and fruits by mimicking autumn sun angles. Many systems let you increase red ratios gradually, creating natural seasonal transitions indoors.
Full spectrum setups combine these colors with others like green and far-red. This blend:
- Mimics outdoor sunlight patterns
- Supports all growth phases simultaneously
- Reduces stress during light cycle changes
| Light Color | Role | Best For |
|---|---|---|
| Blue | Leaf development | Seedlings & herbs |
| Red | Flower formation | Tomatoes & peppers |
| Full Spectrum | Complete support | Mixed crops |
Adjusting your system’s color balance takes minutes but yields dramatic results. Start with 70% blue during early growth, then shift to 60% red as flowers appear. Your greens will reward you with healthier structures and plentiful harvests.
Exploring the Role of LED Drivers in Grow Lights
What keeps your garden glowing when the power flickers? Hidden inside every quality fixture, drivers act as silent guardians for your setup. These components convert household AC power to stable DC current while shielding delicate diodes from voltage spikes.
Understanding Constant Current and Constant Voltage Drivers
Two main types manage electricity flow. Constant current drivers maintain steady amperage, perfect for multi-diode arrays needing uniform brightness. Constant voltage models deliver fixed voltage, ideal for parallel circuits where each diode self-regulates.
Here’s how they differ:
- Current-controlled units prevent overheating in high-power setups
- Voltage-stable versions allow flexible expansion of light bars
- Hybrid systems combine both approaches for complex installations
Driver Efficiency and Reliability Factors
Top-tier drivers achieve 90-95% energy conversion rates. This means less wasted electricity and cooler operation—critical for crowded grow spaces. Look for surge protection ratings above 6kV and waterproof casings (IP65 or higher) to ensure year-round performance.
Efficient models reduce heat output by 40% compared to basic versions. They also maintain consistent light levels as components age, preventing sudden drops in photon delivery. For growers focused on plant health, investing in reliable drivers means fewer replacements and stable harvests.
Smart choices here directly impact your system’s lifespan and energy bills. Pair robust drivers with proper ventilation, and your greens will bask in unwavering artificial sunshine.
Advanced Features: Dimming and Programmability
Mastering your garden’s brightness levels is like having a volume knob for plant growth. Modern systems let you fine-tune output to match your greens’ daily needs while conserving energy. This precision becomes crucial when managing diverse crops or multi-stage setups.
PWM vs. Analogue Dimming Explained
Pulse-width modulation (PWM) works like a rapid light switch—flipping on/off thousands of times per second. This creates smooth brightness adjustments without color shifts, perfect for maintaining ideal red-blue ratios during flowering phases.
Analogue dimming alters electrical current to reduce output. While simpler, it can cause slight spectrum changes at lower settings. Choose PWM for sensitive crops needing consistent wavelengths, and analogue for budget-friendly setups.
How Automation Optimizes Light Cycles
Smart controllers take the guesswork out of daily adjustments. Program sunrise simulations for seedlings or gradual intensity drops mimicking sunset. These systems:
- Adjust brightness based on growth stage
- Sync multiple fixtures for uniform coverage
- Track energy usage in real-time
One commercial tomato grower reported 23% higher yields after implementing automated schedules. “The plants responded immediately to dawn/dusk simulations,” their lead horticulturist noted. “We achieved perfect ripening timing.”
By combining responsive dimming with smart scheduling, you create tailored environments that boost photosynthesis efficiency. Your greens get precisely timed light “meals”—no more, no less.
Optimizing LED Grow Light Placement and Installation
Positioning your fixtures correctly determines whether your greens flourish or falter. Proper placement ensures every leaf gets its share of energy without stress. Let’s break down the science of smart installation for year-round success.
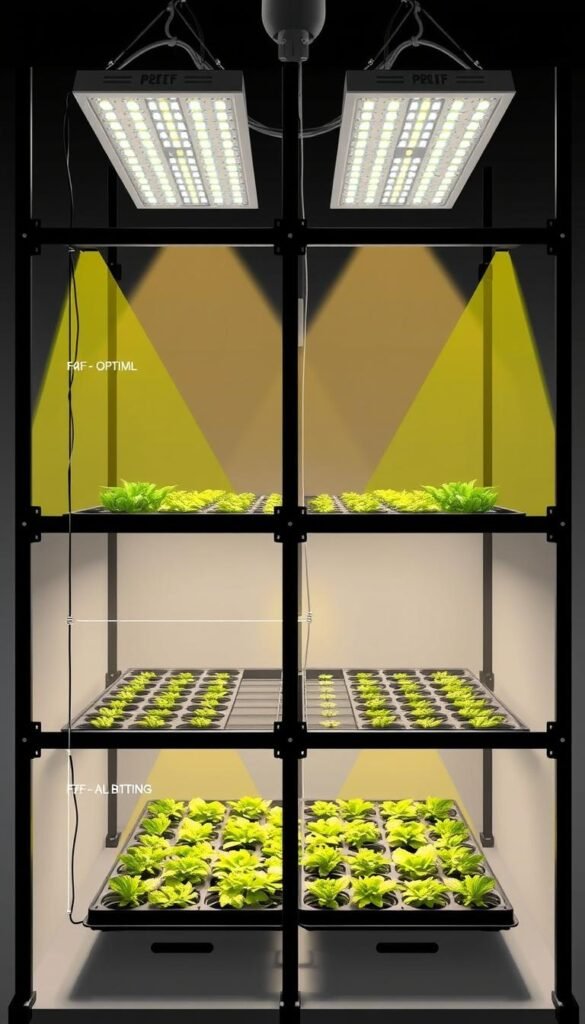
Hanging Height and Light Spread
Distance from the plant canopy directly impacts growth rates. Too close, and you risk bleaching leaves. Too far, and stems stretch unnaturally. Most systems work best 12-24 inches above foliage, depending on their output.
| Plant Stage | Recommended Height | Coverage Area |
|---|---|---|
| Seedlings | 24-30 inches | 4 sq ft per fixture |
| Vegetative | 18-24 inches | 3 sq ft per fixture |
| Flowering | 12-18 inches | 2 sq ft per fixture |
Reflective walls boost efficiency by bouncing stray photons back to your crops. Use white paint or Mylar sheets to achieve 95% light reflection. This trick works wonders in tight spaces where every lumen counts.
Check your setup weekly as plants grow taller. Adjust fixtures to maintain consistent exposure across all leaves. Rotate pots periodically if using stationary lights to prevent lopsided growth.
Maximizing Indoor Hydroponic Yields with LED Grow Lights
What if your garden could thrive with less effort and lower bills? Smart lighting strategies do more than brighten your space—they create ideal conditions for vigorous development while keeping energy use in check.
Energy Efficiency and Heat Management
High-quality systems convert 60% more energy into usable light than outdated alternatives. This efficiency directly impacts your plants’ ability to photosynthesize, as excess heat can stress leaves and stunt growth. Proper thermal management maintains leaf surface temperatures between 72-78°F—the sweet spot for nutrient absorption.
Here’s how to balance output and climate control:
- Space fixtures 18-24″ apart to allow air circulation
- Use oscillating fans to disperse warmth evenly
- Choose models with aluminum heat sinks for passive cooling
Consistent light delivery matters just as much as intensity. A 2023 University of Arizona study found crops under stable lighting produced 31% more biomass than those with fluctuating conditions. Timers and dimmers help maintain steady cycles, especially during sensitive phases like vegetative growth.
| Strategy | Energy Savings | Yield Impact |
|---|---|---|
| 18-hour daily cycle | 22% lower costs | +19% leaf growth |
| Active cooling | 15% less waste | Reduced wilting |
| Full-spectrum tuning | Optimal usage | Balanced development |
Rotate your greens weekly to ensure all sides receive equal exposure. Wipe down fixtures monthly—dust buildup can block 20% of usable light. When you pair these habits with smart heat control, your plants reward you with lush, vibrant harvests.
LED Grow Lights Explained: Boosting Indoor Hydroponic Results
Getting the most from your setup requires more than just flipping a switch. The right combination of technology and strategy turns good results into exceptional harvests. Let’s break down the essentials for creating ideal conditions.
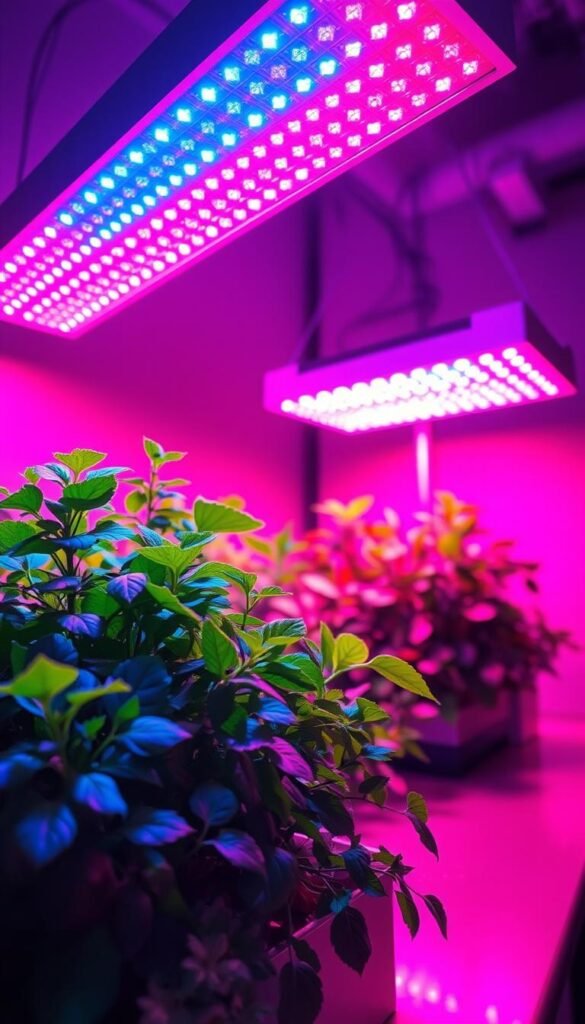
Mastering the Growth Formula
Your plants need precise recipes of color and brightness. Red wavelengths (660nm) encourage flowering, while blue (450nm) keeps stems sturdy. Balance these like a baker mixing ingredients—too much of one creates lopsided development.
Three pillars support success:
- Spectral accuracy: Match wavelengths to each growth phase
- Smart placement: Adjust height as plants mature
- Energy smarts: Lower bills without sacrificing output
Controlled environments boost yields by up to 40% compared to random setups. One urban farmer shared: “After dialing in my red-blue ratios, my basil doubled in leaf size within weeks.”
| Checklist Item | Vegetative Stage | Flowering Stage |
|---|---|---|
| Red light % | 30% | 60% |
| Daily exposure | 16-18 hours | 12 hours |
| Fixture height | 18-24 inches | 12-18 inches |
Rotate your greens weekly for even light distribution. Wipe fixtures monthly—dust blocks 15% of usable photons. Pair these habits with weekly height checks, and you’ll see fuller canopies and happier roots.
Understanding Light Spectrum and Photosynthetically Active Radiation (PAR)
Your plants don’t just need light—they need the right color recipe to thrive. Photosynthetically Active Radiation (PAR) measures the wavelengths between 400–700nm that fuel their growth. This range acts like a solar menu, serving exactly what your greens can digest.
Measuring and Tuning Light Spectrum
PAR meters help track usable light energy reaching your plants. These devices show whether your setup delivers enough blue for leafy growth or sufficient red for flowering. Proper measurement prevents guesswork—you’ll know if adjustments are needed.
The 400–700nm sweet spot matters because:
- Blue (450nm) strengthens stems and leaves
- Red (660nm) boosts flower and fruit production
- Green (550nm) penetrates dense canopies
| Tool | Purpose | Frequency |
|---|---|---|
| PAR Meter | Measure usable light | Weekly |
| Spectrometer | Check color balance | Monthly |
| Lux Meter | Assess brightness | Seasonally |
Adjust your system using dimmers or controllers. Gradually increase red wavelengths as plants transition to flowering stages. Rotate fixtures periodically to ensure even spectrum distribution across all leaves.
Monitor quality by:
- Checking for color shifts in diodes
- Cleaning lenses to maintain intensity
- Recording growth responses after changes
Consistent tuning keeps your plants in their ideal light environment. Like adjusting a radio dial, small tweaks deliver clearer signals for better growth outcomes.
Increasing Yield: How Light Properties Affect Plant Growth
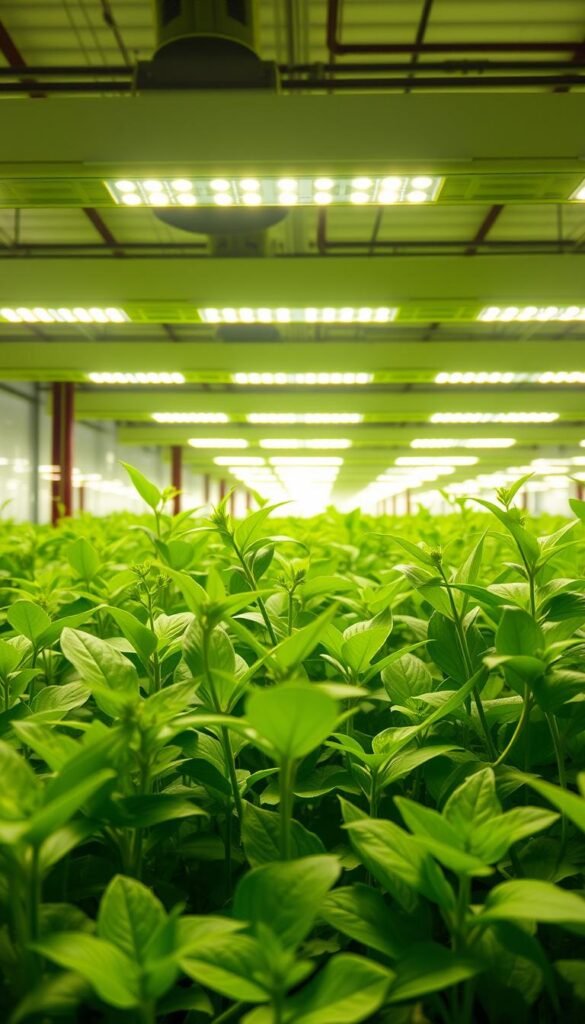
Balancing light isn’t just about brightness—it’s about smart distribution. Your greens need photons delivered like a perfectly timed rain shower: even, consistent, and tailored to their needs. When every leaf gets its share, you’ll see fuller canopies and higher productivity.
Uniform Light Distribution and Consistency
Imagine your favorite coffee shop—the best spots aren’t just near windows but where light spreads evenly. Plants work the same way. Proper coverage prevents “hungry” areas where stems stretch weakly toward dim corners. Spacing fixtures 18-24 inches apart creates overlapping beams that mimic natural sunlight patterns.
Hotspots stress leaves like sunburns on skin. A 2023 Cornell study found tomatoes under uniform lighting produced 28% more fruit than those with uneven exposure. Use reflectors or diffusers to scatter light gently across your setup. This approach:
- Boosts usable photons by up to 40%
- Reduces wasted energy on wall reflections
- Encourages balanced root-to-shoot development
| Light Distribution Method | Coverage Area | Yield Impact |
|---|---|---|
| Reflective panels | Wide spread | +22% leaf growth |
| Adjustable fixtures | Targeted zones | 17% denser buds |
| Rotating stands | Full rotation | Even canopy development |
Check your setup weekly with a light meter. Adjust fixture angles as plants grow taller. Remember—consistency matters more than intensity. Steady light meals beat occasional feasts for long-term plant health.
Maintenance and Lifespan of Your LED Grow Lights
Quality horticultural systems can serve you well beyond their warranty periods when cared for properly. With an average lifespan of 4 years, these tools demand simple but consistent attention to maintain peak performance. Let’s explore how to keep your setup running smoothly season after season.
Cleaning and Routine Checks
Dust buildup acts like sunscreen for your fixtures—blocking crucial photons from reaching leaves. Wipe diodes weekly with a dry microfiber cloth, paying special attention to cooling vents. Monthly inspections should include:
- Checking for loose wire connections
- Verifying waterproof seals remain intact
- Testing dimmer functionality
Managing Heat and Environment for Longevity
Heat is the silent killer of electronic components. Maintain ambient temperatures between 68-77°F (20-25°C) using exhaust fans or AC units. Proper airflow prevents moisture buildup while keeping drivers operating efficiently.
| Maintenance Task | Frequency | Impact |
|---|---|---|
| Lens cleaning | Weekly | +15% light penetration |
| Driver inspection | Monthly | Early fault detection |
| Full system test | Quarterly | Consistent output |
Watch for these warning signs of aging systems:
- Flickering or color shifts in diodes
- Unusual buzzing from drivers
- Reduced leaf density despite proper care
Extend your system’s life by keeping relative humidity below 60% and avoiding sudden temperature swings. Rotate fixtures every 6 months to ensure even wear across all components. With these habits, your setup will deliver reliable harvests year after year.
Energy Savings and Reduced Operating Costs with LED Technology
Smart gardeners know every watt counts. Modern plant lighting slashes power bills while delivering better results. Unlike outdated options, these systems convert electricity into usable light with surgical precision.
Long-Term Savings Through Efficiency
Traditional bulbs waste 60% of energy as heat. Modern diodes flip this ratio, using 40-60% less power according to energy use studies. This efficiency means smaller AC units and fewer fans battling excess warmth.
Here’s how the math works:
| Cost Factor | HPS Fixture | LED System |
|---|---|---|
| Annual Energy Use | 2,200 kWh | 880 kWh |
| Cooling Costs | $180/year | $45/year |
| 5-Year Total | $3,850 | $1,240 |
A Michigan State University trial found greens grown under optimized lighting required 57% less energy than standard setups. “The savings allowed us to expand our herb production by 40%,” noted lead researcher Dr. Ellen Torres.
Reinvest those savings into better nutrients or climate controls. Your plants get stronger root systems and denser foliage when resources shift from cooling to growth support. Regular upgrades become feasible too—newer models keep getting smarter about photon delivery.
“Our utility bills dropped 63% after switching, letting us fund automated watering systems.”
With proper maintenance, these systems pay for themselves in 14-18 months. Then it’s pure profit—both in your wallet and your garden’s output.
Selecting the Right LED Grow Lights for Your Indoor Garden
How do you pick the perfect light recipe for your leafy friends? The answer lies in matching your system’s capabilities to your garden’s unique needs. Whether you’re nurturing delicate herbs or robust fruiting crops, three factors determine success: adaptability, coverage, and durability.
Key Features to Consider
Start with this checklist when comparing options:
- Adjustable spectrum: Look for systems offering 3000K–5000K color temperature range
- Uniform coverage: Fixtures should illuminate 90% of your plant canopy
- Modular design: Expandable setups adapt as your garden grows
| Feature | Importance | Best For |
|---|---|---|
| Adjustable Spectrum | Supports growth stages | Multi-crop gardens |
| 400W+ Output | Fruit development | Tomatoes & peppers |
| IP65 Rating | Humidity resistance | Hydroponic setups |
Tailoring the Spectrum to Your Plants’ Needs
Young seedlings thrive under cooler 450nm blue light, while flowering plants demand 660nm red wavelengths. Smart systems let you shift ratios with a button press. One urban gardener reported, “My basil doubled in leaf size after dialing in the blue spectrum.”
Balance upfront costs with long-term savings. Energy-efficient models use 40% less power than basic options. Pair them with reflective panels to maximize every photon’s journey to your plant canopy.
Conclusion
Your journey from seedling to harvest hinges on one critical choice: how you power photosynthesis. Specialized lighting isn’t just a tool—it’s the bridge between basic setups and thriving ecosystems. By focusing on spectral precision and energy efficiency, modern systems unlock potential your plants can’t reach with ordinary bulbs.
Customizable spectrums let you guide each growth phase like a conductor. Cooler operation protects delicate leaves while slashing energy bills. Pair these features with smart placement, and you create conditions where roots dig deeper and flowers bloom brighter.
Before investing, weigh factors like humidity resistance and coverage patterns. Proper maintenance ensures consistent performance year after year. Time spent fine-tuning settings pays off in fuller canopies and heartier yields.
Remember, success lies in balancing science with care. Every adjustment—from dimmer settings to lens cleaning—shapes your garden’s future. Ready to transform your space? Bookmark this guide for updates as technology evolves. Your greens deserve nothing less than tailored brilliance.

