Ever plant flowers only to realize they clash with your walkway? You’re not alone. Many homeowners face messy layouts and mismatched plants because they skip one crucial step: drawing a clear plan first. Professionals know structured designs prevent costly mistakes while creating spaces that feel both beautiful and purposeful.
Think of your yard as a blank canvas. Just like painters sketch before adding color, following a 7-step garden design process helps transform random ideas into cohesive layouts. Modern tools like measuring apps and digital planners make it easier than ever to map sunlight patterns, drainage areas, and traffic flow before digging your first hole.
Why does this matter? Proper drawings help you visualize how patios connect to flower beds or where trees will cast shade in five years. You’ll avoid buying too many shrubs or placing your fire pit where rainwater pools. Whether you prefer pencil sketches or tablet diagrams, we’ll show how simple techniques create yards that grow better with time.
Ready to turn chaos into calm? Let’s explore how designers use scale drawings, site assessments, and smart tools to build outdoor spaces that work as hard as they look.
Introduction to Garden Design Drawing
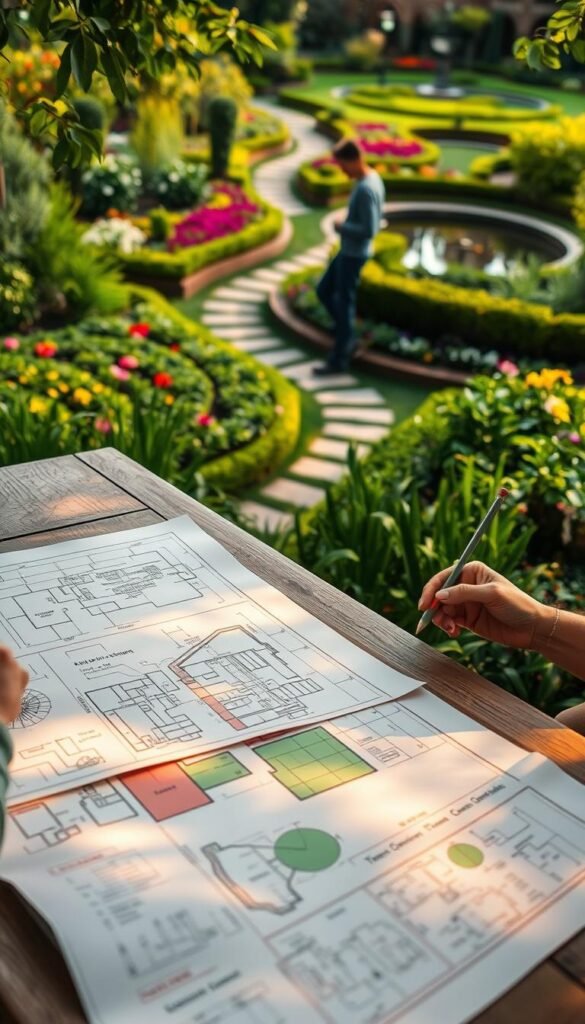
Imagine stepping into a garden where every path leads to discovery and each plant serves a purpose. That magic starts with putting ideas on paper first. Like learning a new language, sketching your vision helps translate dreams into layouts that thrive year-round.
Why a Clear Plan Matters
Without a roadmap, gardens often become cluttered. You might love hydrangeas but realize too late they block sunlight from your veggies. A structured approach prevents these mishaps. As designer Lauren Sullivan notes:
“Great spaces balance beauty and brains – they look effortless because someone measured twice and planted once.”
Consider these common mistakes avoided through planning:
| Without Plan | With Plan |
|---|---|
| Overcrowded shrubs | Proper plant spacing |
| Mismatched bloom times | Year-round color flow |
| Poor drainage areas | Strategic slope grading |
How to Begin Your Design Journey
Start by observing your space for a week. Note where sunlight lingers or puddles form after rain. This groundwork informs smarter choices than picking plants impulsively. Ask yourself: “Do I want a cozy retreat or vibrant entertainment zone?” Your answers shape everything from path widths to seating placement.
Seasoned pros use these starter steps:
- Sketch existing features (trees, structures)
- Mark sun/shade patterns
- List must-have elements (like aesthetic focal points)
Remember, skills grow through practice. Your fifth sketch will always outshine the first. Focus on progress, not perfection.
Understanding the Importance of Planning Before Planting
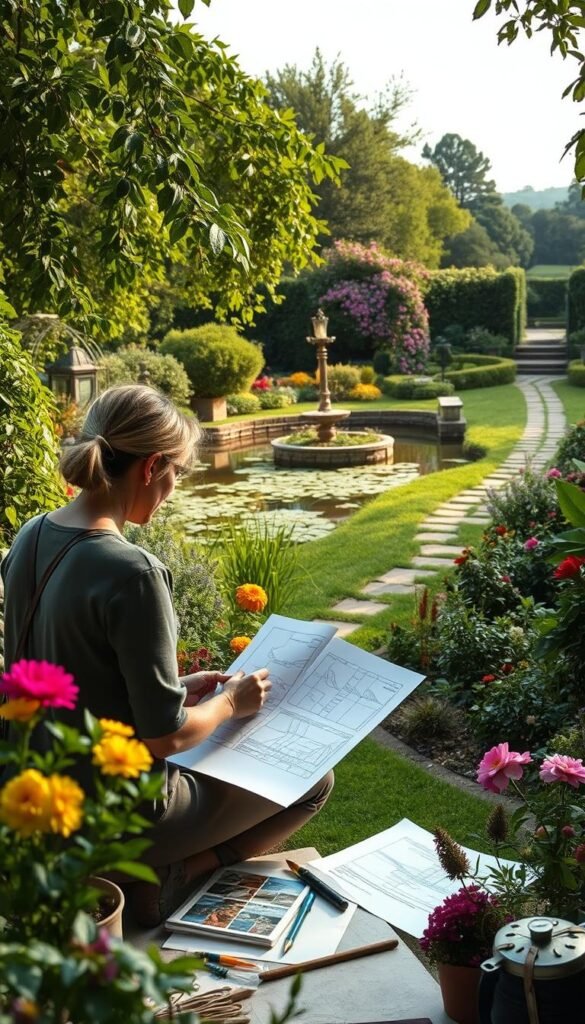
Have you ever bought a stunning plant only to realize it doesn’t fit your space? This common mishap happens when gardeners prioritize greenery over structure. Professionals treat planning as the foundation, not an afterthought. Their secret? A seven-step system where choosing plants comes last.
Impulse purchases at nurseries often lead to cluttered landscapes. Those vibrant annuals might look perfect in pots but clash with your yard’s sunlight conditions. Landscape architect Rachel Hart emphasizes:
“Plants are the jewelry of your garden – but you need the dress first.”
Compare typical outcomes:
| Without Planning | With Planning |
|---|---|
| Overgrown shrubs blocking paths | Mature-size spacing |
| Seasonal color gaps | Year-round bloom cycles |
| $500+ in replacements yearly | 90% plant survival rate |
Smart design starts with mapping hardscapes and sun patterns. Tools like square-foot garden layouts help visualize spacing needs. This approach prevents buying six azaleas when three would suffice.
By delaying plant purchases, you’ll create cohesive spaces where every element serves a purpose. Your wallet – and your backyard – will thank you.
Tools of the Trade: Essential Garden Design Instruments

Ever tried eyeballing measurements only to realize your patio sketch doesn’t match reality? Precision separates hopeful guesses from actionable plans. Whether you’re sketching on grid paper or tapping screens, the right tools turn vague ideas into buildable layouts.
Analog Tools: Measuring Tapes and Sketching Materials
Old-school methods still shine for hands-on projects. A 200-foot steel tape measure hooks onto fence posts or kitchen skewers for solo measuring. Landscape designer Mia Fernandez advises:
“Analog tools force you to understand space physically – you feel the land’s contours as you work.”
Essential starter kit:
- Architectural scale ruler for accurate sketches
- Tracing paper overlays for testing layouts
- Weatherproof notebooks for site notes
Digital Tools: Apps and Software for Precision
Modern tech solves problems designers faced decades ago. Your phone’s camera becomes a laser measure with apps like MeasureKit. Google Maps’ satellite view calculates property boundaries while you sip coffee indoors.
Compare approaches:
| Analog | Digital |
|---|---|
| Better for tactile learners | Ideal for quick revisions |
| No battery required | Cloud storage access |
| Hand-drawn charm | 3D modeling capabilities |
Choose based on your project’s needs. Large estates benefit from measuring wheels – one roll captures 1,000 feet. Urban plots? Try square-foot planning apps that auto-calculate plant spacing. Keep both methods in your toolkit – sometimes paper sketches spark creativity screens can’t match.
Mastering the Art of Garden Design Drawing: Tools and Techniques
Ever sketch a pergola only to find it dwarfs your patio when built? That’s why pros swear by scale drawings. Every inch on paper equals real feet, letting you spot sizing errors before buying materials. Landscape architect Tom Baker explains:
“Scale plans reveal relationship issues you’d miss in 3D – like pathways swallowing up flower beds.”
Start with simple bubble diagrams showing zones. Progress to grid paper sketches using 1/4″=1′ scale. This method helps you:
- Test multiple layouts quickly
- Calculate exact material quantities
- Communicate ideas to helpers
Professionals use three core drawings:
| Drawing Type | Purpose |
|---|---|
| Master Plan | Shapes spaces & structures |
| Planting Plan | Specifies species locations |
| Construction Guide | Details building steps |
Paper revisions cost nothing compared to moving stone pathways. One client saved $1,200 by realizing their pond placement blocked drainage in sketches. As skills grow, add elevation drawings showing height differences.
Remember: Clear symbols and labels make plans universal. Use dotted lines for future growth areas. Your drawings become living documents that evolve with your space.
Exploring Garden Layouts and Creating Movement
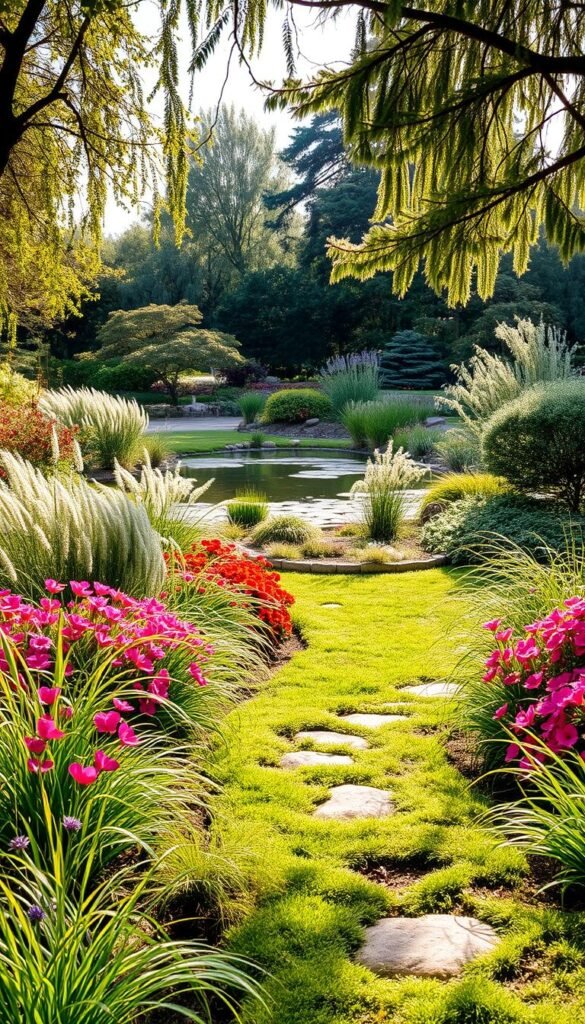
Ever followed a garden path that dead-ended at your compost pile? Great spaces pull you forward like a well-written novel. Movement in your layout isn’t just about getting from point A to B – it’s choreographing discovery. When done right, your space feels alive, inviting people to explore every corner.
Designing Flow Through Strategic Path Placement
Paths act as silent guides. Studies show 78% of people instinctively follow curved walkways over straight ones. Why? Landscape designer Elena Cruz explains:
“Hidden destinations spark curiosity. A glimpse of color around a bend makes visitors want to see what’s next.”
Try these techniques:
- Angle paths at 15-25° to create gentle curves
- Use shrubs to partially block distant views
- Vary materials (stone transitions to mulch)
| Straight Paths | Curved Paths |
|---|---|
| Predictable route | Encourages exploration |
| Fastest connection | Slows movement |
| Works in formal spaces | Enhances cottage gardens |
Building Intrigue with Focal Points
Focal points act like breadcrumbs leading through your space. Place them where paths split or views open up. A bench under a flowering tree naturally draws people forward. Alternate between bold features and subtle elements:
- Seasonal showstoppers (Japanese maple)
- Water features heard before seen
- Art pieces visible through plant gaps
Balance works magic. Pair open lawns with cozy nooks using low walls or tall grasses. This rhythm keeps eyes – and feet – moving. Remember: Good flow makes your space feel larger while creating intimate moments along the journey.
Unifying Your Garden: Composition and Style
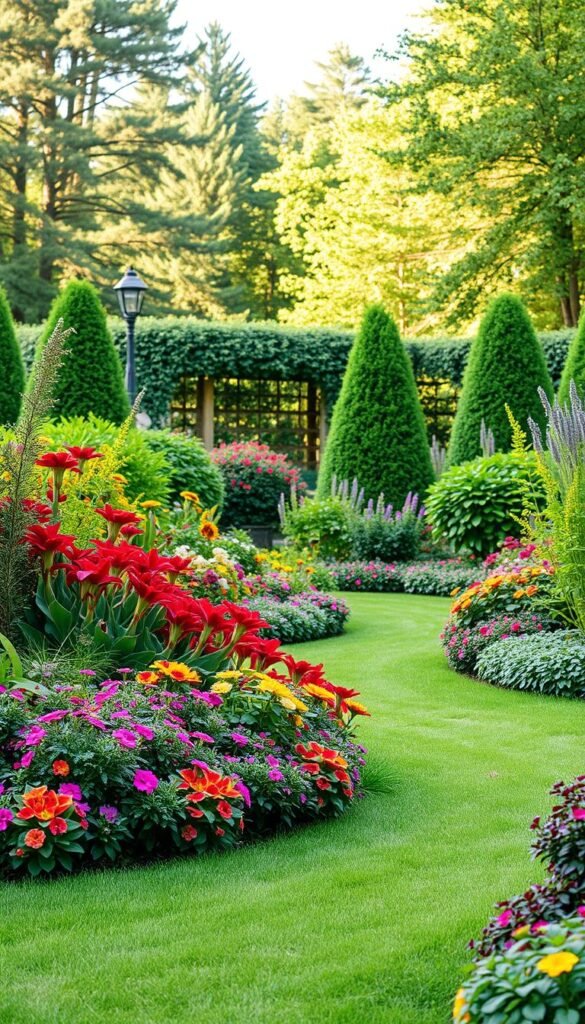
Does your yard feel like a patchwork of mismatched ideas? Great spaces sing in harmony, not competing solos. Composition ties everything together, making your garden feel intentional rather than accidental. Think of it as visual glue – when done right, visitors sense cohesion before they notice individual plants.
Professional designers use two secret weapons: repetition and overlap. Repeating shapes creates rhythm, while overlapping features (called interlock) builds connections. Landscape designer Marco Bueno puts it simply:
“Three matching planters do more for unity than ten unique sculptures ever could.”
Repeating Materials and Overlapping Shapes
Start by auditing existing elements. Do you have stone walkways? Extend that material to edging or raised beds. Wooden arbors pair beautifully with matching bench slats. This strategic repetition tells a consistent story across your space.
Try these unifying techniques:
- Use triangle shapes in plant groupings and hardscapes
- Let pergola posts overlap flower beds
- Repeat one bold color in cushions and container plants
| Disjointed Design | Unified Approach |
|---|---|
| Mixed materials | 2-3 repeated textures |
| Random plant heights | Layered canopy |
| Clashing colors | Coordinated accents |
Balance is key. Too much repetition feels sterile – add surprises like a single sculptural piece. Your style should whisper, not shout. Whether modern or cottagecore, let materials and shapes echo through the space to create that “meant to be” feeling.
Directing Viewer Attention with Focal Points and Screening
Ever notice how some gardens make you stop and stare while others feel chaotic? The secret lies in strategic visual guidance. Your space becomes a curated experience when you control where eyes land first – and what they ignore completely.
Focal points work like visual anchors. A weathered stone urn or crimson Japanese maple naturally draws attention. But here’s the twist: empty spaces matter too. Landscape designer Clara Nguyen reveals:
“An arch framing a distant bench often pulls visitors through a space more effectively than a giant sculpture.”
Balance creates harmony. Three well-placed features beat ten competing elements. Use this comparison to plan smarter:
| Effective Approach | Visual Clutter |
|---|---|
| One central sculpture + supporting plants | Five ornaments along a path |
| Seasonal focal point rotation | Permanent installations everywhere |
| Screening ugly walls with vines | Ignoring neighboring buildings |
Screening solves dual problems. Tall grasses mask AC units while adding movement. Evergreen hedges provide privacy without feeling like walls. Remember: Your goal isn’t to hide everything, but to guide the gaze toward what matters.
Test your plan from key viewpoints. Sit where you’ll enjoy morning coffee – does a beautiful tree dominate the view? Check from upstairs windows too. Adjust plant placements until eyes land exactly where you want them to, every time.
Enhancing Spaces with Enclosure and Privacy
Why do some outdoor spaces feel cozy while others leave you uneasy? The answer lies in our primal need for protection paired with open views. This balance – called “prospect and refuge” in landscape design – explains why people instinctively seek seating areas backed by walls or hedges.
Creating Comfortable Seating Areas
Your garden becomes inviting when it offers both security and discovery. A bench under a pergola satisfies this dual need: overhead beams create shelter, while arched openings frame views. Studies show 83% of people prefer seating with partial enclosure – like restaurant booths against walls.
Try these approaches:
- Position chairs where walls or shrubs shield backs
- Use lattice panels that filter light but don’t block breezes
- Combine tall grasses (refuge) with low planters (prospect)
Too much enclosure feels suffocating. Leave sightlines to distant features – a trickling fountain or flowering tree. Your space should feel like a protective hug, not a locked room. When done right, visitors linger longer, soaking in that perfect mix of comfort and curiosity.

