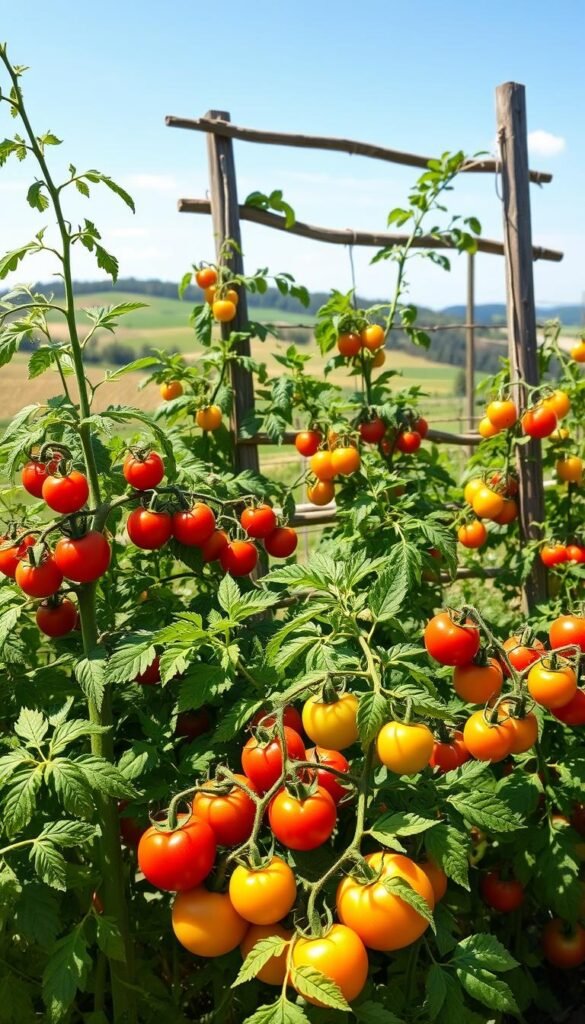
Growing your own juicy, sun-ripened produce at home offers flavors you’ll never find in store-bought options. While some crops offer quick results, tomatoes ask for a little more patience—65 to 90 days from seed to harvest. But that wait pays off with sweet, vibrant fruits that make supermarket versions taste bland by comparison.
These versatile plants thrive in most U.S. climates, adapting well to zones 3–11. Whether you’re working with a backyard plot or patio containers, there’s a type suited to your space. With over 10,000 cultivated varieties worldwide, options range from bite-sized cherry types to meaty heirlooms perfect for sandwiches.
New growers often succeed by starting with disease-resistant picks that handle common challenges. Modern hybrids like ‘Sun Gold’ yield 10–15 pounds per plant while resisting pests, and compact ‘Roma VF’ excels for sauces. Even better? Many of these top performers grow happily in pots or small gardens.
Originally cultivated in South America, tomatoes have traveled through centuries to become backyard staples. Today’s easy-care varieties let anyone enjoy this rich history—no green thumb required. With smart selection and basic care, your first harvest will prove homegrown beats store-bought every time.
Choosing the Right Tomato Varieties for Your Garden
Selecting plants for your garden involves more than just picking your favorite colors. The choice between heirloom and hybrid types shapes your growing experience—and your plate. Let’s break down what works best for new growers.
Heirloom vs. Hybrid: What Works Best for You?
Heirloom varieties deliver unmatched flavors preserved through generations. Imagine biting into a Brandywine passed down since 1885—its rich taste comes with a catch. These plants often need extra care to handle diseases that hybrids shrug off.
Hybrids (marked F1 on seed packets) offer built-in resilience. They combine traits from parent plants, giving you reliable yields even if weather shifts. Just remember: seeds saved from hybrids won’t grow true to type next season.
Determinate vs. Indeterminate: Understanding the Differences
Bushy determinate types stay compact, perfect for patio pots. They produce all their fruit in 2-3 weeks—ideal if you want a big batch for sauces. No stakes needed!
Indeterminate vines keep growing until frost hits. They’ll need sturdy cages but reward you with fresh snacks all summer. Think of them as the gift that keeps giving—if you’ve got the space.
Understanding Your Growing Season and Soil Requirements
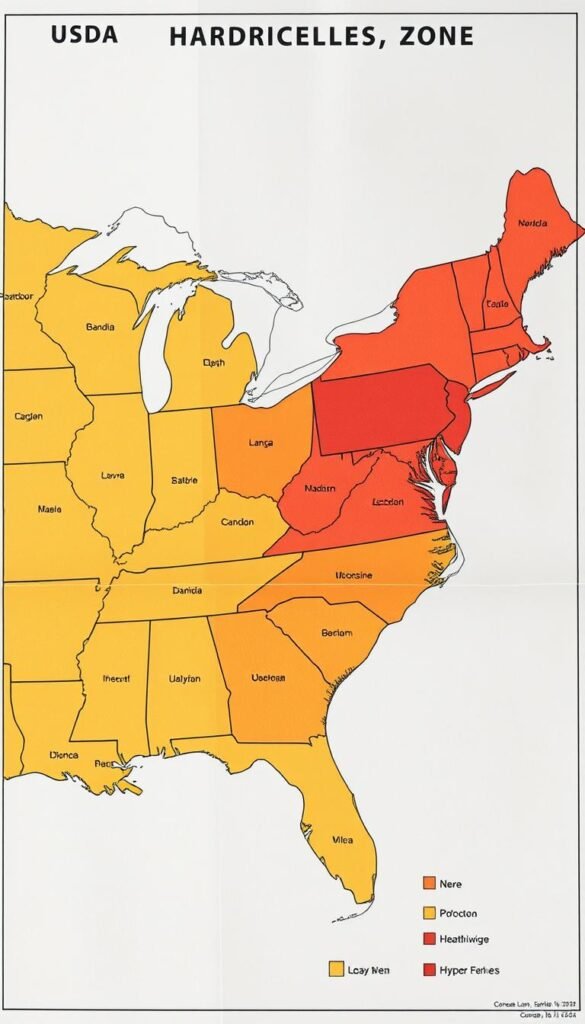
Timing and soil quality make or break your garden’s success. Plants need enough warm days to ripen fully, and roots crave loose, fertile ground to thrive. Let’s explore how to match nature’s schedule with your gardening goals.
Identifying Your USDA Hardiness Zone
Your local USDA Hardiness Zone dictates when frost typically arrives. This number helps you count backward from fall’s first freeze to find your safe planting window. For example, if tomatoes need 75 days to mature and your area expects frost by October 15, plant by mid-July at the latest.
Preparing Nutrient-Rich, Well-Drained Soil
Tomatoes demand soil that’s both nourishing and quick-draining. Mix 3 inches of compost into beds to boost fertility. “Soggy roots spell disaster,” warns seasoned gardener Maria Perez. “I add perlite to heavy clay—it’s like giving plants a breathable foundation.”
Test drainage by digging a 12-inch hole and filling it with water. If it takes over 4 hours to empty, blend in sand or shredded leaves. For container gardens, use potting mix with slow-release fertilizer. This setup feeds plants steadily, matching their needs through the growing season.
Cold climates? Consider season-extending tricks like raised beds or black plastic mulch. These methods warm the soil faster, giving you extra harvest time before frost returns.
Simple Tips for Planting and Transplanting Tomato Seeds
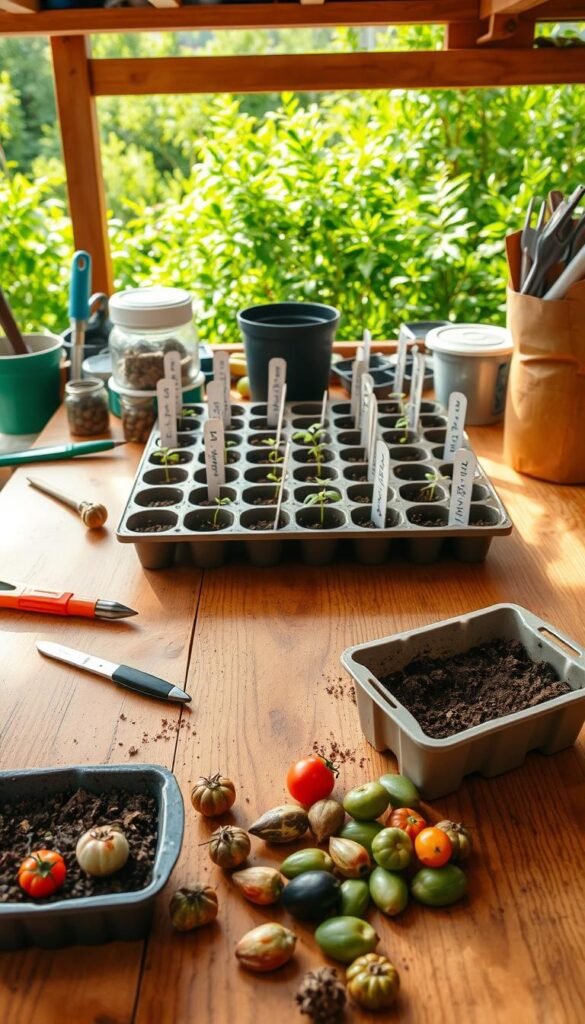
The journey from tiny specks to juicy fruits begins with smart seed management. Getting your timing right and creating ideal conditions helps young plants thrive from their first days.
Indoor Seed Starting Techniques
Begin sowing 4-6 weeks before your last spring frost. A heating mat works wonders here—keeping soil above 75°F cuts germination time to 7-10 days. Plant most varieties ¼ inch deep in moist seed mix, pressing gently to ensure contact.
Keep trays near sunny windows or under grow lights. Mist soil daily until sprouts appear. “Consistent moisture prevents seed coats from hardening,” notes urban gardener Liam Chen. Once seedlings grow two true leaves, transfer them to 4-inch pots.
When and How to Transplant Outdoors
Wait until nighttime temps stay above 50°F. Test soil warmth by pushing a thermometer 4 inches deep—it should read at least 60°F. Harden off plants first: set them outside for 2 hours daily, increasing exposure over 7 days.
Dig holes slightly deeper than root balls, spacing plants 18-24 inches apart. Mix compost into each hole for instant nutrition. Water thoroughly after transplanting, and shield young plants with cloches if unexpected chills strike.
Caring for Your Tomato Plants Throughout the Season
Your tomato plants need steady care to thrive from sprout to harvest. Smart watering habits and disease prevention keep them productive through summer’s heat and storms. Let’s explore how to maintain healthy growth while avoiding common pitfalls.
Watering and Fertilizing Best Practices
Keep soil moist like a wrung-out sponge—damp but never soggy. Water deeply 2-3 times weekly, aiming for 1-1.5 inches total. Early morning watering reduces evaporation and prevents leaf issues. “Consistency matters more than quantity,” says Ohio gardener Rebecca Shaw. “Sudden droughts followed by floods stress plants.”
Feed plants every 3 weeks with balanced 5-10-5 fertilizer. Scratch granules into soil around stems, then water thoroughly. Mulch with straw or shredded leaves to lock in moisture and block weeds. Container plants may need weekly feeding due to frequent watering.
Preventing Common Tomato Diseases
Choose varieties labeled VFN (resistant to Verticillium, Fusarium, nematodes) for built-in protection. Space plants 24-36 inches apart to improve airflow. Remove lower leaves touching soil to stop fungal spores from splashing up.
Watch for yellowing leaves or dark stem spots—early signs of trouble. Treat mildew with baking soda spray (1 tbsp/gallon water) before it spreads. Rotate crops yearly to prevent soil-borne diseases from taking hold. Healthy plants naturally fight off most threats when given proper sunlight and nutrition.
No-Fail Tomato Varieties for First-Time Gardeners
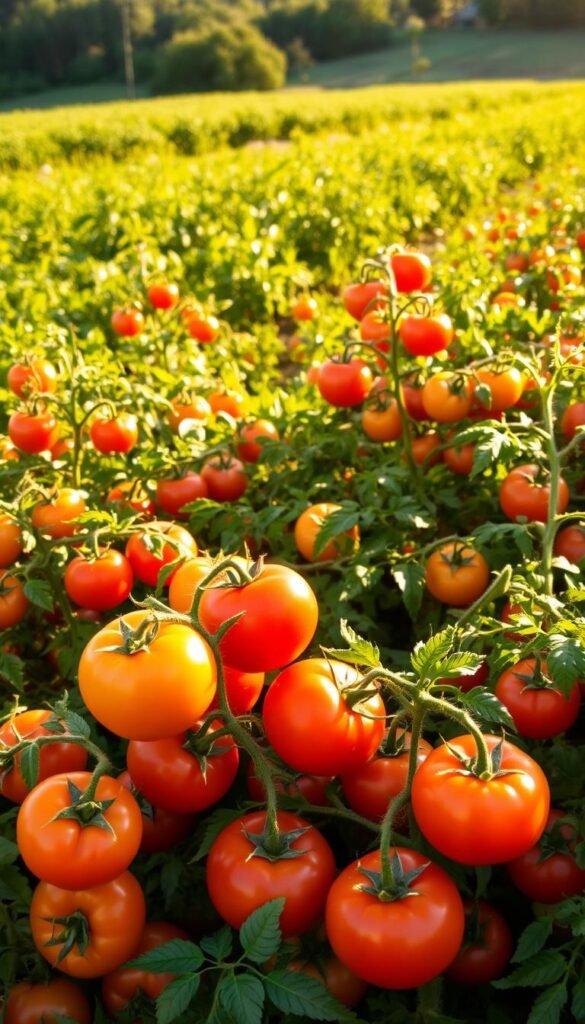
Starting with the right plants makes all the difference in your gardening journey. Let’s explore bush types and quick-producing options that deliver satisfying results without demanding expert skills.
Bush Varieties Ideal for Beginners
Red Pride Bush stands out with 3-inch round fruits ready in 78 days. Its disease resistance handles common issues, letting you focus on growth rather than problem-solving. For larger yields, try Ace 55 – its meaty, low-acid fruits work equally well fresh or canned.
Compact Cherry Falls thrives in pots, producing clusters of bite-sized treats within 55-65 days. “These bush types eliminate staking worries,” notes urban farmer Elena Torres. “Just water consistently and watch them flourish.”
Cherry and Salad Tomatoes for Quick Harvests
Sun Gold cherry tomatoes redefine sweetness, ripening in under 60 days. Their golden-orange fruits become addictive snacks straight from the vine. Prefer classics? Gardener’s Delight offers reliable germination and ruby-red gems perfect for salads.
Hybrids like Supersweet 100 bring disease resistance and heavy yields. Their candy-like clusters keep producing until frost, giving you endless summer treats. Whether you crave quick results or container-friendly options, these varieties turn first attempts into triumphs.
How to Support and Prune Indeterminate Tomato Vines
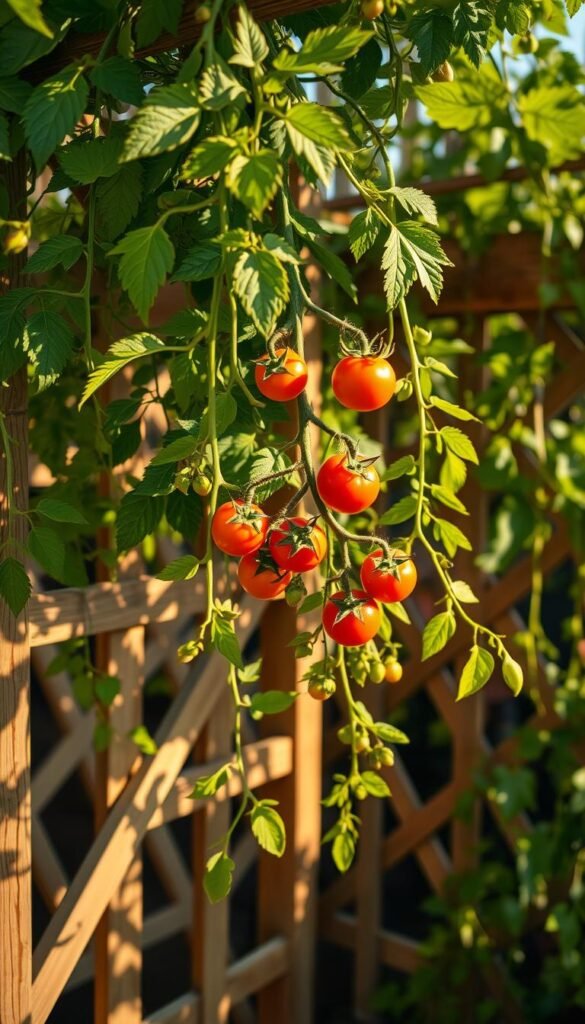
Managing vigorous indeterminate tomato vines requires strategic planning. These sprawling growers need proper guidance to maximize their potential while preventing tangled messes. Let’s explore systems that keep your plants productive and healthy.
Building Strong Support Systems
Indeterminate varieties can stretch 10+ feet if unchecked. Install trellises or A-frames early—ideally when plants reach 12 inches tall. Metal cages often buckle under summer storms, but cattle panel arches withstand heavy fruit clusters.
| Support Type | Height | Best For | Maintenance |
|---|---|---|---|
| Tomato Trellis | 6-8 ft | Small spaces | Weekly tying |
| A-Frame | 7-10 ft | Multiple plants | Seasonal adjustment |
| Stake System | 5-6 ft | Container growing | Biweekly checks |
Smart Pruning Practices
Remove suckers—those shoots between main stems and branches—to focus energy on fruit production. “Pinch them when they’re 2-3 inches long,” advises Oregon grower Mark Sullivan. “You’ll get larger harvests instead of leafy jungles.”
Trim lower leaves touching soil to prevent disease. Keep at least 3 leaf layers above developing tomatoes for sun protection. Use clean shears to avoid spreading pathogens between plants.
“Proper pruning feels counterintuitive at first, but you’ll see the difference in your yields.”
Check ties weekly as vines thicken. Soft fabric strips prevent stem damage better than twine. With consistent care, your supported vines will deliver bountiful harvests all season.
Container Gardening: Best Practices for Patio Tomato Plants
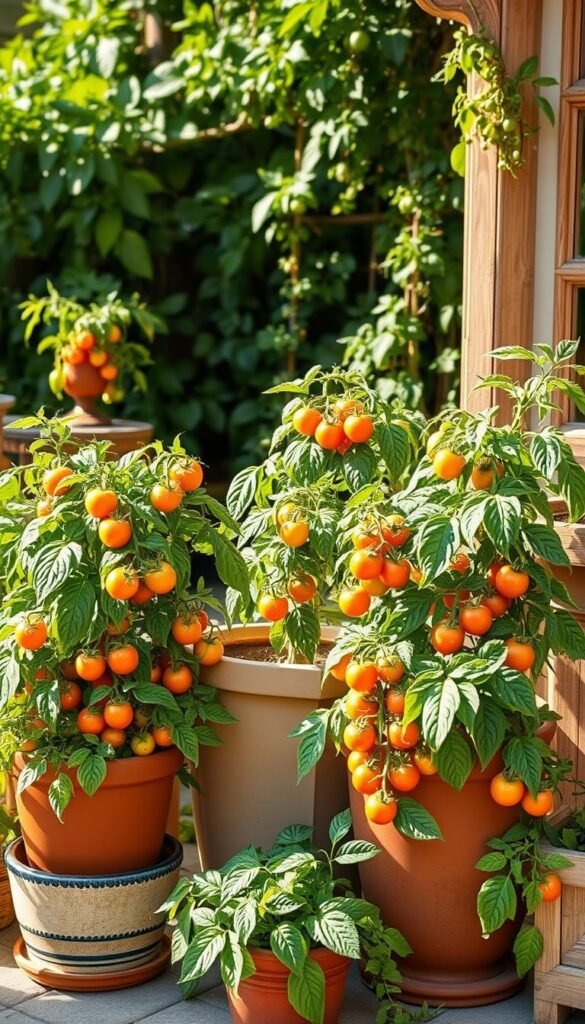
Growing tomatoes on your patio brings fresh flavors within arm’s reach, even in tight spaces. Containers let you control soil quality and sunlight exposure while dodging common garden pests. With smart setup choices, you’ll enjoy robust growth without sacrificing your outdoor living area.
Choosing the Right Containers
Pick pots at least 18 inches wide and 12 inches deep—tomato roots spread wide. Fabric grow bags promote air circulation, while plastic retains moisture longer in hot climates. Ensure drainage holes prevent soggy soil, a top cause of root rot.
Self-watering pots with reservoirs simplify care during heat waves. Pair them with lightweight potting mix enriched with compost. For stability, place heavy ceramic containers on wheeled bases—you’ll thank yourself when moving plants to chase the sun.
Rotate pots weekly so all sides get equal light. Elevate containers with bricks or stands to improve airflow underneath. With these strategies, your patio becomes a productive mini-farm bursting with ripe, juicy rewards.

