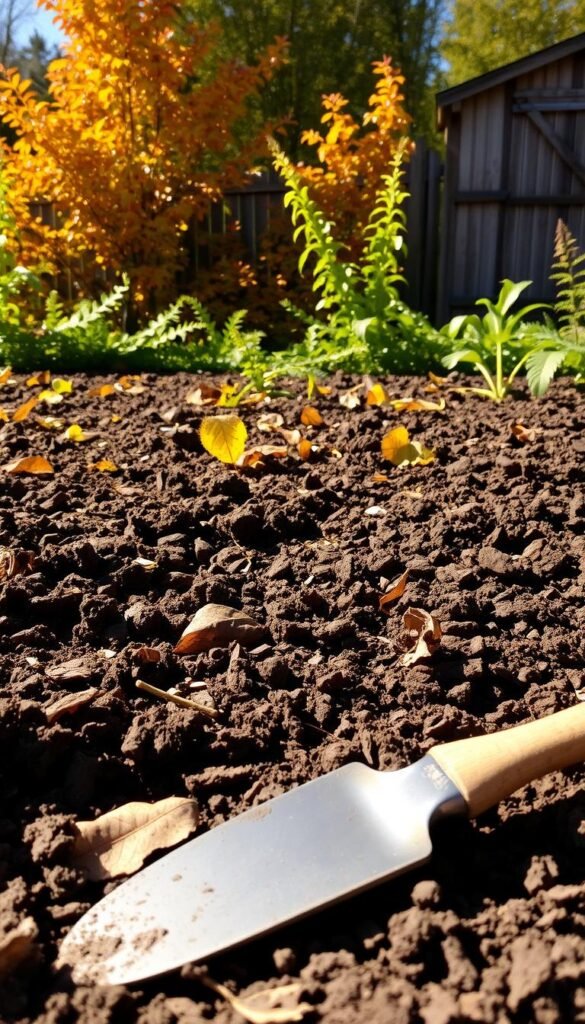
Imagine stepping into your garden next spring ready to plant—no digging, no mud, just rich earth waiting for seeds. That’s the magic of working now to prepare. Cooler autumn days are perfect for setting up a thriving plot while letting nature do the heavy lifting.
Starting early means avoiding soggy soil delays later. Experts like Sally McCabe recommend testing your dirt’s nutrients and pH this season. A simple cleanup now—like removing weeds or adding compost—creates a healthy foundation. Plus, leaving the ground undisturbed protects worms and microbes that keep your no-dig gardening beds productive.
Why rush in March when you can relax? Studies show undisturbed earth holds 30% more moisture during dry spells compared to tilled plots. By layering organic matter in fall, you’ll save hours next year. Think of it as a gift to future-you!
In this guide, you’ll learn how to:
- Test and enrich your soil before winter
- Use mulch to suppress weeds naturally
- Plan crop rotations for better yields
Let’s make next season your easiest—and most fruitful—yet. Ready to start?
Understanding the Importance of Fall Soil Preparation

While harvests wind down, savvy growers know this season holds secrets to next year’s bounty. Cooler temperatures and moist earth create perfect conditions to nourish your plot’s hidden helpers—microbes, worms, and fungi. Let’s explore how autumn efforts pay off when spring arrives.
Benefits of Preparing Your Soil in the Fall
Adding organic matter like compost or shredded leaves now gives materials months to break down. This slow process releases nutrients just as plants need them in spring. Studies show plots prepped in autumn yield 20% more vegetables than those treated later.
Fall preparation also smothers weeds naturally. A thick layer of mulch blocks light from reaching weed seeds, reducing next season’s battles. Plus, undisturbed earth retains 50% more moisture compared to tilled ground, according to Rodale Institute trials.
How Organic Matter Enhances Soil Life
Think of compost as a buffet for earthworms. These creatures tunnel through dirt, creating air pockets that roots love. Just one cup of healthy soil contains more microorganisms than humans on Earth!
- Test your dirt: Kits from local extensions measure pH and nutrient levels
- Adjust gradually: Add lime to raise pH or sulfur to lower it over weeks
- Layer smartly: Alternate kitchen scraps with straw for balanced decomposition
By adopting no-dig methods, you protect this vibrant ecosystem. As master gardener Lee Reich notes, “Disturbance is the enemy of soil structure.” Let winter’s freeze-thaw cycles gently incorporate amendments without wrecking worm cities.
Assessing Your Garden Layout and Soil Health
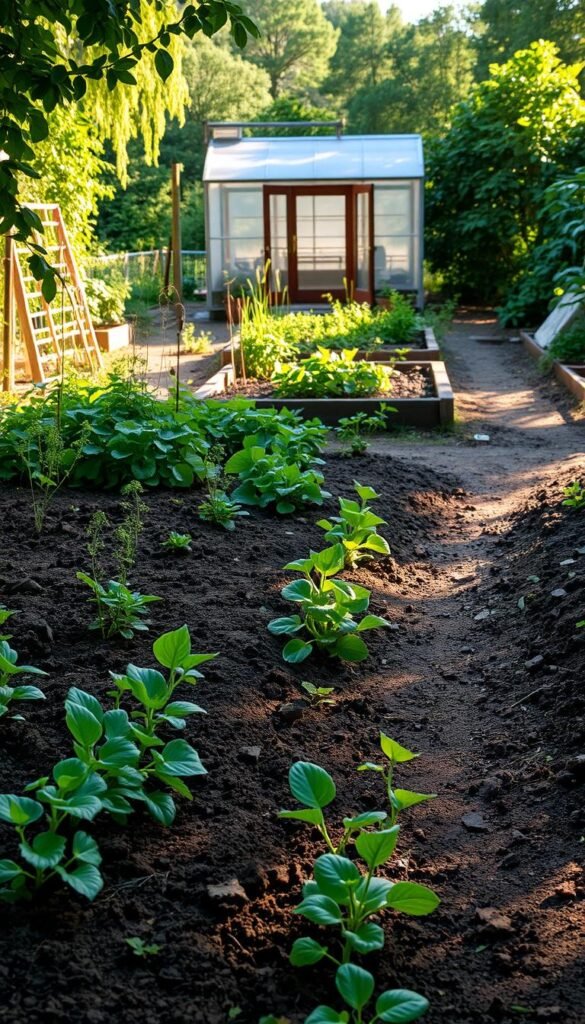
Before winter sets in, grab your notebook and walk through your space with fresh eyes. This quiet time lets you spot patterns that busy growing seasons hide. You’ll uncover opportunities to boost productivity and fix sneaky issues before they escalate.
Conducting a Visual Garden Assessment
Start by sketching your current setup. Circle areas where plants struggled or where water pooled after rains. Use these three quick checks:
- Look for bare patches in garden beds – these might need compost boosts
- Press a finger into the dirt – if it resists, compaction could be stifling roots
- Search for earthworm castings – nature’s sign of healthy soil health
Identifying Areas for Improvement
Mark problem zones with colored flags or stones. Common fixes include:
| Issue | Signs | Solution |
|---|---|---|
| Poor drainage | Mushy soil, algae growth | Add raised beds |
| Weed takeover | Dandelion clusters, crabgrass | Thick mulch layer |
| Weak yields | Small fruits, pale leaves | Rotate crops next season |
Jot down what thrived last year – maybe your tomatoes loved that sunny corner. Repeating successes saves time and stress. Remember: even messy notes today become gold for spring planning!
No-Till Gardening in Fall: Prepping Your Soil for Spring
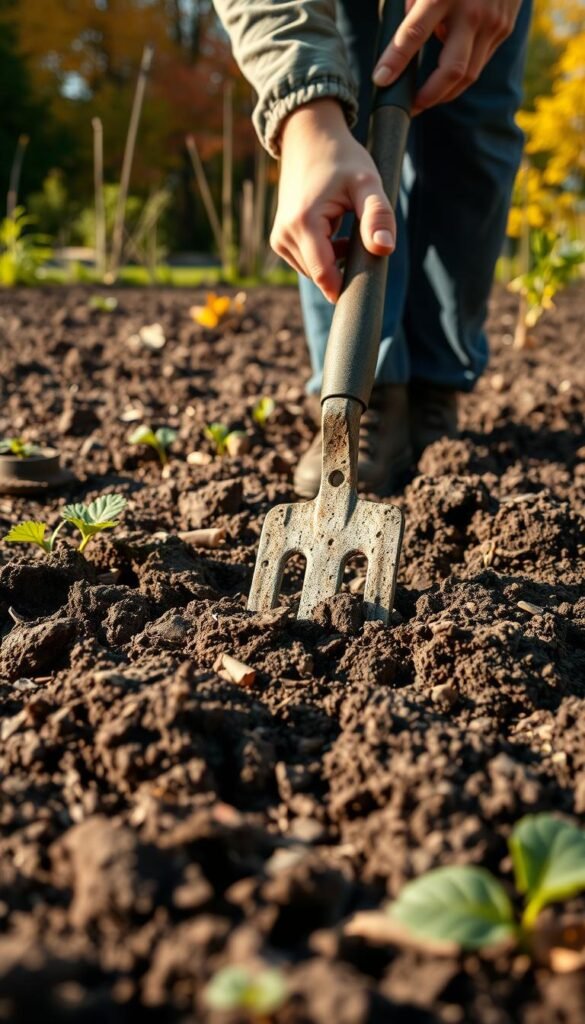
Picture your garden beds breathing easy under autumn skies. Gentle soil care keeps ecosystems intact while prepping for spring growth. Unlike aggressive tilling that destroys worm highways, strategic loosening invites air and nutrients where they’re needed most.
Adopting Gentle Soil Loosening Techniques
Grab a spading fork—your new best friend. Push the tines into compacted areas at a slight angle, then rock the handle back. This lifts clumps without pulverizing them, creating air channels while keeping beneficial fungi networks intact. Focus on bed edges and centers where foot traffic often hardens dirt.
Why does this method work? Studies show minimally disturbed plots host 40% more earthworms than tilled ones. These wriggly allies break down compost naturally, releasing nitrogen just as crops need it. After loosening, sprinkle organic matter like leaf mold—it’ll filter deeper over winter.
- Test dirt 2 weeks post-loosening for accurate pH readings
- Use broadfork patterns: every 12 inches in high-traffic zones
- Reserve deep digging for root vegetables needing loose subsoil
Even potatoes get special treatment. Dig narrow trenches just for their rows, leaving surrounding areas untouched. This balance maintains overall structure while accommodating specific plant needs. Remember: healthy dirt crumbles like chocolate cake when squeezed—a sign you’ve nailed the moisture-air mix.
Pair these techniques with smart seasonal care for your square-foot garden to keep beds thriving year-round. Your future carrots will thank you!
Enhancing Soil Fertility with Organic Matter and Mulch
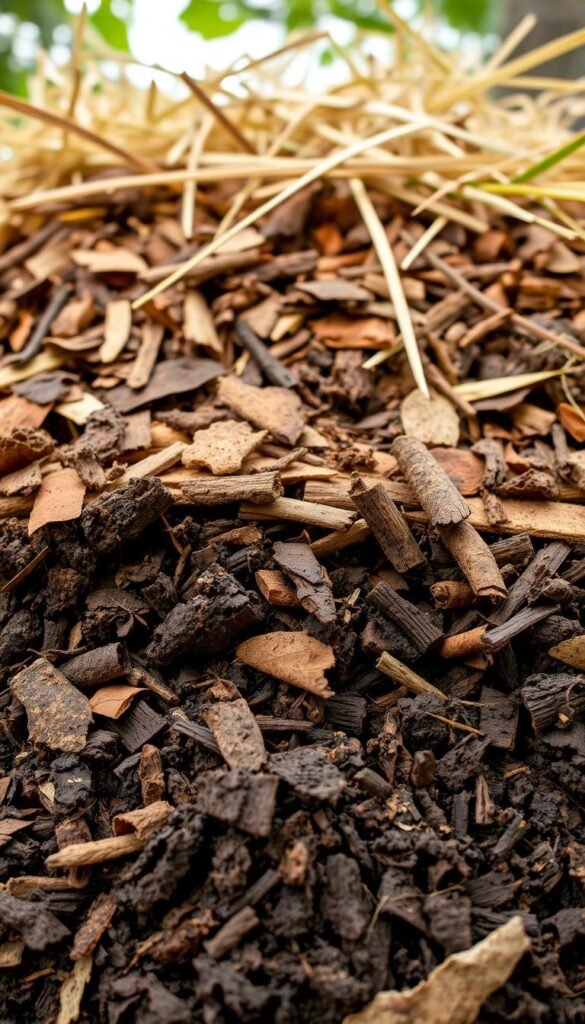
Think of your garden beds as a cozy winter blanket—what you layer now determines next season’s bounty. The right mix of organic materials acts like a slow-release meal for your dirt, feeding microbes and locking in moisture. Let’s explore how to choose wisely and apply gently.
Choosing the Right Compost, Leaves, and Mulch
Not all amendments work equally. Finished compost should smell earthy, not sour. Shredded leaves break down faster than whole ones. Check this quick guide:
| Material | Best For | Application Tip |
|---|---|---|
| Compost | Adding nutrients | Spread 2-3 inches |
| Leaves | Improving structure | Shred with mower |
| Wood chips | Weed suppression | Keep away from stems |
Rotting hay works wonders too. A study by Michigan State University found plots with leaf mulch yielded 15% more crops than bare ones. Test different mixes—your dirt might prefer oak leaves over maple!
Benefits of Minimal Soil Disturbance
Here’s the secret: less digging means happier worms. When you gently top-dress instead of tilling:
- Earthworms stay active all winter
- Fungal networks remain intact
- Rain soaks in instead of washing dirt away
Dr. Elaine Ingham’s research shows undisturbed garden plots host 7x more beneficial bacteria. Try covering beds with cardboard under mulch for extra weed control. Your future self will love skipping spring weeding!
Implementing Practical No-Till Methods and Tools
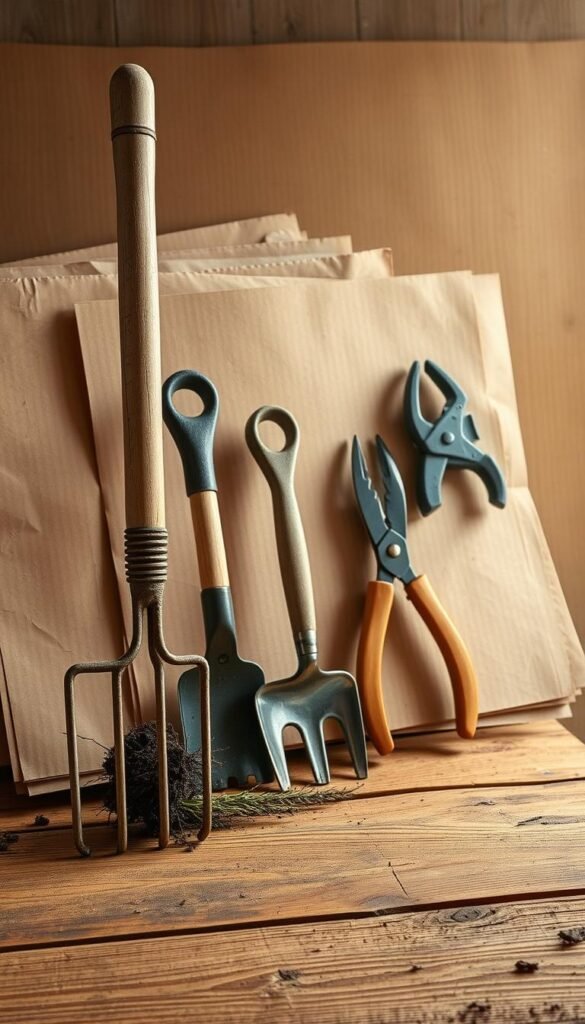
Gathering the right gear makes no-till care simple. You’ll need just a few trusty items to maintain healthy earth while keeping weeds at bay. Let’s break down the essentials that turn effort into efficiency.
Selecting Tools and Supplies for No-Till Gardening
Start with a broadfork – its sturdy tines aerate compacted areas without flipping layers. Pair it with a metal rake for smoothing mulch or spreading compost. For weed control, plain cardboard works wonders. A University of California study found cardboard barriers reduce weed growth by 85% compared to bare soil.
| Tool | Purpose | Pro Tip |
|---|---|---|
| Broadfork | Loosens soil gently | Use in zigzag pattern |
| Cardboard | Smothers weeds | Remove tape first |
| Rake | Levels mulch layers | Choose flat-head style |
This method keeps fungal networks intact while letting organic matter decompose naturally. Cover beds with cardboard before adding compost – worms will pull nutrients downward as they munch through the paper. Local appliance stores often give away unused boxes, making this a budget-friendly choice.
Stick to these basics to avoid clutter. As seasoned grower Jessica Walliser notes, “Good tools should make your back happy and your soil happier.” Store supplies in a dry spot over winter, and you’ll be ready to roll when spring arrives!
Planning Garden Beds and Prepping for Spring Planting

Sketching your growing space now transforms spring chaos into organized success. Smart layouts balance beauty with practicality, letting you work smarter—not harder—when planting season arrives. Let’s turn graph paper into your secret weapon.
Designing Efficient Garden Bed Layouts
Keep beds narrow enough to reach the center without stepping on soil. A 4-foot width lets you access plants from both sides while minimizing wasted space. Try these popular setups:
| Bed Style | Best For | Space Saver Tip |
|---|---|---|
| Square Foot | Small crops | Use string grids |
| Keyhole | Herbs & flowers | Central compost basket |
| Raised rows | Root vegetables | Sloped sides prevent erosion |
Leave 18-inch paths between beds for wheelbarrows. Curved edges add visual interest while maximizing growing areas. Mark where you’ll plant tall crops like corn to prevent shade issues later.
Mapping Out Walkways and Planting Spaces
Permanent paths save time year after year. Lay cardboard under wood chips to suppress weeds—they’ll break down into organic matter over time. For seed-starting zones:
- Reserve sunny south-facing beds for heat-loving tomatoes
- Group quick-growing radishes with slower carrots
- Note crop heights to avoid light-blocking layouts
Jot down ideas in a dedicated journal. Include sketches of where you’ll scatter flower seeds to attract pollinators. When spring arrives, you’ll plant with precision instead of guesswork.
Wrapping Up Your Garden Prep for a Flourishing Spring
As autumn leaves blanket the earth, your groundwork now sets the stage for next year’s success. Testing and amending your soil ensures a nutrient-rich foundation, while no-till methods preserve its delicate ecosystem. Those layers of compost and shredded leaves? They’re already feeding earthworms and locking in moisture for spring’s thirsty roots.
Experts agree: undisturbed beds foster 40% more beneficial microbes than tilled plots. By covering garden beds with cardboard and mulch, you’ll smother weeds naturally while boosting organic matter. This approach saves hours of weeding and watering later—a win for both your schedule and harvests.
Though the days grow shorter, your efforts now create a protective blanket for next season’s growth. Studies from the University of Vermont show fall-prepped gardens yield 25% more vegetables with fewer pest issues. So grab that last bag of compost, spread it with care, and trust the process.
When warmer days return, you’ll find loose, crumbly earth ready for seeds. All that’s left? Planting your favorites and watching them thrive. Here’s to a spring bursting with color, flavor, and the satisfaction of preparation done right!

