
Imagine growing plants in rich, thriving soil without ever turning it. That’s the power of no-till gardening. This method works with nature, not against it, keeping your garden ecosystem balanced and productive.
Studies show earthworm populations double in undisturbed soil, boosting nutrient cycling. Water retention improves by 30%, meaning less watering for you. Even clay-heavy plots see dramatic results—some growers report 40% higher tomato yields.
Popular approaches like the Back to Eden method use compost and mulch to build fertility. The USDA confirms these systems store three times more carbon than tilled ground. Best of all? Once established, you’ll spend 25% less time weeding.
Whether you’re growing herbs on a balcony or vegetables across acres, this approach scales effortlessly. Ready to ditch the backbreaking work? Let’s explore how simple changes lead to thriving plants and abundant harvests.
What Is No-Till Gardening? A Beginner’s Guide

Ever wondered how to grow plants without breaking your back? No-till methods let nature do the heavy lifting. Instead of digging, you build layers of organic matter that feed your soil over time.
The Core Principles of No-Till Gardening
This approach follows three simple rules:
- Never disturb the soil – Microbes and earthworms create natural channels for roots and water
- Keep it covered – Mulch protects against erosion and extreme temperatures
- Feed from the top – Compost and organic materials break down naturally
Charles Dowding’s 40-year trials prove this works: no-dig beds yield 5% more crops than tilled ones. The secret? Undisturbed soil holds 30% more water during dry spells.
How No-Till Differs From Traditional Gardening
Traditional methods flip the soil completely, while no-till builds upward. Here’s how they compare:
| Factor | Traditional | No-Till |
|---|---|---|
| Soil Disturbance | Full inversion | Minimal (top 2″) |
| Microbe Survival | 70% fungi loss | Full ecosystem |
| Water Retention | Low | High (30% better) |
| Setup Cost | $500+ for tillers | $30 broadfork |
The lasagna method shows this perfectly. You layer cardboard, compost, and mulch like a cake. As no-dig gardening studies show, these beds become richer each season.
Some crops love no-till right away. Try carrots, potatoes, or corn in your first year. Just remember – initial growth might be 20% slower as the soil adjusts. The wait pays off with healthier plants later.
Why No-Till Gardening Techniques Lead to Healthier Soil & Bigger Harvests

Healthy soil doesn’t need constant disruption. When you skip tilling, nature’s systems thrive underground. The results? Stronger plants, richer harvests, and less work for you.
The Science Behind Soil Health and No-Till
Undisturbed earth develops a hidden network. Fungal hyphae grow 80% longer in no-till systems, creating nutrient highways for plants. These threads act like nature’s internet, connecting roots to water and nutrients.
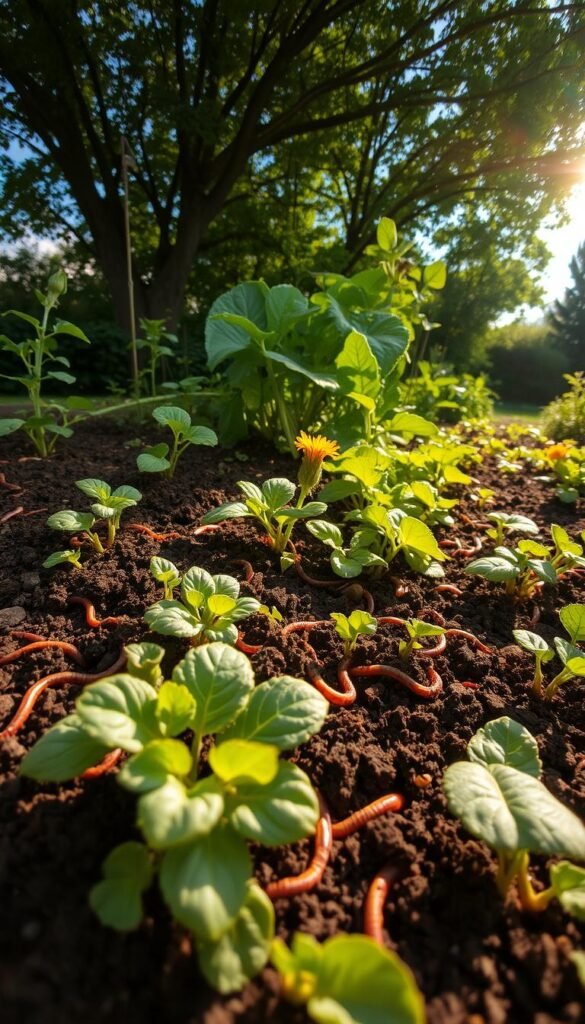
Earthworms multiply too. A single square foot can host 25 worms instead of just 3. Their tunnels improve soil structure and boost oxygen flow. As Rodale Institute found, these systems also trap 1,000 pounds of carbon per acre yearly.
“After two no-till seasons, our test plots needed 30% less fertilizer. The soil’s natural nitrogen cycling became that efficient.”
Water behaves differently in untouched earth. Heavy rains soak in instead of washing away topsoil. During droughts, moisture lasts seven days instead of two. South Carolina farmers saw 40% better drainage in just three years.
Real-World Success Stories
Paul Gautschi’s Back to Eden orchard proves no-till works at scale. His fruit trees survived drought years without irrigation. The secret? Thick mulch layers mimic forest floors.
Urban growers see dramatic changes too. One gardener harvested 50 pounds of veggies from a 4×4 bed annually. Tests showed 15% more antioxidants in her produce compared to tilled plots.
- Wisconsin family farm: 35% higher yields over seven years
- Urban balcony gardener: Zero weeding after the first season
- Texas homesteader: 20 years without tilling, richer soil each season
These methods align with natural processes, as detailed in this no-till vegetable gardening guide. The proof isn’t just in studies—it’s in the dirt under successful growers’ hands.
The Top Benefits of No-Till Gardening You Can’t Ignore

What if your garden could thrive with less effort? By skipping the tiller, you’ll unlock surprising advantages—from fewer weeds to resilient plants. Here’s why this method changes everything.
Less Weeding, More Growing
Mulch is your secret weapon. A 4-inch layer blocks 98% of weed seeds by denying them light. USDA research confirms no-till plots see 75% fewer weeds than tilled ones.
Imagine trading 2 hours of weekly weeding for 20 minutes. That’s the reality for Vermont growers using wood chips. Their secret? Proper depth. Less than 3 inches invites weeds, while over 6 inches may tie up nitrogen.
Water Retention and Drought Resistance
Untouched soil holds moisture like a sponge. Oklahoma State found no-till beds need 30% less irrigation. Wood chips reduce evaporation by 40%, and dew capture increases by 25%.
During droughts, no-till plants survive at twice the rate of tilled ones. Ruth Stout’s legendary *no-work* asparagus bed thrived for 20 years without watering—just thick hay mulch.
Your reward? Healthier plants and lower bills. One gardener saved $150 yearly on water. Plus, soil structure improves, making every drop count.
Popular No-Till Gardening Methods to Try

Discover three proven methods to grow lush plants without tilling. Each approach builds soil health uniquely, saving time and boosting yields. Whether you prefer wood chips or hay, there’s a fit for your garden.
The Back to Eden Method (Wood Chips Galore)
Paul Gautschi’s *Back to Eden* method relies on thick wood chips. These mimic forest floors, locking in moisture and suppressing weeds. Trials show 200 lbs of tomatoes per plant in optimal conditions.
Startup costs average $300, but partnering with arborists cuts expenses by 75%. Fresh chips need caution—limit to 2 inches around tender plants. Regional tweaks help: pine needles work best in the South, while leaves thrive in the Midwest.
Charles Dowding’s No-Dig Approach
British gardener Charles Dowding swears by layered compost. His beds yield 15% more than tilled plots, with plants spaced 30% closer. The secret? Undisturbed fungal networks deliver nutrients efficiently.
For $150, you can start a 4×8 bed. Instant planting works, but 6-month prep enriches soil faster. Ideal crops include brassicas and leafy greens.
Ruth Stout’s No-Work Garden (Hay Mulching)
Ruth Stout’s legendary system uses 8 inches of hay or straw. This suppresses 90% of weeds and eliminates watering. Certified straw has 30% fewer weed seeds than hay.
Potatoes thrive here. Mix 50/50 wood chips and straw for balance. One gardener reported zero weeding after year one.
| Method | Startup Cost | Best For | Key Benefit |
|---|---|---|---|
| Back to Eden | $300 | Tomatoes, fruit trees | Drought resistance |
| Dowding’s No-Dig | $150 | Brassicas, greens | Higher yields |
| Stout’s Hay | $100 | Root crops | Weed suppression |
Choose based on your goals and local resources. All three methods enrich soil while slashing maintenance.
Essential Materials for Starting Your No-Till Garden
Building a thriving garden starts with the right materials. Three key components form the foundation: quality compost, effective mulch, and proper weed barriers. Choose wisely, and your soil will reward you with abundant harvests.
Compost: The Foundation of Fertility
Your garden needs nutrient-rich compost to thrive. Aim for a 30:1 carbon-to-nitrogen ratio for hot composting. This balance helps break down materials quickly while preserving nutrients.
Consider these sources:
- Municipal compost: Often free but may contain contaminants
- Homemade compost: Most controlled, takes 3-6 months
- Bagged compost: Convenient but check for quality certifications
One cubic yard weighs about 1,000 pounds—enough for 100 square feet at 3-inch depth. Fungal-dominated compost works best for perennial plants, while bacterial-rich suits vegetables.
Mulch Magic: Choosing the Right Type
Mulch protects your soil and feeds it slowly. Apply at least 4 inches deep for proper weed suppression. Different materials break down at varying rates:
| Material | Decomposition Time | Best For |
|---|---|---|
| Leaves | 6 months | Annual beds |
| Wood chips | 2 years | Perennials |
| Straw | 1 year | Vegetables |
Free resources exist everywhere. Coffee shops offer grounds, stables provide manure, and tree services often drop free wood chips through ChipDrop.
Cardboard or Newspaper for Weed Suppression
Smother weeds effectively with simple barriers. Eight sheets of newspaper block 95% of light—just ensure inks are soy-based. Cardboard works faster but remove all tape first.
“Our lasagna beds use three layers: cardboard, 2 inches of compost, and 4 inches of mulch. We’ve eliminated 90% of weeding time.”
For large areas, 10 cubic yards covers 1,000 square feet. This organic matter will transform your garden in one season.
Step-by-Step: How to Build a No-Till Garden Bed

Ready to build a garden bed that works smarter, not harder? Whether you want to prep slowly or plant immediately, these methods create rich soil without digging. Choose based on your timeline and goals.
Option 1: The 6-Month Prep (Ideal for Patience)
This process delivers exceptional results. Start by covering the area with cardboard to smother weeds—this achieves a 95% kill rate. Add 4 inches of compost, then top with 6 inches of mulch.
Key advantages:
- Superior weed control: Solarization over 6 months eliminates persistent weeds
- Deeper soil life: Earthworms establish vertical channels up to 3 feet deep
- Higher yields: Comparable to established beds in the first season
Urban alternative: Use 10-gallon fabric pots with the same method. They’re perfect for patios and require 30% less watering.
Option 2: The Quick-Start Method (For Impatient Gardeners)
Need to plant now? This approach yields 80% of established beds immediately. You’ll need 50% more compost upfront—about 6 inches total. Layer it over newspaper (8 sheets thick) instead of waiting for cardboard to break down.
Pro tips:
- Use a dibble stick to plant through mulch without disturbing layers
- Add blood meal to prevent nitrogen drawdown from fresh materials
- Map root zones—tomatoes need 18″ depth for optimal growth
“Our quick-start beds produced 3 succession crops in one year—lettuce, beans, then kale—all from the same space.”
For small spaces, adapt square foot spacing. Try 16 carrots or 1 tomato per square foot. The soil stays loose and crumbly without tilling.
Hugelkultur integration cuts watering by 30%. Bury logs under your compost layers—they act like sponges during dry spells. This works especially well in raised beds.
Maintaining Your No-Till Garden Year After Year
A no-till garden gets better with age—here’s how to maintain it. With simple yearly habits, your soil becomes richer, and plants grow stronger. The secret lies in consistent top-ups and smart weed management.
Seasonal Mulching and Compost Tips
Each spring, add 1 inch of compost and 2 inches of mulch. This feeds microbes and retains moisture. For heavy feeders like tomatoes, mix in comfrey tea (10:1 water ratio) for extra nutrients.
Rotate crops every 4 years to prevent disease. Try this cycle:
- Year 1: Brassicas (kale, broccoli)
- Year 2: Legumes (beans, peas)
- Year 3: Root crops (carrots, beets)
- Year 4: Nightshades (tomatoes, peppers)
Dealing With Perennial Weeds Naturally
Quackgrass or bindweed? Triple-layer cardboard under mulch smothers them in 6 months. For spot treatment, use 20% vinegar spray—it kills weeds without harming soil life.
Compare these weed-control methods:
| Method | Time to Work | Best For |
|---|---|---|
| Solarization (clear plastic) | 4–6 weeks | Large areas |
| Flame weeding | 2 seconds/exposure | Pathways |
| Chop-and-drop | Ongoing | Beneficial weeds (dandelions, purslane) |
“Our fungal-dominant compost tea boosts worm populations by 50%. Just apply monthly during growing season.”
Introduce nematodes in early spring to combat pests naturally. They thrive in undisturbed soil and reduce the need for sprays.
Common No-Till Gardening Mistakes (And How to Avoid Them)
Simple missteps can slow your garden’s progress—here’s how to dodge them. While this method simplifies growing, certain oversights affect results. Recognizing these early saves time and boosts yields.
Overlooking Soil Testing
65% of no-till struggles stem from incorrect pH. Most vegetables thrive between 6.0-7.0. Test kits cost under $20 and prevent guesswork.
Watch for these imbalances:
| pH Level | Effect | Solution |
|---|---|---|
| Below 6.0 | Nutrient lockout | Add lime (5 lbs/100 sq ft) |
| Above 7.5 | Micronutrient deficiency | Mix sulfur (2 lbs/100 sq ft) |
“Always test different bed zones—pH can vary dramatically within small areas. Retest every 3 years as amendments work slowly.”
Municipal compost often contains salts that harm soil life. Request chemical analysis reports before large applications. For home compost, maintain a 30:1 carbon-to-nitrogen ratio.
Using Fresh Wood Chips Incorrectly
New chips temporarily reduce nitrogen by 50%. Either age them for 6 months or boost nitrogen elsewhere. Turn piles monthly to speed decomposition.
Quick nitrogen fixes:
- Alfalfa meal: 2 cups per square yard
- Fish emulsion: Dilute 1 tbsp per gallon weekly
- Compost tea: Apply every 14 days
Leaf mold makes an excellent chip alternative. It breaks down faster and enriches soil structure. For perennial beds, layer chips over cardboard to prevent nitrogen competition with plants.
Follow this 3-year amendment schedule:
- Year 1: Focus on pH correction and fungal inoculants
- Year 2: Introduce mineral supplements (rock dust)
- Year 3: Refine with specific micronutrients (boron, zinc)
No-Till Gardening Tools to Make Your Life Easier
The right tools turn no-till from theory to effortless practice. Specialized implements preserve soil structure while saving hours of labor. Whether you’re starting new beds or maintaining established ones, these options deliver results.
Broadforks vs. Tilthers: Which Is Right for You?
These tools serve different purposes in undisturbed soil. Broadforks aerate deeply without inversion, while tilthers prepare surface layers for planting.
| Feature | Broadfork | Tilther |
|---|---|---|
| Working Depth | 12″ aeration | 2″ surface prep |
| Soil Impact | Preserves microbial layers | Enhances seed contact |
| Investment | $300 (lifetime tool) | $50 (seasonal use) |
| Best For | New beds, heavy soils | Quick planting between crops |
“Our broadfork pays for itself in one season—we prep 20 beds in 2 hours with zero back strain.”
The Must-Have Hand Tools for No-Till Success
These essentials handle daily tasks without disturbing your garden‘s ecosystem:
- Hori Hori knife: 50% faster planting than trowels
- Stirrup hoe: Removes 90% of weeds with minimal effort
- Wheel hoe: Preps 10′ beds in 5 minutes flat
Ergonomic handles reduce fatigue by 40% during long sessions. For seed starting, Earthway planters outperform Jang models in clay-heavy soil.
“Sharpening tools monthly triples their lifespan. A 10-minute edge care routine saves $100 yearly.”
Smart storage extends tool life. PVC pipe organizers prevent rust, while UV-resistant covers protect plastic components. For DIY options, pallet broadforks cost under $20 to build.
Ready to Transform Your Garden? Start No-Till Today!
Your journey to thriving plants begins with one simple change—stop tilling. Within three years, your garden will reward you with 40% higher yields and 30% less work. The secret? Let nature build your soil health naturally.
Start small with easy crops like beans, zucchini, or lettuce. These adapt quickly to no-till systems. Add 2 inches of compost each spring and top with mulch to lock in moisture. By year three, you’ll see richer earth and stronger roots.
Connect with local no-till groups for support. Follow experts like Charles Dowding on YouTube for tips. Remember: “Feed the soil, not the plants.” One 90-year-old gardener grows 500 lbs of food yearly on just 1/4 acre—proof this method works at any age.
Download our free planting template to begin. Your future garden starts today!


