
Growing your own food brings joy that’s hard to beat. There’s nothing like watching tiny seeds become crisp carrots or juicy tomatoes right outside your door. Best of all, you don’t need fancy tools or endless hours to create a productive space that feeds your family.
Many gardeners swear by time-tested growing methods that work with nature rather than against it. These approaches help plants develop deep roots and tap into natural soil nutrients. Want to see how it’s done? Our guide to smart layout strategies shows how placement affects your harvest.
You might wonder why some growers stick with earth-based methods year after year. The secret lies in healthy soil ecosystems that support stronger plants naturally. While newer trends have their place, nothing beats the satisfaction of nurturing crops in their native environment.
Curious how these techniques compare to modern alternatives? Our breakdown of soil preparation methods reveals surprising insights about weed control and water retention. You’ll learn which approach saves time while boosting yields.
Ready to dig into a rewarding new hobby? Let’s explore how simple changes can turn your patch of dirt into a thriving food source.
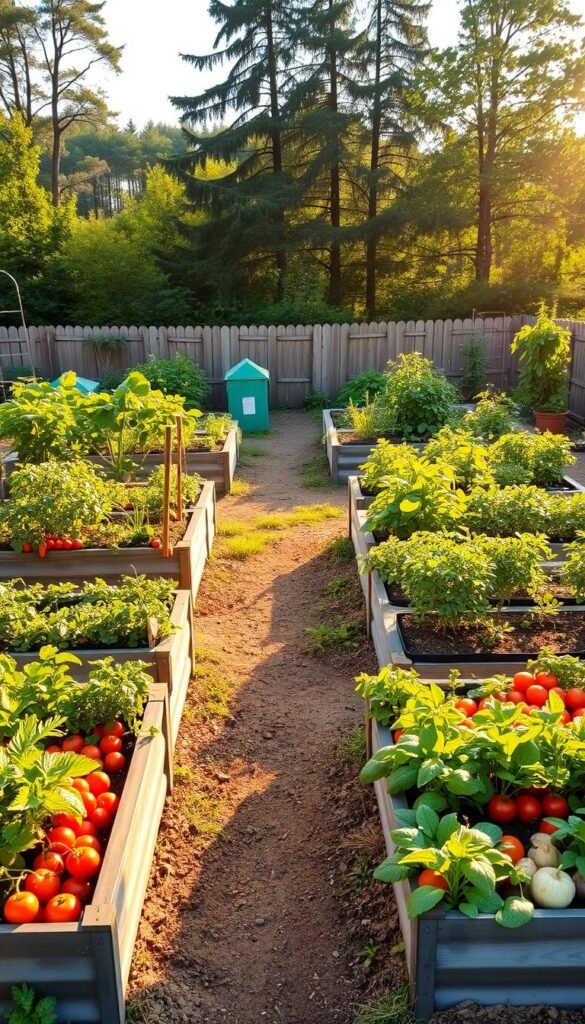
Getting Started with Your In-Ground Vegetable Garden

Your journey begins with smart planning that matches your yard’s unique features. Let’s break down two critical steps to set up a thriving plot.
Understanding Your Available Space
Start by measuring your yard’s dimensions and identifying permanent features. Trees, fences, or utility lines influence where you’ll place your plants. Use stakes and string to map potential layouts visually.
Track sunlight patterns for 2-3 days. Morning light dries dew faster, reducing mold risks. Areas near structures might create unwanted shade – crucial for sun-loving crops like tomatoes.
Selecting the Ideal Site for Growth
Prioritize spots with:
- 8+ hours of direct sunlight daily
- Gentle slopes for water drainage
- Windbreaks from nearby structures
If working with a small backyard, focus on vertical options later. Avoid low areas where puddles form – root rot loves soggy ground. Test soil drainage by digging a 12″ hole and timing how fast water disappears.
Preparing Quality Soil and Managing Nutrients

Healthy earth forms the foundation of every thriving plot. Before planting anything, you’ll want to get acquainted with your dirt’s unique personality. Think of it like meeting a new friend – you need to learn their strengths and quirks to build a lasting relationship.
Start with Science-Based Analysis
Grab a free soil test kit from your local extension office – many states like North Carolina offer this service. This report reveals hidden details about pH balance and missing nutrients. You’ll discover exactly what your plants need instead of playing guessing games.
Try the squeeze test while waiting for lab results. Moist soil that forms a loose ball then crumbles indicates perfect texture. If it stays rock-hard or falls apart instantly, add organic matter like compost. Both extremes improve dramatically with this simple fix.
Feed Your Underground Ecosystem
Mix 2-4 inches of compost into your topsoil each season. This “black gold” boosts drainage while helping roots access water during dry spells. Aged manure and leaf mold work wonders too – they feed earthworms and microbes that keep your garden vibrant.
Most edible crops thrive in slightly acidic conditions (6.0-7.0 pH). If your test shows imbalance, apply lime to sweeten sour soil or sulfur to tame alkalinity. Remember – healthy dirt isn’t a one-time project. Annual top-ups maintain that crumbly, nutrient-rich texture your plants adore.
Planning Your Garden Layout for Maximum Yield

The secret to abundant harvests lies in how you organize your growing areas. A thoughtful arrangement lets you squeeze more goodness from every inch while keeping care routines simple.
Designing Rows, Blocks, and Pathways
Swap single-file rows for clustered blocks of plants. This approach fills empty gaps between rows, letting leafy greens form natural mulch. You’ll fit 3x more carrots or lettuce in the same space compared to old-fashioned methods.
Create winding pathways that dive into beds like keyhole shapes. These dead-end walkways let you reach center plants without wasting precious soil on permanent trails. Keep main paths 18-24 inches wide for easy kneeling and tool access.
Enhancing Accessibility for Maintenance
Limit bed widths to 4 feet so you can tend middle plants without compacting soil. Our guide to proper plant spacing helps calculate how many starters fit per block.
Sketch your plan first using graph paper. Group tomatoes with peppers (both sun-lovers) and radishes with spinach (quick growers). This planting strategy simplifies watering and cuts competition. For small space solutions, explore square-foot gardening techniques that maximize variety in tight quarters.
Optimize Traditional Cultivation with In-Ground Vegetable Garden Design Tips

Every thriving plot begins with the right gear and a dash of creativity. What makes your space special isn’t just what you grow – it’s how you bring your vision to life. Let’s get your hands on the essentials while keeping that spark of joy alive.
Gathering the Essential Tools and Materials
Start with five trusty helpers: a spade for turning soil, a rake for smoothing beds, a hoe for weed control, a trowel for precise planting, and a measuring tape for spacing. Durable tools save money and frustration – think ergonomic handles and rust-resistant metal.
Don’t forget supporting actors like wooden stakes for marking rows and organic mulch for moisture retention. Store everything in a designated spot near your plot. You’ll spend less time searching and more time nurturing your plants.
Finding Layout Inspiration That Suits You
Visit three local spaces this week: a community garden, a neighbor’s yard, and a nursery display. Notice how experienced growers arrange their vegetables. One might tuck herbs between tomato plants, while another uses curved paths for visual flow.
“Your layout should make you smile when you step outside,”
says urban gardener Lisa Chang. Blend ideas that match your cooking habits and care schedule. Love fresh salads? Cluster leafy greens near your kitchen door. Short on time? Focus on low-maintenance crops like bush beans.
Start with a 4×8-foot bed if you’re new. This manageable size lets you experiment without overwhelm. Remember – your garden’s success isn’t measured by size, but by how often you catch yourself grinning while picking dinner ingredients.
Maximizing Vertical Growing Space in Your Garden
Look up – your garden’s next harvest might be growing overhead! Vertical techniques let you grow more food without expanding your plot. By training plants upward, you’ll free up precious ground space for other crops while creating stunning visual layers.
Installing Trellises and Supports
Sturdy structures transform how your garden produces. Use cattle panels for heavy growers like winter squash, and bamboo poles for lighter climbers like beans. An A-frame trellis works wonders for cucumbers, letting you plant shade-loving greens underneath.
Consider these support options:
| Plant Type | Support Structure | Benefits |
|---|---|---|
| Pole beans | Obelisk | Easy harvesting |
| Cucumbers | A-frame | Creates shade garden |
| Malabar spinach | Wire grid | Handles heavy vines |
| Cherry tomatoes | Hanging basket | Saves ground space |
Utilizing Hanging Baskets and Vertical Containers
Wall-mounted containers turn blank fences into salad factories. Try trailing nasturtiums in baskets – their edible flowers spice up summer meals. For small spaces, stack planter boxes vertically against sunny walls.
Pair vertical elements with square-foot gardening techniques for maximum efficiency. A 4-foot tower of beans can yield as much as 16 square feet of horizontal planting area. Just remember to face tall structures north to prevent shading other plants.
Your garden’s vertical potential waits to be unlocked. Whether you’re training cucumbers up repurposed ladders or growing mint in hanging pockets, these space-smart solutions let you grow up – not out!
Implementing Plant Spacing, Thinning, and Succession Planting

Transform your planting approach to squeeze more from every inch. Instead of following seed packet directions meant for large farms, use homegrown strategies that boost yields while saving space. This method turns early thinnings into tasty bonuses while letting your strongest plants thrive.
Smart Seed Distribution Techniques
Scatter seeds like confetti over prepared soil blocks. For carrots and beets, aim for 1″ gaps instead of the usual 3″. You’ll get 3x more starts while creating natural weed barriers as leaves overlap.
| Crop | Packet Spacing | Dense Planting |
|---|---|---|
| Leaf Lettuce | 12″ apart | 6″ clusters |
| Radishes | 2″ between | 1″ scatter |
| Spinach | 4-6″ rows | 2″ grid |
| Bush Beans | 6″ spacing | 3″ groups |
Thin seedlings when they reach 2-3 inches tall. Weakest plants become salad toppings – beet greens taste fantastic sautéed with garlic. This approach ensures full beds even if some seeds don’t sprout.
Rotate new plantings every 14 days for non-stop harvests. After pulling spring radishes, sow quick-growing arugula in the same spot. Urban gardener Marco Perez shares:
“I harvest baby carrots in June, then replant those spaces with bush beans for August picking.”
This staggered strategy keeps your plants producing all season. You’ll enjoy fresh flavors longer while outsmarting pests that target specific growth stages.
Selecting the Right Vegetables and Crop Varieties
Your dinner plate gets more exciting when you grow flavors you can’t buy at the store. Focus on what makes your taste buds happy while working with your available space. This balance ensures every square foot delivers delicious rewards.
Grow What You’ll Actually Eat
Start by listing vegetables your family loves. Cherry tomatoes beat bland grocery versions, while rainbow chard adds color to meals. Prioritize high-value crops like fresh herbs or heirloom varieties – they’re pricey at markets but thrive in home plots.
Space-smart choices matter. Pole beans climb vertically, freeing ground for leafy greens. Avoid marathon growers like parsnips in small areas – they tie up soil for months. Instead, try quick producers like radishes that give multiple harvests per season.
Team Up Compatible Plants
Some plants boost each other’s growth naturally. Basil repels pests from tomatoes, while marigolds protect bean vines. These partnerships create healthier crops without chemicals.
Mix flowering varieties like nasturtiums among your vegetables. They attract pollinators while confusing hungry bugs. You’ll notice fewer chewed leaves and more robust yields in your garden. Rotate crops each season to keep soil nutrients balanced and disease-resistant varieties thriving in your garden.


