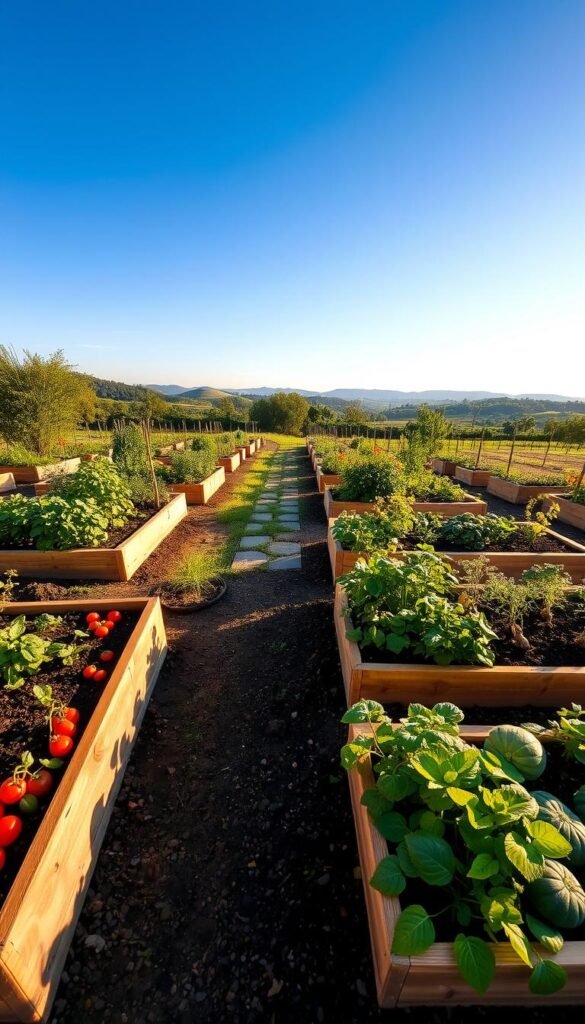
Imagine tending your crops without kneeling in dirt or battling weeds. Elevating your plants creates a cleaner, more efficient way to nurture fresh produce. This approach keeps soil loose and nutrient-rich since feet never compact the growing area.
Well-designed planting spaces let you grow twice as much in the same square footage compared to traditional rows. You’ll spend less time watering and weeding thanks to smart spacing that gives each plant room to thrive. The secret lies in strategic organization – grouping compatible crops while ensuring easy access from all sides.
Whether you’re new to growing food or refining your skills, this method solves common frustrations. No more backaches from bending over or wasted space between rows. You’ll discover how proper planning leads to healthier plants and bigger harvests with minimal effort.
Ready to transform how you grow? Our guide reveals step-by-step techniques to create a productive, low-maintenance setup that works harder so you don’t have to.
Why Choose Raised Beds for a High-Yield Vegetable Garden?
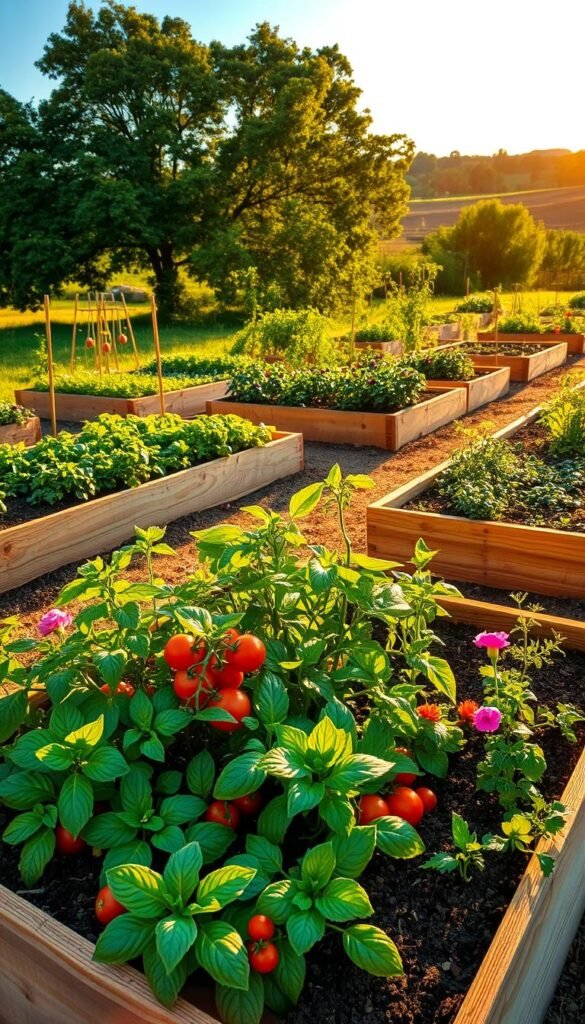
Traditional planting methods waste precious growing areas while creating unnecessary work. Raised structures flip the script by concentrating resources where they matter most – right under your plants’ roots.
Benefits Over Traditional Garden Beds
Old-school row planting leaves wide gaps for equipment access you don’t need. Compact designs let you grow 40% more food in the same area. Roots spread freely in loose earth, while smart spacing reduces competition for sunlight and nutrients.
| Feature | Traditional Beds | Raised Beds |
|---|---|---|
| Space Efficiency | 40% walkways | 95% growing area |
| Soil Quality | Compacted over time | Stays fluffy |
| Water Use | Evaporates quickly | Retains moisture |
Simplified Maintenance and Enhanced Soil Quality
You control the dirt from day one. Mix in compost and nutrients without wasting them on paths. Elevated setups drain faster after storms but hold moisture better during droughts. Pests struggle to reach your crops, while you spot issues faster at eye level.
Weeding becomes quicker work since plants grow closer together, shading out invaders. Rotate crops easily each season by swapping sections – no heavy equipment needed. Your back will thank you during harvest time!
Planning Your Raised Bed Vegetable Garden Layout for High-Yield Harvests
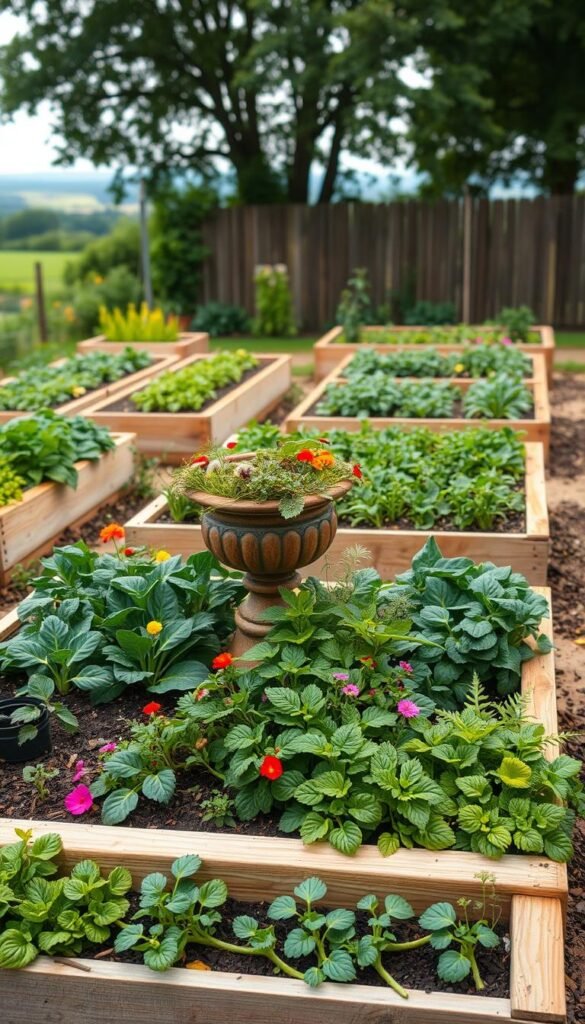
Smart gardeners know success starts long before the first seed hits the soil. Thoughtful preparation transforms empty dirt into a food factory. Let’s explore how to design a system that matches your household’s needs while working with your property’s unique features.
Setting Clear Goals for Your Harvest
Begin by listing your family’s favorite greens and crunchies. Do you make daily salads or weekly stir-fries? Popular choices like tomatoes and peppers need more room than quick-growing radishes. Consider preserving extras through canning or freezing when planning quantities.
| Crop | Yield per Sq Ft | Family of 4 Needs |
|---|---|---|
| Leafy Greens | 1 lb | 10-15 plants |
| Tomatoes | 8-12 lbs | 4-6 plants |
| Carrots | 1 lb | 20-30 plants |
“Measure twice, plant once – proper planning prevents pantry shortages come harvest time.”
Mapping Out Your Growing Area
Grab graph paper and sketch your available territory. Mark permanent fixtures like trees or sheds that cast shadows. Most edibles crave 6-8 hours of daily sun. Leave 18-24” between growing zones for comfortable kneeling and tool access.
Test different configurations using movable markers before building permanent structures. This trial run helps visualize how taller plants might shade smaller neighbors. Remember – good design balances productivity with practicality.
Selecting the Perfect Site and Orientation
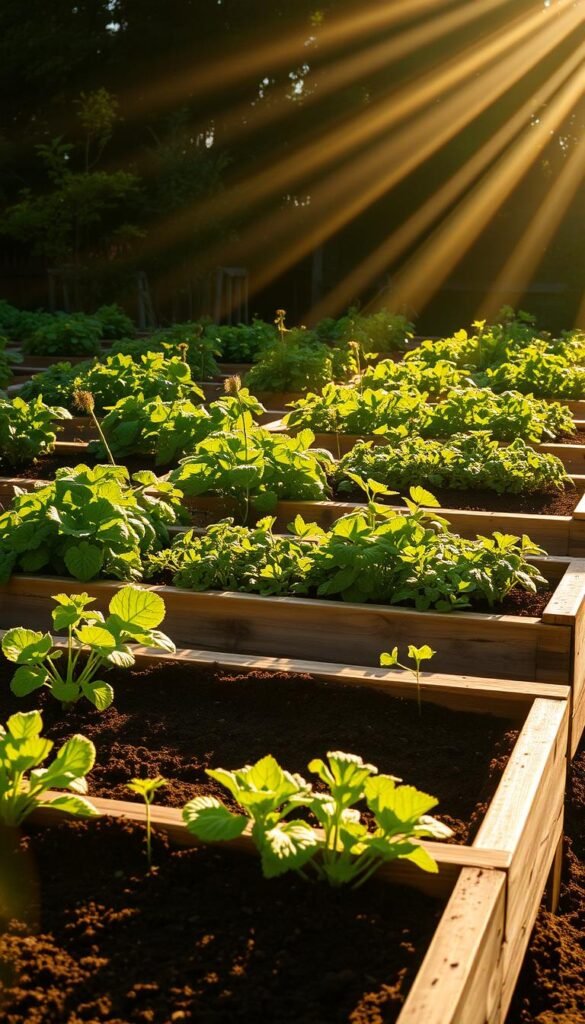
Positioning your growing space isn’t just about convenience—it’s about catching every possible sunbeam. Plants need light like you need morning coffee, and getting this right determines whether your crops thrive or just survive.
Evaluating Sunlight and Shade Patterns
Track how shadows move across your yard during spring and fall. Summer sun climbs higher, while winter light stays lower. Trees that seem harmless in July might block precious rays come September.
Use a simple sun calculator app or old-fashioned stakes to mark shady spots at 9 AM, noon, and 3 PM. You’ll quickly see patterns emerge. South-facing areas usually get the most consistent light, but nearby structures can create sneaky shade pockets.
Creating a Functional Sun Map
Grab colored chalk to sketch light zones directly on your patio or driveway. Blue for full shade, yellow for partial sun, red for all-day brightness. This visual guide helps place crops strategically.
| Light Level | Hours of Sun | Best Crops |
|---|---|---|
| Full Sun | 6-8+ | Tomatoes, Peppers |
| Partial Shade | 4-6 | Lettuce, Spinach |
| Full Shade | <3 | Herbs, Mushrooms |
Align your raised beds north-to-south like solar panels. Tall plants go on the northern end—they’ll act as living sunscreens for delicate greens below. Rotate your map seasonally as the sun’s angle shifts 40-50 degrees between June and December.
Designing the Size, Shape, and Configuration of Your Beds
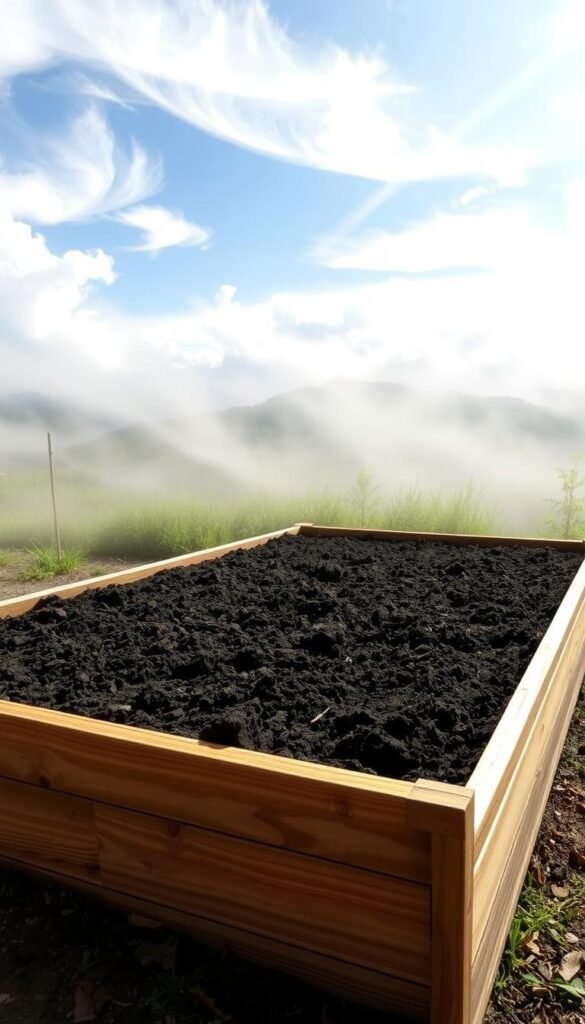
The foundation of a thriving garden lies in its structure. Smart dimensions and thoughtful spacing turn dirt boxes into productivity powerhouses. Let’s break down how to balance aesthetics with practicality.
Geometry Meets Functionality
Rectangular designs dominate most setups for good reason—they’re simple to build and maximize space utilization. Square plots work well in compact areas, while curved edges add visual flair. Odd shapes like triangles or hexagons create striking patterns but require more precise construction skills.
Accessible Growing Zones
Stick to 4-foot widths for easy reach from either side. This golden rule lets you tend plants without stepping on soil. Heights between 12-24 inches suit most crops—deeper roots need taller frames. Leave 2-3 feet between structures for wheelbarrow navigation.
Longer lengths offer flexibility but consider breaking them into segments. Multiple shorter beds prevent soil shifting and simplify crop rotation. Remember: your pathways are work zones, not just decorative gaps. Plan them wide enough for kneeling cushions and tool carts.
Optimizing Soil, Compost, and Fertilization Strategies
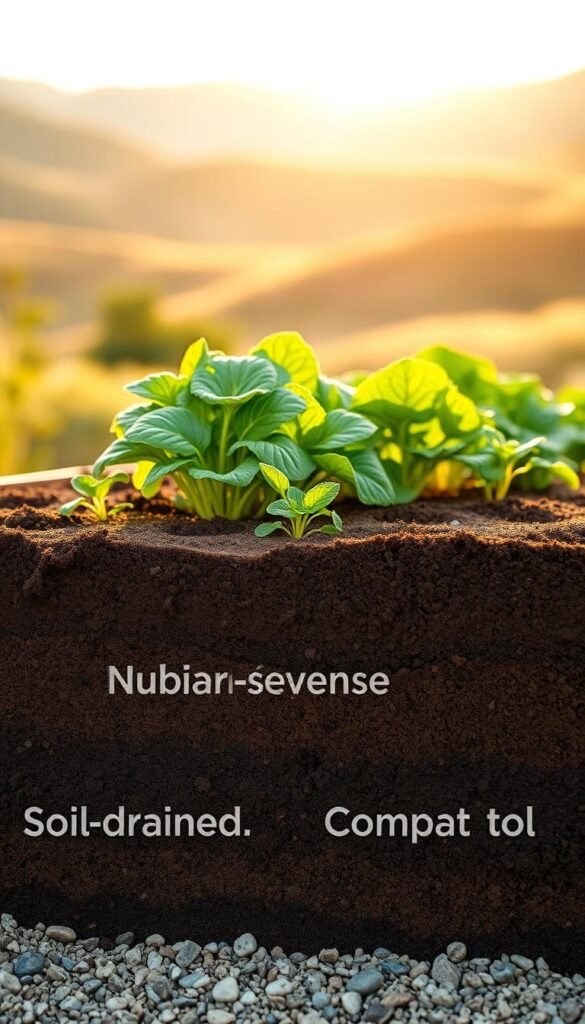
Your garden’s productivity starts beneath the surface. Unlike ground-level plots, elevated setups let you focus resources exactly where roots need them. This precision saves effort and cuts costs since amendments stay in the growing zone.
Choosing the Right Soil Mixture and Nutrients
Aim for a 60-30-10 blend: quality topsoil, compost, and drainage boosters like perlite. This mix feeds plants while letting water flow freely. Test your dirt yearly with a $10 kit from garden stores – it reveals pH and nutrient gaps.
| Component | Purpose | Ideal % |
|---|---|---|
| Topsoil | Base structure | 60% |
| Compost | Nutrient supply | 30% |
| Perlite/Sand | Drainage | 10% |
Fresh coffee grounds and eggshells? Toss them directly into beds – they break down fast. But avoid meat scraps or dairy that attract pests. For small spaces, use layered composting to refresh soil between plantings.
Balanced fertilization matters most. Slow-release organic pellets work better than synthetic sprays in confined areas. They feed roots gradually without salt buildup. Remember: overfed plants grow leaves, not fruits!
“Feed the soil, not just the crop – healthy earth grows resilient plants year after year.”
Incorporating Effective Planting Strategies
Transform your growing space into a year-round buffet with smart planting techniques. Three approaches work together to keep soil thriving and your table stocked. Let’s explore how to time your efforts for nonstop freshness.
Crop Rotation, Succession Planting, and Intercropping
Rotate plant families each season to break pest cycles and balance soil nutrients. Tomatoes and peppers (nightshades) should follow beans or peas (legumes) to replenish nitrogen. This simple shuffle prevents diseases from getting too comfortable.
Stagger quick-growing crops like radishes every 14 days. You’ll enjoy continuous harvests instead of overwhelming gluts. As summer lettuce bolts, replace it with fall kale using the square-foot method for seamless transitions.
| Strategy | Frequency | Best Pairings |
|---|---|---|
| Crop Rotation | Yearly | Tomatoes → Carrots → Beans |
| Succession | 2-4 weeks | Lettuce → Spinach → Arugula |
| Intercropping | Same season | Corn + Beans + Squash |
Grow basil between tomato plants – the herbs repel hornworms while thriving in partial shade. Tall corn supports pole beans, while squash leaves smother weeds below. These partnerships make every inch count.
Track maturity dates to avoid overcrowding. Pull spring peas just as cucumber vines need room to spread. With careful timing, your beds become a living puzzle where each piece nourishes the next.
Integrating Support Structures like Trellises and Stakes
Elevate your garden’s productivity by building upward, not outward. Vertical elements turn compact growing zones into multi-level food factories. This approach works wonders for vining crops that naturally reach for sunlight.
Sturdy frameworks let you grow twice as many plants in the same square footage. Pole beans spiral upward while squash dangles below, creating layered harvests. You’ll save precious ground area for root vegetables and leafy greens.
Maximizing Vertical Space for Climbing Vegetables
Choose materials that match your crop’s weight. Bamboo stakes suit lighter tomatoes, while cattle panels handle hefty melons. Secure structures directly into your bed’s frame – wobbling supports damage roots during storms.
| Structure Type | Best Materials | Ideal Crops |
|---|---|---|
| Trellis | Wood lattice | Cucumbers |
| Arbor | Metal piping | Grapes |
| Cage | Galvanized wire | Tomatoes |
Train vines early using soft ties that won’t cut stems. Prune excess leaves weekly to improve air flow and direct energy toward fruit production. Position taller elements on the north side to prevent shading smaller neighbors.
Rotate climbing crops yearly to prevent soil depletion. Pair vertical growers with shallow-rooted companions like basil or lettuce. This clever pairing makes every inch work double duty!
Timing and Seasonal Considerations for Raised Bed Planting
Mastering your garden’s rhythm turns random efforts into reliable harvests. Sync your schedule with nature’s clock to protect tender seedlings and squeeze extra weeks from each growing cycle.
Building Your Year-Round Schedule
Start by hunting down two magic numbers: your region’s final spring frost date and first fall freeze. Local extension offices provide precise dates, while the USDA Zone Map reveals which perennials survive winter. Cool-season stars like kale thrive in early spring and late fall, while heat-lovers like tomatoes demand frost-free nights.
| Crop Type | Planting Window | Soil Temp |
|---|---|---|
| Cool Season | 4-6 weeks before last frost | 40-75°F |
| Warm Season | 1-2 weeks after last frost | 60-85°F |
Outsmarting Weather Surprises
Stretch your season using simple tricks. Start seeds indoors 8 weeks before transplanting. When autumn chills arrive, drape frost cloth over structures to shield greens. Elevated setups warm faster in spring, letting you plant carrots while ground plots remain soggy.
Track success in a notebook – note which crops thrived and when pests appeared. Next year, shift dates slightly based on your observations. This living calendar evolves with your skills and local climate shifts.
“Plant peas when maple leaves unfurl, and tomatoes when lilacs bloom – nature’s cues never lie.”
Essential Maintenance Tips for a Productive Garden
Consistent care transforms good gardens into great ones. Smart routines keep plants thriving while saving time and resources. Let’s explore how to nurture your plot through every season.
Water Smart, Protect Better
Install drip lines or soaker hoses to deliver water directly to roots. These systems cut waste by 50% compared to sprinklers. Check moisture levels with a finger test – soil should feel like a damp sponge, not soggy or dusty.
Spot pests early by inspecting leaves weekly. Introduce ladybugs for aphid control or plant marigolds as natural repellents. For stubborn invaders, use insecticidal soap sprays at dawn when beneficial bugs are less active.
Weed Wisely, Feed Regularly
Spread 2-3 inches of straw mulch to block weed growth. Pull intruders after watering when roots release easily. Always work from pathways – stepping on soil compacts it, reducing air pockets plants need.
Refresh earth each spring with compost or worm castings. Test soil annually using kits from local extension offices. They’ll recommend precise amendments based on your region’s needs.
| Task | Frequency | Tools Needed |
|---|---|---|
| Structural Check | Monthly | Screwdriver, Level |
| Drainage Test | Seasonally | Watering Can |
| Root Pruning | Annually | Hand Trowel |
“Healthy gardens listen more than they shout – observe subtle changes before problems escalate.”
Connect with nearby gardening clubs for tailored advice. Their members know which tomato varieties resist local blights or when to expect first frosts. Shared knowledge helps your plot thrive while building community ties.
Innovative Layout Ideas and Design Inspirations
Break free from straight-edge thinking to unlock hidden productivity. Curves and angles create dynamic growing zones that surprise you with their efficiency. Imagine harvesting herbs from spiral patterns or picking tomatoes from star-shaped clusters—your space becomes both functional and artistic.
Creative Bed Shapes to Maximize Yield
Keyhole designs place compost bins at the center, feeding plants while saving steps. Circular garden beds with radiating paths let you reach every plant without straining. For slopes, try terraced tiers that turn gravity into an ally for water flow.
Hexagonal layouts fit together like puzzle pieces, eliminating wasted corners. Pair tall crops in triangular raised garden sections with low-growing greens in between. Zigzag borders create microclimates—warm pockets for peppers and shaded nooks for lettuce.
Your layout should spark joy while serving practical needs. Leave wide curves for kneeling pads or decorative stones. With clever shapes, even a compact garden bed becomes a lush, edible tapestry that delights the eye and pantry alike.

