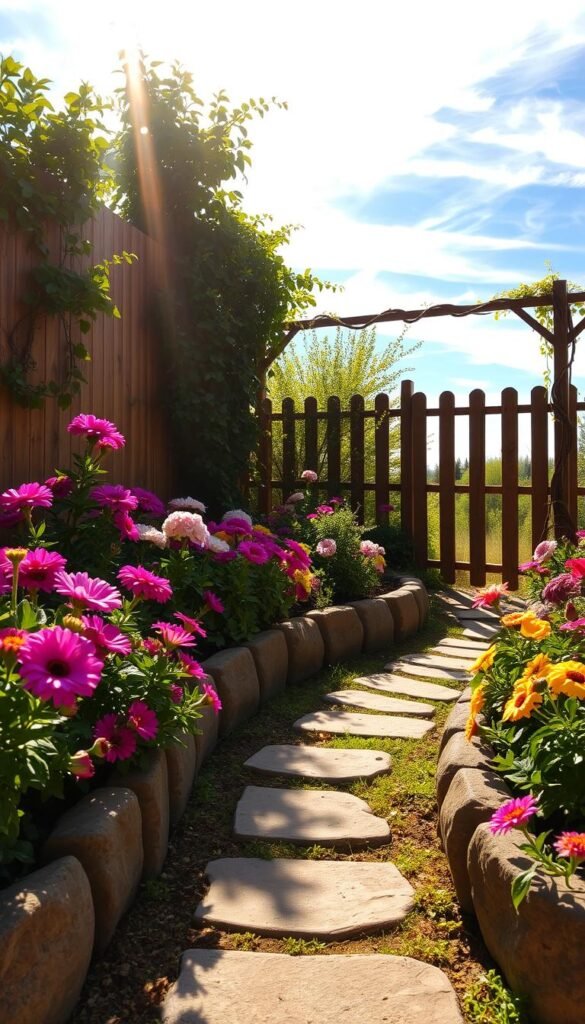
Imagine stepping into a vibrant oasis where colorful blooms greet you at eye level. Elevated planters offer a fresh way to grow healthy, thriving plants while simplifying yard care. These structures let you control soil quality and water drainage, creating ideal conditions for roots to spread. Best of all, they minimize bending and kneeling, making gardening accessible for everyone.
According to the National Gardening Association, these setups warm faster in spring and reduce soil compaction. You’ll enjoy fewer weeds and more organized growing areas compared to traditional methods. Their defined borders also help protect delicate plants from foot traffic or playful pets.
This guide walks you through designing a personalized sanctuary that matches your style. Discover how to maximize small yards or revamp larger landscapes with tiered layouts. You’ll learn practical tips for selecting materials, arranging plants, and maintaining your space effortlessly.
Ready to transform your property into a lush retreat? Let’s explore how strategic design choices can turn your vision into reality. Continue reading to unlock step-by-step methods for building a thriving, eye-catching display.
Planning Your Cozy Floral Retreat
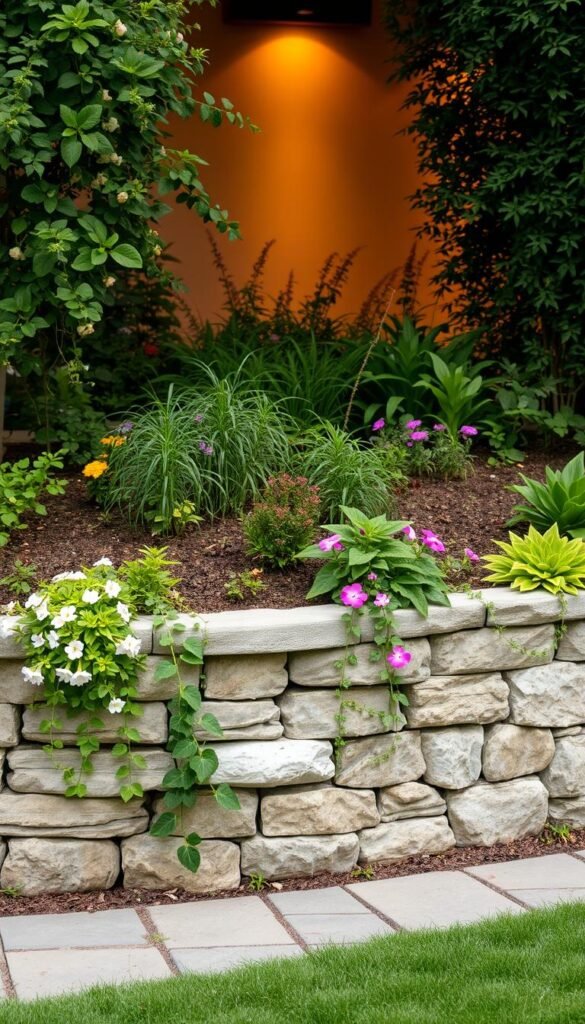
Successful garden projects start with clear vision and practical steps. Before digging in, ask yourself: What purpose will this space serve? Do you want bold colors for visual impact, fragrant herbs for sensory delight, or a mix of textures for depth? Your answers shape every choice, from plant varieties to layout patterns.
Defining Your Priorities
Start by choosing between low-maintenance blooms, edible flowers, or wildlife-friendly plants. A pollinator-friendly design might include milkweed and coneflowers, while a mixed bed could pair marigolds with basil. Time investment matters—some arrangements need weekly care, others thrive with minimal attention.
Budgeting Smartly
Calculate costs for materials like cedar boards or stone borders, plus soil and starter plants. A 4×8-foot bed typically costs $50-$150 upfront. Pro tip: Phasing projects over a year spreads expenses. Add features like decorative walls later—they boost height and prevent soil erosion while fitting your design.
Remember to allocate funds for mulch and organic fertilizers. These keep plants healthy through seasons without breaking the bank. With smart planning, your green oasis grows beautifully while staying manageable.
Choosing the Perfect Location and Sunlight
Your plant paradise’s success starts with smart placement. Watch how light dances across your property through the seasons. Morning rays might hit the east side, while afternoon glare bathes west-facing spots.
Sunlight Patterns and Plant Needs
Track hourly light changes for 3 days. Use this simple table to match plants with ideal conditions:
| Sunlight Type | Daily Hours | Best Choices |
|---|---|---|
| Full Sun | 6-8+ | Tomatoes, Lavender |
| Partial Sun | 4-6 | Hostas, Ferns |
| Shade | <4 | Begonias, Mint |
North-south layouts let plants soak up equal light. South-facing spots often get the most intense rays – perfect for heat-loving blooms. Avoid shadow zones near tall fences or evergreens.
Think about views from inside your house too. A vibrant display near the front walkway boosts home curb appeal instantly. Keep hoses or watering cans within 10 feet – convenience matters!
For edibles, pick areas getting morning sun. This dries dew quickly, reducing mold risks. Got windy spots? Use trellises as natural windbreaks while adding vertical interest.
Ready to find your sweet spot? Continue reading to discover tool essentials for bringing your vision to life.
Assembling Essential Tools and Materials
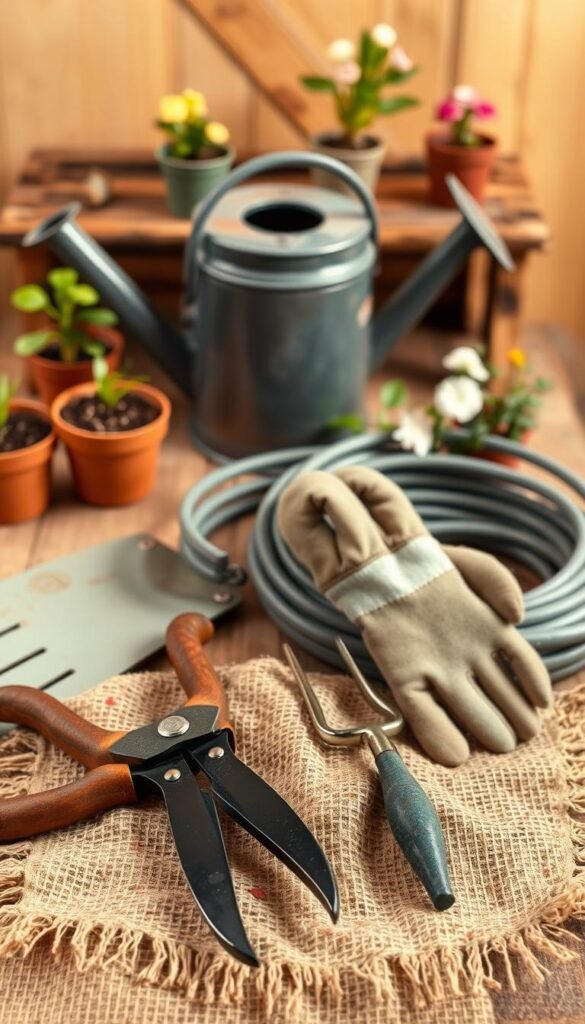
The right gear transforms backyard projects from frustrating chores into joyful accomplishments. Well-chosen equipment saves time and reduces strain, letting you focus on creative planting rather than wrestling with inadequate supplies.
Keep Essential Gardening Tools Nearby
Start with basic building tools: a cordless drill speeds up frame assembly, while a carpenter’s square ensures perfect 90-degree corners. For soil work, a sturdy spade cuts through tough ground, and a bow rake creates smooth planting surfaces in minutes.
Consider these time-savers:
- Ergonomic hand trowels for precise seedling placement
- Ratchet pruners that slice through thick stems effortlessly
- Expandable hoses that reach every corner without tangling
A collapsible garden cart proves invaluable for hauling bags of soil or mulch. One user shared: “Moving 15 cubic feet of compost used to take me hours—now it’s a 20-minute job!”
Store frequently used items in a waterproof caddy near your beds. This keeps gloves, markers, and twine within arm’s reach when inspiration strikes. Quality tools might cost more upfront but pay off through years of reliable service.
With your toolkit ready, you’re set to build functional beds that simplify maintenance. Continue reading to explore design strategies that blend practicality with visual charm.
Designing Your Raised Garden Bed Layout
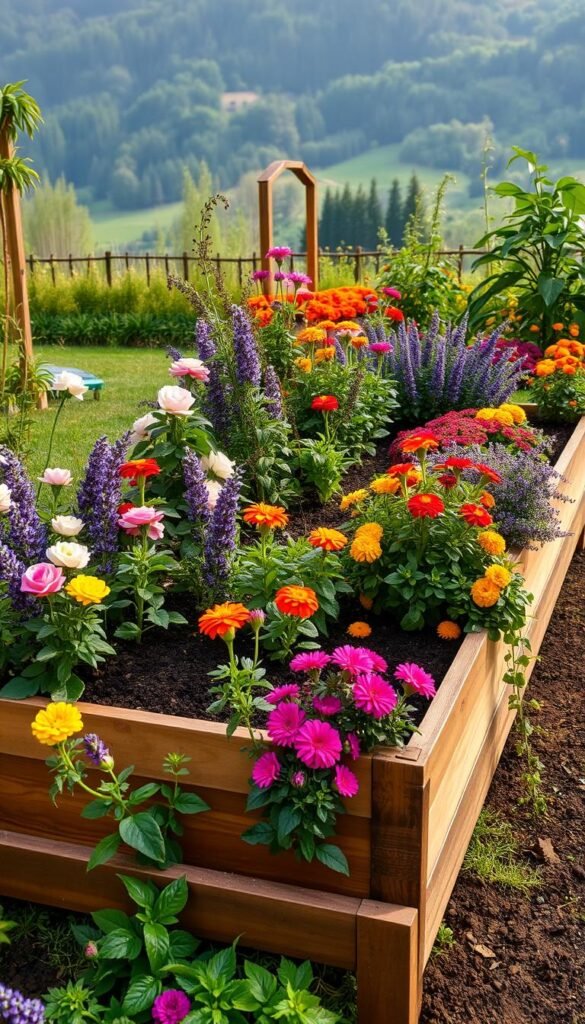
Transform your outdoor area into a living masterpiece starts with smart layout choices. Curved lines soften hardscapes, while thoughtful material pairings add depth. Let’s explore how to blend nature and structure for eye-catching results.
Natural Stone Accents That Wow
Rocks add timeless charm to any planting area. Stack flat stones vertically for modern flair or scatter rounded boulders for organic appeal. Pro tip: Bury stones partially to create natural-looking outcrops that stabilize slopes.
Consider this comparison for material selection:
| Material | Benefits | Best For |
|---|---|---|
| Fieldstone | Rustic texture | Cottage-style beds |
| Slate | Sleek layers | Modern designs |
| River Rock | Smooth finish | Water features |
Edging Solutions That Last
Clear boundaries prevent grass invasion while boosting visual impact. Try these popular options:
- Steel bands for crisp lines
- Recycled bricks for vintage charm
- Concrete pavers for bold statements
One gardener shared: “Metal edging transformed my messy border into a polished showstopper overnight!” For more design inspiration, explore these creative ways to enhance your outdoor.
Remember to leave 18-24″ between planting zones for easy access. Gentle curves feel more inviting than sharp corners, and they help rainwater flow naturally. Test your layout with a garden hose before committing – it’s easier to adjust than relocated plants!
Raised Flower Garden Bed How-To: Creating a Cozy Floral Retreat
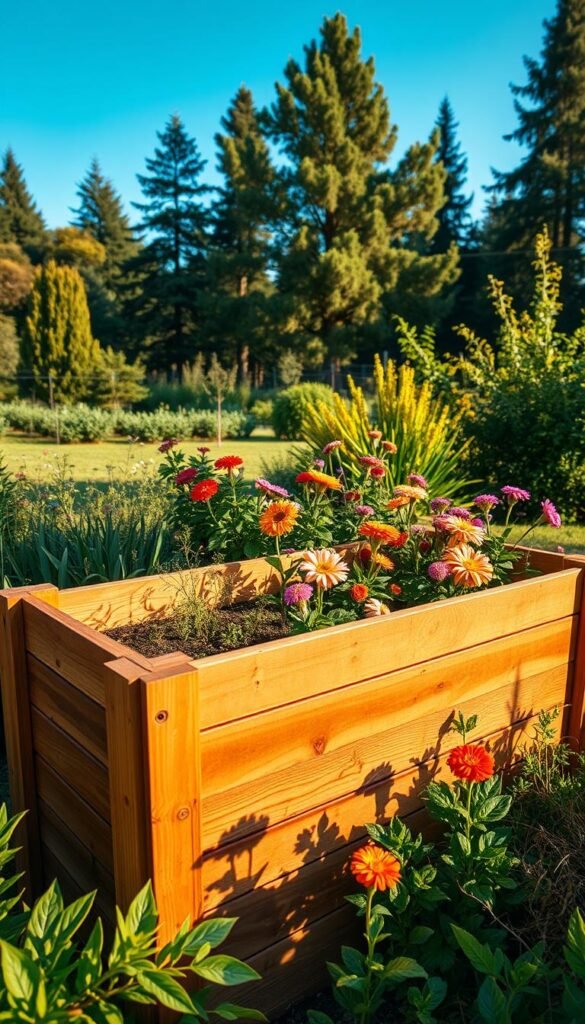
Roll up your sleeves—it’s time to transform plans into reality. Begin by laying out fir boards or metal containers in your chosen area. Secure corners with galvanized braces and exterior-grade screws for lasting stability. Pro tip: Pre-drill holes to prevent wood splitting during assembly.
Clear the site thoroughly, removing grass roots and rocks. Use a level to ensure even placement—this prevents soil erosion and water pooling. For repurposed items like old tables, drill drainage holes every 6 inches. One creative gardener noted: “My vintage metal table now hosts cascading succulents that draw compliments weekly!”
Follow these steps for success:
- Layer gravel at the base for improved drainage
- Mix compost with topsoil (3:1 ratio) for nutrient-rich growth
- Install drip irrigation lines before filling with soil
Space plants according to their mature size, leaving room for air circulation. Companion planting boosts growth naturally—try pairing basil with marigolds to deter pests. Smooth exposed edges with sandpaper for a polished finish that complements your landscape.
As you complete the final touches, remember that thoughtful construction pays off in reduced maintenance. Well-built structures withstand seasons while showcasing your greenery beautifully. Ready to see your efforts bloom? Continue reading for inventive material ideas that elevate ordinary plots into art.
Innovative Raised Garden Bed Ideas
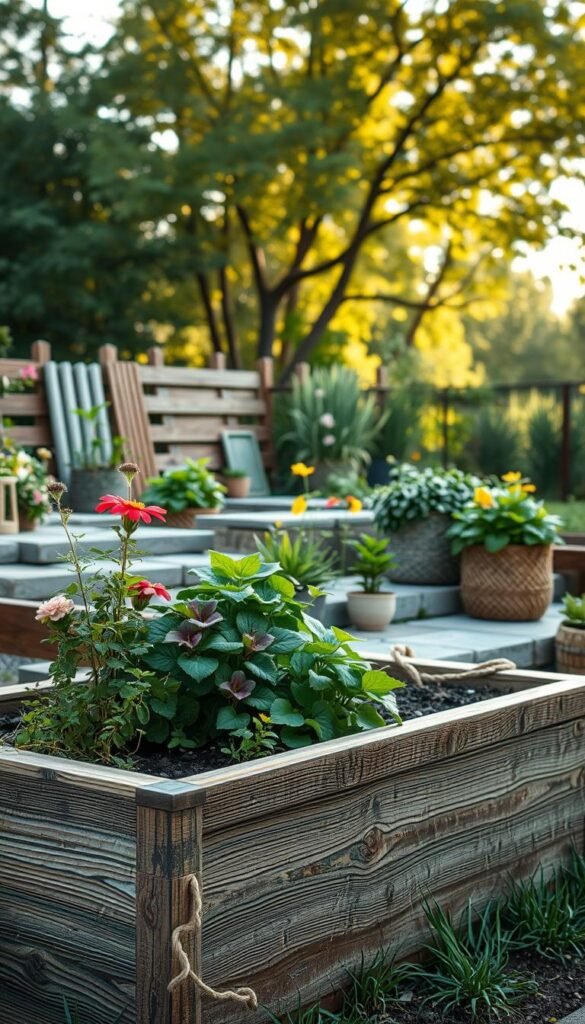
Break free from traditional gardening norms with inventive solutions that spark curiosity. Ordinary objects become extraordinary growing spaces when viewed through a creative lens. Let’s explore how unconventional materials and shapes can refresh your outdoor areas.
Unexpected Materials Shine
That rusty wheelbarrow collecting dust? Fill it with petunias for instant charm. One gardener transformed theirs into a mobile display: “Guests always ask about my rolling flower show—it’s become our yard’s star attraction!” Wooden ladders make perfect vertical stands for trailing plants when secured against walls.
Consider these durable alternatives:
- Galvanized troughs reflecting sunlight beautifully
- Stacked tires painted in rainbow hues
- Salvaged wine barrels oozing rustic character
Geometry Meets Greenery
Why settle for squares when nature loves variety? Hexagonal planters create honeycomb patterns that bees adore. Circular designs soften angular patios, while starburst-shaped beds become focal points. Pro tip: Odd-numbered groupings (3 or 5) feel more dynamic than even arrangements.
Mix materials for textural contrast—pair rough-hewn timber with sleek metal edging. The juxtaposition of weathered wood against polished steel creates visual tension that draws the eye. Remember: imperfections often add more personality than flawless finishes.
Ready to push boundaries? Continue reading to discover how blending edible and ornamental plants creates functional beauty.
Integrating Pollinator and Edible Plants
Your outdoor space becomes a living tapestry when edible and ornamental plants grow side by side. Mixing food crops with decorative varieties brings color to your plate and landscape. This approach lets you harvest fresh ingredients while supporting local ecosystems.
Smart Plant Partnerships
Pair vibrant tomatoes with marigolds to naturally repel pests. Basil thrives beside zinnias, creating fragrant borders that attract pollinators. For continuous blooms, try perennial lavender shrubs behind annual sunflowers.
Edible flowers like nasturtiums add peppery flavor to salads while brightening beds. Calendulas offer golden petals for teas and draw beneficial insects. Low-maintenance blooms like cosmos provide season-long color with minimal effort.
Shrubs like blueberry bushes add structure and sweet rewards. Mix them with feathery grasses for texture contrast. Remember to leave space for plants to reach mature sizes—crowding reduces air flow and yields.
Experiment with combinations each season. Annuals let you refresh colors, while perennials establish reliable anchors. This balanced approach creates dynamic displays that nourish both people and pollinators. Continue reading to discover more ways your green space can delight all senses.

